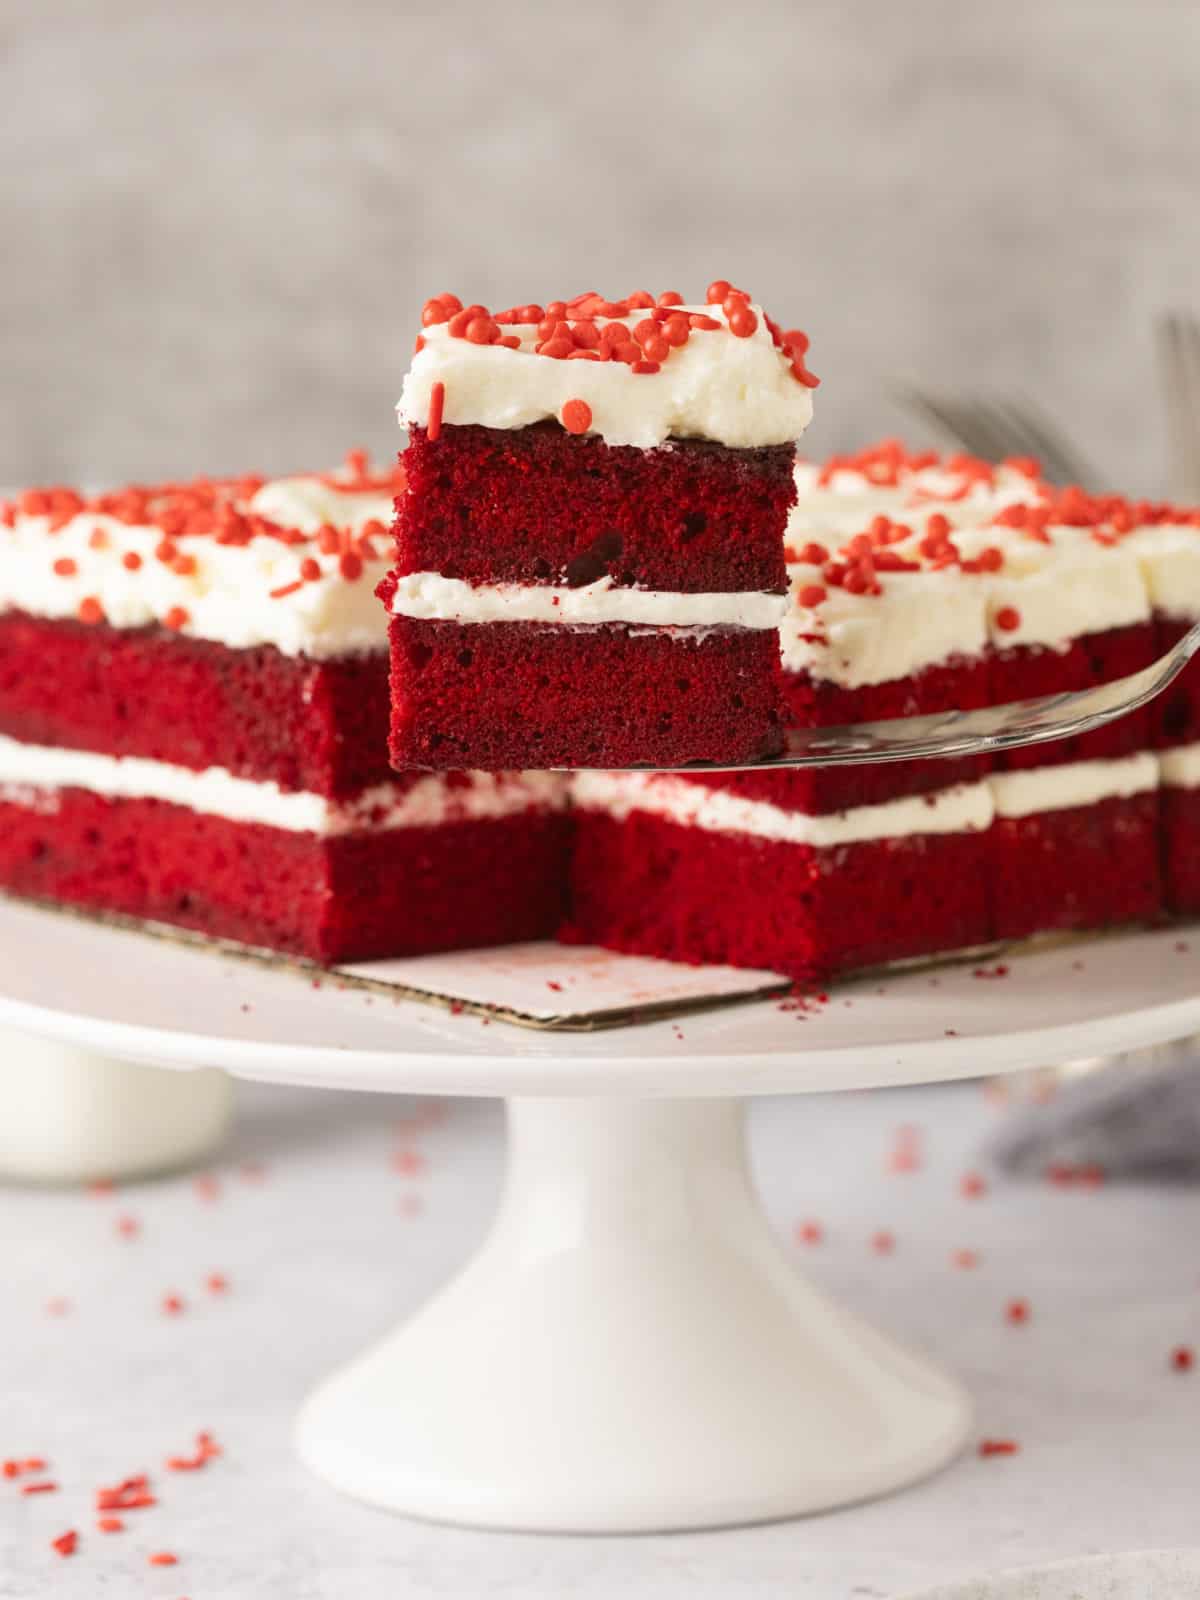
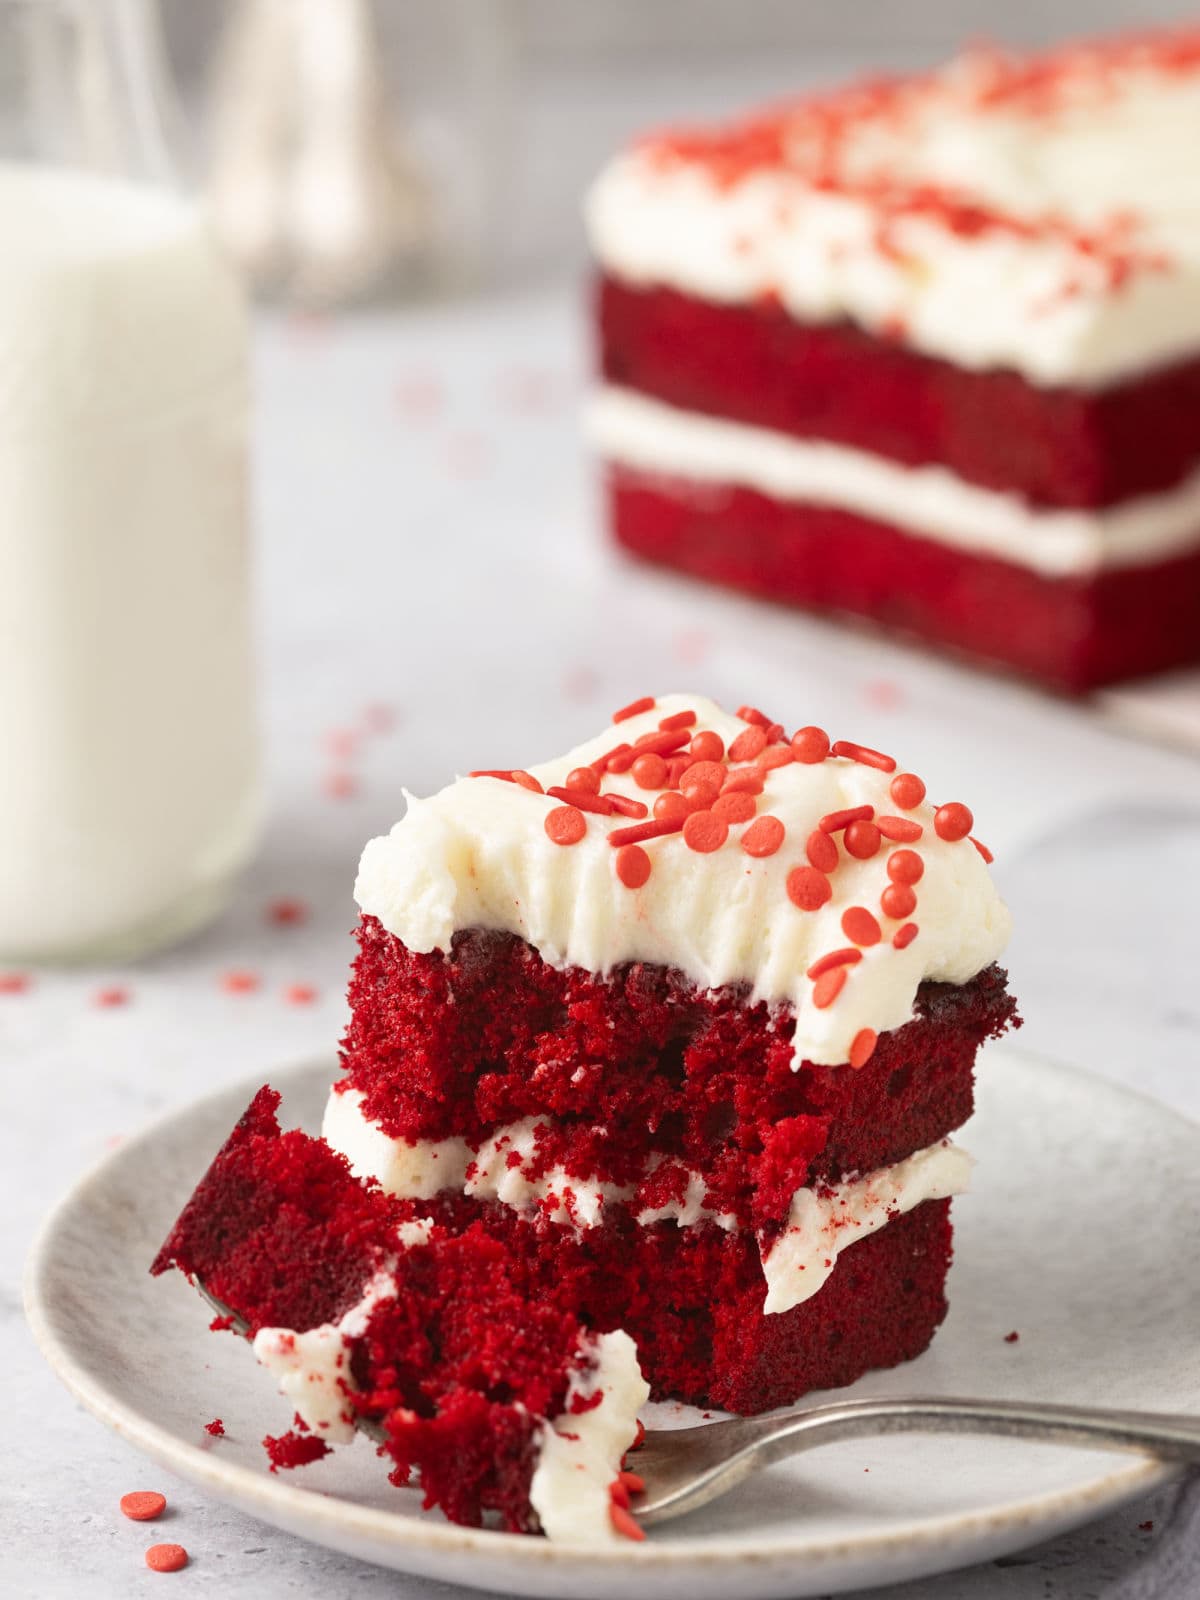
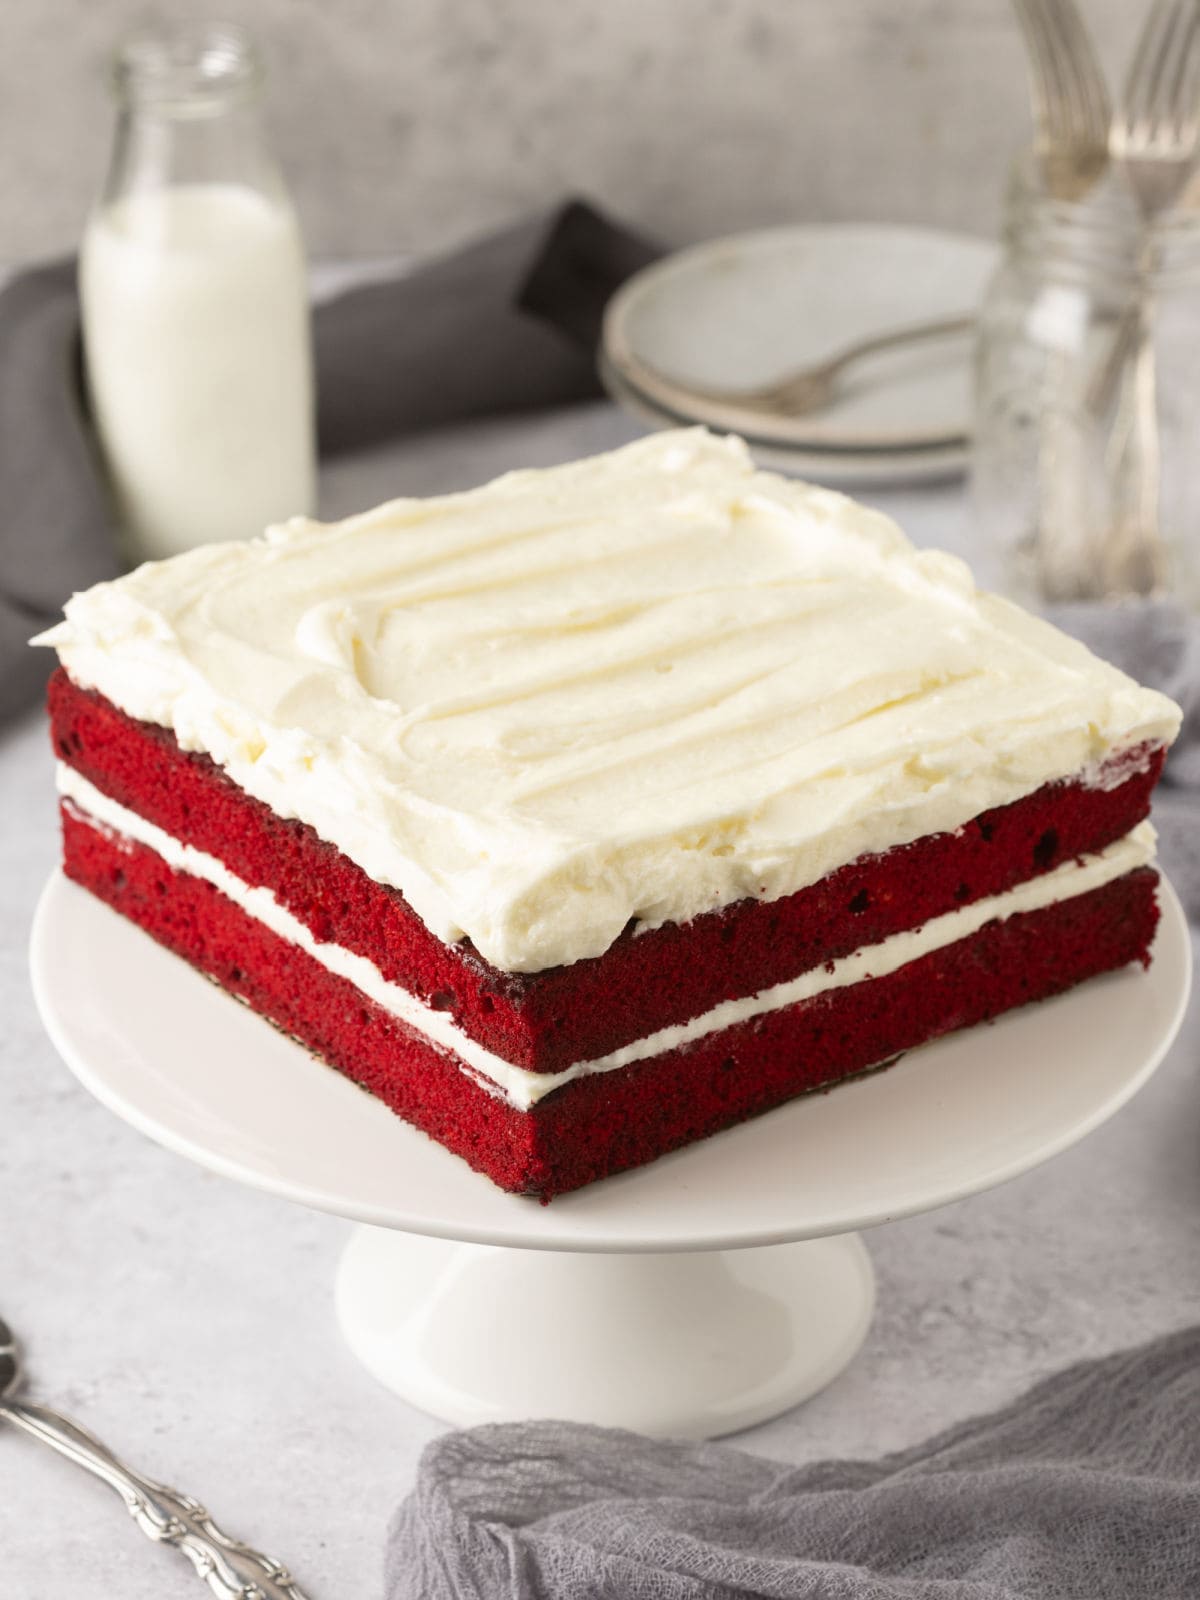
There’s something undeniably special about red velvet cake. With its striking color and uniquely rich flavor, this dessert has captured the hearts of cake lovers everywhere.
Want to save this recipe?
Enter your email & I’ll send it to your inbox. Plus, get great new recipes from me every week!
This page may contain affiliate links; please see my disclosure for policy details.
What Exactly Is Red Velvet Cake? To put it simply, red velvet cake is a classic dessert with a slight tang, a touch of cocoa, and a tender crumb. While its vivid color grabs attention, the texture and taste are where it truly shines.
The secret to the softness lies in the combination of buttermilk and vinegar working their magic with baking soda to create a light, velvety cake. Contrary to common belief, the cocoa flavor isn’t dominant; instead, it’s subtle, giving the cake a hint of chocolate without overpowering the tangy-sweet balance.
While some may think making this cake at home is complicated, it’s actually quite simple with the right recipe and technique. In this guide, we’ll break down how to make the perfect red velvet cake from scratch.

- Type of recipe: Dessert
- Cooking method: Oven baking
- Skill level: Medium Skill level with lots of mixing
- Flavors & textures: The cake is moist and fluffy. The frosting is rich and creamy.
Recipe Ingredients
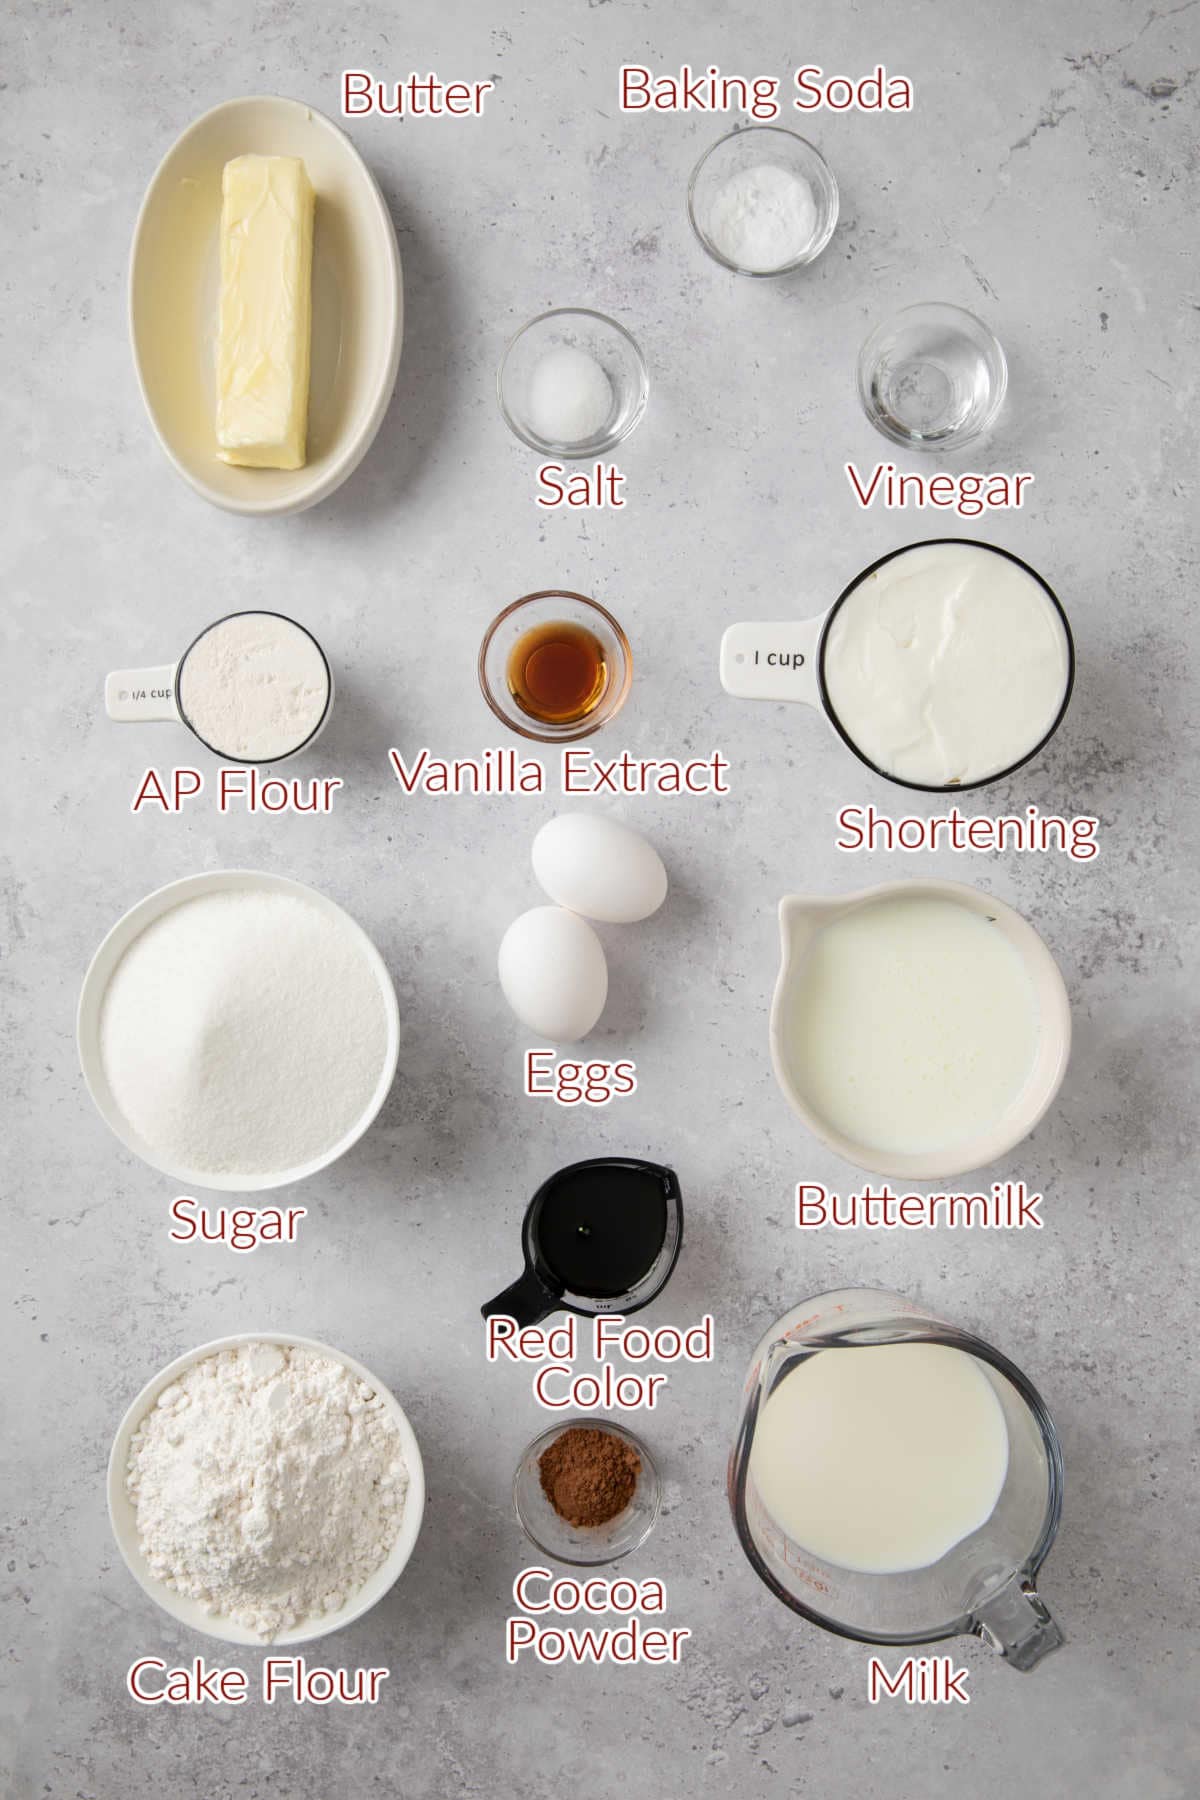
Ingredients You’ll Need for the Cake
- Cake Flour: Makes the cake light and airy. This is the cake flour I use.
- Shortening: Helps achieve that soft crumb and adds richness to the batter.
- Sugar: Balances out the acidic tang of buttermilk and vinegar.
- Salt: Brings out the flavors in the other ingredients.
- Eggs: Adds structure and richness.
- Buttermilk: Contributes to that tangy signature taste while also keeping the cake moist.
- Vanilla Extract: Enhances the flavor of all other ingredients. You can use homemade vanilla or buy a good-quality vanilla extract.
- White Vinegar: Aids in activating the baking soda and intensifying the cake’s texture.
- Baking Soda: Accounts for the rise of the cake, creating a light and fluffy texture.
- Red Food Coloring: Creates that classic, bold red color. I use liquid food coloring for this recipe.
Ingredients for the Frosting
- Milk and Flour: Cooked together to create a smooth base for the frosting.
- Butter: Adds creaminess.
- Sugar: Sweetens the frosting to complement the subtle tang of the cake.
How To Make Red Velvet Cake
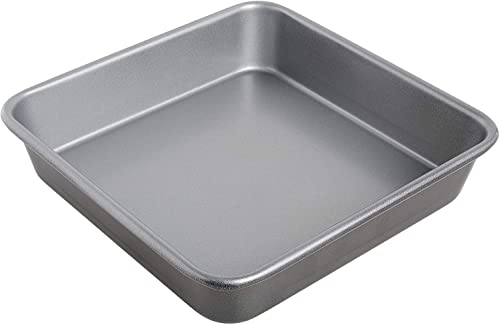
Step 1: Preheat oven to 350 degrees. Prepare two 8″ pans with nonstick spray and parchment paper – I use square baking pans, but feel free to use 8″ round pans.
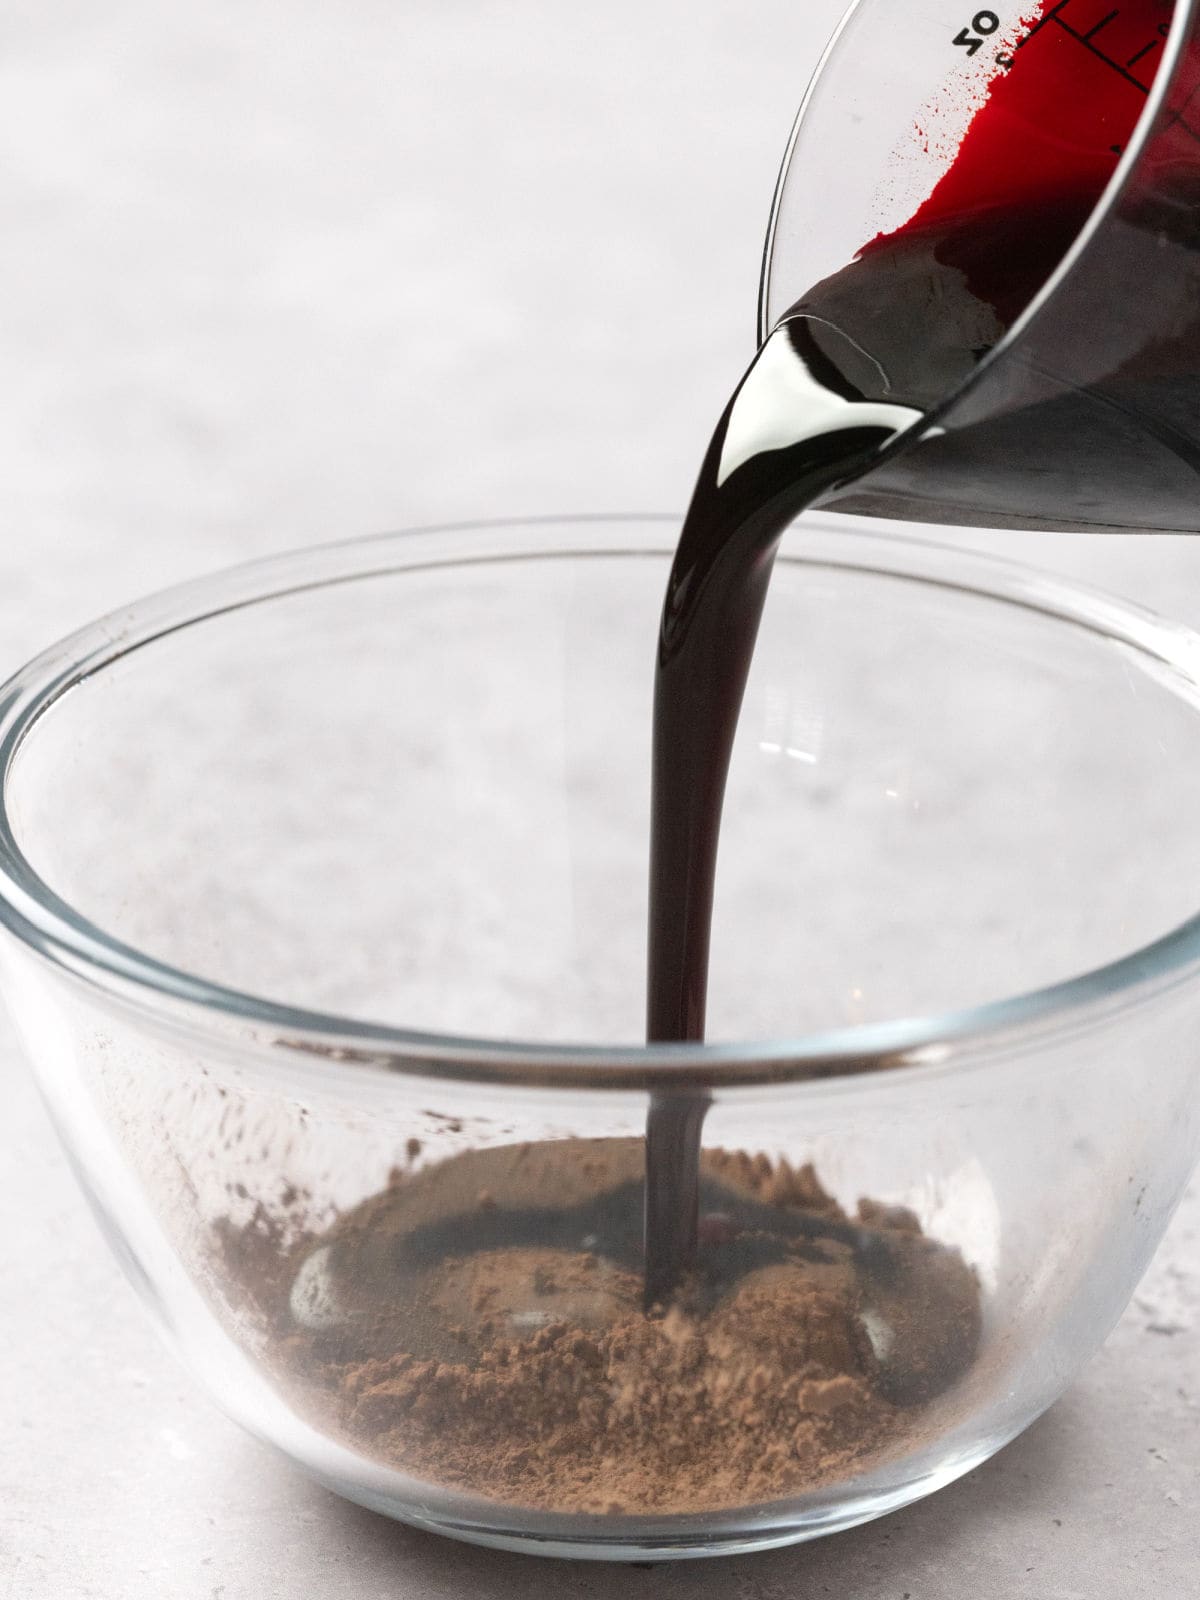
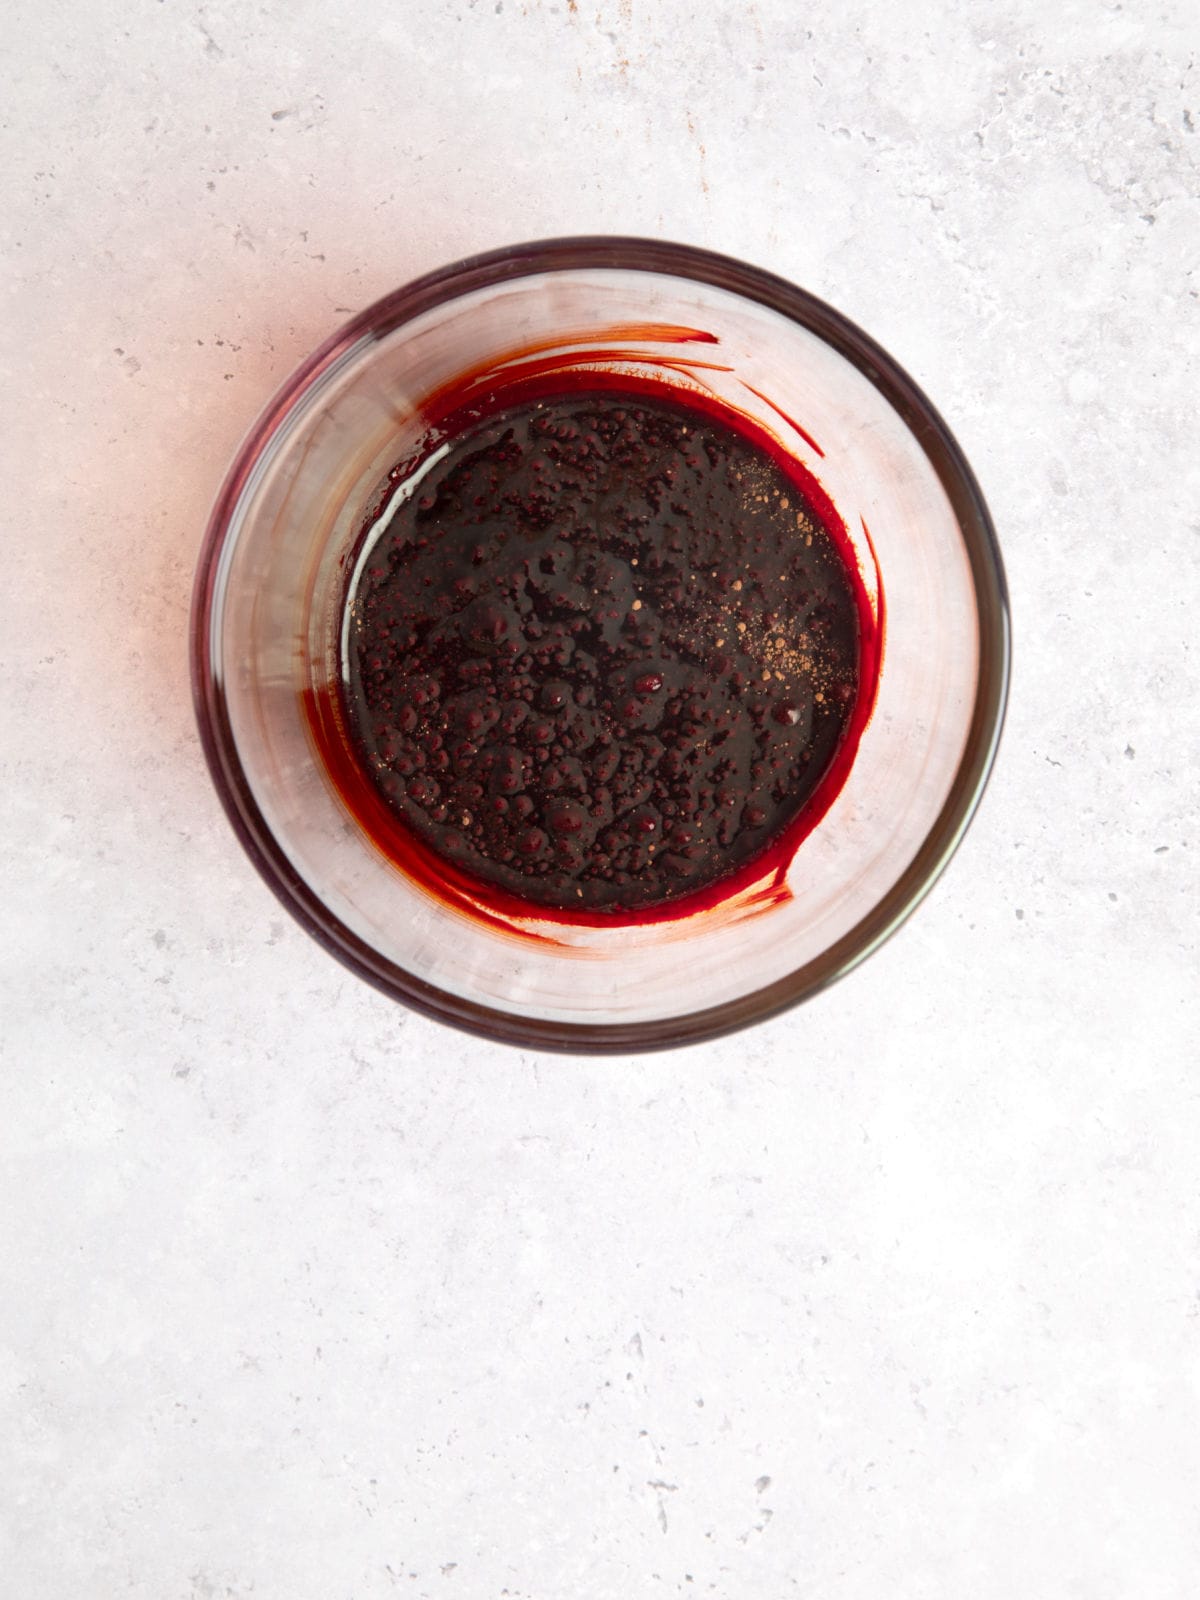
Step 2: Mix the cocoa powder and red food coloring together in a small bowl and set aside.
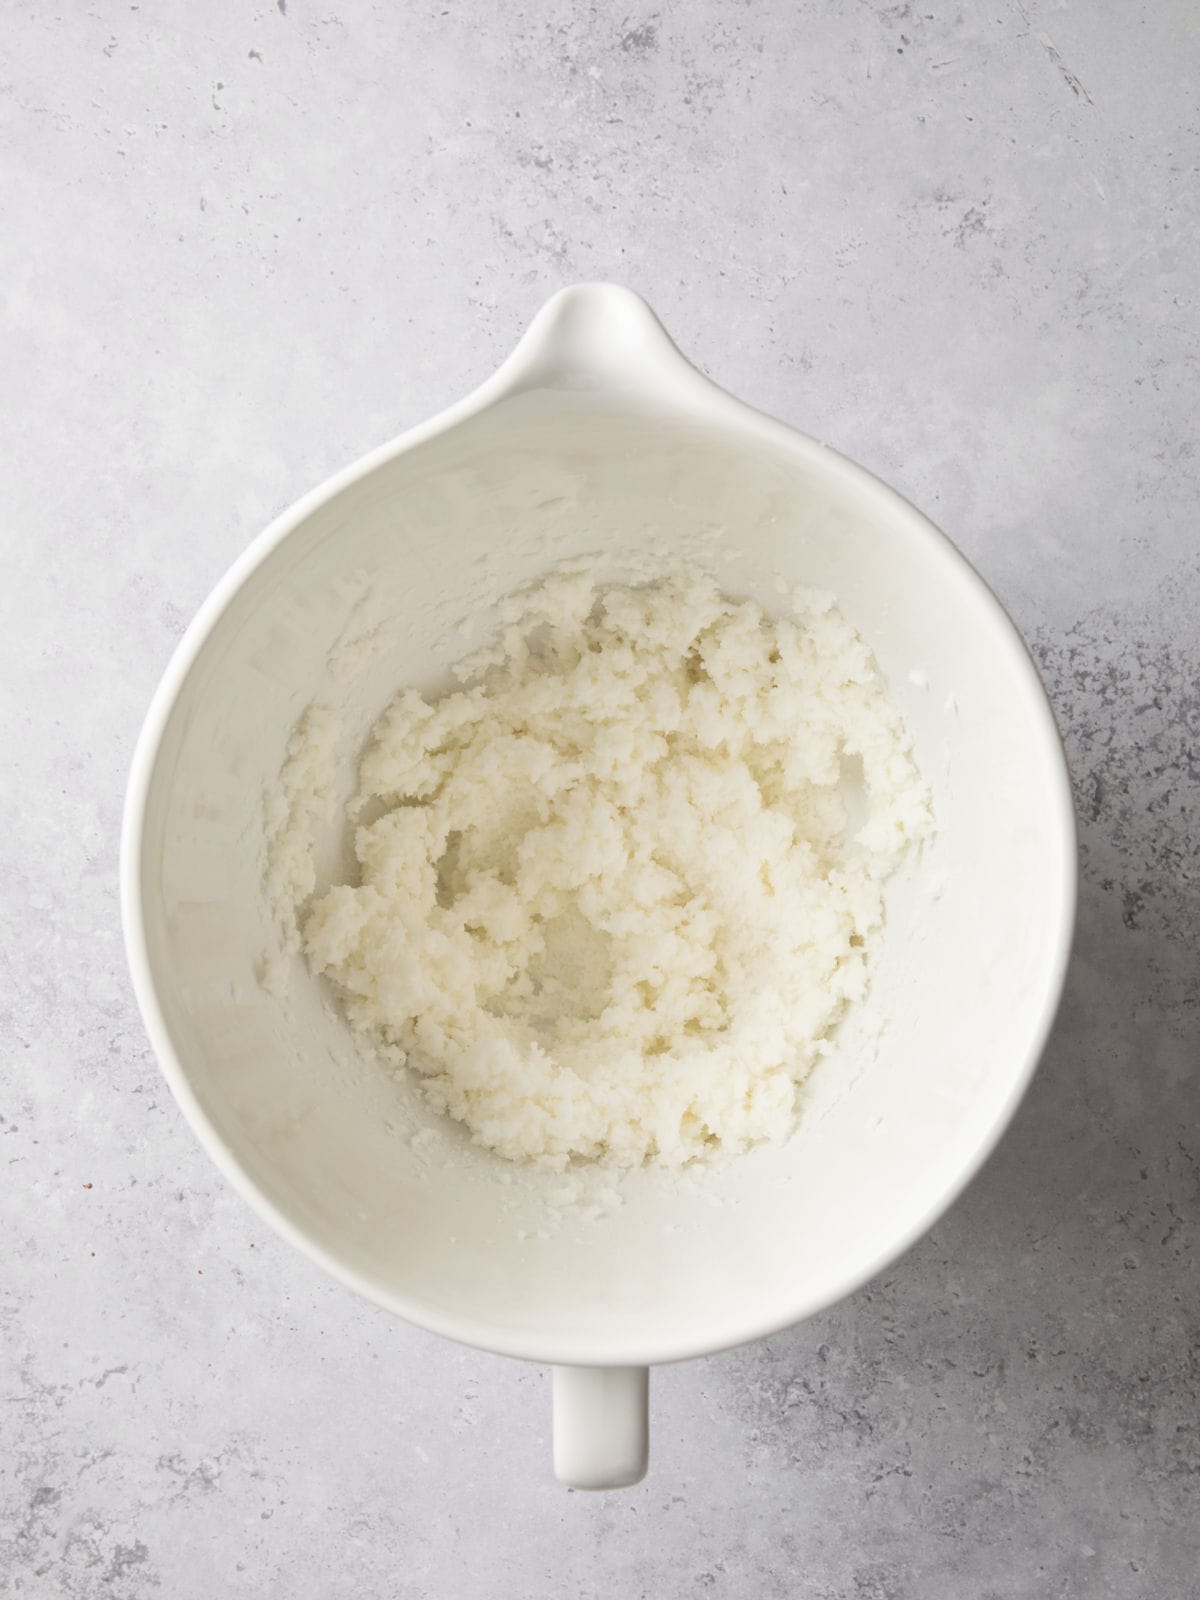
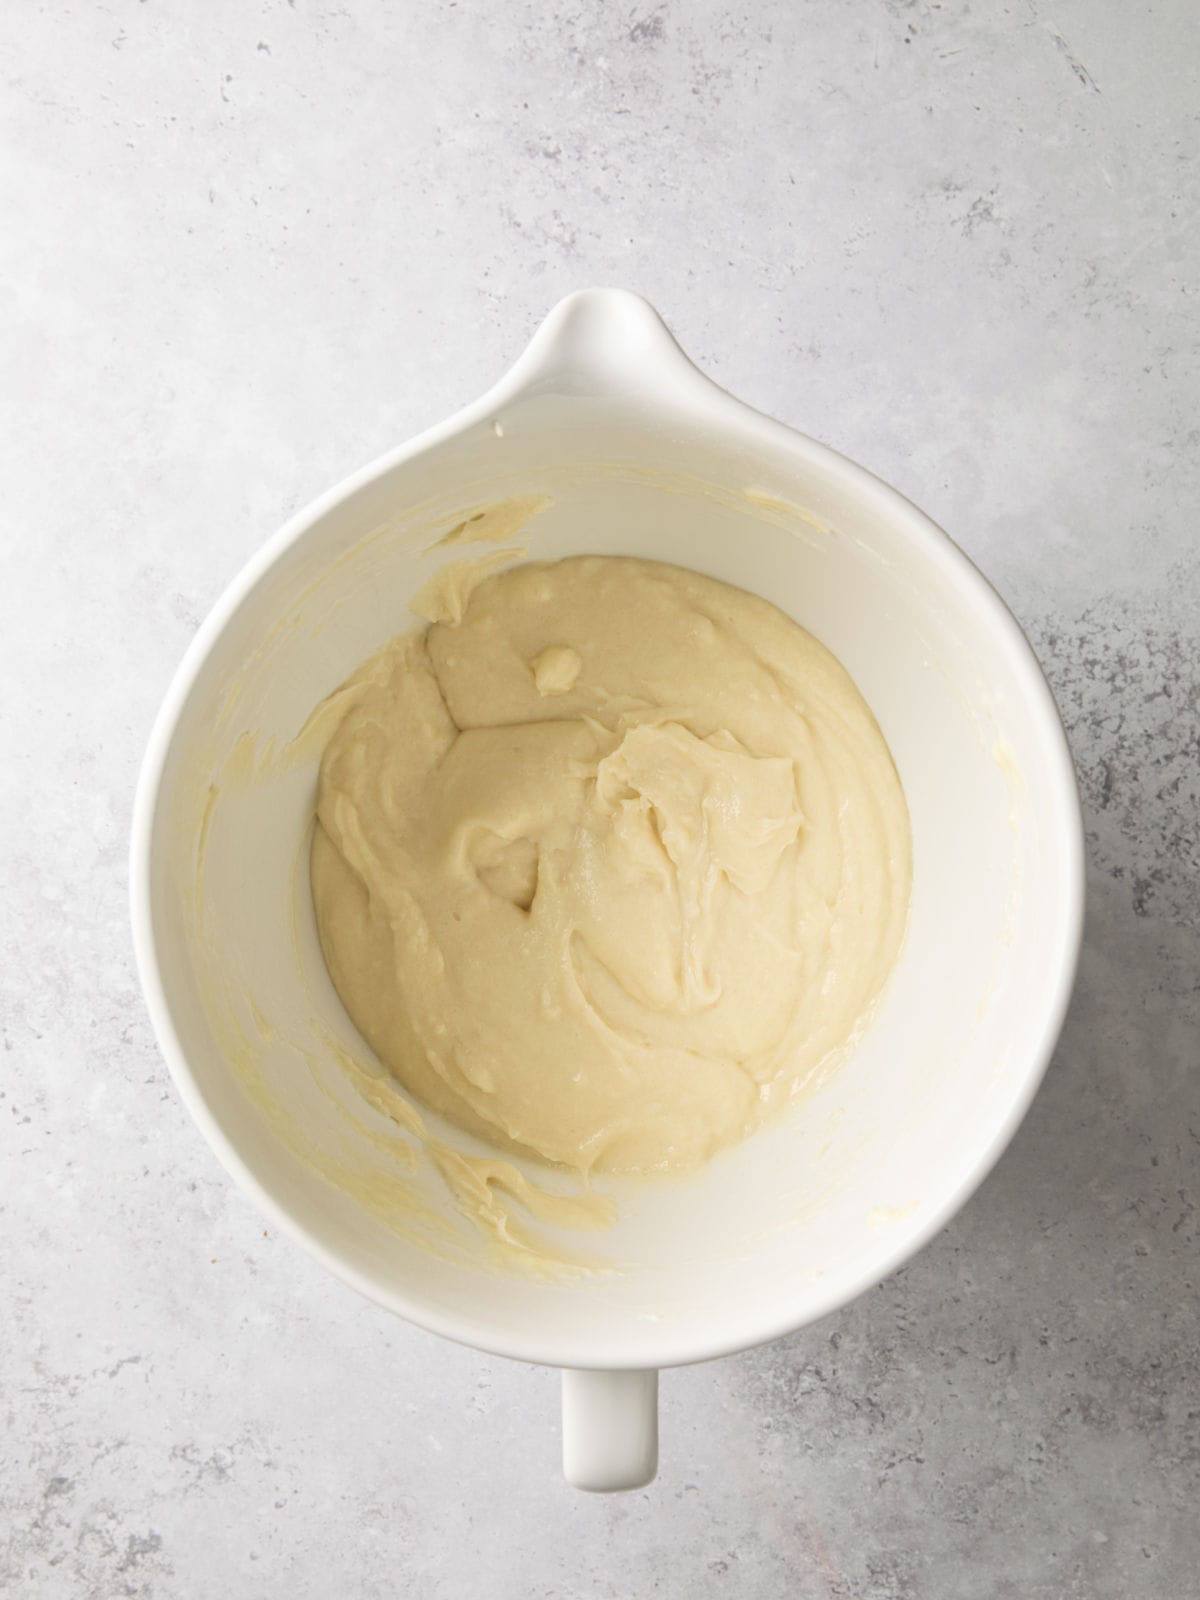
Step 3: In a large bowl, beat the shortening and sugar together until creamy, about 1 minute.
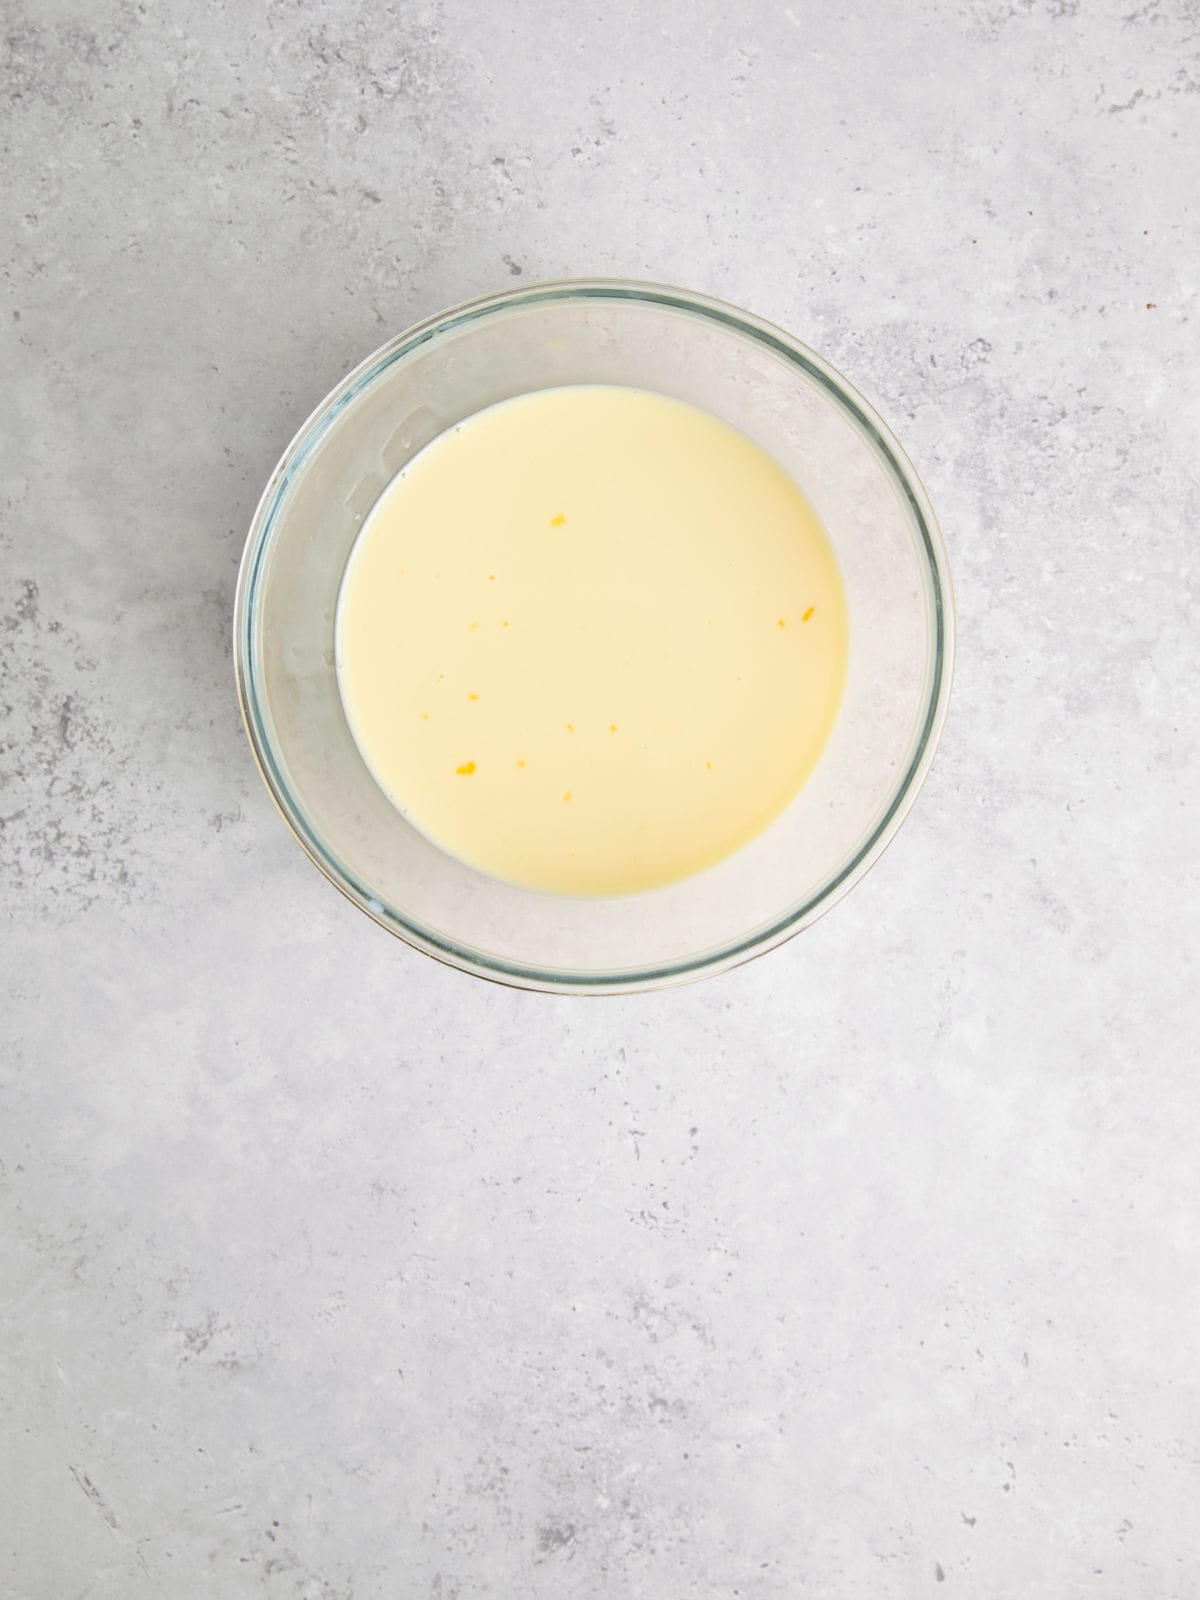
Step 4: In a separate bowl, whisk together the eggs, buttermilk, and vanilla.
Step 5: Add the flour and buttermilk mixture to the bowl of shortening and sugar, alternating between the two. Mix well after each addition. Add the salt.
Step 6. Add the cocoa powder and food coloring mixture to the beaten batter. Mix in until completely mixed.

Step 7: Mix the vinegar and baking soda in a small bowl, then add this mixture to the red batter and mix until combined.
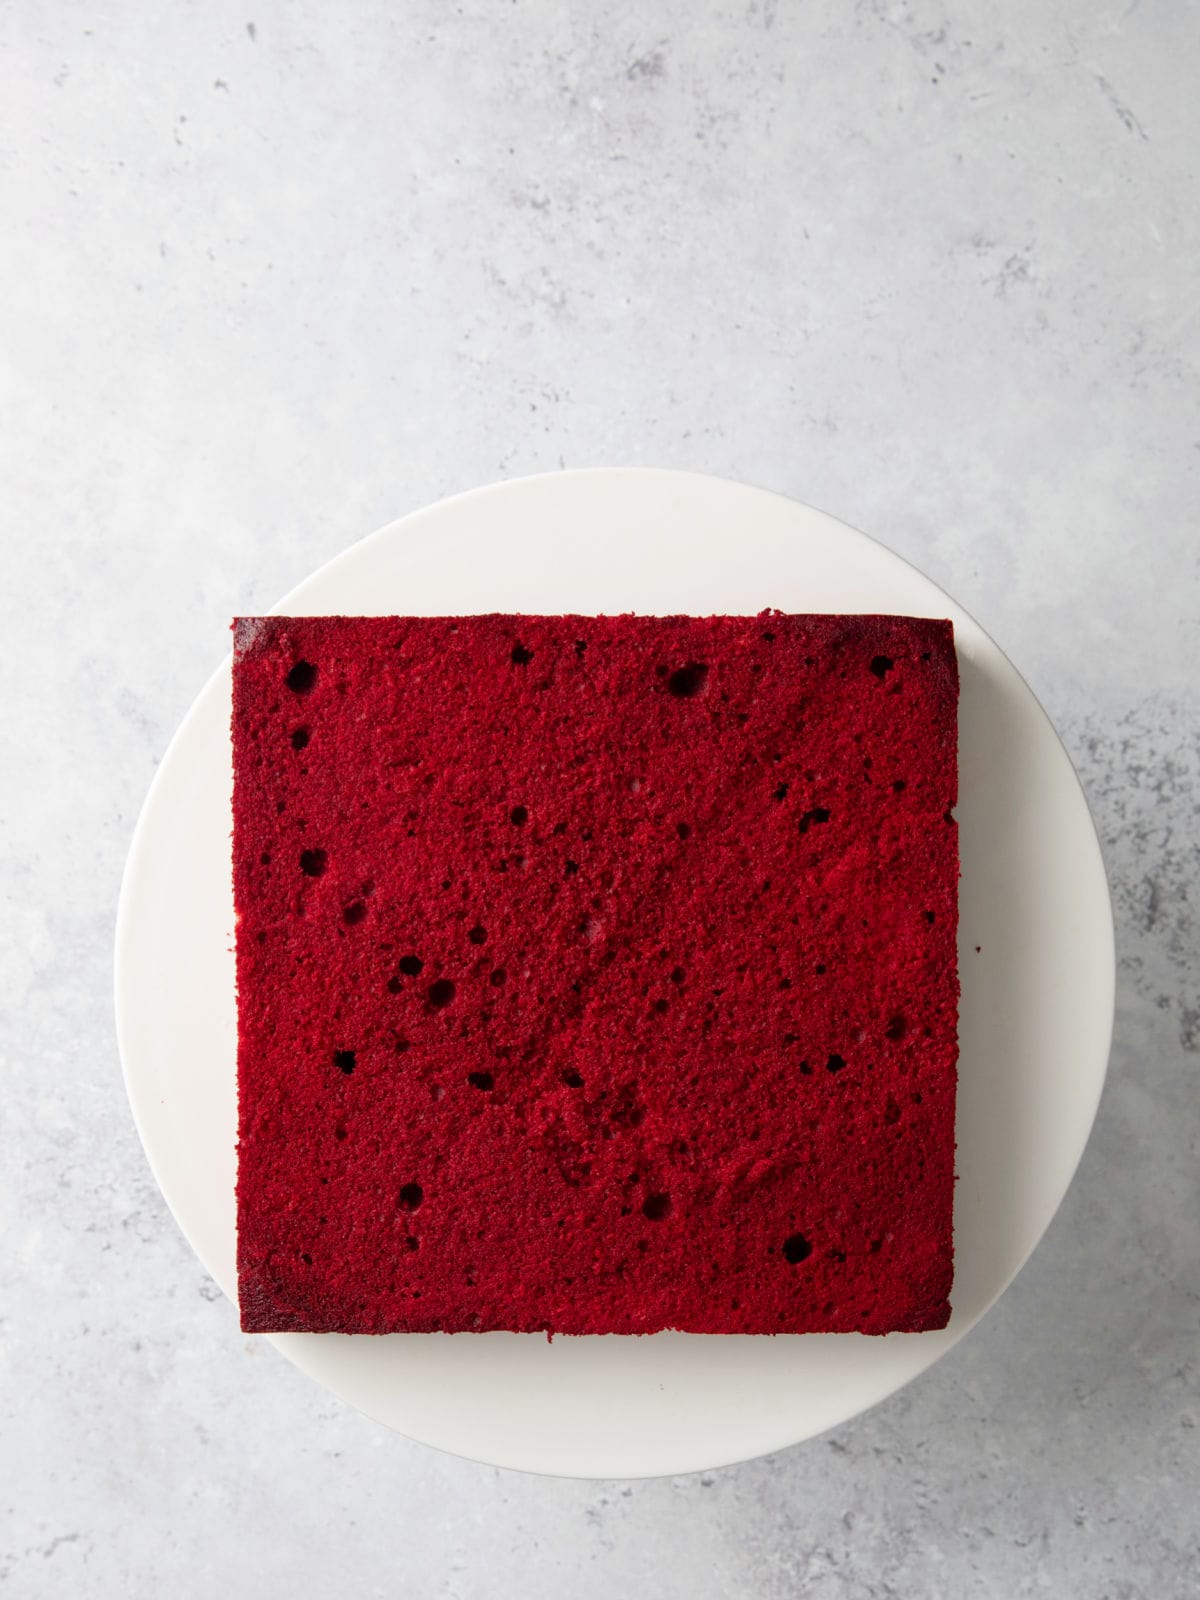
Step 8: Pour the batter between the two baking pans. Bake for 25 minutes, or until a toothpick inserted into the center comes out clean. Let the cakes cool on racks before removing them from the pans.


How To Make Butter Roux Frosting
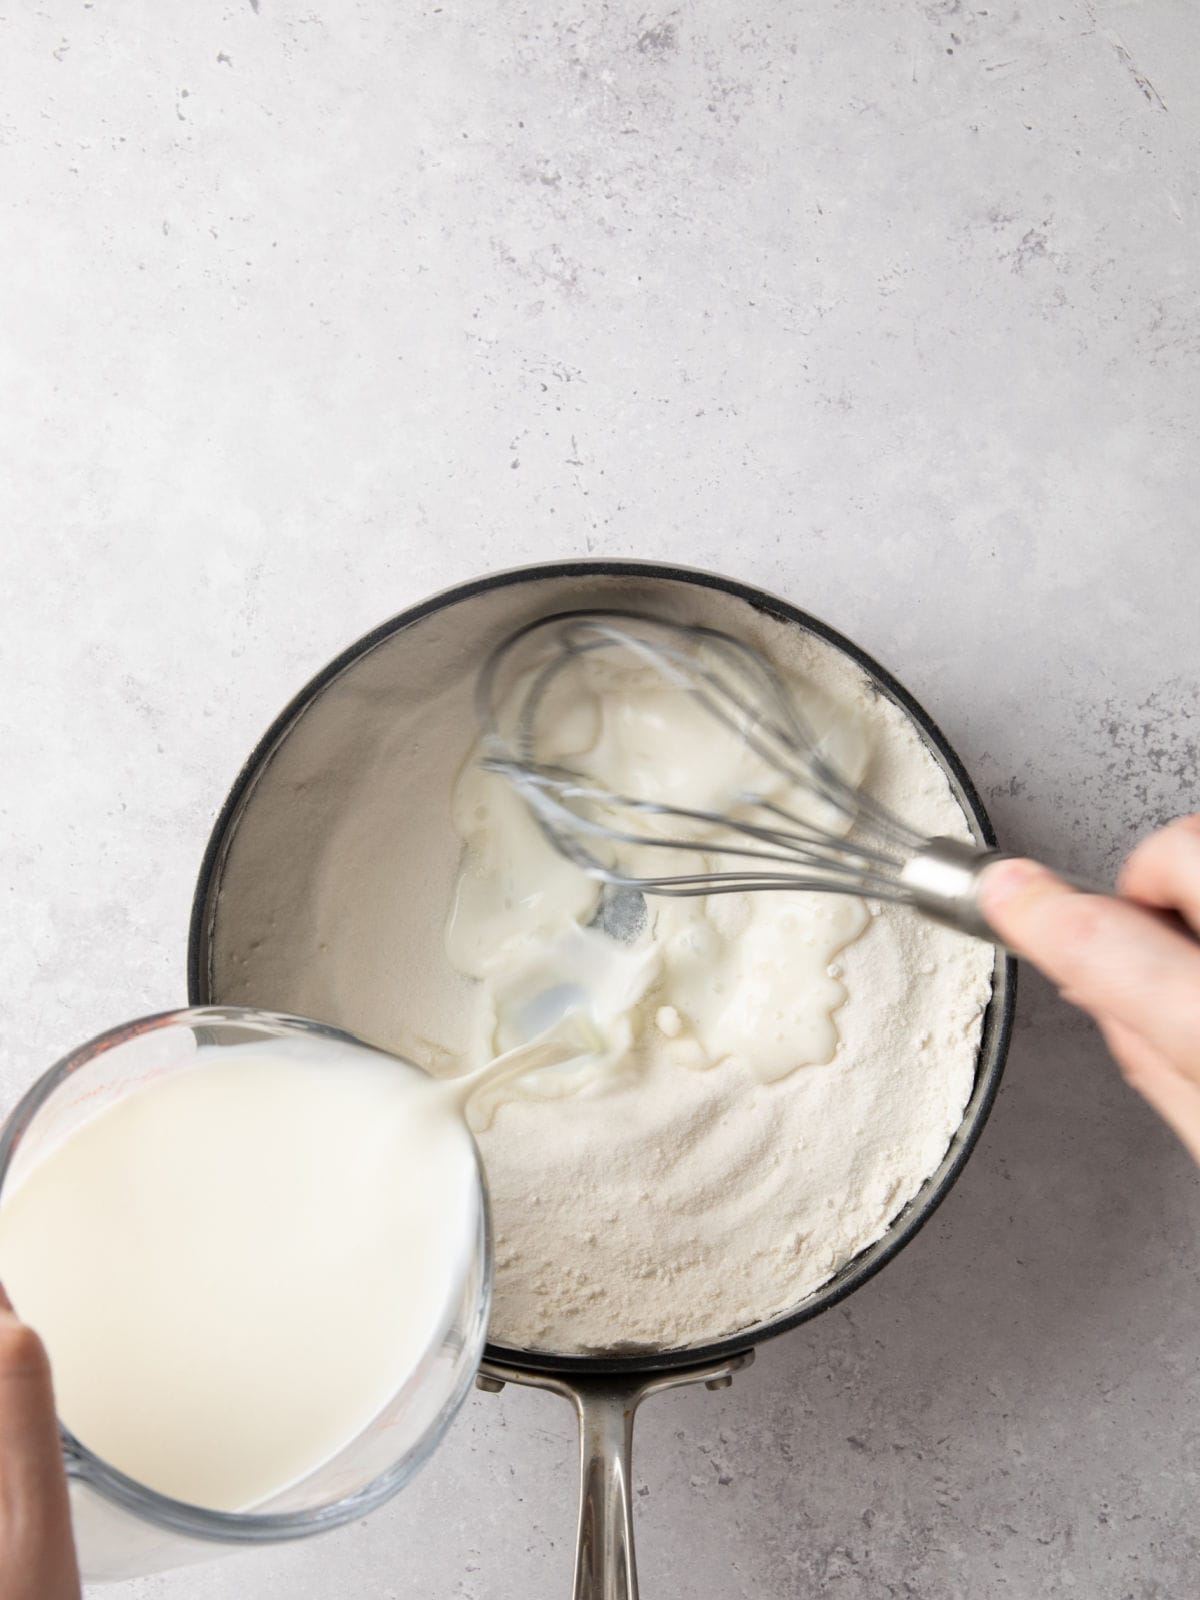
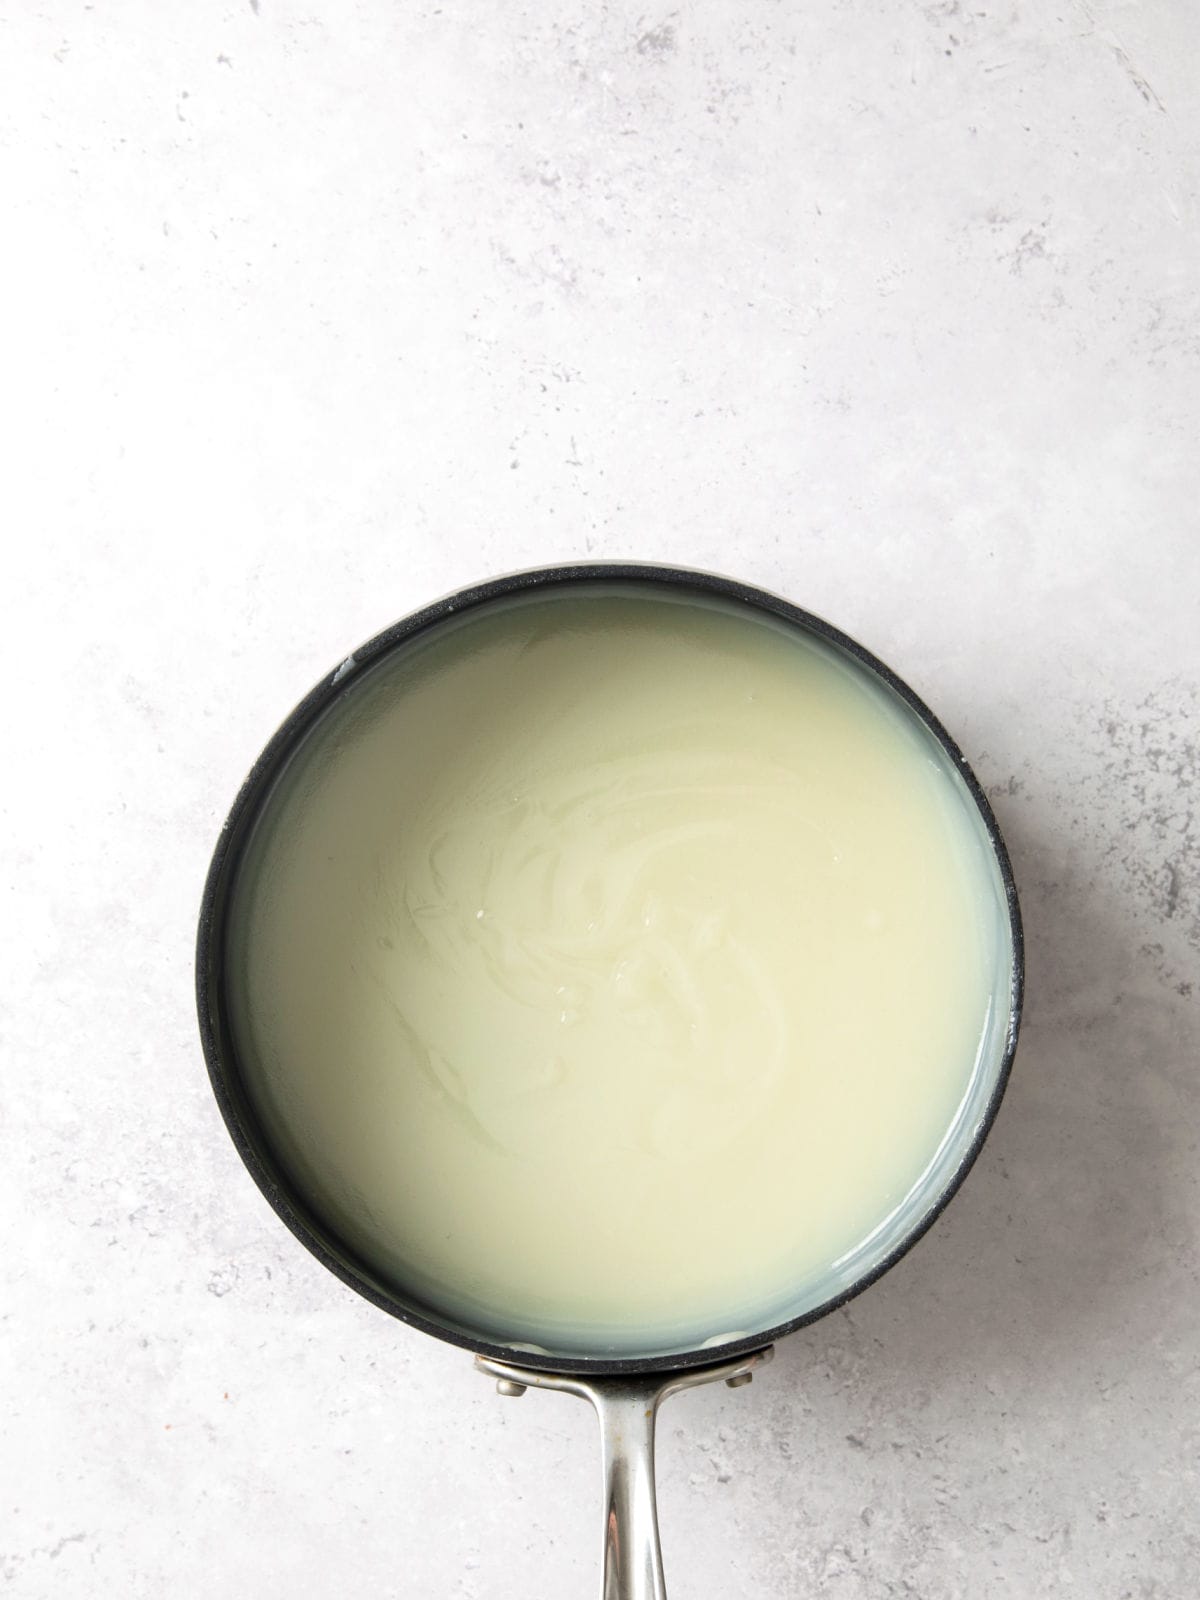
Step 9: In a heavy saucepan, whisk the flour and sugar together, then slowly whisk in the milk. Cook this mixture over medium heat, stirring constantly until smooth and thick, about 10 – 14 minutes.

Step 10: Remove from heat and transfer to a bowl. Place a piece of plastic over the mixture. Let the mixture cool completely, about 30 – 45 minutes in the fridge. This will be thick like pudding.
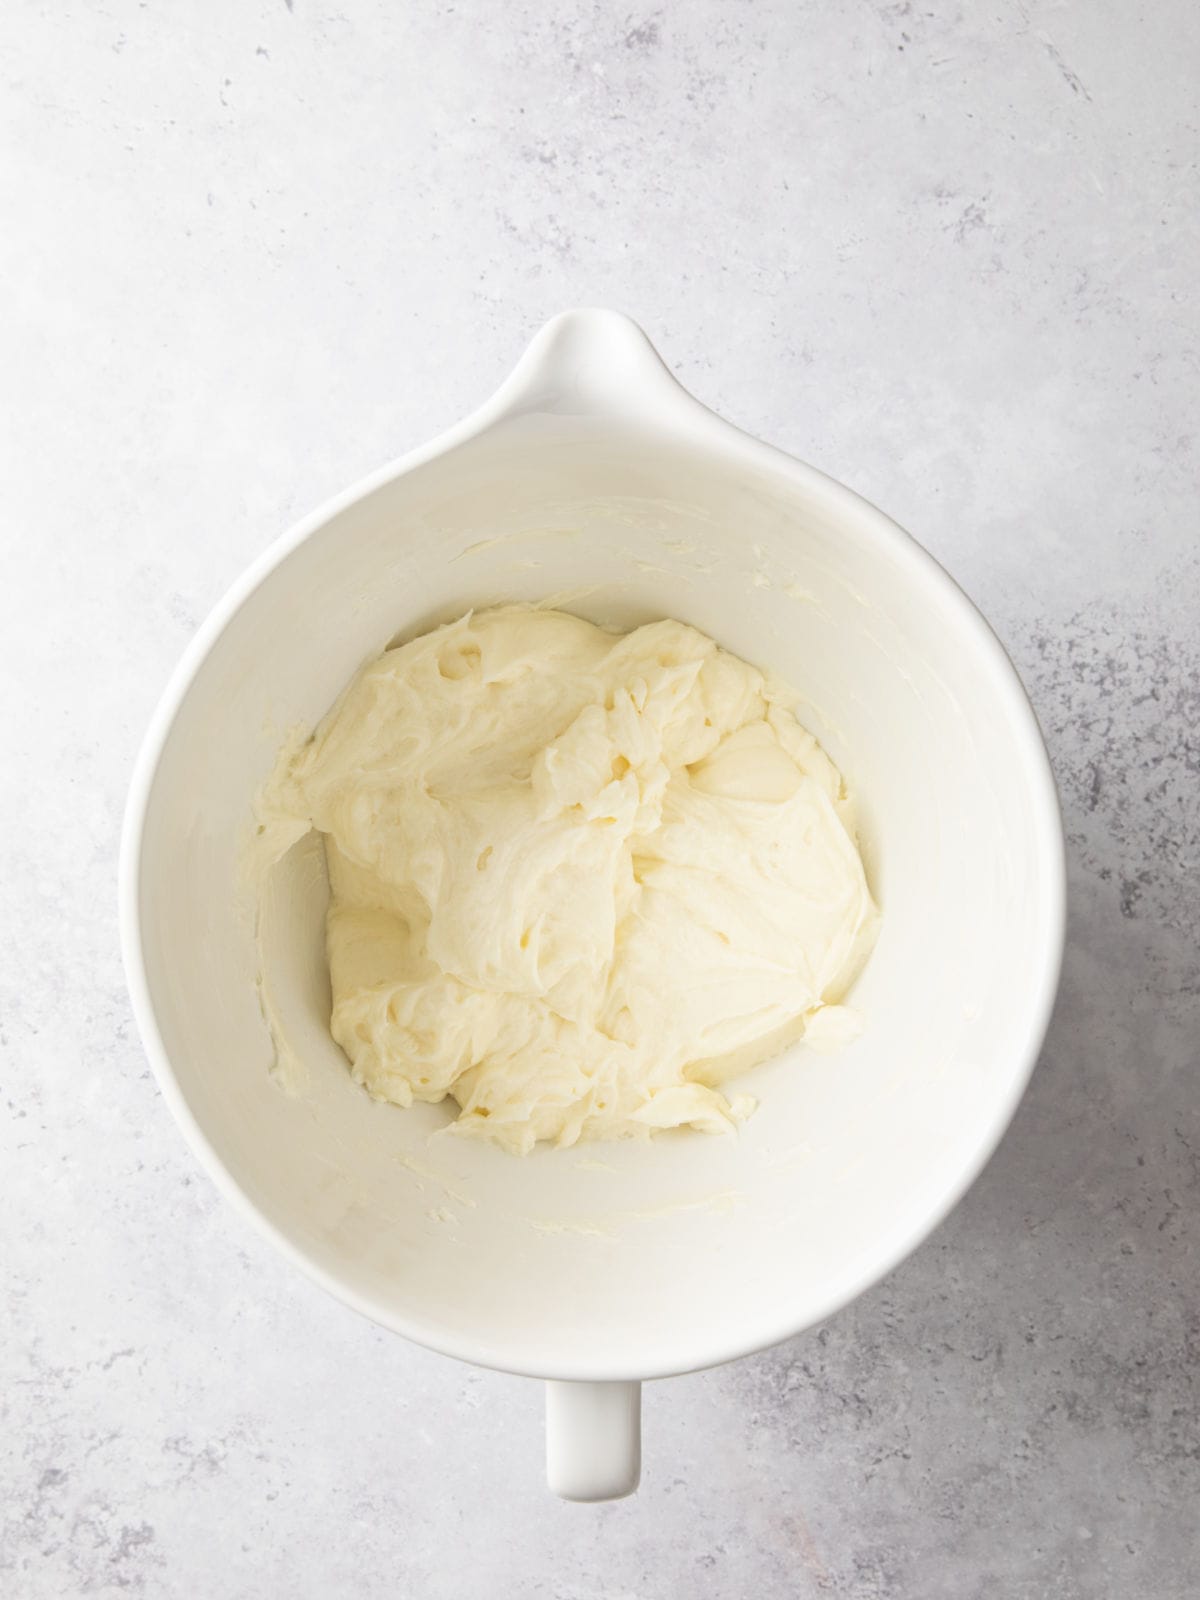
Step 11: Beat the butter and vanilla for about 5 minutes until fluffy.
Step 12: Add the cooled flour milk mixture in thirds, beating well after each addition until smooth and creamy. Scrape the bowl and mix still smooth.
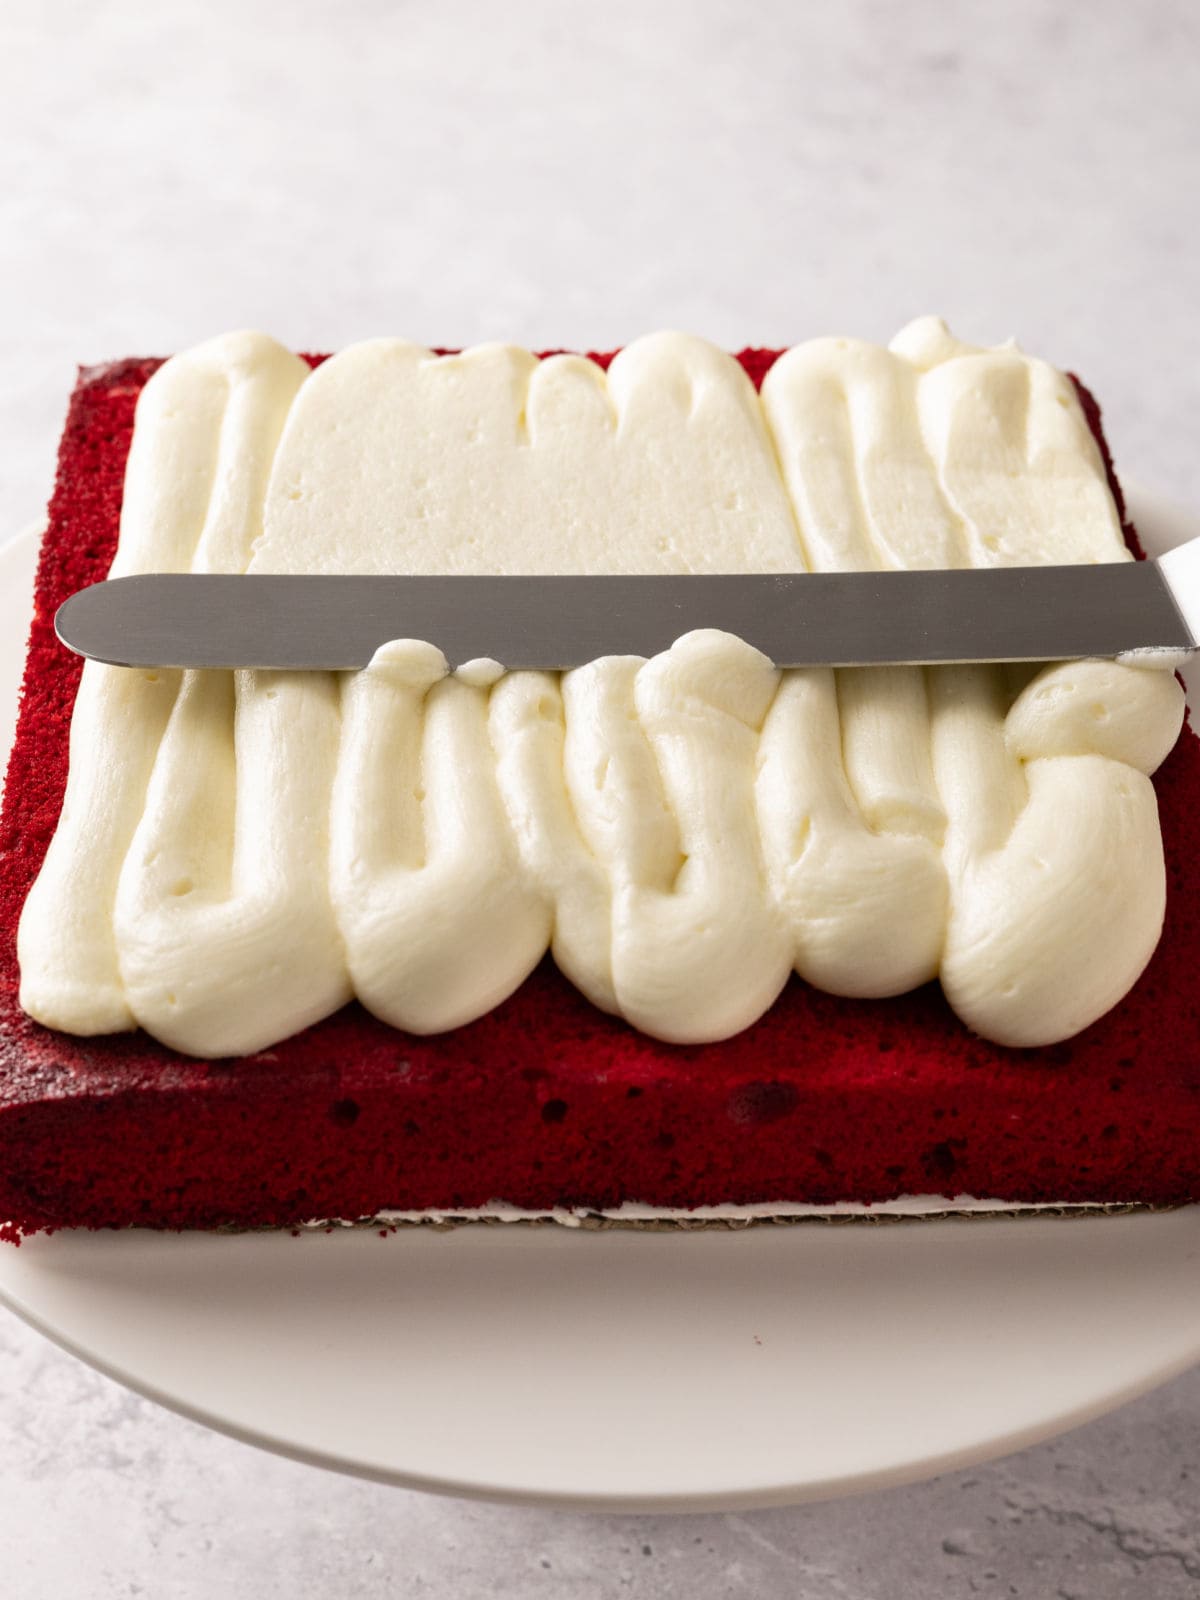
Step 13: Once the cake has fully cooled, place one layer on a cake plate with the bottom facing up to get a nice flat surface, then spoon or pipe the icing onto the middle of the cake. With a large icing knife, spread the icing to the sides of the cake.

Step 14: Top with the second layer of cake, again flip the cake over and spoon the icing onto the middle of the cake and spread to the sides.
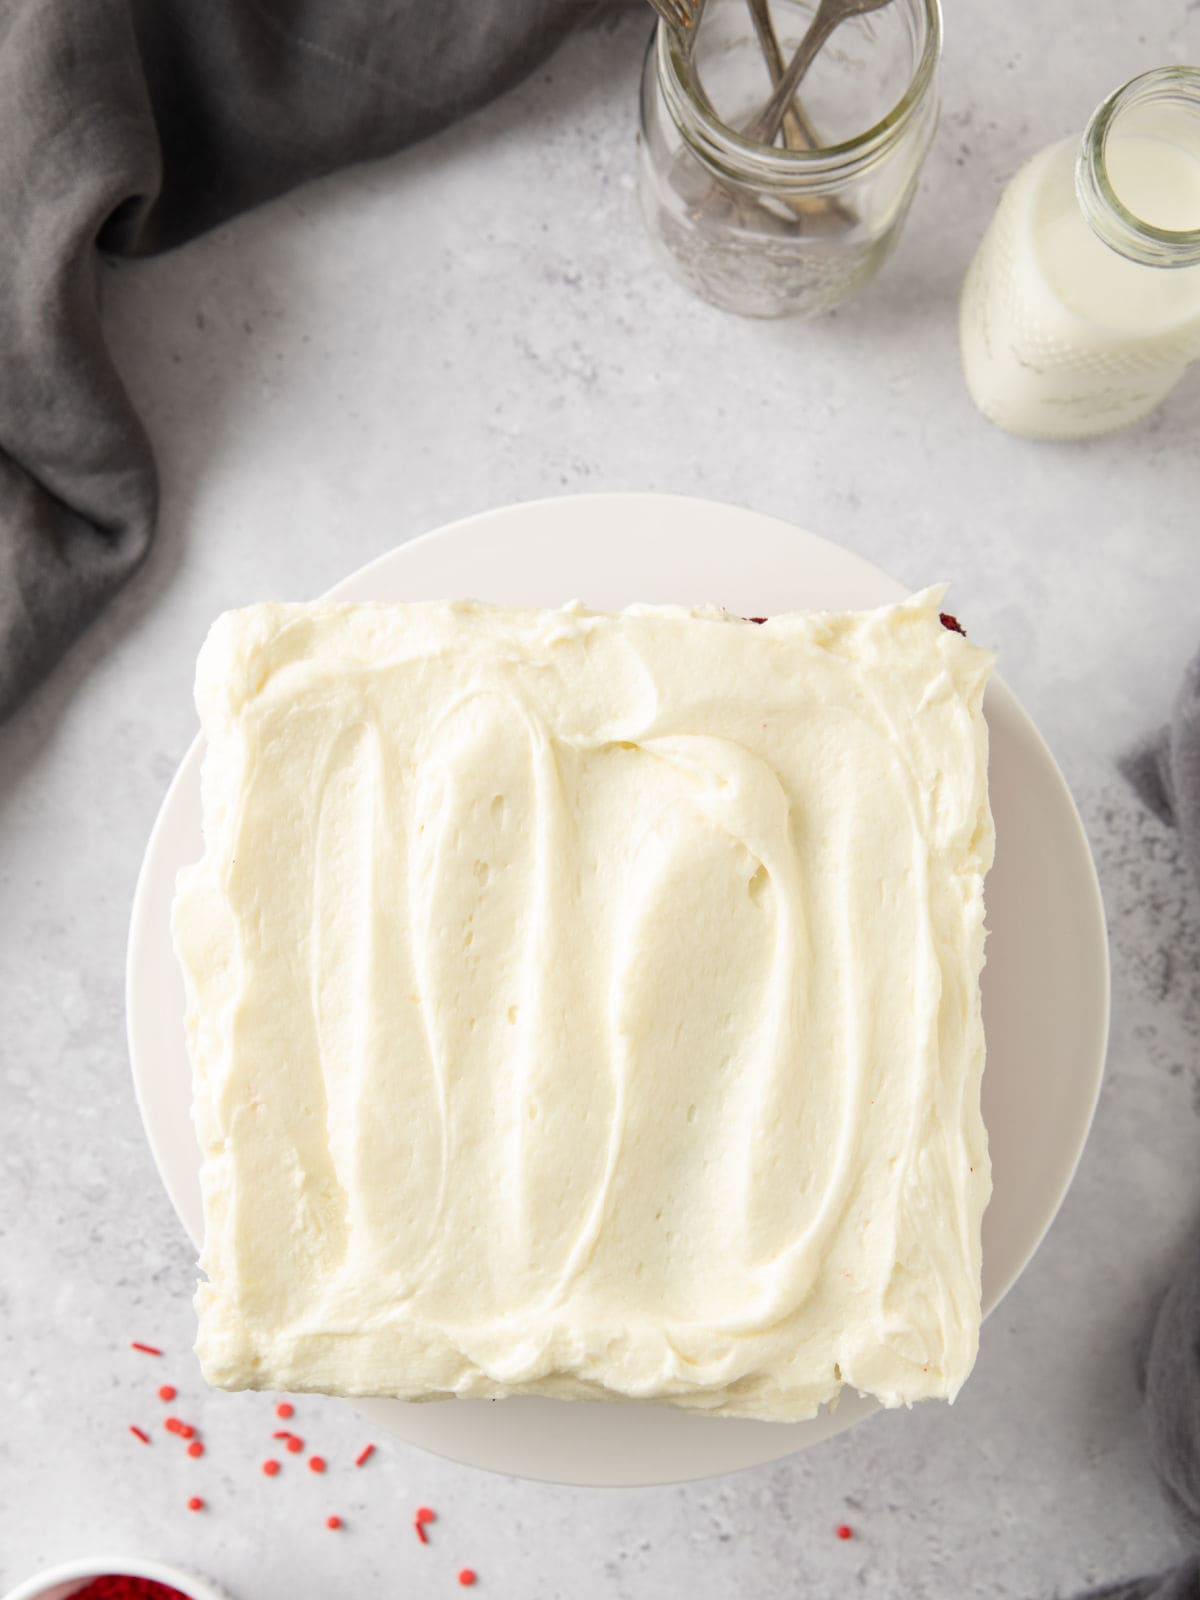
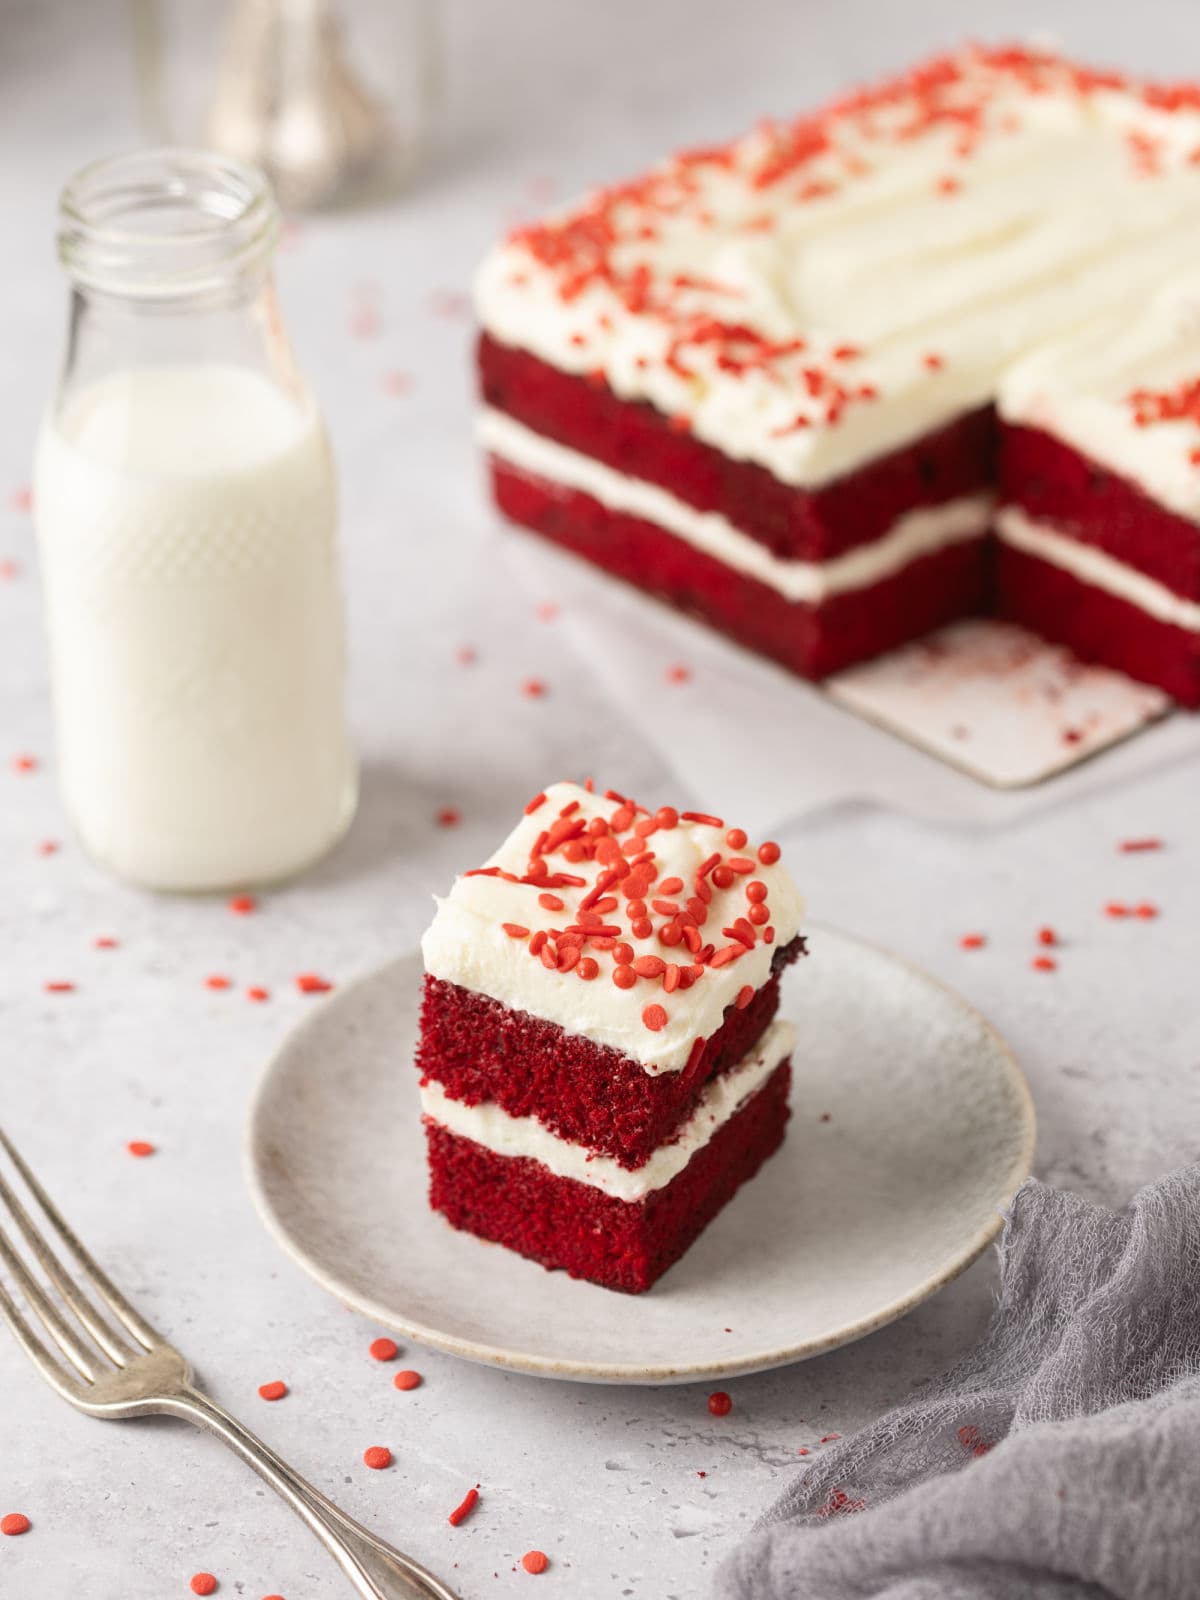
Step 15. Add some colorful sprinkles to the top of the cake, then slice and enjoy!

Storage
- Store: This cake can be stored in an airtight container for up to 3 days.
- Freezing: If you want to prolong its shelf life, you can also freeze it for up to 2 months! Just make sure to wrap it tightly in plastic wrap or foil before placing it in the freezer.
- To thaw: Leave it at room temperature for about an hour or two before serving. Alternatively, you can also microwave individual slices for a few seconds until they are soft and ready to eat.

Tips for Baking Success
- Use Room Temperature Ingredients: Eggs, buttermilk, and butter mix more evenly when they’re not cold. This results in a smoother batter, leading to a consistent texture in your cake.
- Don’t Overmix the Batter: Mix just until the ingredients are combined. Overmixing can lead to a dense cake instead of the lovely, soft crumb we’re aiming for.
- Bake Immediately After Mixing: Once the batter is ready, pop it into the oven right away. The reactions between vinegar and baking soda start working quickly, so you’ll want to make the most of those bubbles!
- Use Parchment Paper for Layered Cakes: Line your pans with parchment paper to prevent sticking and make transferring layers a breeze.
Cake FAQ’s
One possible reason your frosting turns out lumpy is that the butter or cream cheese (if you’re using any) isn’t softened to room temperature before mixing. Cold ingredients can create lumps that are difficult to smooth out. Make sure all your ingredients are properly softened and well-combined. Another tip is to sift your powdered sugar before adding it to avoid any clumps. This extra step ensures a smooth and creamy consistency every time!
Absolutely! Almond flour is a great alternative for those looking to make a gluten-free version of this cake. Just keep in mind that the texture may be slightly different, but the overall taste will still be delicious.
Be sure to thoroughly grease and flour your cake pans, or use parchment paper for extra ease. This little step saves a lot of hassle later!
More Red Velvet Recipes
This red velvet cake has been my family’s go-to for birthdays and Christmas celebrations—it was even my wedding cake! I made this cake for my daughter’s 16th birthday, and it made such a pretty presentation. I’ve included the piping buttercream frosting in the recipe card.


Subscribe here for more great recipes, and follow One Hot Oven for more tasty sweet and savory recipes! Pinterest | Instagram | Facebook
Recipe
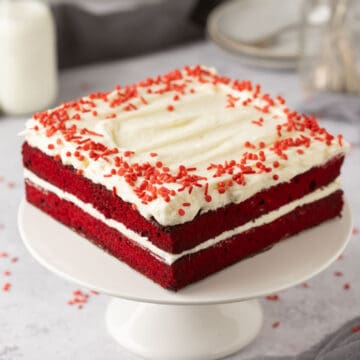
Red Velvet Cake with Butter Roux Frosting


Ingredients
- 1 cup solid shortening
- 1½ cups granulated sugar
- 2 ½ cups cake flour
- 1 teaspoon salt
- 2 large eggs room temperature
- 1 cup buttermilk
- 1 teaspoon pure vanilla extract
- 1 tablespoon white vinegar
- 1 teaspoon baking soda
- 2 teaspoon unsweetened cocoa powder
- 1 ounce liquid red food coloring can use 2 oz. for a brighter red color
Butter Roux Frosting
- 1 ½ cups milk
- ¼ cup flour
- 1½ cups butter unsalted, room temperature
- 1 ½ cups granulated sugar
- 1 ½ teaspoon pure vanilla extract
Perfect Piping Buttercream
- 4 sticks butter unsalted, room temperature
- 2 ¼ pound powdered sugar sifted
- ¼ cup cornstarch
- ¼ cup whipping cream
- ½ teaspoon salt
- ½ teaspoon almond extract
Instructions
- Preheat oven to 350 degrees. Prepare two 8″ pans with nonstick spray and parchment paper – I use square pans
- In a small bowl mix the cocoa powder and red food coloring together and set aside.
- In a large bowl beat the shortening and sugar together until creamy for one minute.
- In another bowl mix the eggs, buttermilk, vanilla,
- To the bowl of shortening and sugar, add the flour and buttermilk mixture alternating between the two. Mix well after each addition. Add the salt
- Pour the cocoa powder mixture into the bowl and mix until combined.
- In a small bowl mix the vinegar and baking soda, then mix into the batter until combined.
- Pour the batter between the two baking pans. Bake for 25 minutes or until a toothpick comes out clean. Let cool on racks for before removing from pans.
Butter Roux Frosting
- In a heavy saucepan whisk the flour and sugar together than slowly whisk in the milk. Cook this mixture over medium heat, stirring constantly until smooth and thick, about 10 – 14 minutes.
- Remove from heat and transfer to a bowl. Place a piece of plastic over the mixture. Let the mixture cool completely, about 30 – 45 minutes in the fridge This will be thick like pudding.
- Beat the butter and vanilla for about 5 minutes until fluffy.
- Add the cooled flour milk mixture in thirds, beating well after each addition until smooth and creamy. Scrape the bowl and mix still smooth.
Frosting the cake
- Once the cake has fully cooled place one layer on a cake plate with the bottom facing up to get a nice flat surface then spoon the icing onto the middle of the cake. With a large icing knife spread the icing to the sides of the cake. Top with the second layer of cake, again flip the cake over and spoon the icing onto the middle of the cake and spread to the sides. To achieve the pretty scallops on the sides of the cake use a #1 icing tip to pipe rosettes around the edge of the cake.You can leave the side unfrosted if you like or frost the sides.
Perfect Piping Buttercream
- Mix the butter until smooth and fluffy, then add the cream, cornstarch, and salt.
- Scrape the bowl then add the sifted powdered sugar in batches. Beat to combine and scraping bowl occasionally.
- Add the almond extract.
- Adjust the consistency of the icing by adding more powdered sugar or more cream for your desired piping.
- Add food coloring.
- This is a crusting buttercream so keep a plastic wrap over the bowl.
This buttercream can be stored in the refrigerator for two weeks or it can be frozen for six months.
Storing the cake
- This cake will keep for several days in an airtight container.
Notes
- Two – 8″ round cake pans
- One – 13″ x 9″ cake pan
- Make about 30 cupcakes
As an Amazon Associate I earn from qualifying purchases.
Nutrition
Thank you for stopping by the One Hot Oven blog. Please leave a comment to say hello or tell me what you are baking; I always love hearing from fellow bakers. Do you have any questions or want to chat about the recipe? Please visit my About page for information, and I’ll be happy to help!
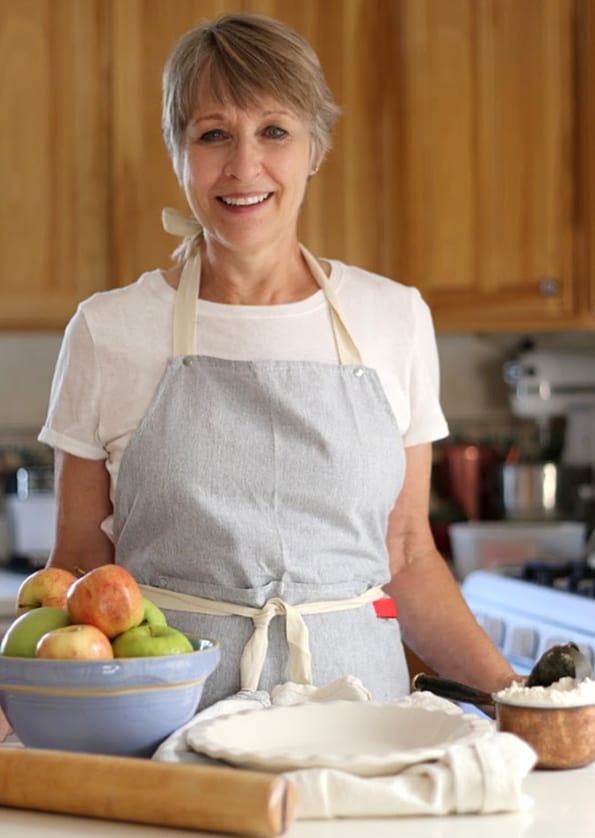
Hello there, I’m Jere’
From learning to cook on a farm in Indiana to culinary school in California, my passion for food is never-ending. Turning on my oven to bake something for friends and family is my happy place, and I am glad to be here at One Hot Oven® sharing sweet and savory family-friendly recipes for your cooking and baking inspiration.


I have started baking my cakes in a sheet pan(11×15) I believe. What is your thought on baking this red velvet cake in a pan that size?
You can bake this in a 11 x 15 sheet pan, but it will be very thin and the bake time will have to be reduced, but it can be done.