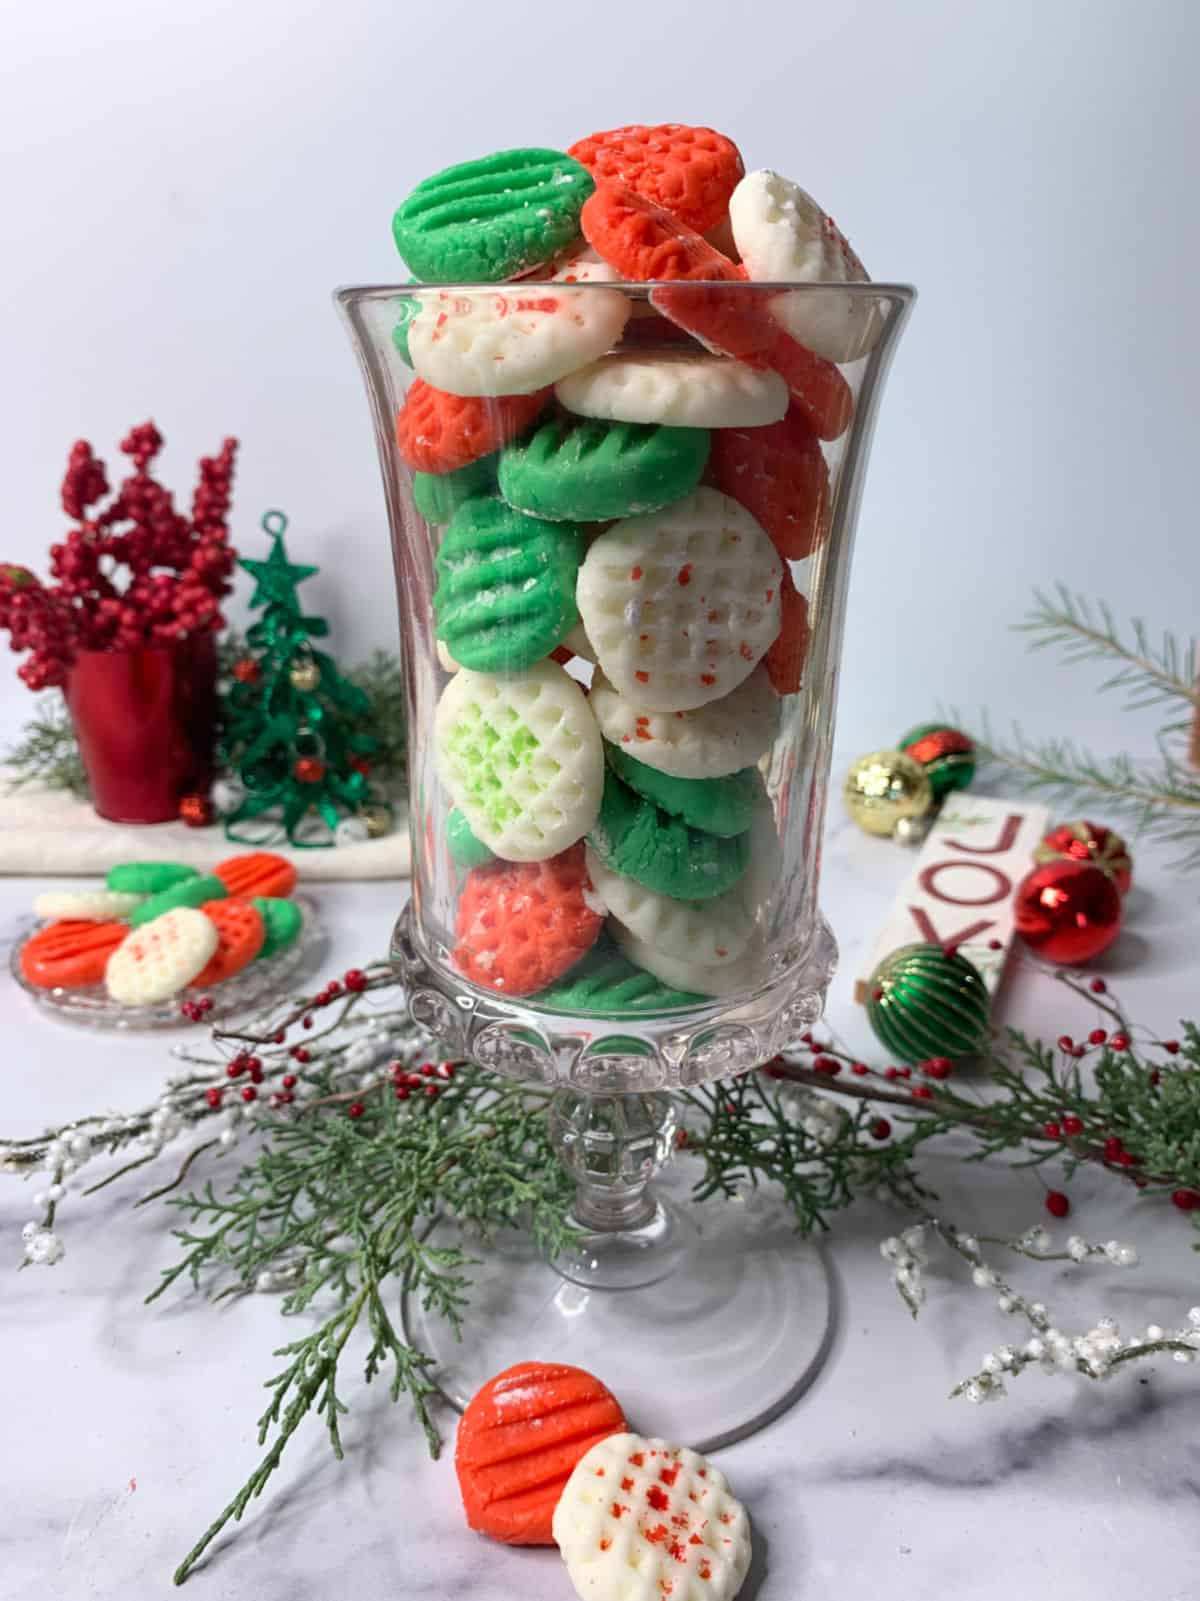
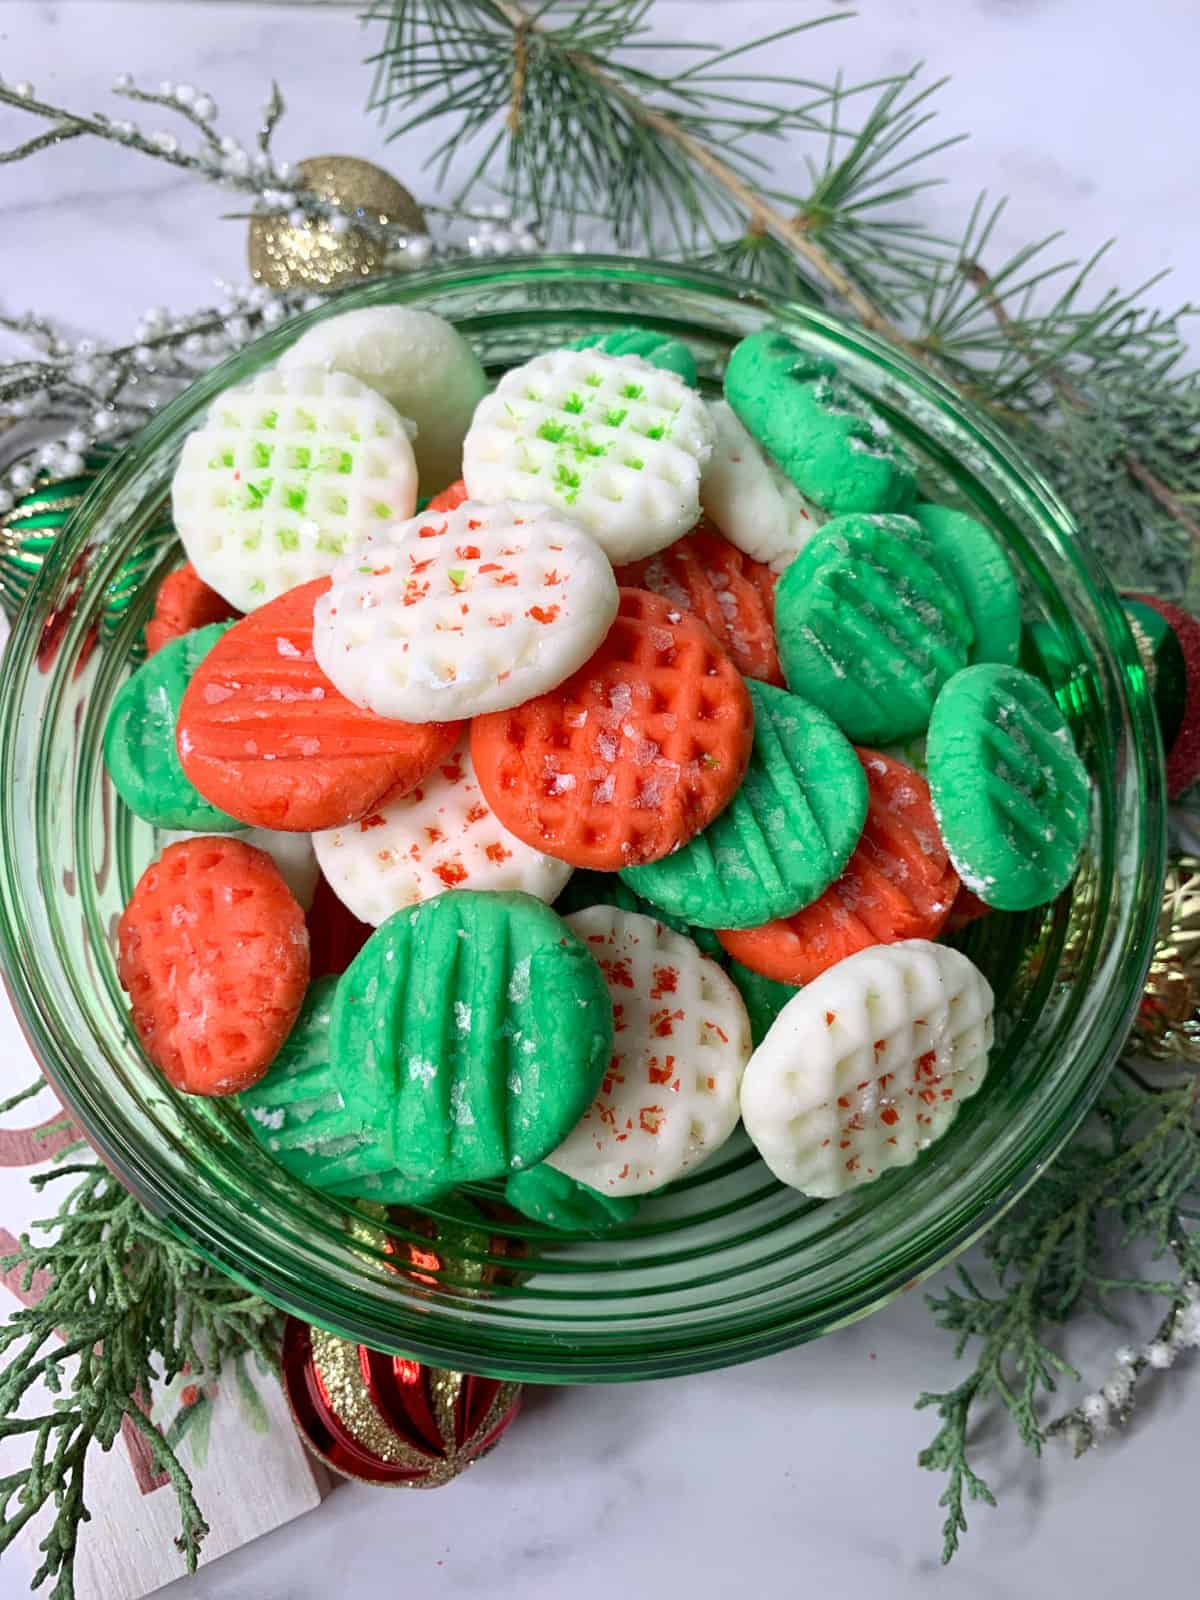
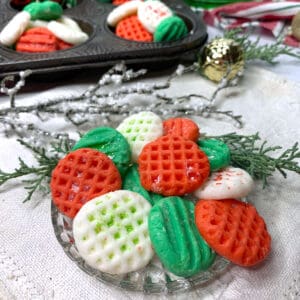
Celebrate the holidays or any special occasion with these melt-in-your-mouth Party Mints made with just four ingredients for the most festive cream cheese peppermint candies.
Want to save this recipe?
Enter your email & I'll send it to your inbox. Plus, get great new recipes from me every week!
This page may contain affiliate links; please see my full disclosure for policy details.
My family loves these candies for the holidays, and these Christmas mints are always a favorite to make. Just turn on some holiday music and set the mood for making these cheerful, no-bake 4-ingredient candies.
And, in case you want another no-bake Christmas treat, this Christmas Crunch Popcorn takes just minutes to make and is perfect for a festive party.
Jump to:
❤️Reasons To Love This Recipe
- First of all, these homemade mints couldn't be easier to make.
- No cooking is required to make such a decadent treat.
- This recipe makes 60 mints, plenty for a party. 60 may seem like a lot, but they go fast.
- Kids love rolling the mint dough into balls and smashing them with a fork.
- Give these mints as edible, sweet gifts, candy displays, or enticing table decorations. Just wrap them in plastic bags or a cute metal tin.
- These mints can be any color you like, and you can make them for other occasions.
- You can make these candies ahead of time and freeze them for later.
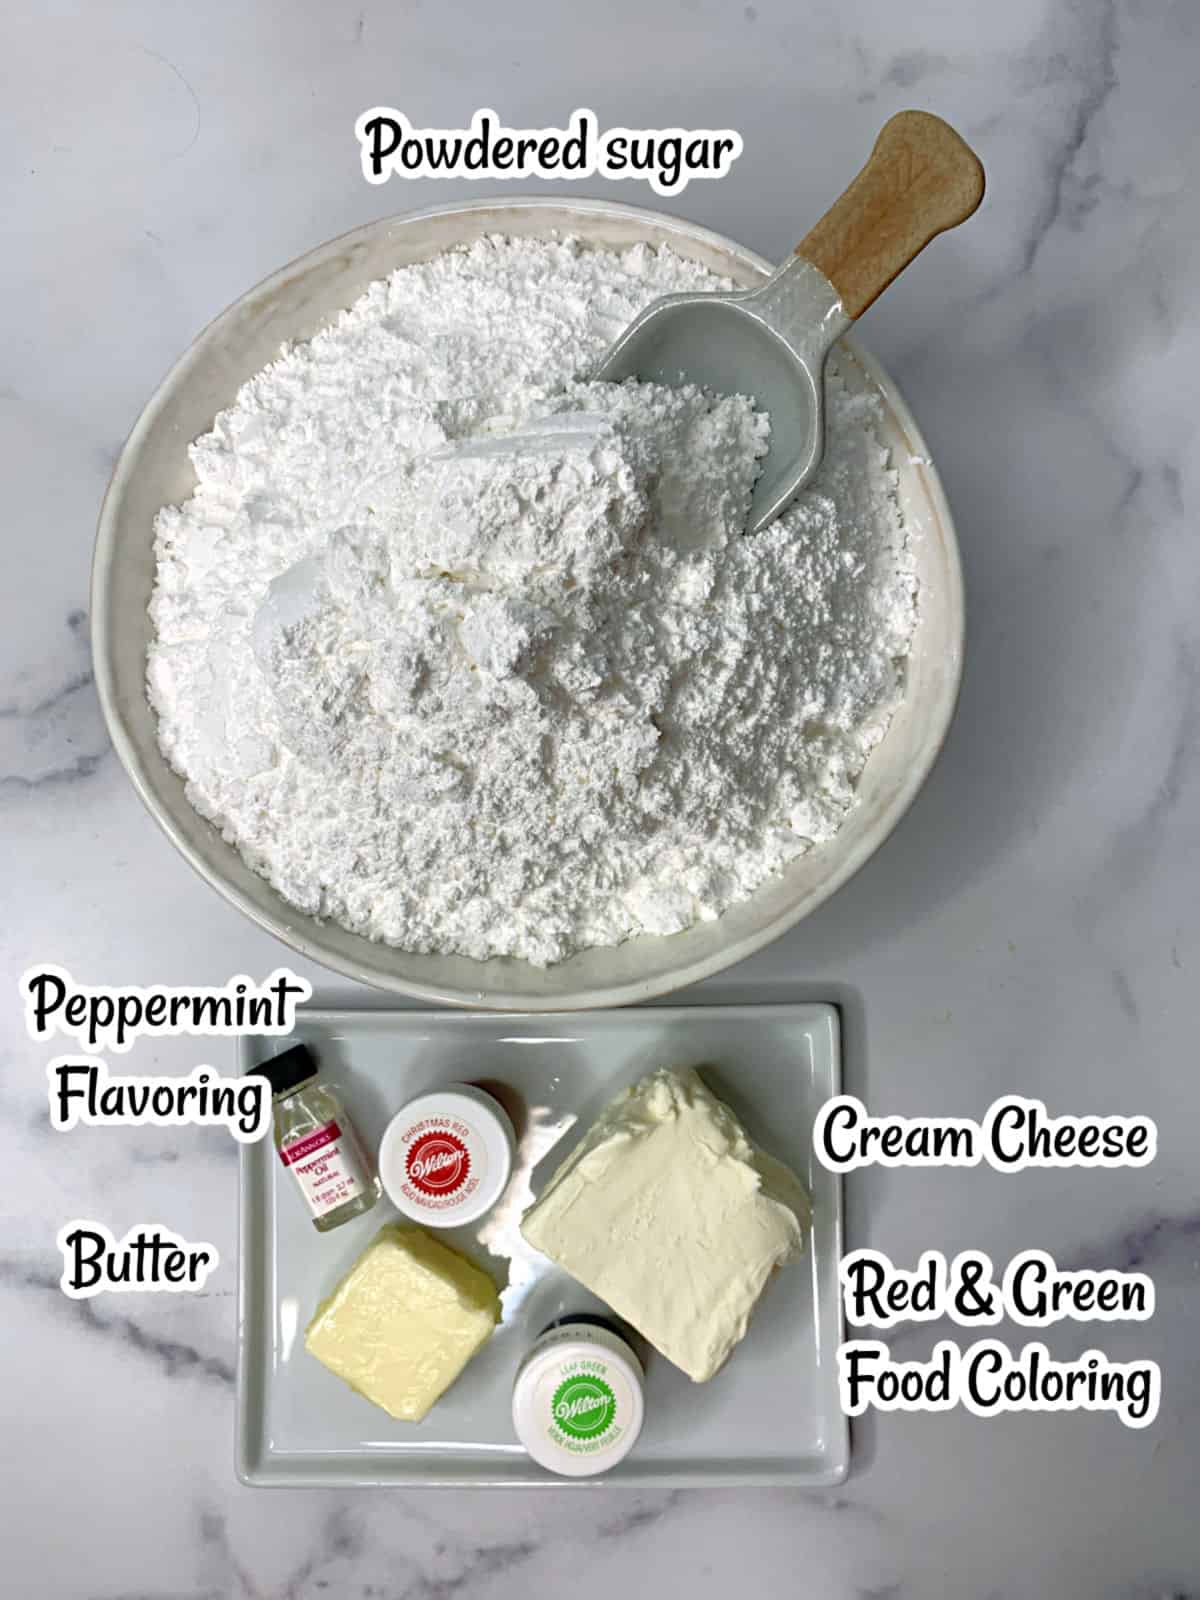
Party Mints Ingredients
- Cream cheese - Opt for the block-type cream cheese as it has a denser, creamier texture that will help form the perfect mint base.
- Powdered sugar - This ingredient not only sweetens the mints but also affects the texture; always sift it to prevent lumps, which can affect the consistency of your mints.
- Butter - Use unsalted butter to control the saltiness of your mints; make sure it's at room temperature for easy blending with the cream cheese.
- Mint flavoring - You can utilize either peppermint extract or peppermint oil, though the oil is more concentrated and will give a stronger flavor; adjust the amount to your liking.
- Food Coloring - Gel food coloring is ideal as it is more intense and does not alter the texture of your mints like liquid food coloring might.
- Optionally – top with your favorite sprinkles or edible glitter - This addition can add visual appeal and texture to your mints; select colors that complement your theme or occasion.
How To Make Party Mints
Remember I said this recipe was easy? It is shockingly easy. I promise you won't be in the kitchen all day to create these pretty mints.
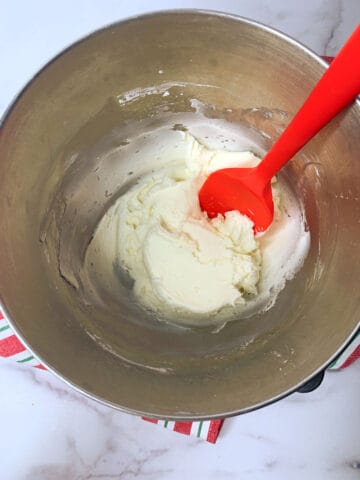
Step 1. Mix the softened cream cheese and butter in a large mixing bowl or the bowl of a stand mixer for about two minutes at medium speed to get the mixture nice and creamy.
Step 2. Mix in the mint flavoring, then slowly add the powdered sugar and mix on medium speed until mixed in. The batter will be very thick.

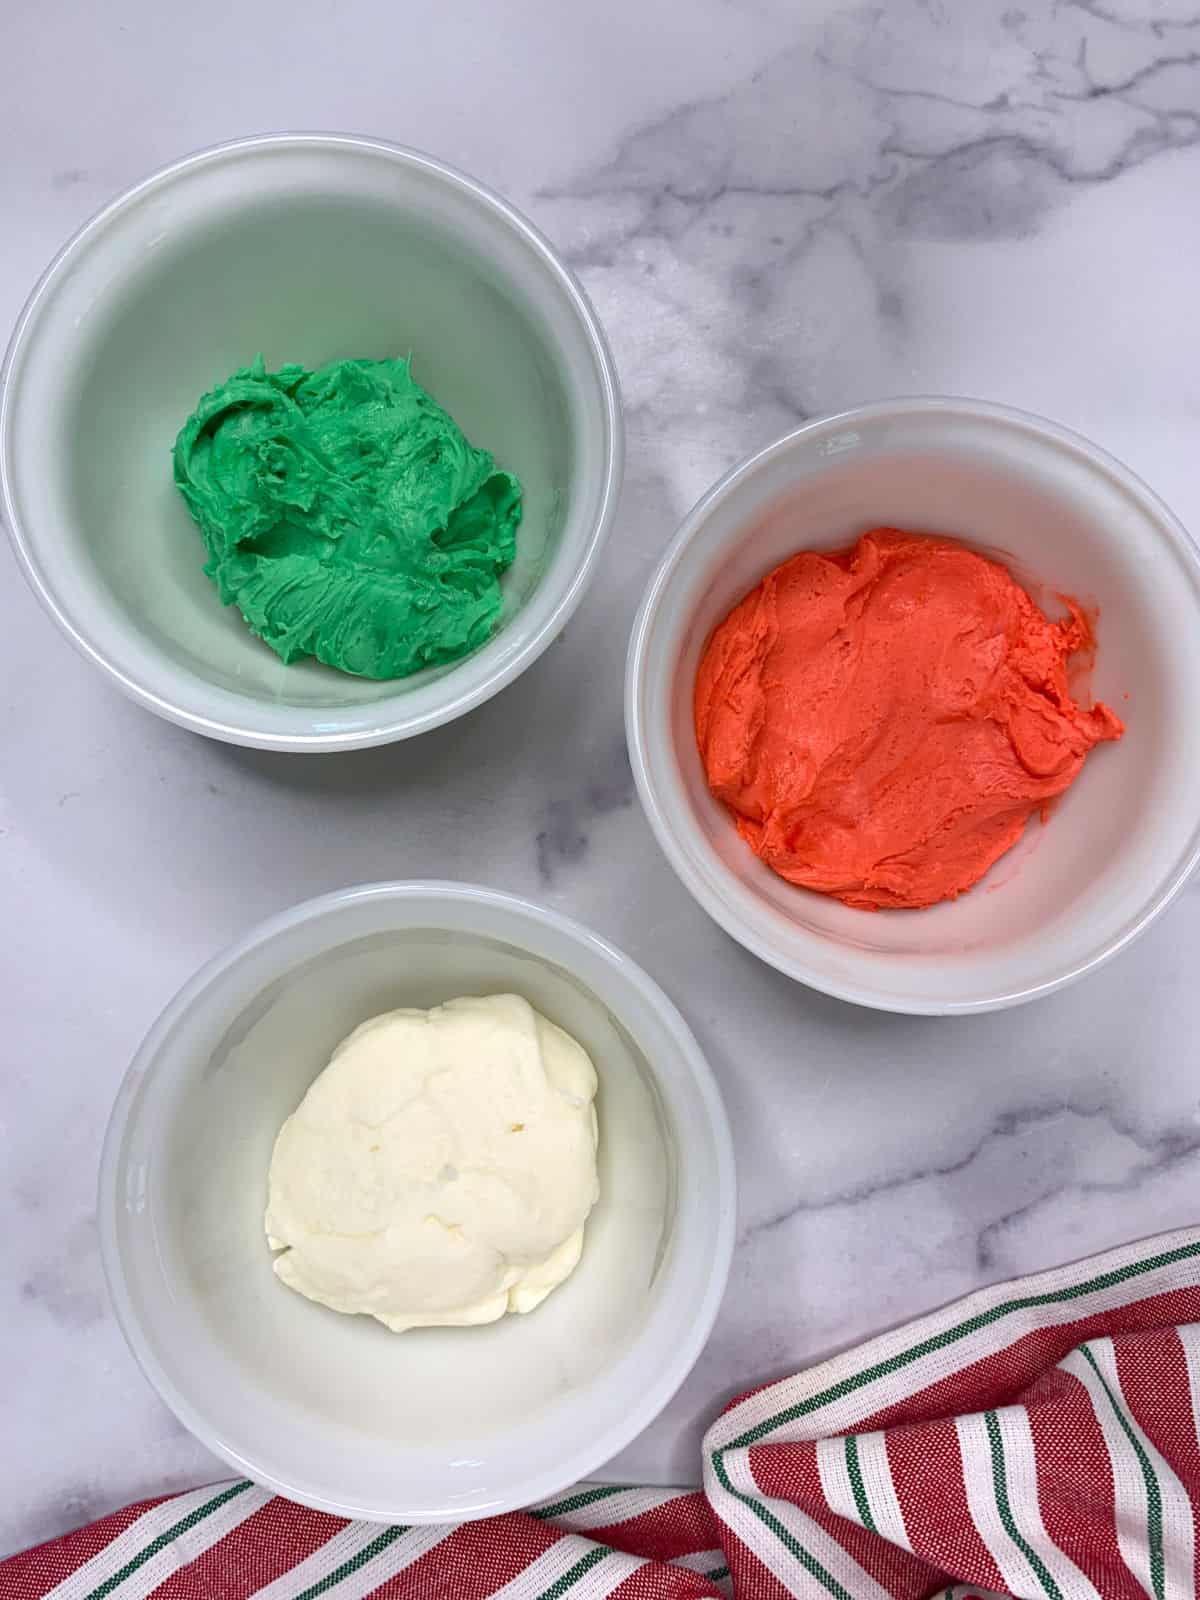
Step 3. Turn the dough onto a piece of parchment or wax paper with powdered sugar on top, then divide it into three pieces. Each piece of dough will be about 6 ounces.
Step 4. Clean out the mixing bowl, add one of the pieces of the cream cheese dough to the bowl, and add the red food color. Mix on medium-low speed to incorporate the color entirely into the dough. Remove the dough and place it in a small bowl.
Step 5. Clean the mixing bowl again, add another piece of the dough, and add the green food color. When done, add that to another small bowl.
Step. 6. Line a baking sheet with parchment paper and sprinkle with a little powdered sugar. Using a teaspoon or a small cookie scoop, make 1-inch round balls, then place them on the parchment paper.
Dip a fork into powdered sugar and then press into the cream cheese ball. This will leave the pretty markings on top and flatten the ball.
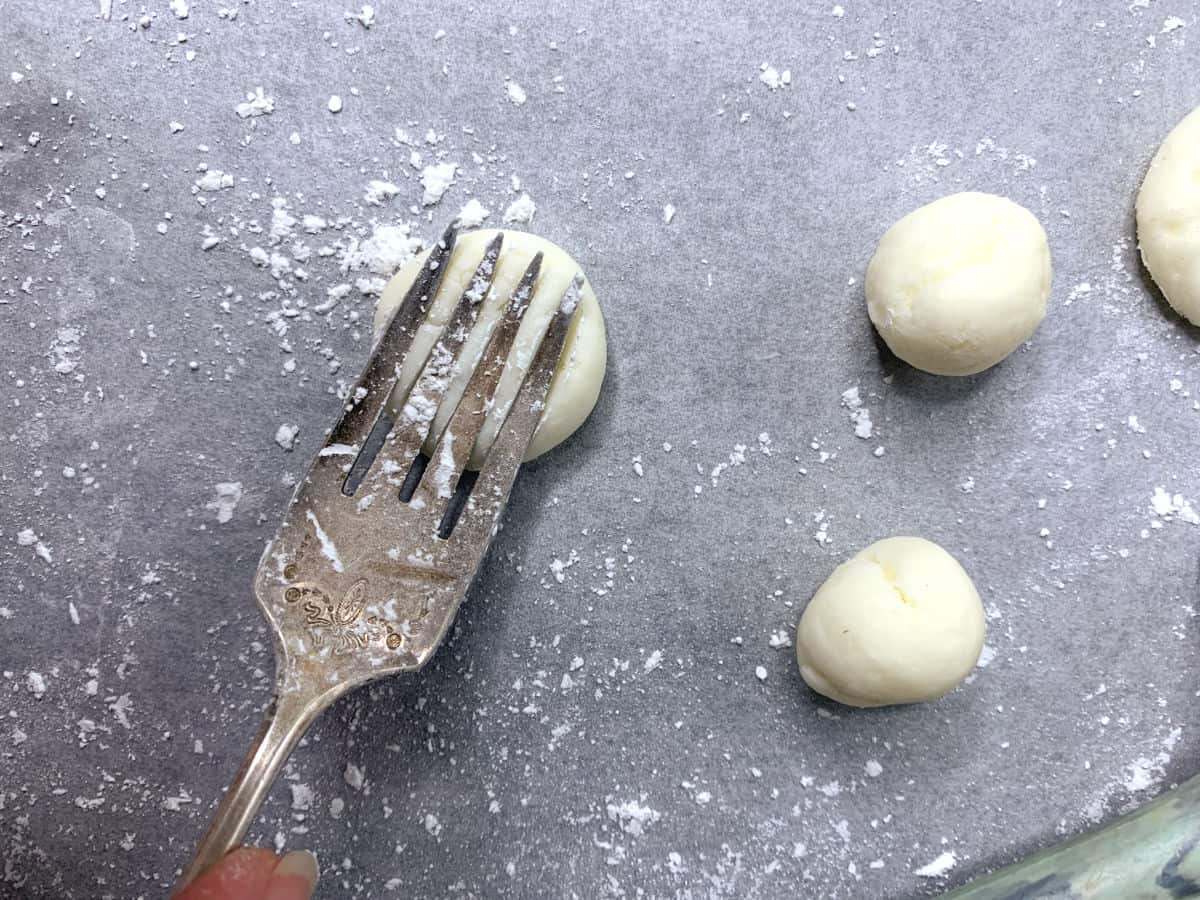
You can use different items to mark the top. I also used a meat mallet, or you can use candy molds.
Optionally, add colored sugar, nonpareil sprinkles, or edible glitter on top. Add these right after you press the candy ball so they will stick.
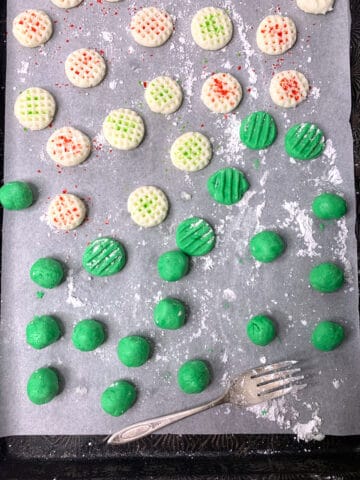
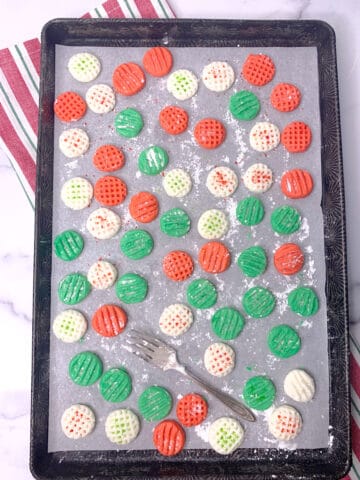
Once the candies are shaped, let them sit on the baking sheets to harden, then place them in a sealed container in the refrigerator until ready to serve.

Tips
- When coloring the mint dough, start with a small amount of the coloring since you are only tinting a small amount of dough. Add additional food coloring until you get the desired shade. I used gel food coloring.
- Occasionally, dip the fork into powdered sugar when pressing the tines into the dough to keep it from sticking. You don't need much, and the sugar does not absorb into the dough, so it will show on the patties.
- When dividing your dough, if you want more of one color, you can adjust the size of the dough portions accordingly. This is especially useful if your event has a particular color theme.
- Add a few sprinkles of edible glitter or shimmer to your mints before they harden for an extra festive touch.
- Place these mints in an airtight container separated by wax paper to prevent them from sticking together. They can be refrigerated for up to two weeks or frozen for up to three months.
- Be sure to let the mints sit at room temperature for about 10-15 minutes before serving if they've been refrigerated, as this allows their texture to soften slightly for the best enjoyment.
- If you're not a fan of mint, you can substitute the peppermint extract with other flavorings like vanilla, almond, or even citrus for a unique twist. Just be sure to adjust the quantity per the flavor's intensity.
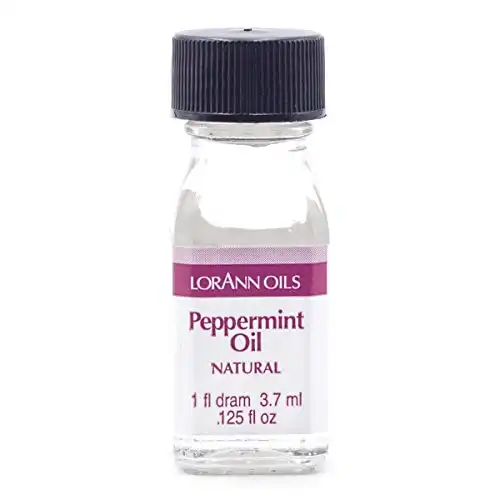
You will love the flavor of these oils and you just need to use a little.
Variations
- You can make these mints in all colors, so be creative.
- Try using candy molds to make different-shaped mints.
- LorAnn's oils are perfect for flavoring these mints. Try different flavors like butter, vanilla, almond, or creme de Menthe.
Recipe FAQ's
Yes, since they contain cream cheese, make sure to refrigerate them. When ready to serve, place them in a candy dish, and they can sit out for several hours.
Yes, these mints go by several names, but they have a similar cream cheese, butter, and powdered sugar recipe.
Once the mints have hardened, place them in an airtight container and freeze.
More candy to make and eat!
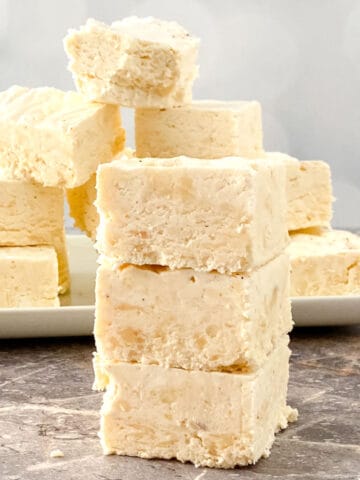
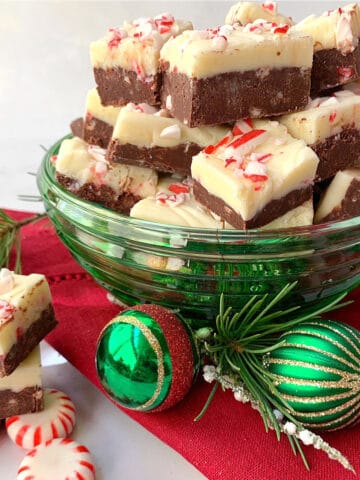
Who doesn't like a piece of creamy fudge? This recipe for Candy Cane Fudge has two layers of chocolate filled with crunchy peppermint candies.
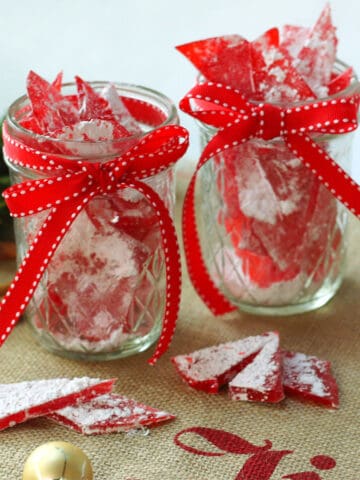
This old-fashioned Cinnamon Rock Candy is tinted the prettiest color of red. Grab a candy thermometer and cook a batch of these classic hard rock candies.
Favorite Cookies and Treats

Subscribe here for more great recipes, and follow One Hot Oven for more tasty sweet and savory recipes! Pinterest | Instagram | Facebook
Recipe
Party Mints {Christmas Candy}
As an Amazon Associate I earn from qualifying purchases.
Ingredients
- 4 ounces Cream cheese softened
- 2 tablespoons Butter softened
- ¼ teaspoon Peppermint oil or use ½ teaspoon peppermint extract
- 4 cups powdered sugar
- red gel food color can use liquid food color
- green gel food color can use liquid food color
- edible glitter optional
Instructions
- In the bowl of a stand mixer with a paddle attachment, or use an electric mixer and a large mixing bowl add the softened cream cheese and the softened butter. Mix on medium speed until creamy and well combined.
- With the mixer on medium speed add the peppermint flavoring and one cup of powdered sugar. Mix until combined then scrape the bowl.
- Add the remaining powdered sugar one cup at a time until a stiff dough forms. If the dough is sticky add a small amount of powdered sugar.
- Turn the dough out onto a piece of parchment paper sprinkled with powdered sugar. Divide the dough into three pieces about 6 ounces each. Put the white dough in a small bowl.
- Add one of the pieces of dough back into the mixing bowl and add a small amount of red food coloring and mix on low speed until the food coloring is combined. Remove the dough to a small bowl.
- Clean out the mixing bowl and add another piece of dough and the green food coloring and mix again. Put this dough into a small bowl.
- Using a teaspoon or a 1-inch scoop make 1-inch dough balls and roll in the palms of your hand to make them smooth then place on the parchment paper lightly sprinkled with powdered sugar.
- Dip the tines of a fork in powdered sugar and then press the tines into the dough ball to flatten and this will leave grooved marks.
- Sprinkle with edible glitter right after flattening the mints.
- Let the peppermint patties dry on the baking sheets for several hours. Transfer the mints to an airtight container and refrigerator until ready to serve. If you need to stack the mints place a piece of wax paper between the layers.
Notes
- These mints can be frozen - after they dry place the mints in an airtight container with a piece of wax paper between the layers and freeze.
- When ready to serve place in the refrigerator to thaw.
Nutrition
First published: Oct. 25, 2022, Last updated: Nov. 29, 2023, for better readability.


Thank you for stopping by the One Hot Oven blog. Please leave a comment to say hello or tell me what you are baking; I always love hearing from fellow bakers. Do you have any questions or want to chat about the recipe? Please visit my About page for information, and I’ll be happy to help!

Hello there, I'm Jere'
From learning to cook on a farm in Indiana to culinary school in California, my passion for food is never-ending. Turning on my oven to bake something for friends and family is my happy place, and I am glad to be here at One Hot Oven sharing sweet and savory family-friendly recipes for your cooking and baking inspiration.







Beth
These are super delicious mints! I made red, green, and white but added edible glitter to mine. I also froze them in little containers to take to the many Christmas parties I have coming up. Thanks for the great recipe!
Ramona
Super festive and a great idea indeed. We will be making these this Christmas - my daughter ordered me to save the recipe and I obey! I cannot wait to make them 😉
Kristina
These are so delicious, and very simple for the rush of holiday baking. I used a small bit of creme de menthe liquor instead of the extract and oil and wow, delicious!
Colleen
These mints are so festive and pretty, and they look easy to make. Saving this recipe to make for the holidays. Thank you!
Lilly
These Christmas cookies are so delish! Thanks for the recipe 🙂
Helen at the Lazy Gastronome
These are so easy to make and even easier to eat. They are so good!!
Maureen
These are perfect for a cookie tray. Trying to get a jump on Christmas cookies after moving south for the winter. I love the idea of being able to freeze them. Can definitely make for Easter or a birthday. Thanks for the recipe. I hope I can win the 2022 giveaway.