
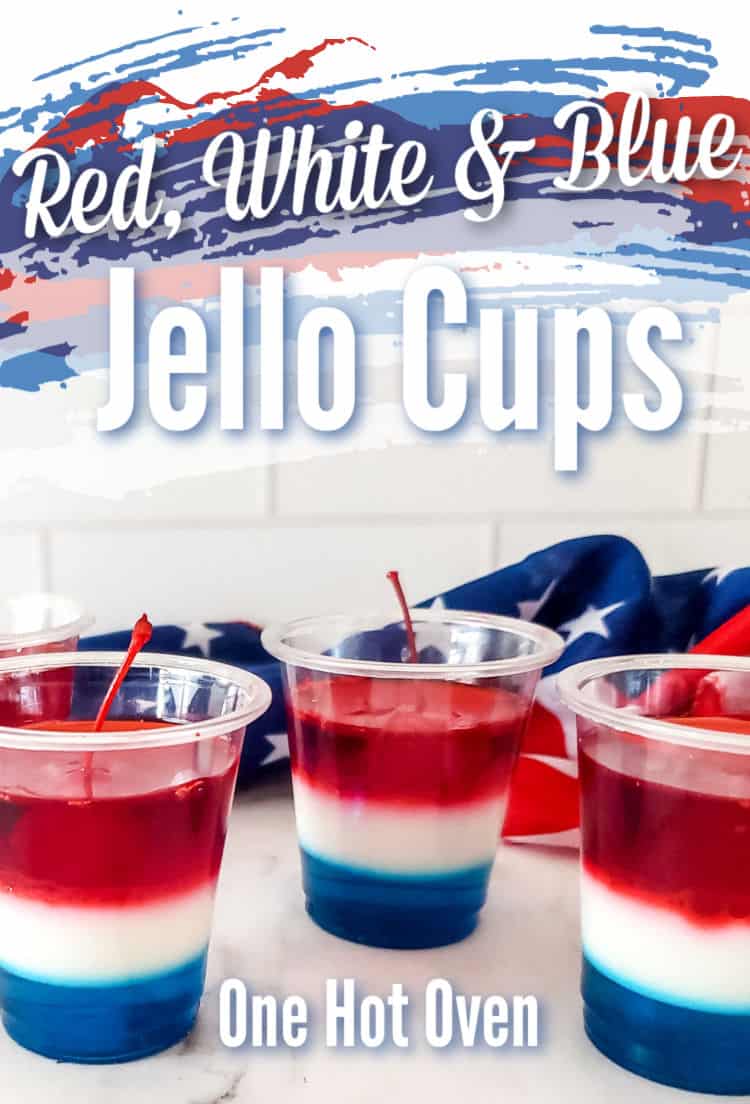
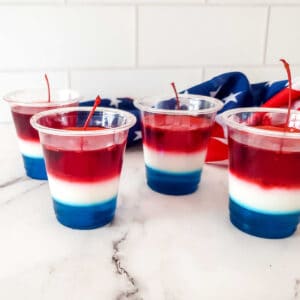
Looking for a fun and festive no-bake dessert to serve at your next Memorial Day or Fourth of July party? These red-white-and-blue Jell-O cups set up in the fridge while you get ready for the fireworks.

Want to save this recipe?
Enter your email & I’ll send it to your inbox. Plus, get great new recipes from me every week!
This page may contain affiliate links; please see my disclosure for policy details. I earn commissions if you shop through the links on this page.
Desserts should always be delicious, but when they’re fun to make and fun to eat, that makes them even better. Just grab some Jell-O and maraschino cherries for a colorful, crowd-pleasing treat.
I made these for a BBQ and wasn’t sure how my guests would feel about a Jell-O dessert, but once I brought them out, they were an instant hit. Many people said they hadn’t had Jell-O in years—let alone something as bright and fun as these Jell-O cups.

- Type of recipe: Patriotic Dessert
- Cooking method: No oven, no-bake, make ahead
- Skill level: Easy to medium
- Ingredients: 6 ingredients
- Flavors & textures: Sweet, wobbly and jiggly gelatin with a WOW factor!
These Jello Cups Are a Party Trick That Never Fails
- They are super simple to make using boxes of Jell-O.
- There’s no need to wait for a holiday; you can make these layered Jello cups anytime you want a fun treat. I have made them for birthday parties, slumber parties, and picnics.
- Jello comes in lots of flavors, and for Halloween, try these Candy Corn Jello Cups.
- Nothing says ‘Happy 4th of July’ like a festive red, white, and blue dessert, so plan ahead to chill the gelatin.
Try some of my other patriotic desserts for your holiday table. Like this red, white and blue M&M ice cream recipe, or our favorite sugar cookie bars, thumbprint cookies with sprinkles, or 4th of July Sprinkle Cookies. All of these desserts are perfect for a celebration.
Ingredients and Dessert Cups
How To Make Layered Jello Cups
Step 1. Set the disposable cups on a cookie sheet or tray to easily move them in and out of the fridge.
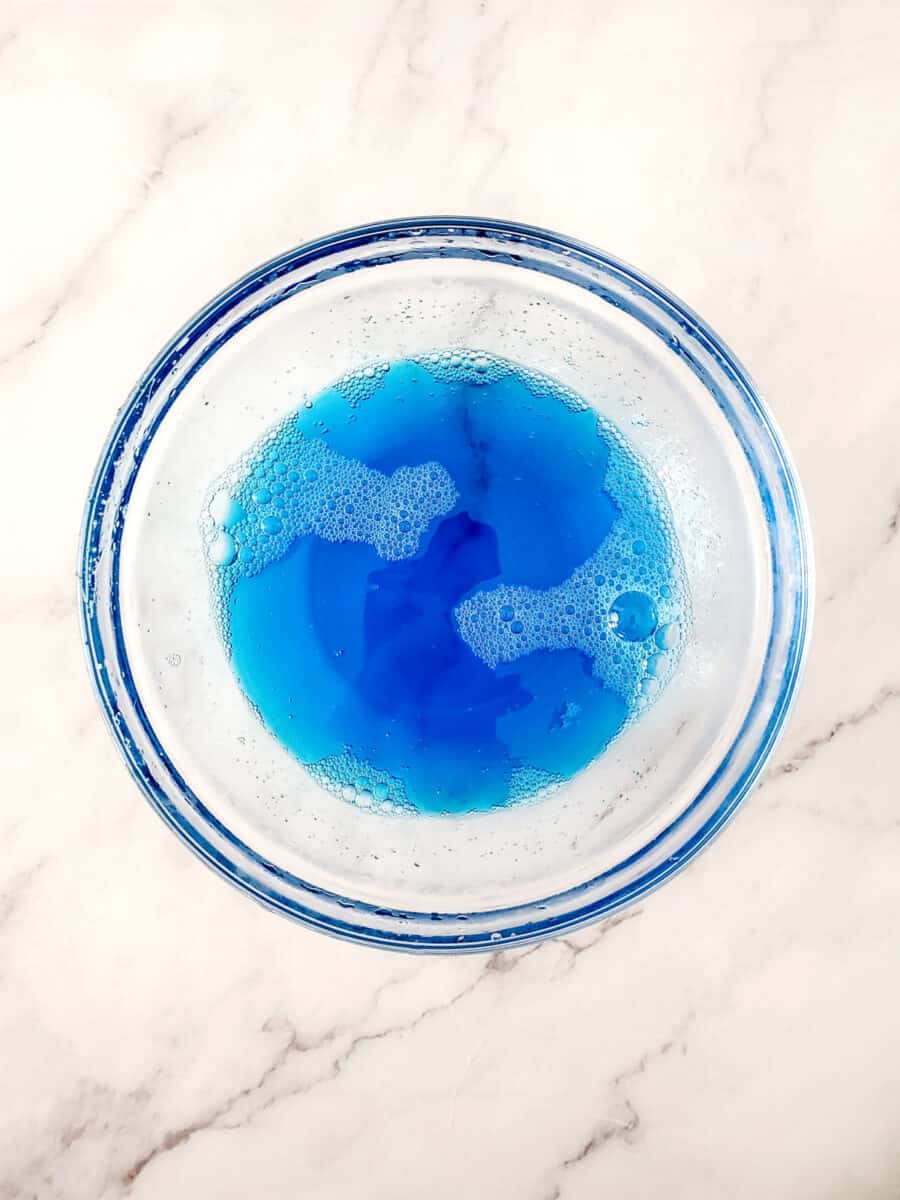
Step 2. How To Make Blue Jello Layer– Place the blue gelatin in a medium-sized bowl, pour 2/3 cup of boiling water over the gelatin, and stir until combined. Allow the Jell-O to cool before pouring it into each cup, filling it to about 1/3 full. Place the cups in the fridge for at least 30 minutes to allow them to set.
Step 3. The White Jello Layer – In another medium-sized bowl, sprinkle the clear gelatin over 1/3 cup of milk and allow it to bloom. Meanwhile, heat the remaining 2/3 cup of milk to almost a boil. Add the hot milk to the clear gelatin and mix well until the gelatin is completely dissolved and absorbed. Allow the mixture to cool. Pour the white jello over the cold blue Jello until about 2/3 full. Return to the fridge for at least 30 minutes to allow it to set.
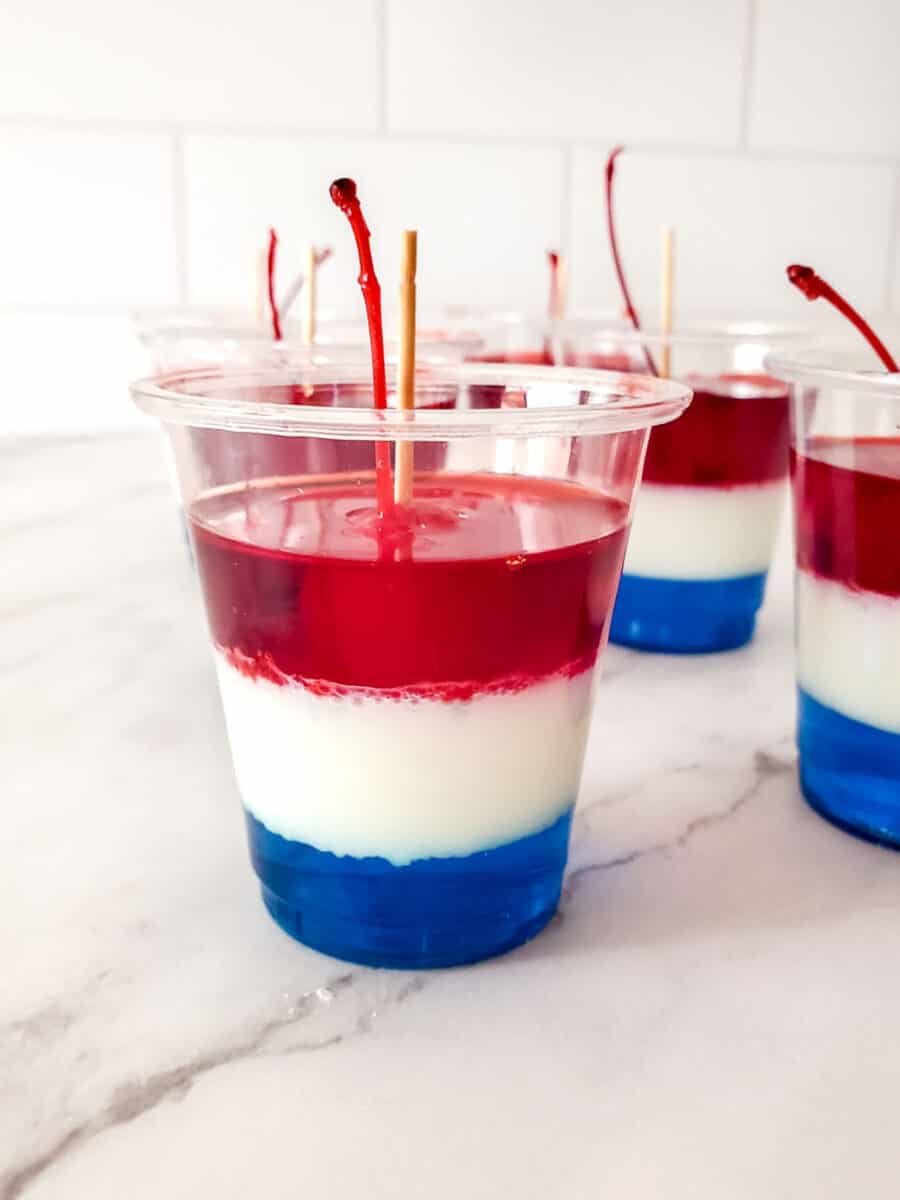
Step 4. The Red Jell-O Layer – Place the red gelatin in a medium-sized bowl, then pour 2/3 cup of boiling water over it and stir until combined. Allow the jello to cool before pouring it into each cup.


Step 5. Insert a toothpick into the top of each maraschino cherry. Press the cherry into the white jello to keep the stem upright while the red jello sets. Place the cups in the fridge for 3-4 hours to fully set.
Step 6. When the jello is set, remove the toothpicks by gently twisting them until they loosen from the cherry.

Step 7. The jello cups are ready to eat once fully set.
Jello Tip – Don’t rush layering the gelatin. Allow a minimum of 30 minutes for each layer to set up properly.
These little dessert cups turn out so pretty, and that layered look always makes them feel special.

Tips For Pretty Jell-O Layers

- For clean red, white, and blue layers, make sure the gelatin is firm before pouring on the next color. If the layer still jiggles too much or looks wet on top, let it sit in the fridge longer.
- Let the next layer cool slightly before pouring it over the chilled layer. If the gelatin is too hot, it can soften the layer underneath and blur the colors.
- Use a small measuring cup with a spout to pour each layer neatly into the cups. Slow and steady works best here; this is not the time to pour like you’re filling a horse trough.
Prep Ahead
Feel free to make these a few days in advance.
- Prep the layered Jell-O cups up to 3 days in advance and keep each one tightly covered so the tops stay smooth and moist.
- Wait on the extras: add whipped cream, sprinkles, or other toppings right before serving to avoid melting or color bleeding.
Variations to try
Changing things up is always fun!
- Add some whipped cream and sprinkles on top.
- For an easier version, skip the white gelatin layer and add whipped cream or Cool Whip on top right before serving.
- Replace the Jell-O flavors to create these dessert cups for any occasion.
- I also pour the gelatin into a clear glass baking dish and cut it into squares.
- For an adults-only version, replace ¼ cup of the water with vodka. Don’t add too much alcohol, or the gelatin may not set properly.


Subscribe here for more great recipes, and follow One Hot Oven for more tasty sweet and savory recipes! Pinterest | Instagram | Facebook
Recipe
Tried it? Rate ⭐⭐⭐⭐⭐ & comment below; your feedback keeps the oven mitts flying here at One Hot Oven.
Red, White And Blue Jello Cups
Equipment


Ingredients
- 3 ounces blue gelatin blue raspberry
- 3 ounces red gelatin cherry, strawberry or red raspberry
- 1 envelop unflavored gelatin Knox brand
- 1 ⅓ cups boiling water
- 1 cup milk
- ¼ cup granulated sugar
- Maraschino cherries
Instructions
- Set the cups on a small plate or platter to move the gelatin to and from the refrigerator.
- In a medium-sized bowl, add the blue gelatin and pour ⅔ cup of boiling water over the gelatin. Stir until the gelatin is dissolved.
- Allow the blue gelatin to cool before pouring it into each cup until about ⅓ full. Place the cups in the refrigerator for at least 30 minutes to allow it to set.
- In a clean medium-sized bowl, sprinkle the unflavored gelatin over ⅓ cup of milk and let it bloom. Meanwhile, heat the remaining ⅔ cup of milk to almost boiling, either in a saucepan, or in the microwave.Add the hot milk to the bloomed gelatin and stir until completely absorbed. Allow the mixture to cool. Pour the white jello on top of the blue Jello until about 2/3full. Return to fridge for at least 30 minutes to allow to set.
- In a medium-sized bowl, add the red gelatin and pour ⅔ cup of boiling water over the gelatin. Stir until the gelatin is dissolved.
- Allow the red gelatin to cool before pouring it into each cup. Place the cups in the refrigerator for at least 30 minutes to allow it to set.
- Place a toothpick into each maraschino cherry at the stem end so that you can press the toothpick into the white jello to keep the stem upright while the red jello sets. Place cups in the refrigerator for 3-4 hours to fully set.
- When the jello is set, remove the toothpicks by slowly twisting them so they can easily be pullout out of the cherry.
- Store the jello cups in the refrigerator until ready to serve. Cover the tops of the jello cups with plastic wrap or store them in an airtight container for up to three days.
Notes
Variations
- Feel free to substitute any flavor of Jello for this recipe.
- Replace the white gelatin layer with whipped cream or Cool Whip.
- Add whipped cream on top and sprinkles.
- Swap out 1/4 cup of water for vodka for an adult dessert.
As an Amazon Associate I earn from qualifying purchases.
Nutrition
First published: May 20, 2024. Last updated: June 26, 2025, for better readability.
Thank you for stopping by the One Hot Oven blog. Please leave a comment to say hello or tell me what you are baking; I always love hearing from fellow bakers. Have any questions or want to chat about the recipe? Please visit my About page for information, and I’ll be happy to help!
About Jere’
From learning to cook on a farm in Indiana to culinary school in California, my passion for food is never-ending. Turning on my oven to bake something for friends and family is my happy place, and I am glad to be here at One Hot Oven sharing sweet and savory family-friendly recipes for your cooking and baking inspiration.


I had a great time making these festive cups with my kids! We’ll surely have these again!
Love these little cups! They’re so festive, great for kids and fun and easy to make!
So fun and delicious! And easy to make. My kids loved this!
So festive and super creative! These are absolutely perfect for the 4th of July, everyone is going to devour them!
These jello cups are so cute! Made them for a party this past weekend and now I think they’re going to be a summer staple.
These came out so festive and beautiful! We will surely have these jello cups again. I think these will be great with other flavors and for other holidays.
These Jello cups are so delicious and simple! To make them I used blue Jello and Red Jello. The white is made from milk, powdered sugar and vanilla extract. It was super easy to make, it only took about 5 minutes!
Such a fun and festive 4th of July treat. I’m making these again for an upcoming picnic with just some random flavors. I can’t wait to see the results. We also have Halloween parties and I want to make them like candy corn.