

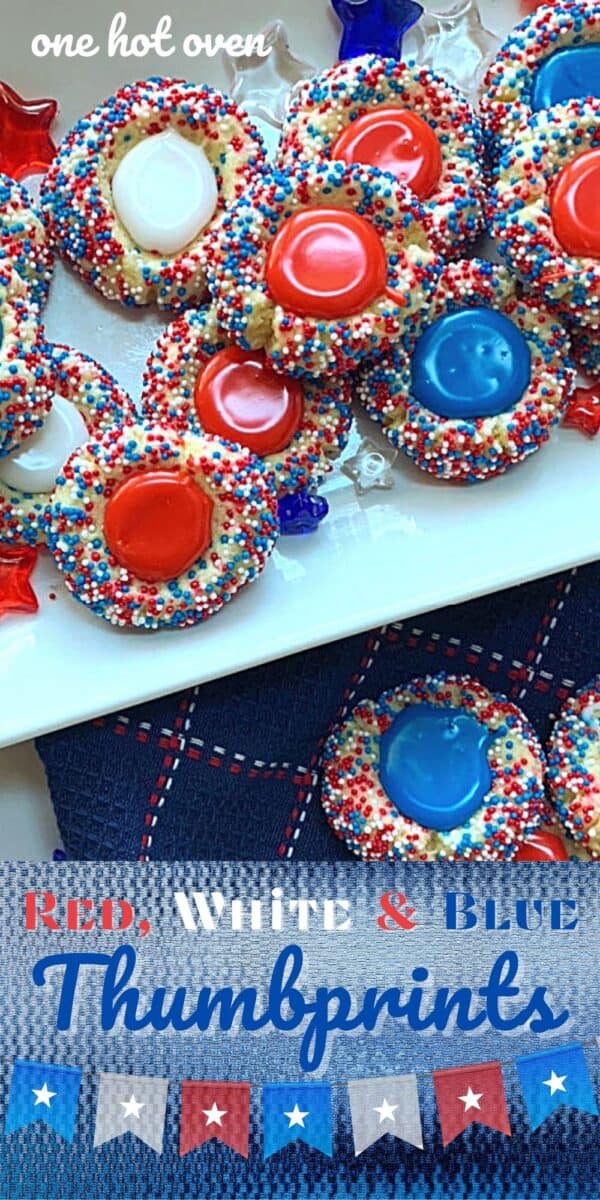

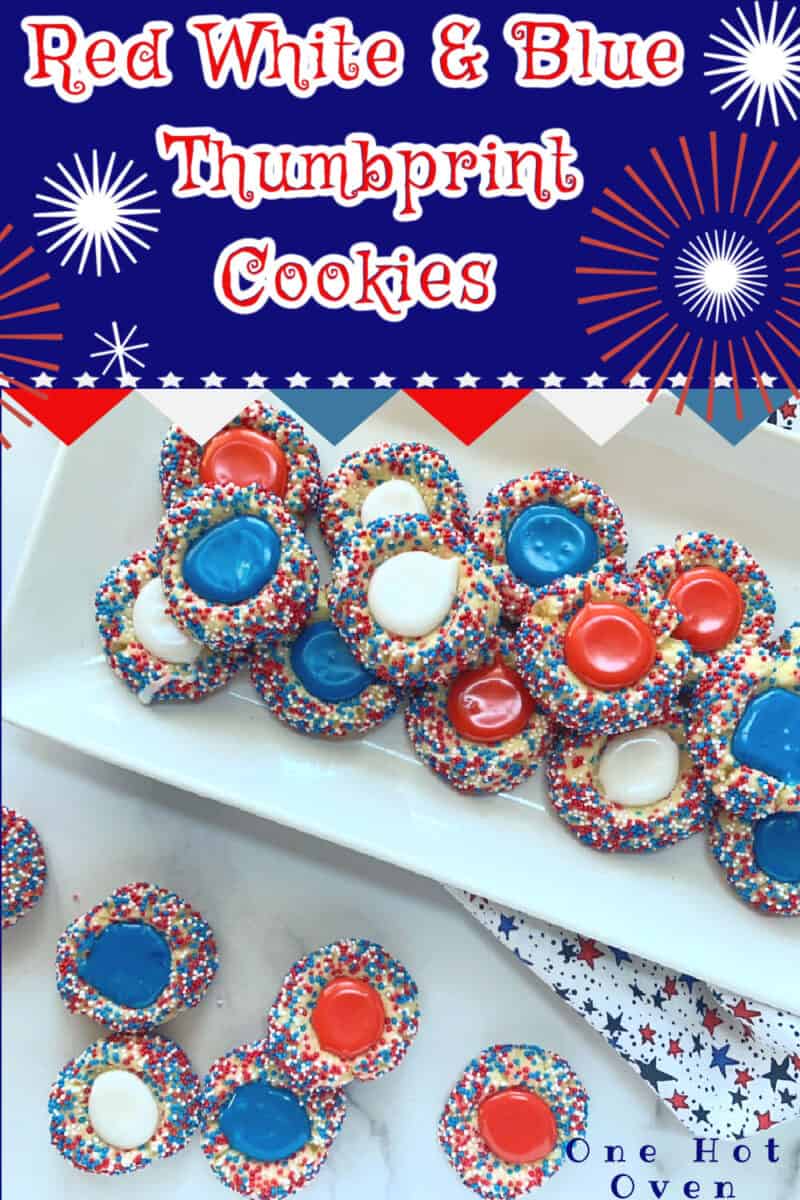
These Red, White and Blue Thumbprint Cookies are buttery vanilla cookies coated in patriotic sprinkles and filled with colorful icing. They’re easy to make and perfect for Fourth of July parties, Memorial Day celebrations, and summer dessert tables.
Want to save this recipe?
Enter your email & I’ll send it to your inbox. Plus, get great new recipes from me every week!
This page may contain affiliate links, please see my full disclosure for policy details.
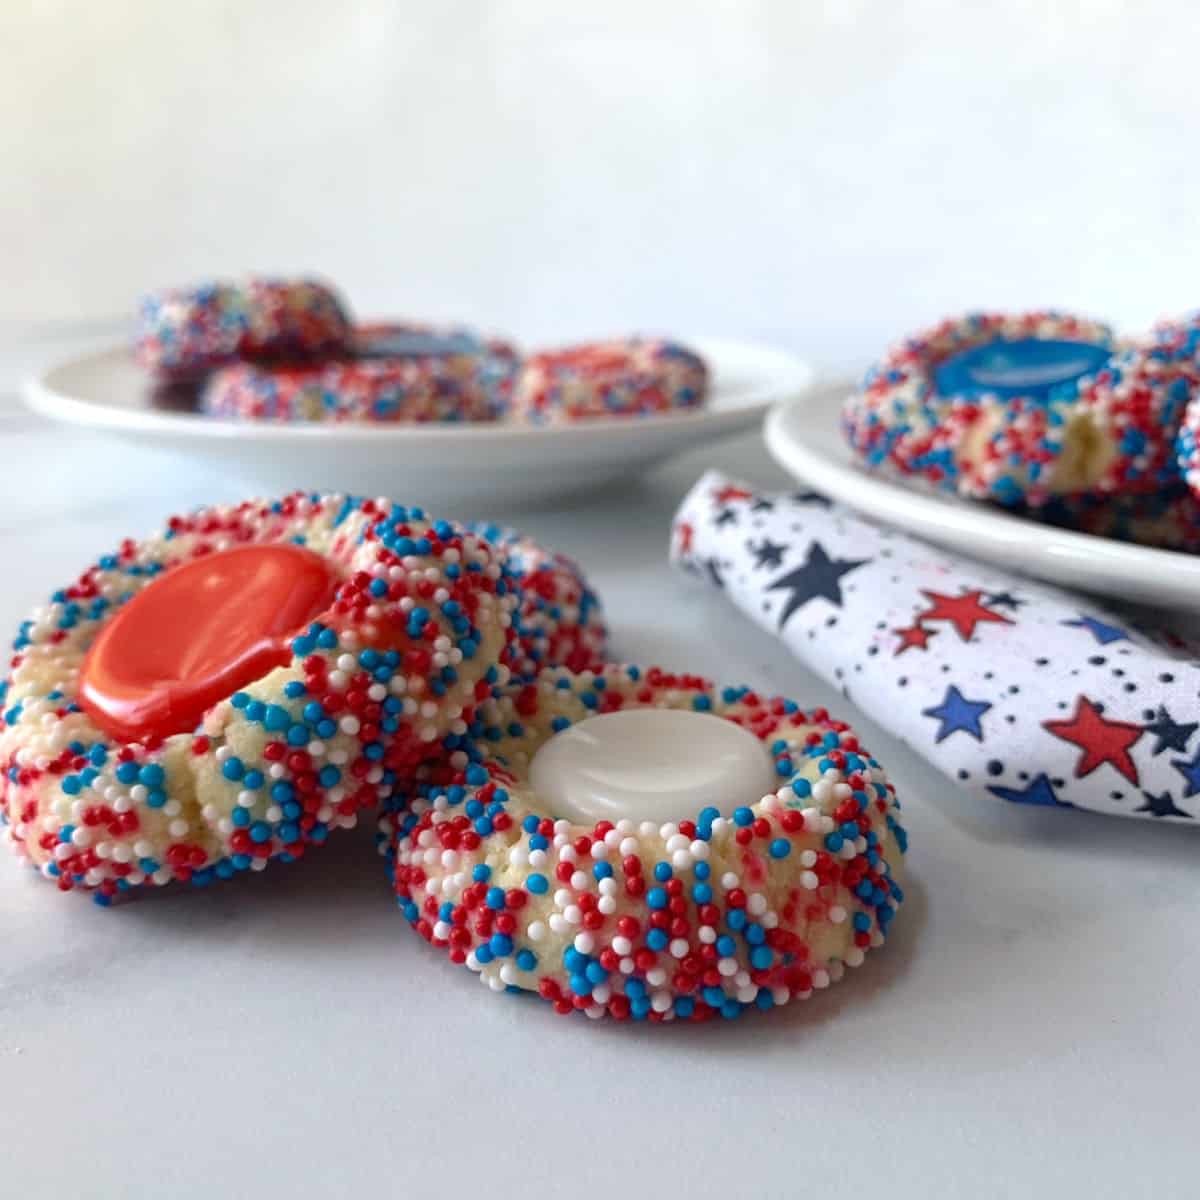
Cookie Alert! These bite-sized cookies are buttery, crunchy, very addictive, and maybe the most colorful cookies ever!
Thumbprint cookies are a classic, and today’s version is covered in colorful sprinkles and filled with red, white, and blue icing. They’re perfect for July 4th, Memorial Day, or any summer celebration.
I have a fondness for these July thumbprints and I also make them in red and pink for Valentine’s Day Thumbprint Cookies for my sweetie, and these Apricot Jam Thumbprint Cookies are delicious anytime, but they always show up during the holidays.
Recipe Highlights
- Method: Baking
- Skill level: Beginner to intermediate
- Prep time: About 45 minutes
- Flavor: Sweet and buttery with colorful icing and crunchy sprinkles
- Best for: Fourth of July parties, Memorial Day, and summer celebrations
And, if you want more 4th of July cookies, both of these cookie recipes are fun, festive, and delicious. Bake these 4th of July Sugar Cookies Bars or these rolled Sugar Cookies with Sprinkles that have a surprise red cookie in the middle.
Why You’ll Love These Red, White and Blue Thumbprint Cookies
- Seriously, it’s the sprinkles and the colorful icing that have us hooked.
- You gotta love an easy cookie recipe and this one has a no-fuss batter, with simple pantry ingredients made in one bowl.
- No chilling is required to make these cookies, just mix, roll into balls, roll in sprinkles, bake, and ice.
- These tasty cookies are buttery rich and have the perfect amount of sweetness.
- These are definitely a celebration cookie, and you can easily change the sprinkles and icing colors to make your event or holiday extra special.
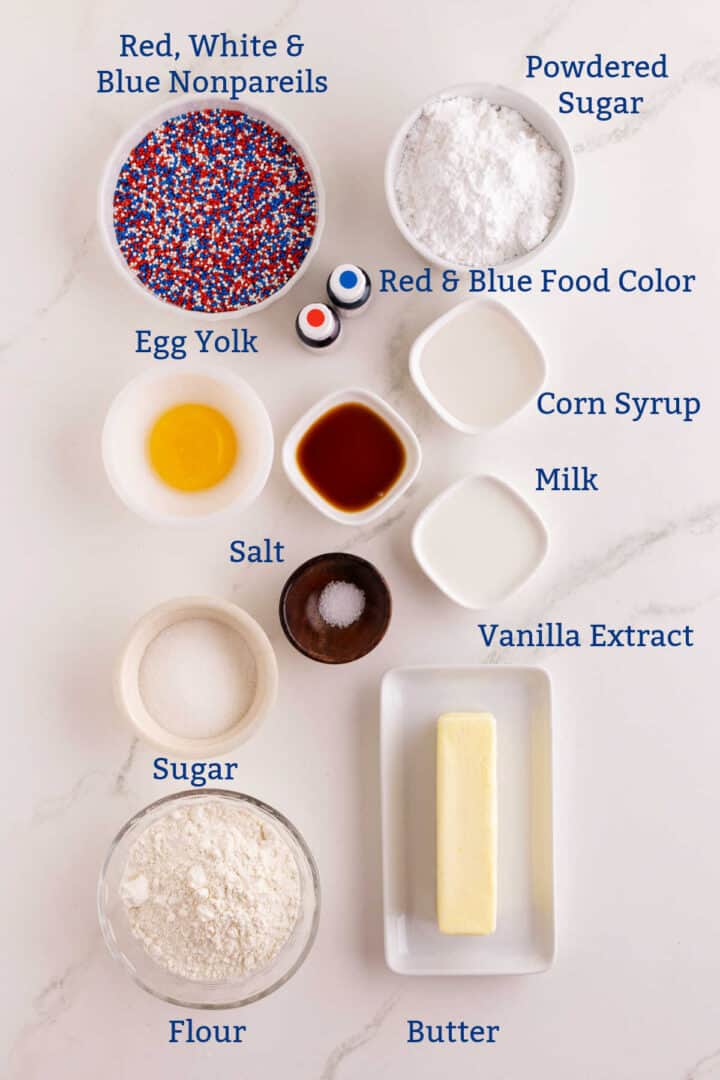
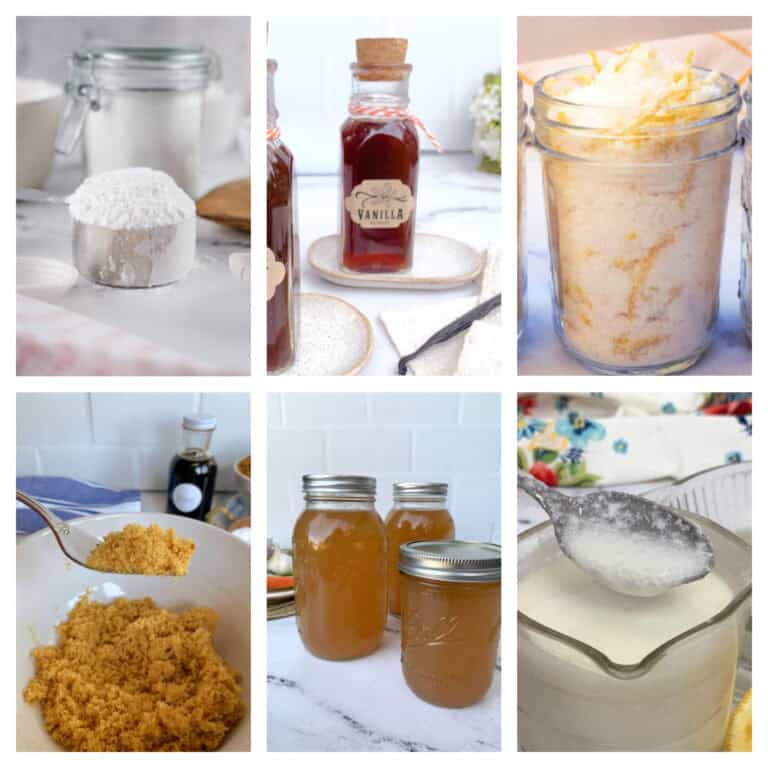
Thumbprint Cookie Ingredients
How To Make Thumbprint Cookies
I promise you won’t be in the kitchen all day making these cookies, and you get to play with sprinkles!
Step 1. Set your oven to 350°F. Line a baking sheet with parchment paper.
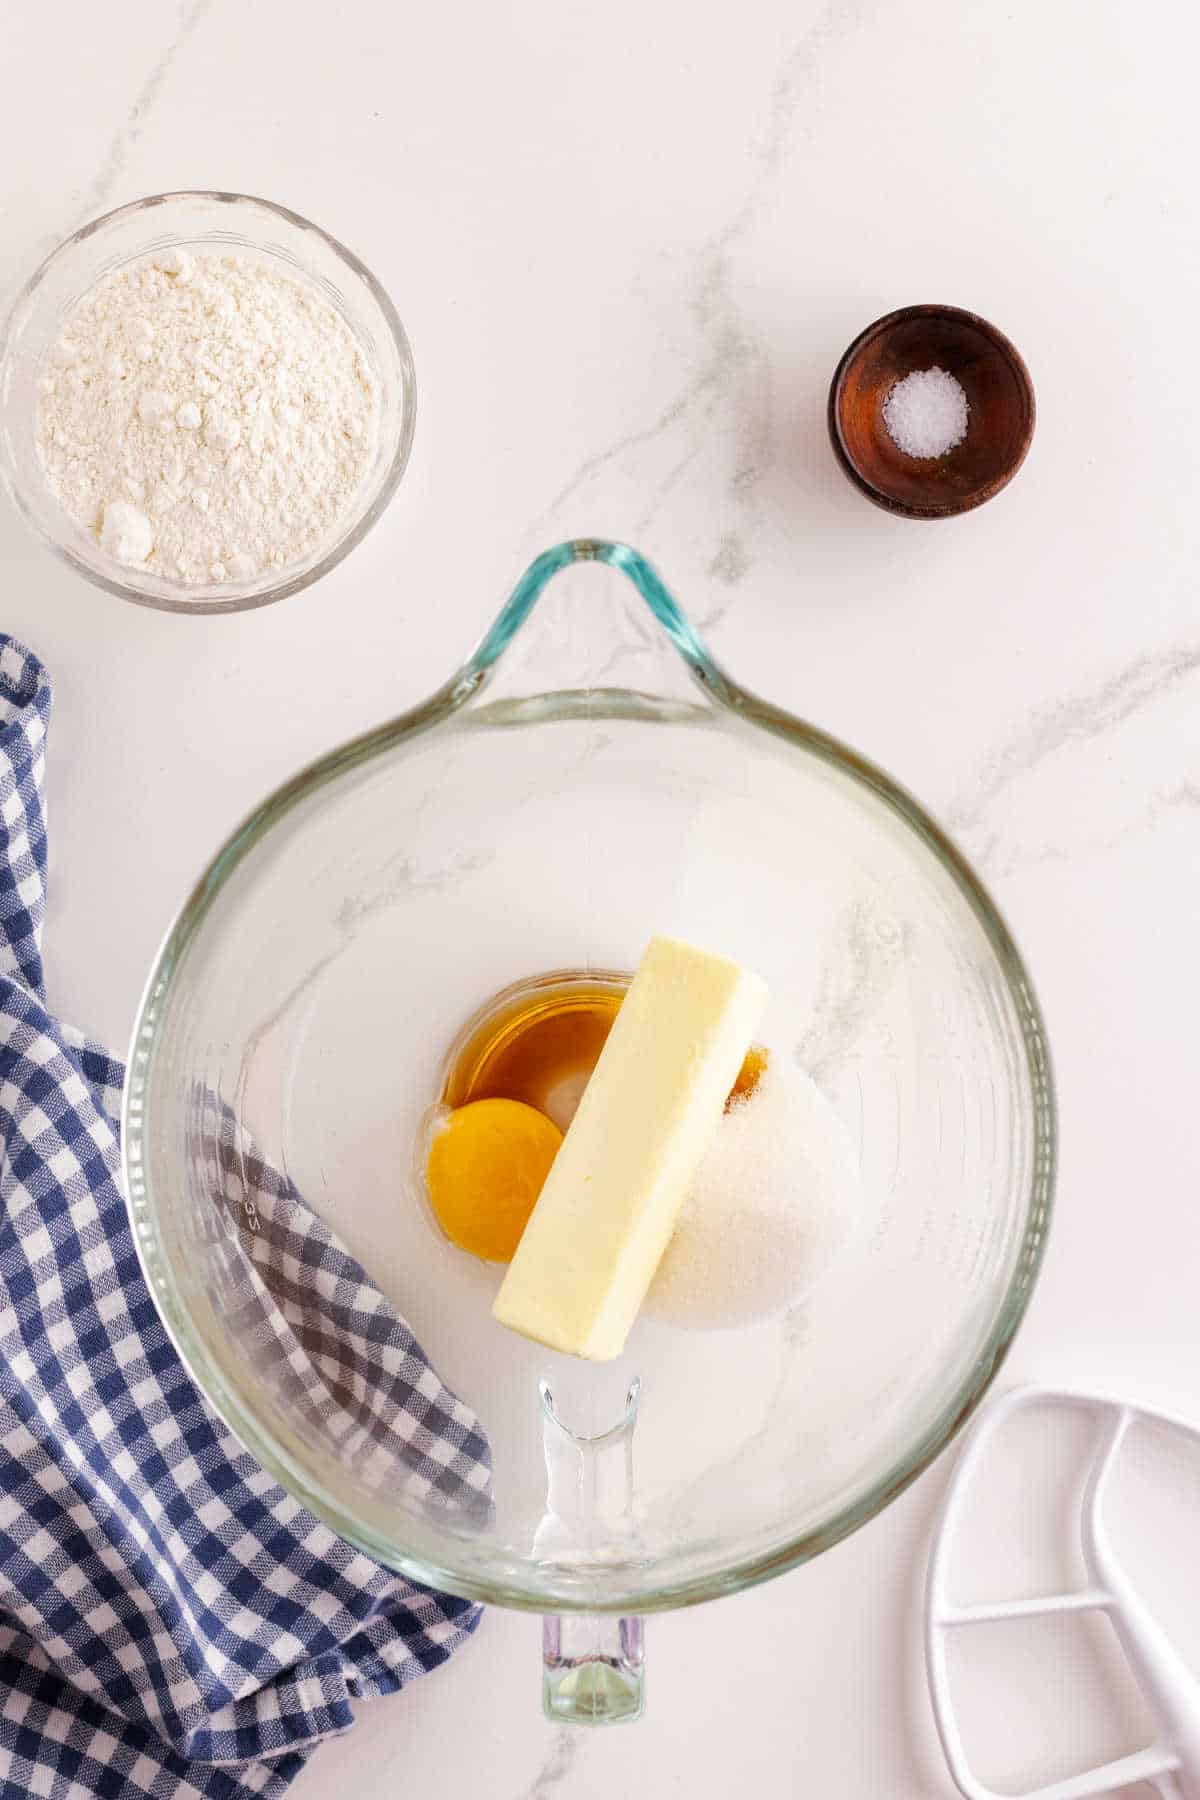
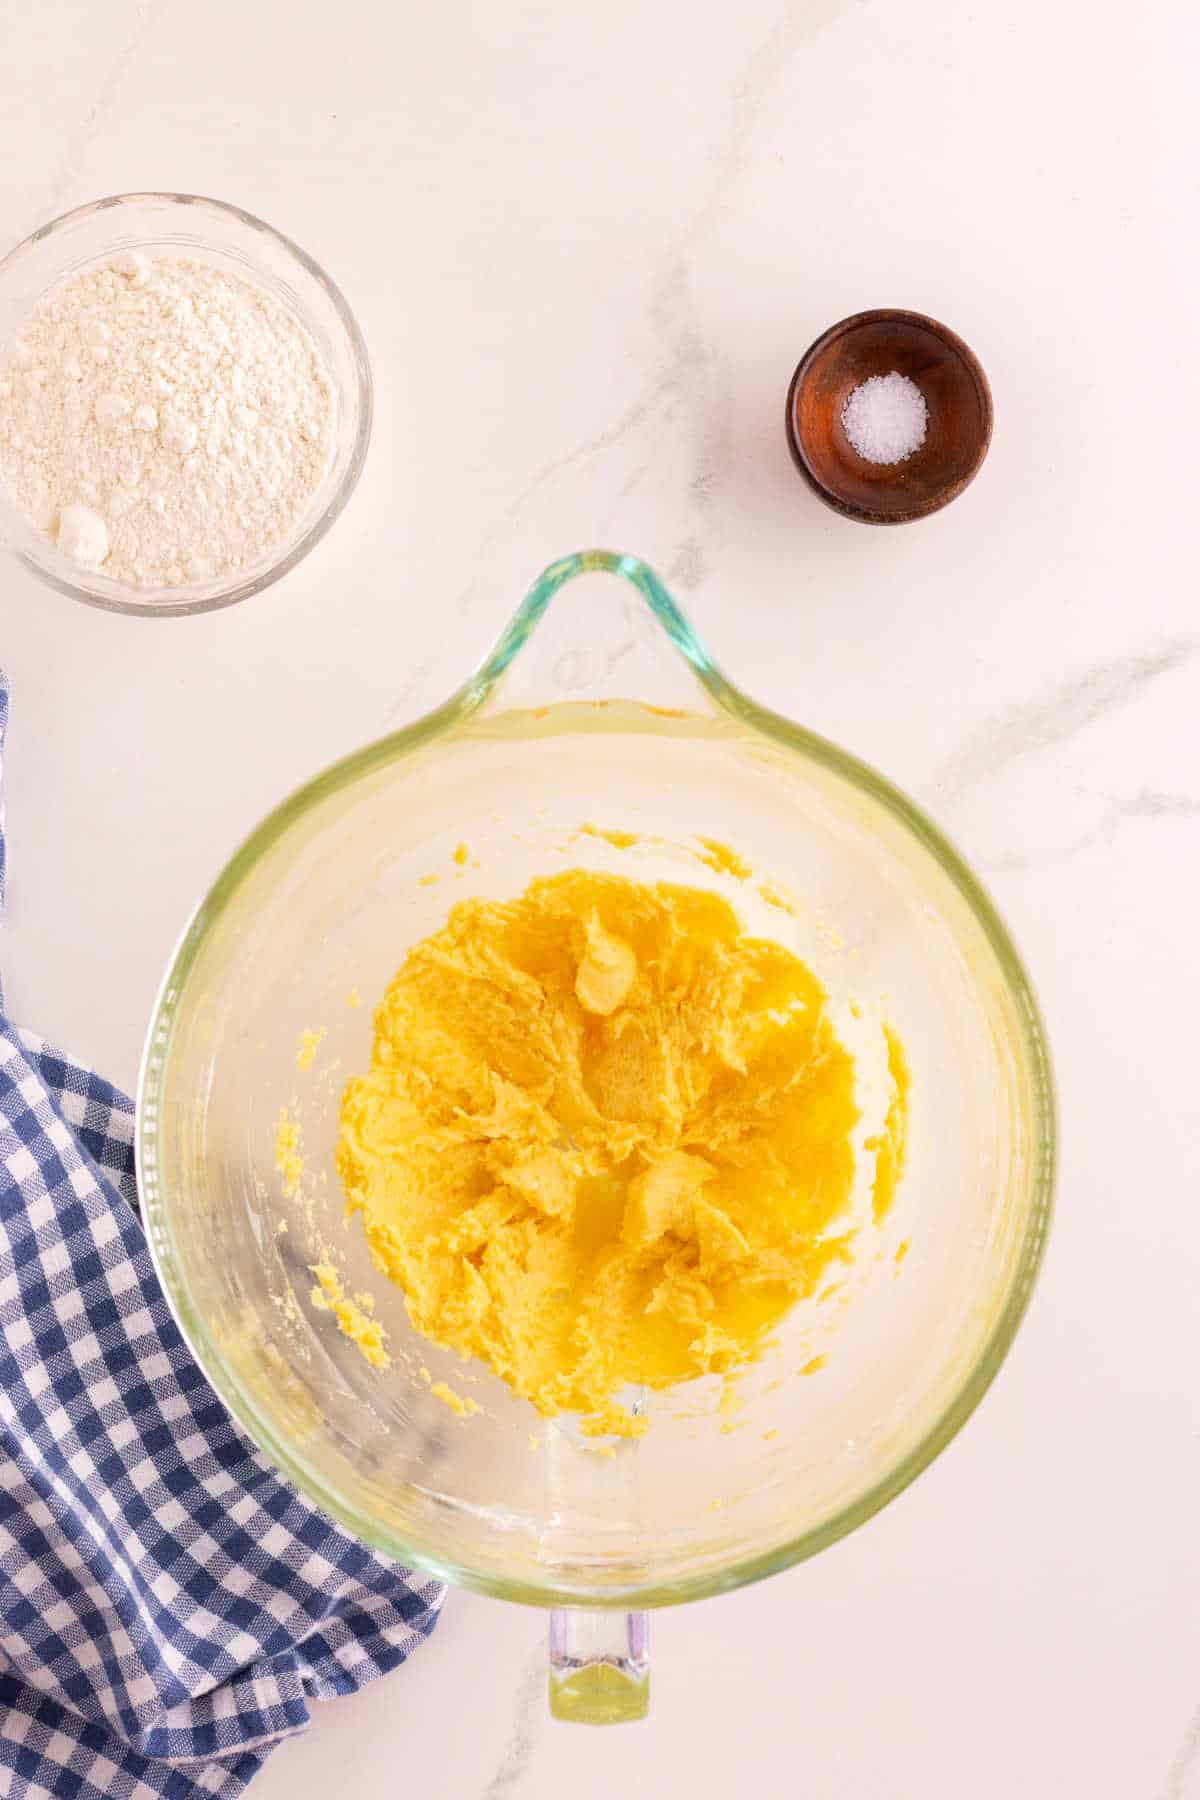
Step 2. In a large mixing bowl, combine the softened butter, egg yolk, sugar, and vanilla, then beat with a handheld mixer on medium speed until light and creamy. You can also mix this dough with a stand mixer.
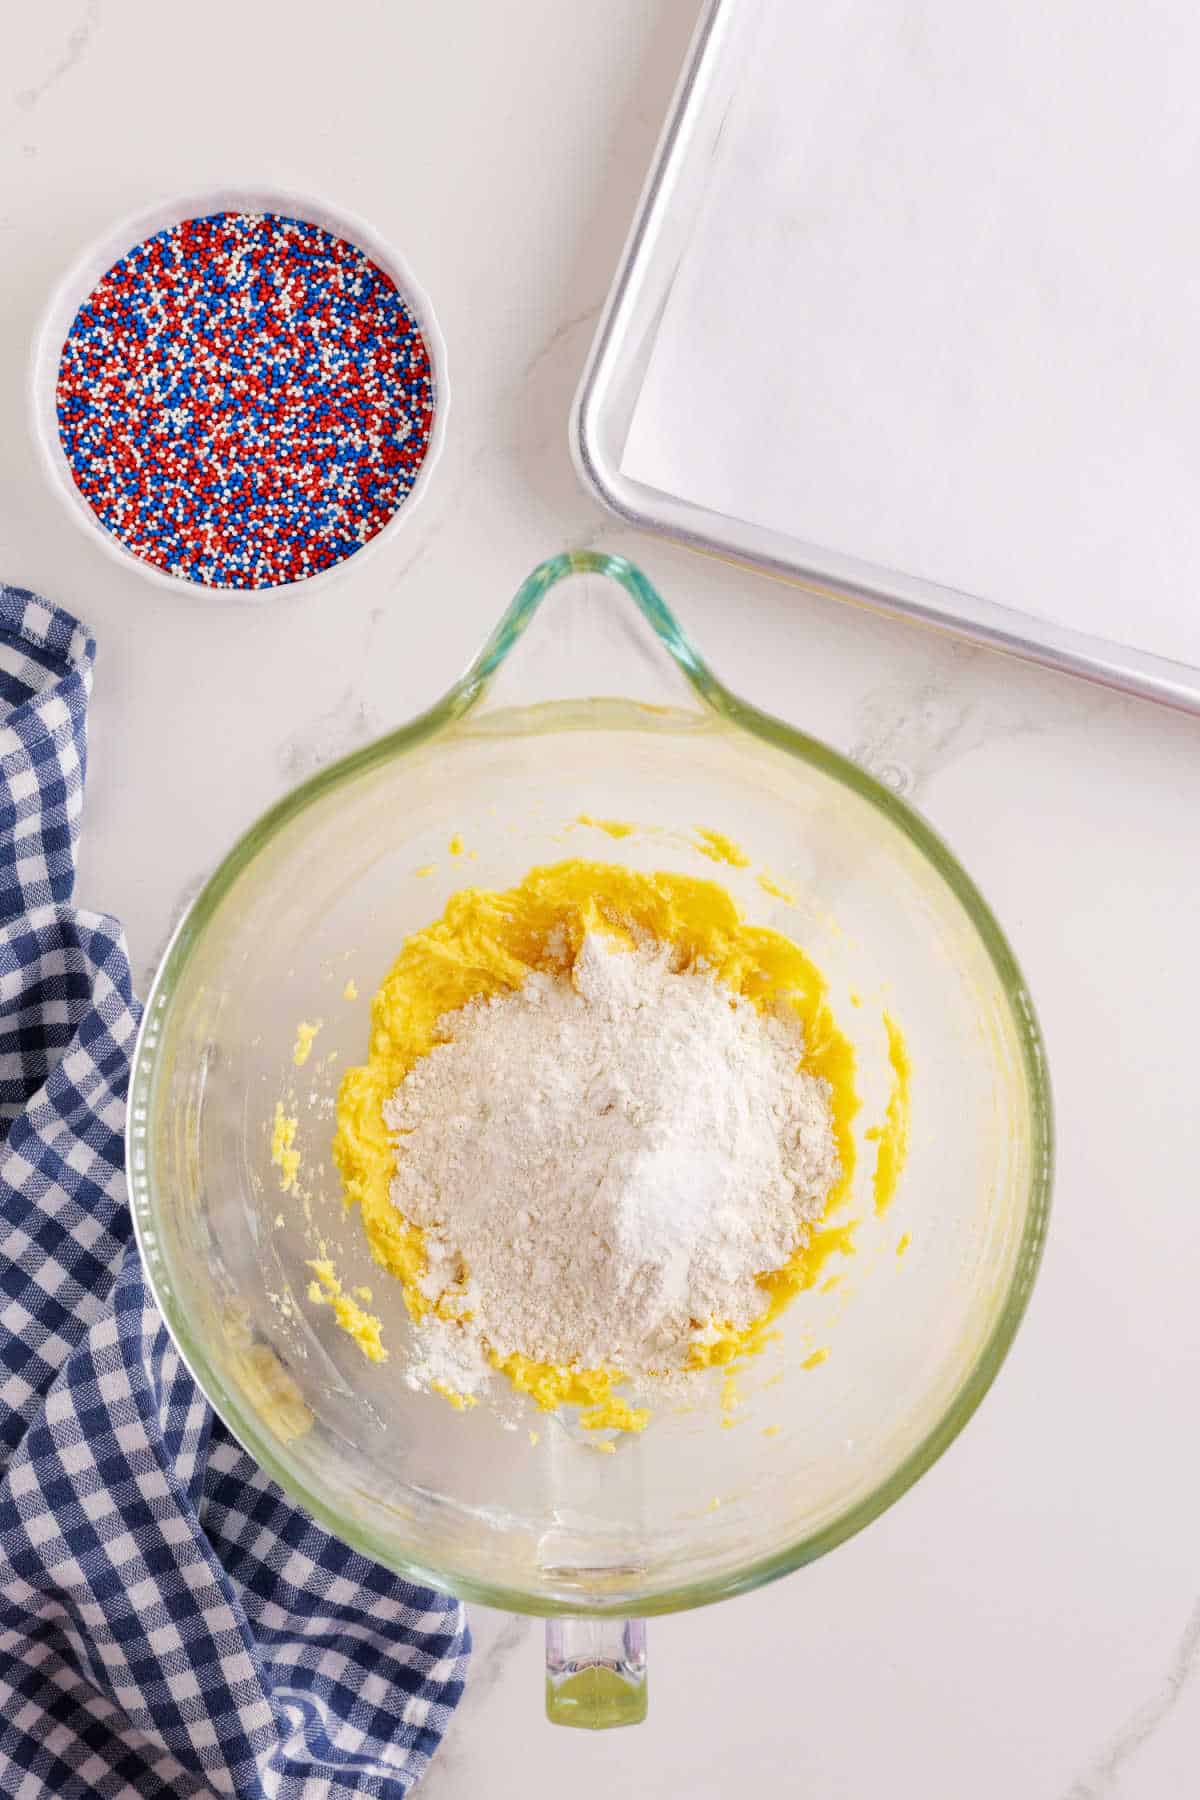
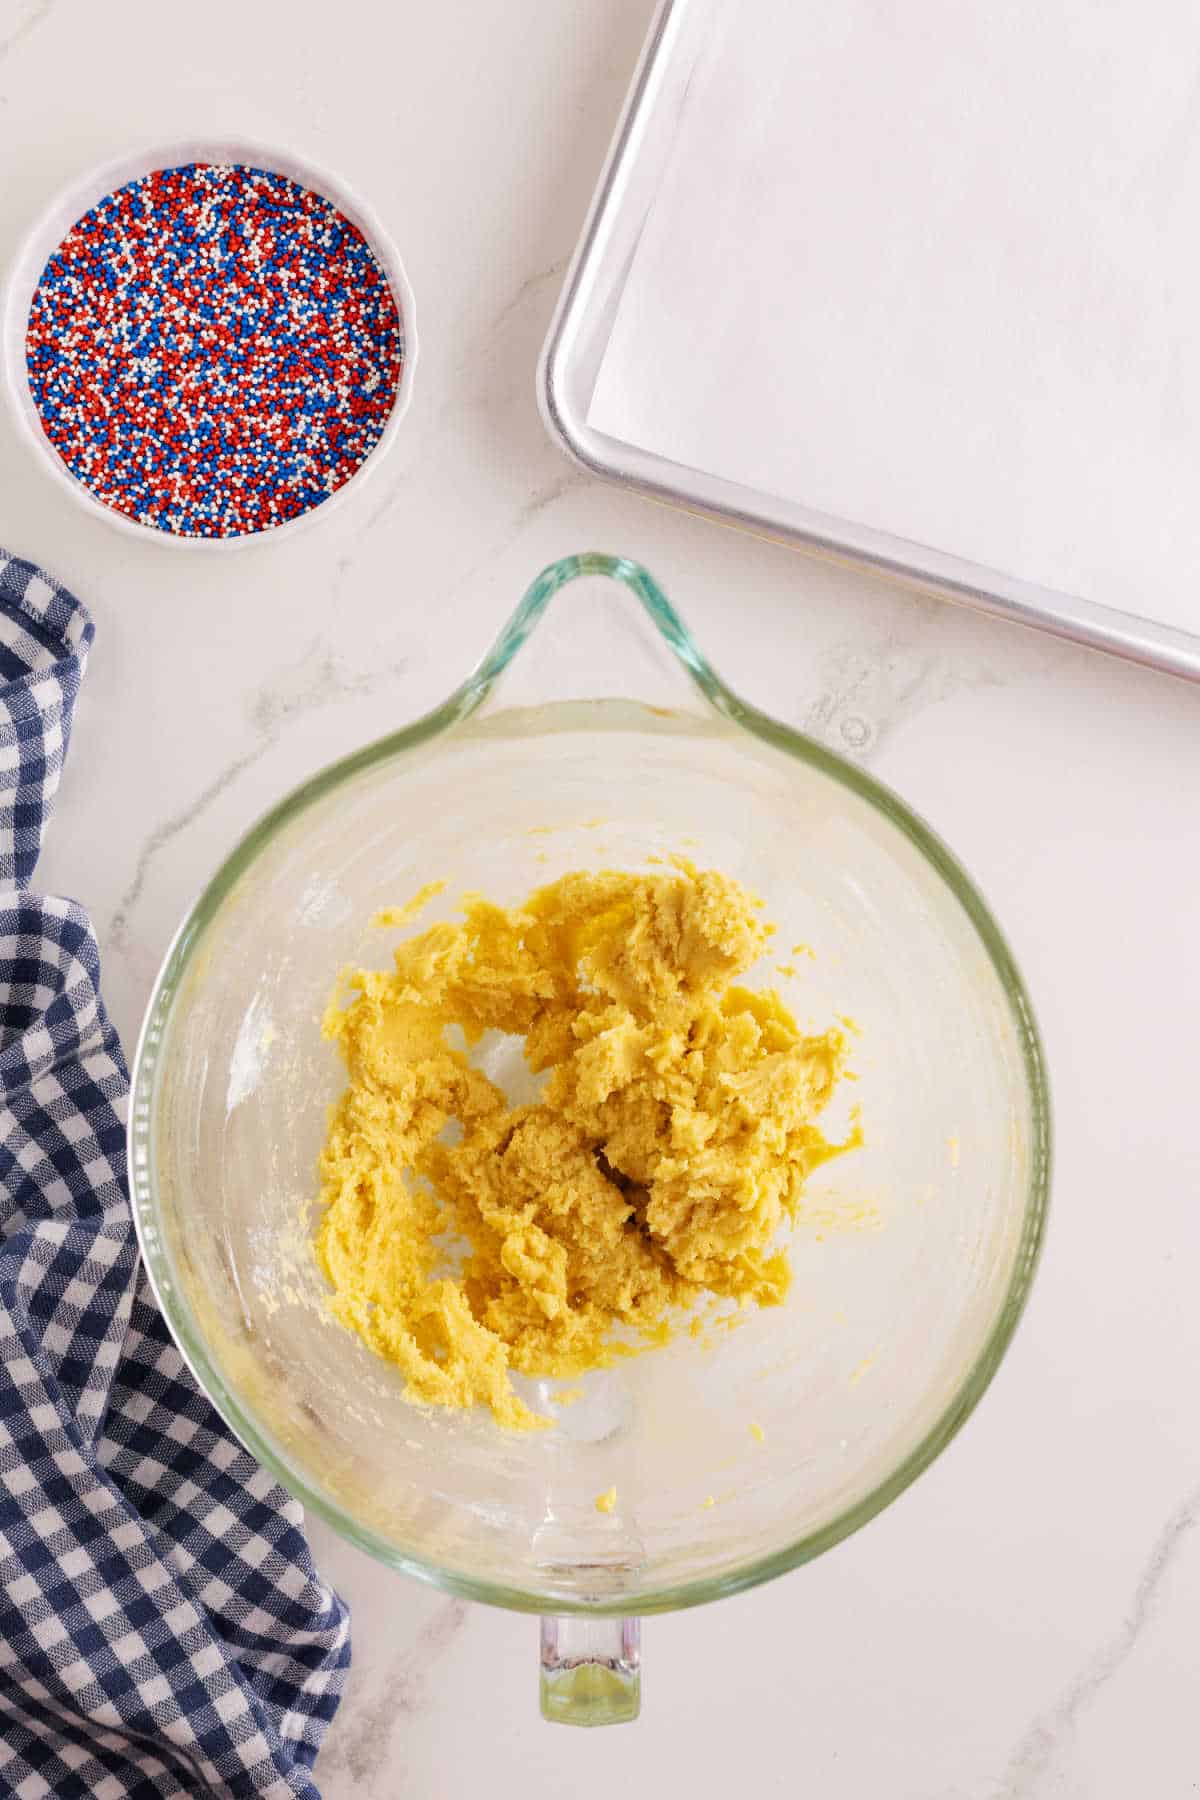
Step 3. Add the flour and salt and mix at low speed until the flour is incorporated. Mix just until combined. Do not overmix. Scrape the sides of the bowl with a rubber spatula.
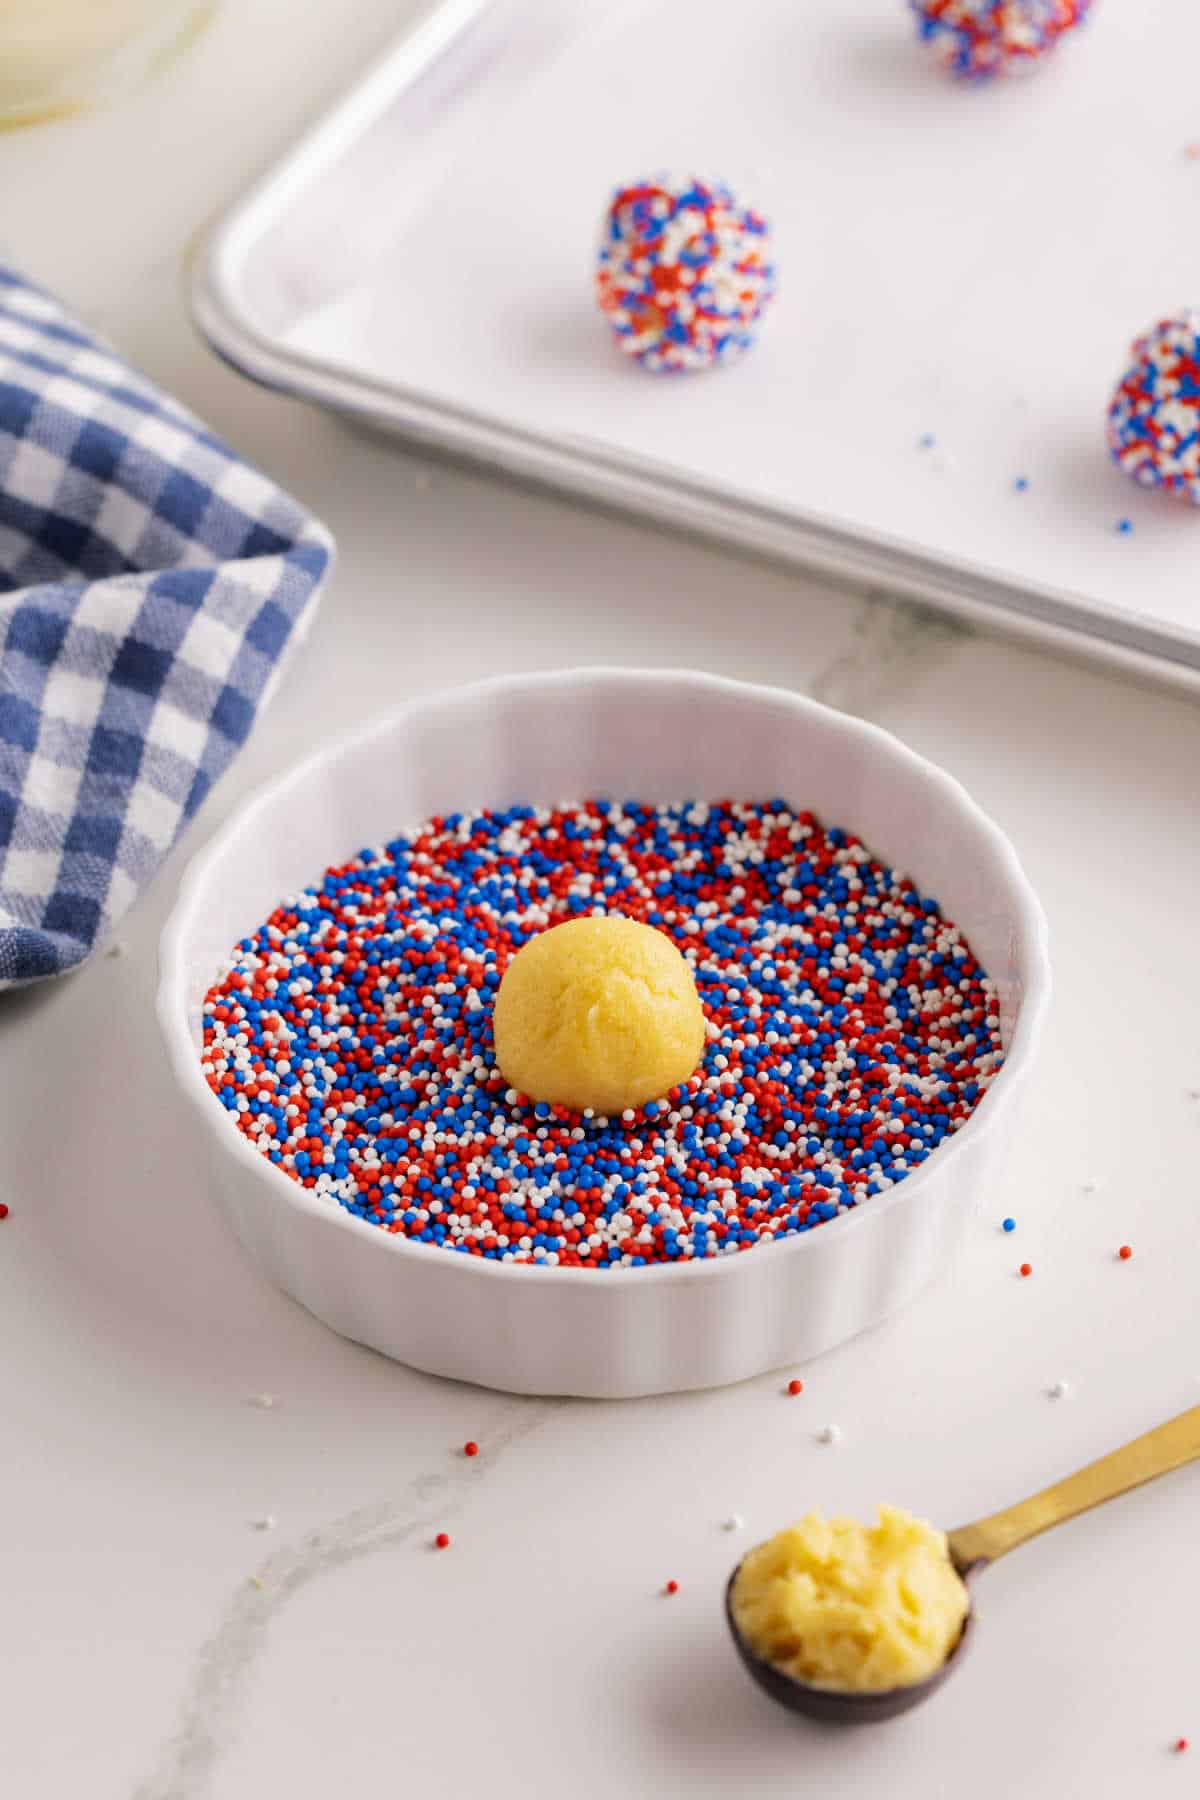
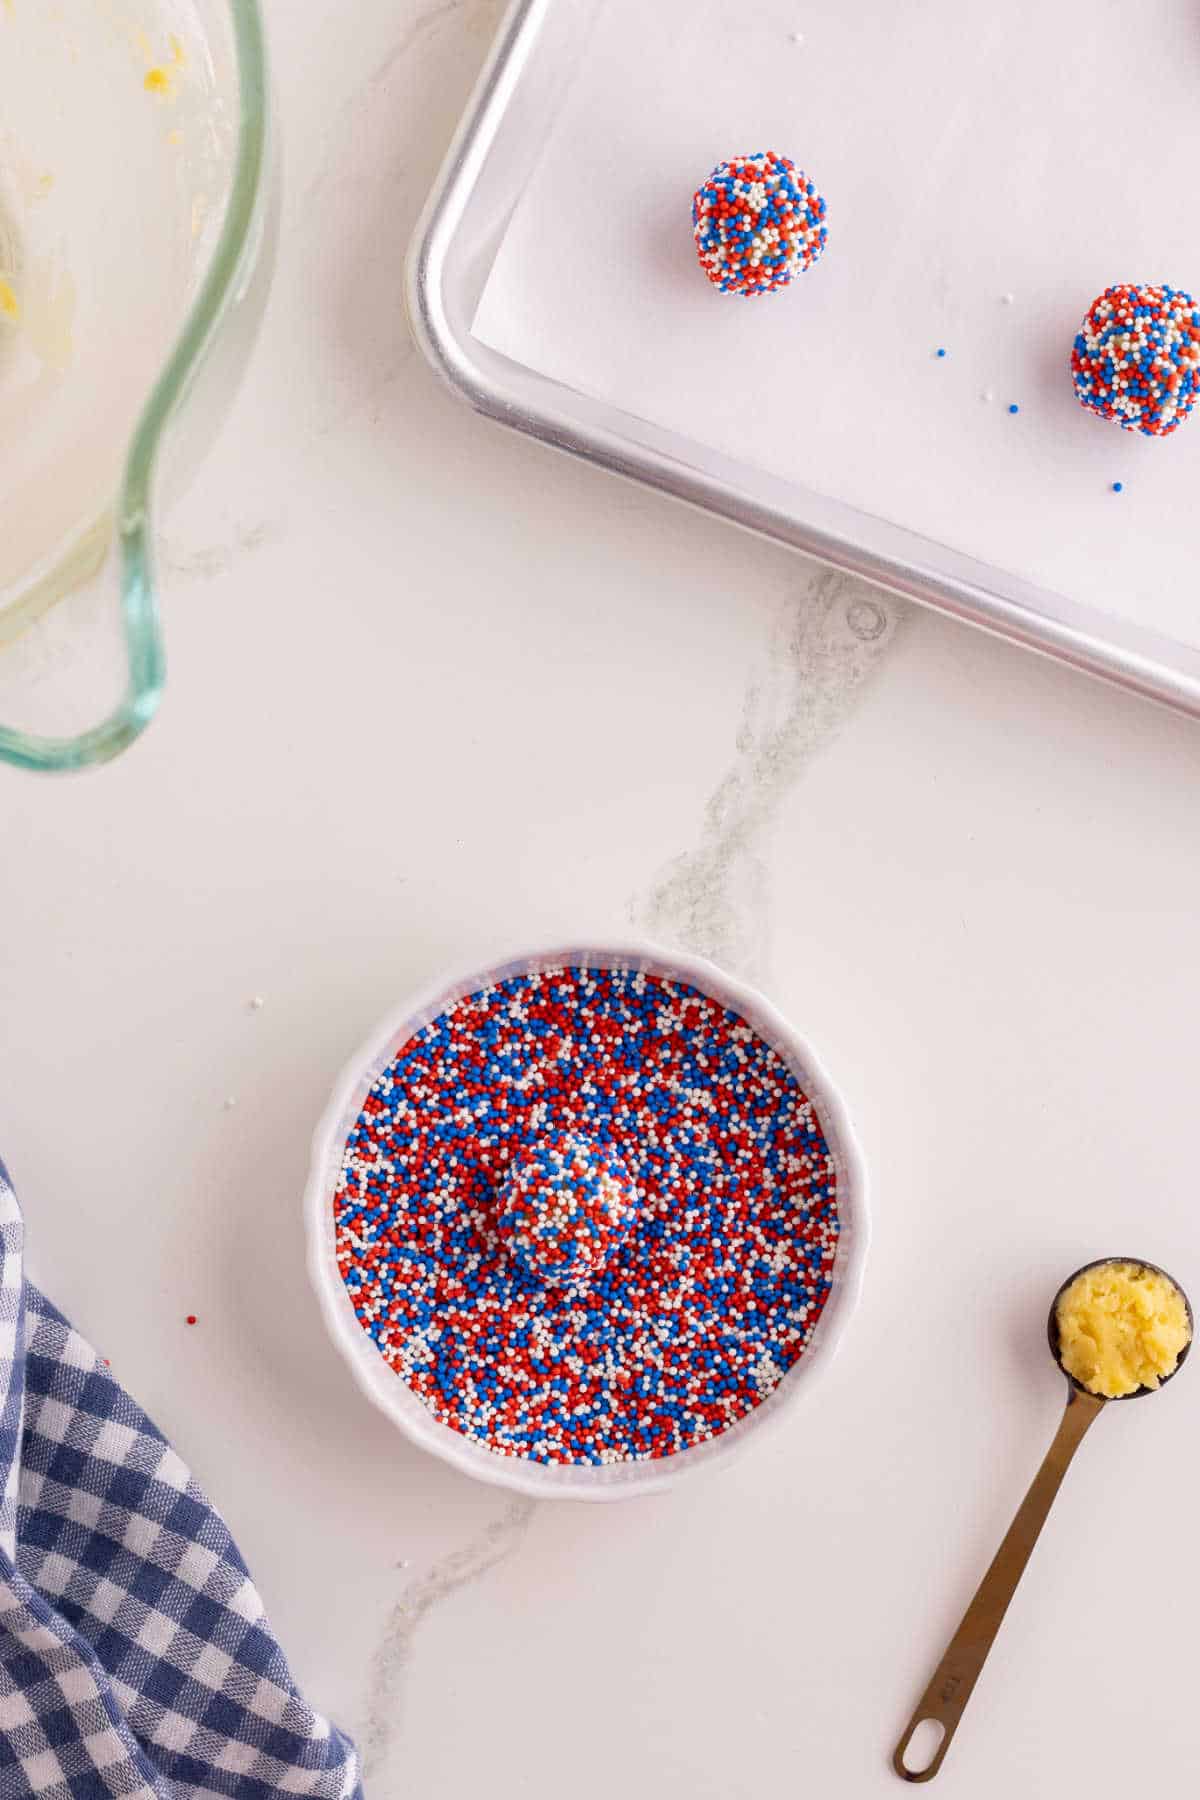
Step 4. Pour the sprinkles into a large bowl that will be big enough to roll the dough balls around.
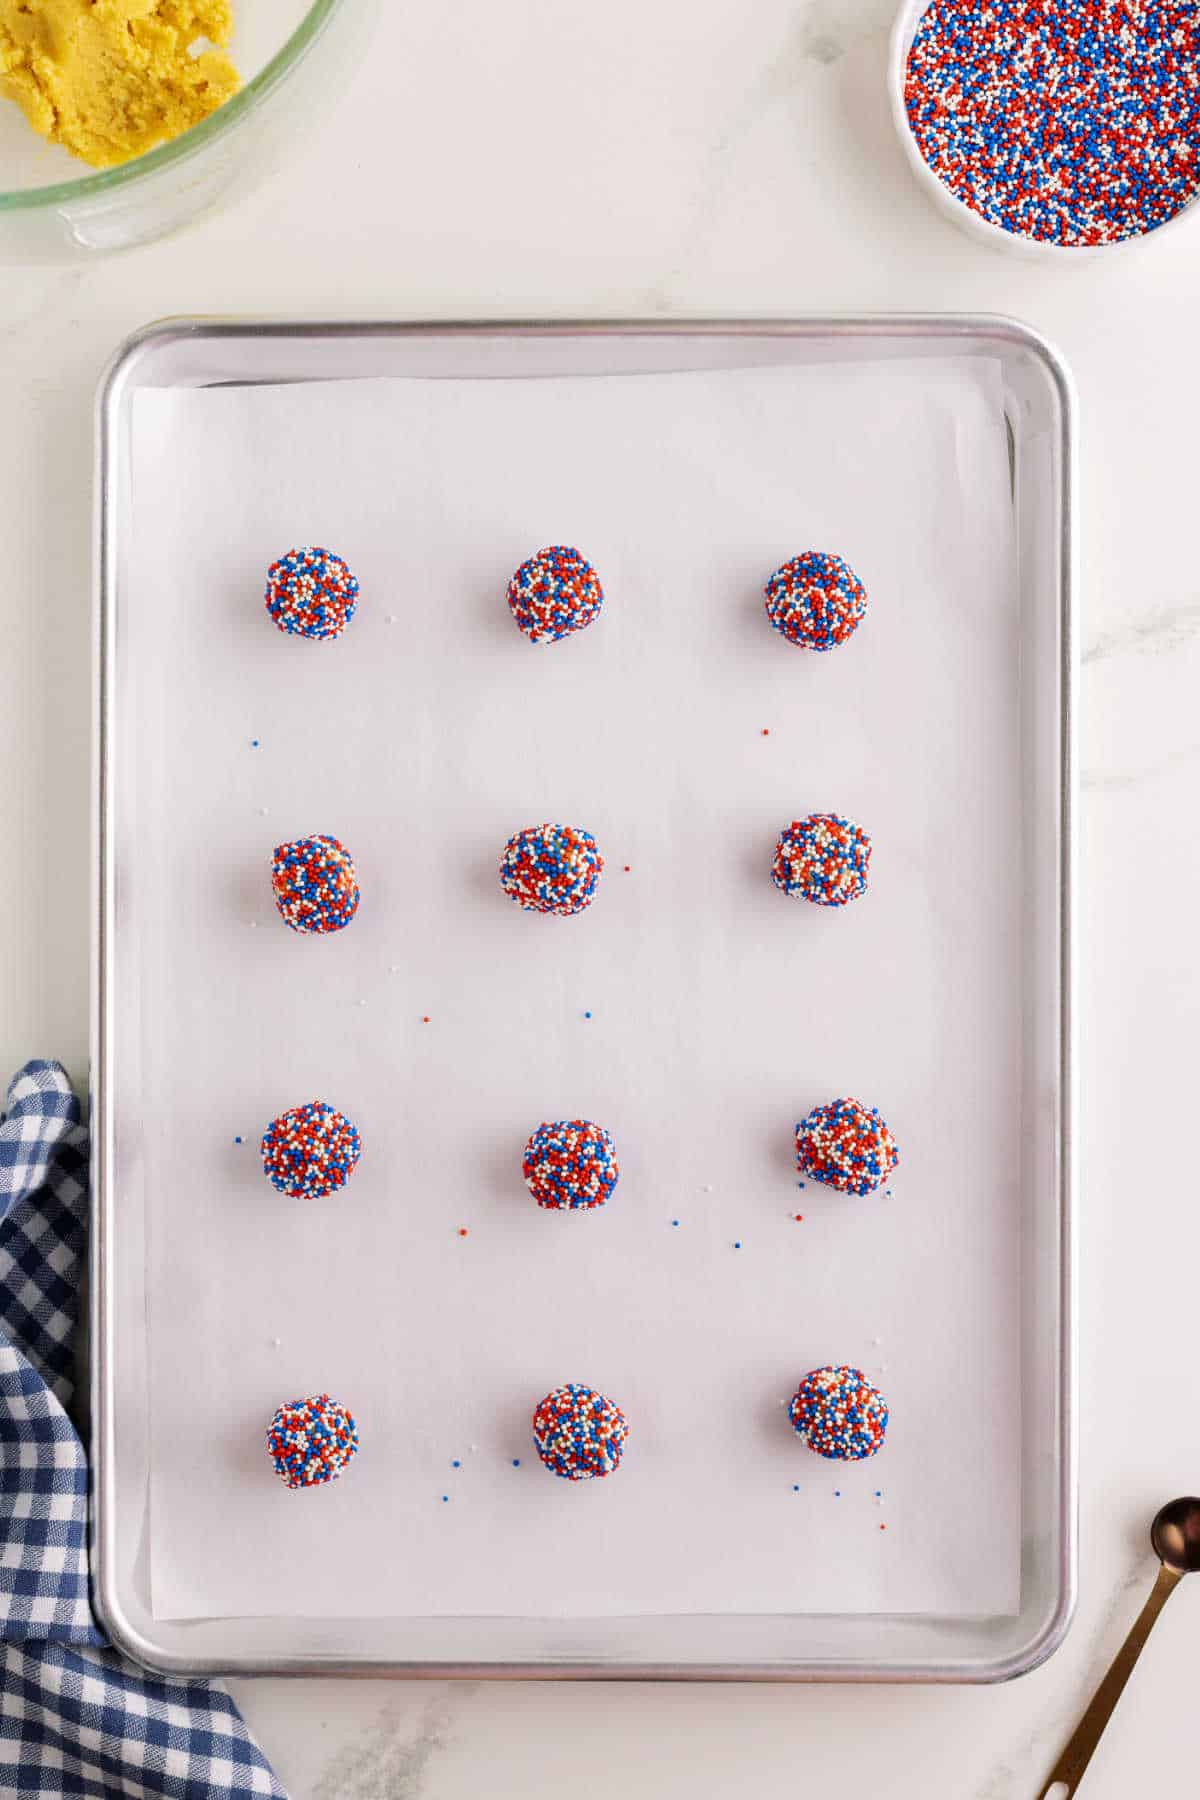
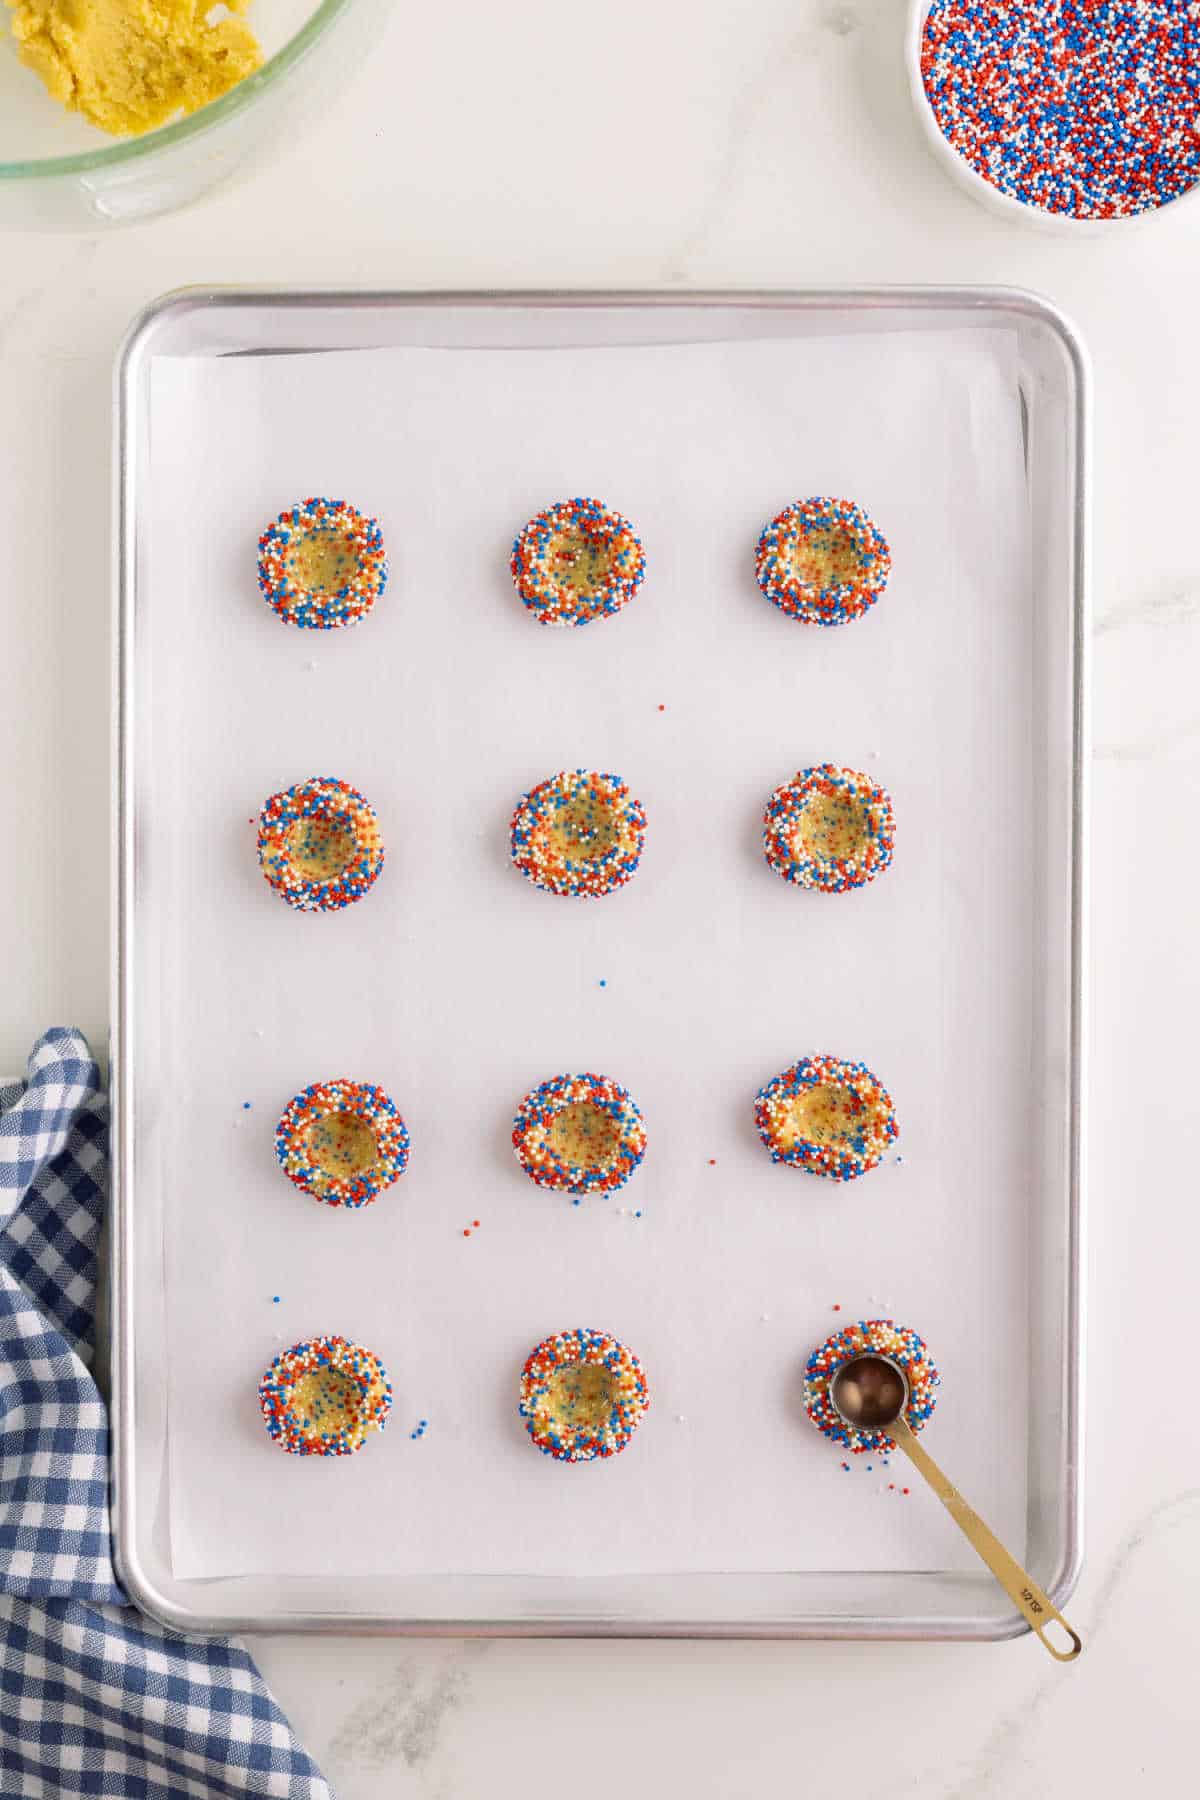
Step 5. With a small cookie scoop or a tablespoon, scoop out the dough and then roll the dough into 1″ balls between the palms of your hands. Immediately after rolling each dough ball, coat it generously in the sprinkles and place it on the cookie sheet.
How to Get Sprinkles to Stick to Cookie Dough

It is important that you make the dough balls one at a time and roll them in the sprinkles. The sprinkles will only stick to the dough balls when they are warm and sticky from rolling the dough with your hands. If you let the dough balls sit too long, they will cool and harden, and the sprinkles will not stick, and you will have bald cookie dough balls.
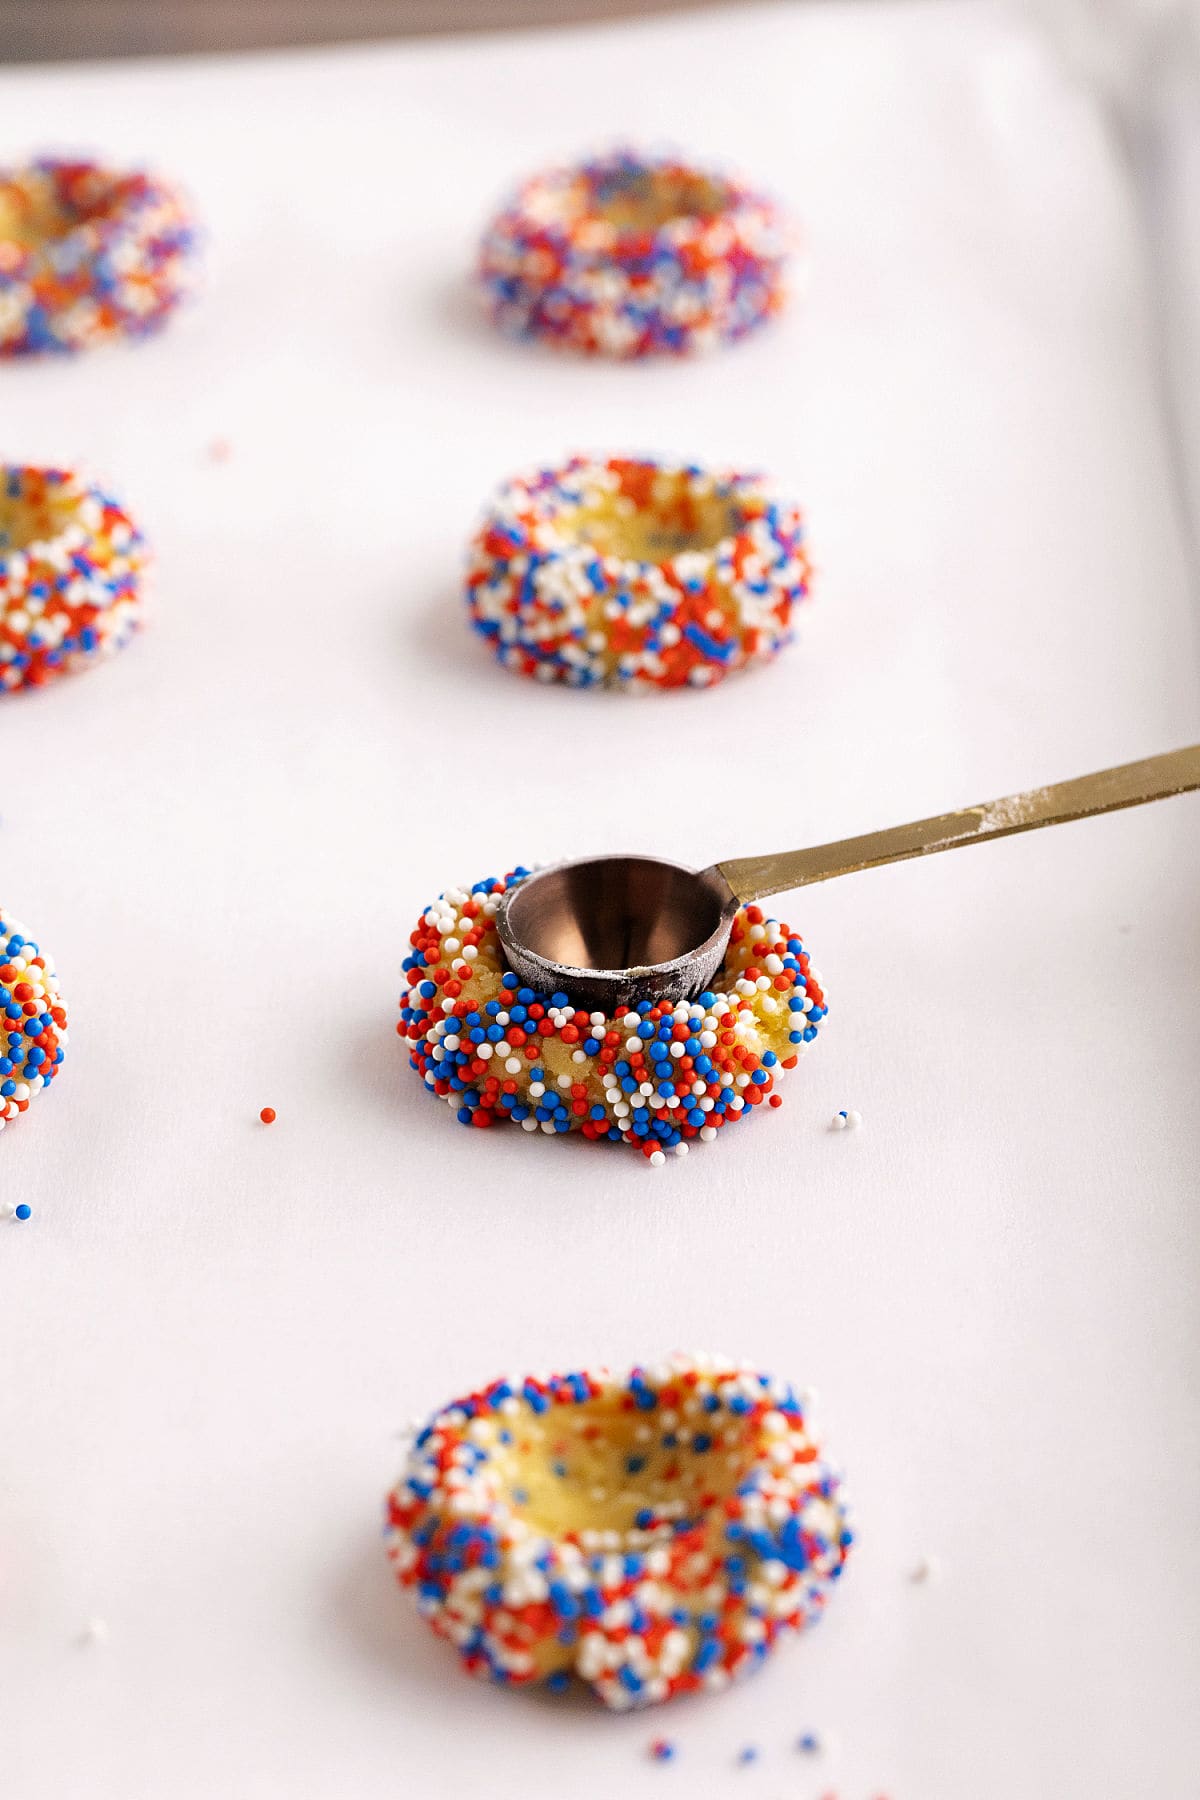
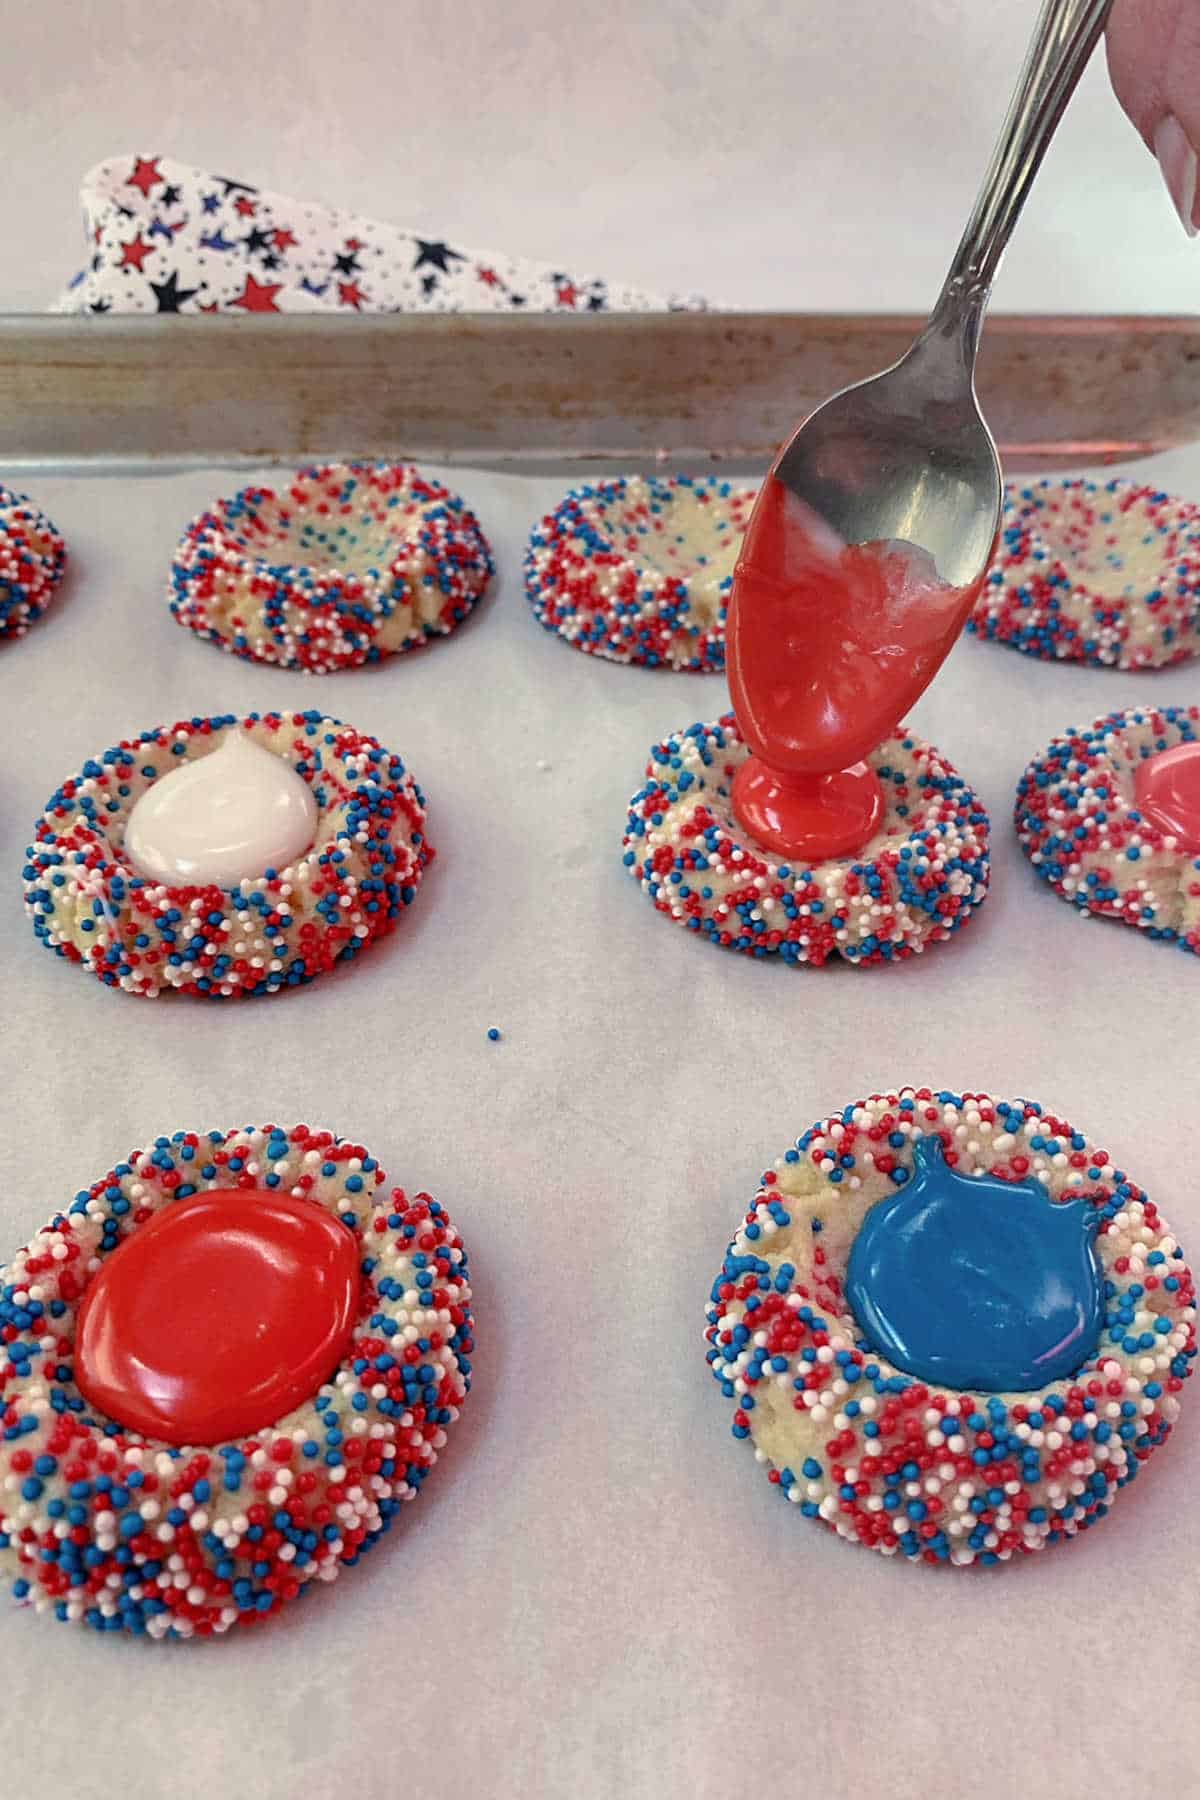
Step 6. Repeat this process to make the sprinkle-covered dough balls, and then use the rounded back of a teaspoon to press down on the center of each cookie to create an indent. To do this, the old-fashioned way, just press your thumb into the dough ball to create the indentation.
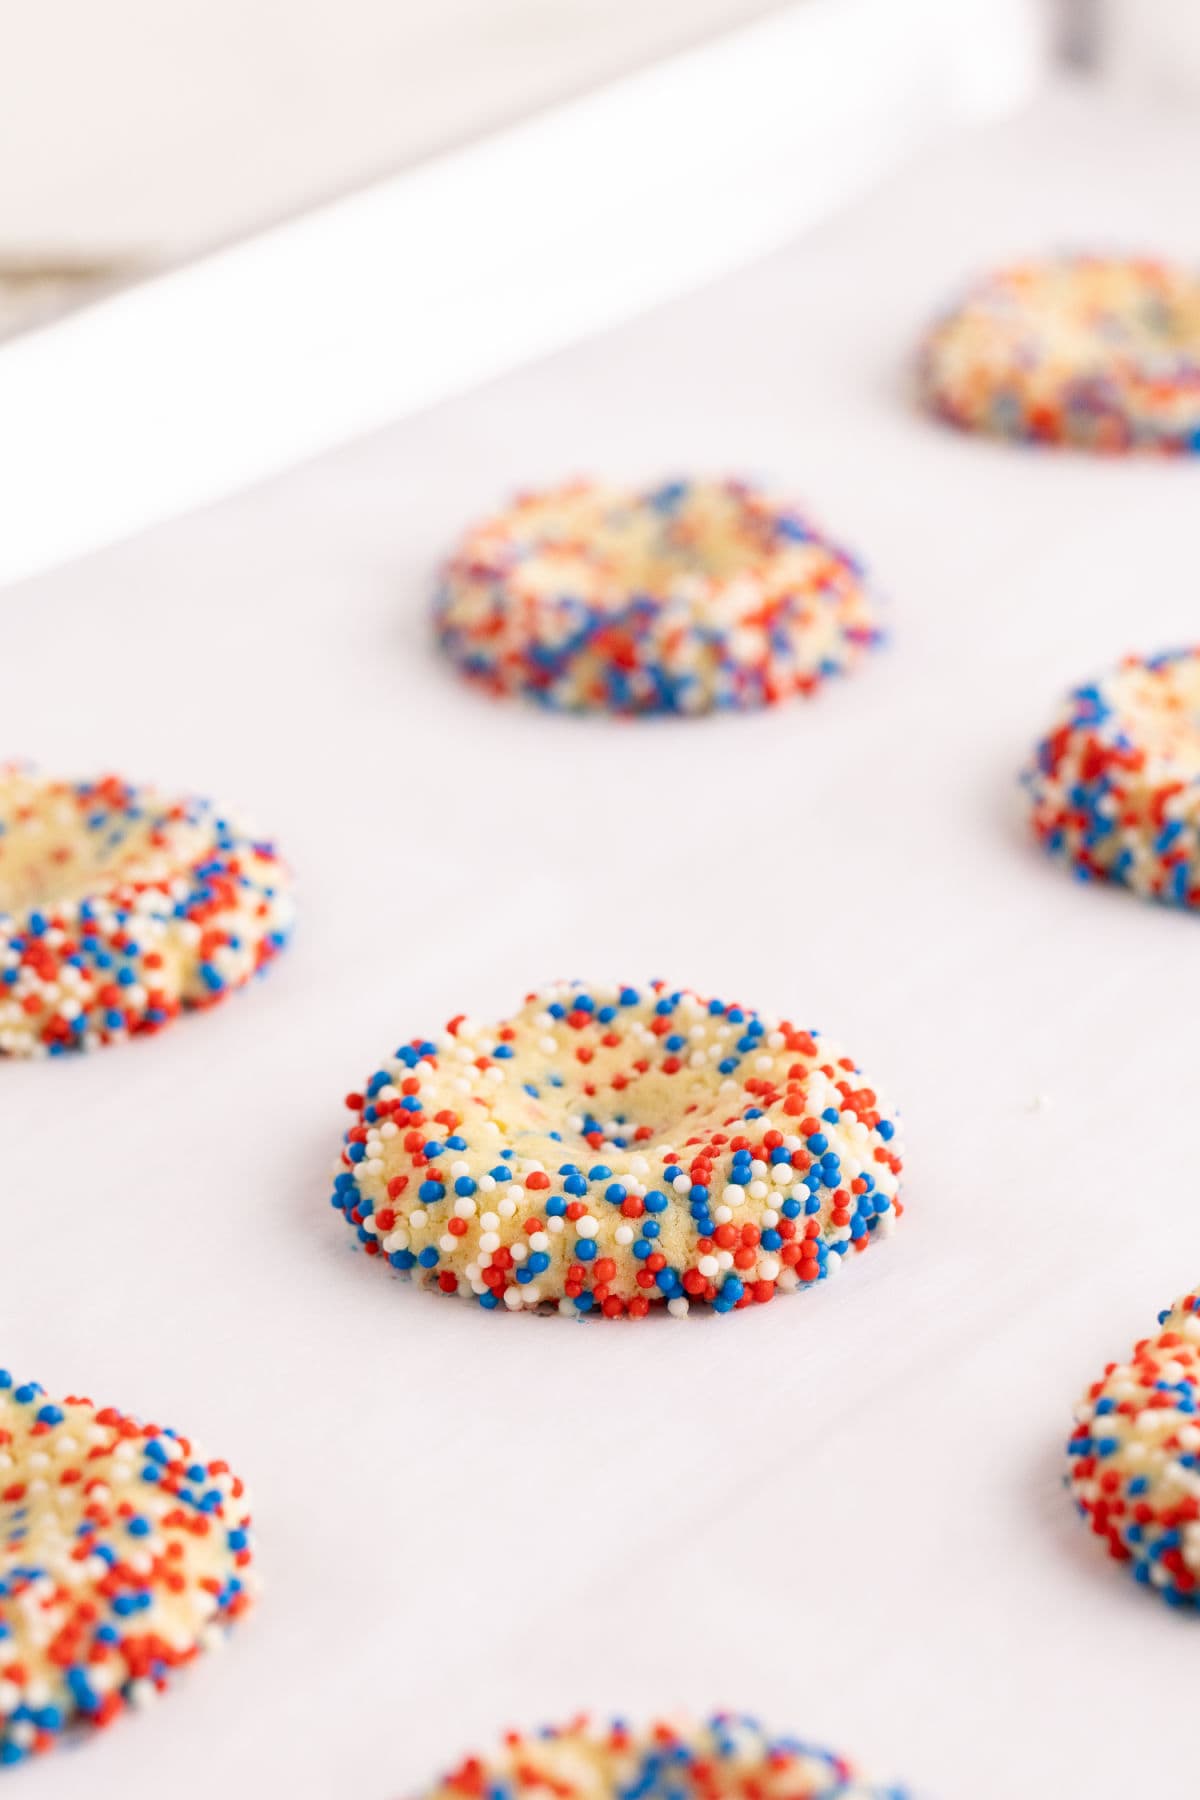
Step 7. Bake the cookies for 10 minutes. Remove the cookies from the oven. If needed, gently press the indent deeper with the teaspoon while the cookies are still warm. Let the cookies cool on the baking sheet for 5 minutes, then transfer them to a wire rack.
Make the icing
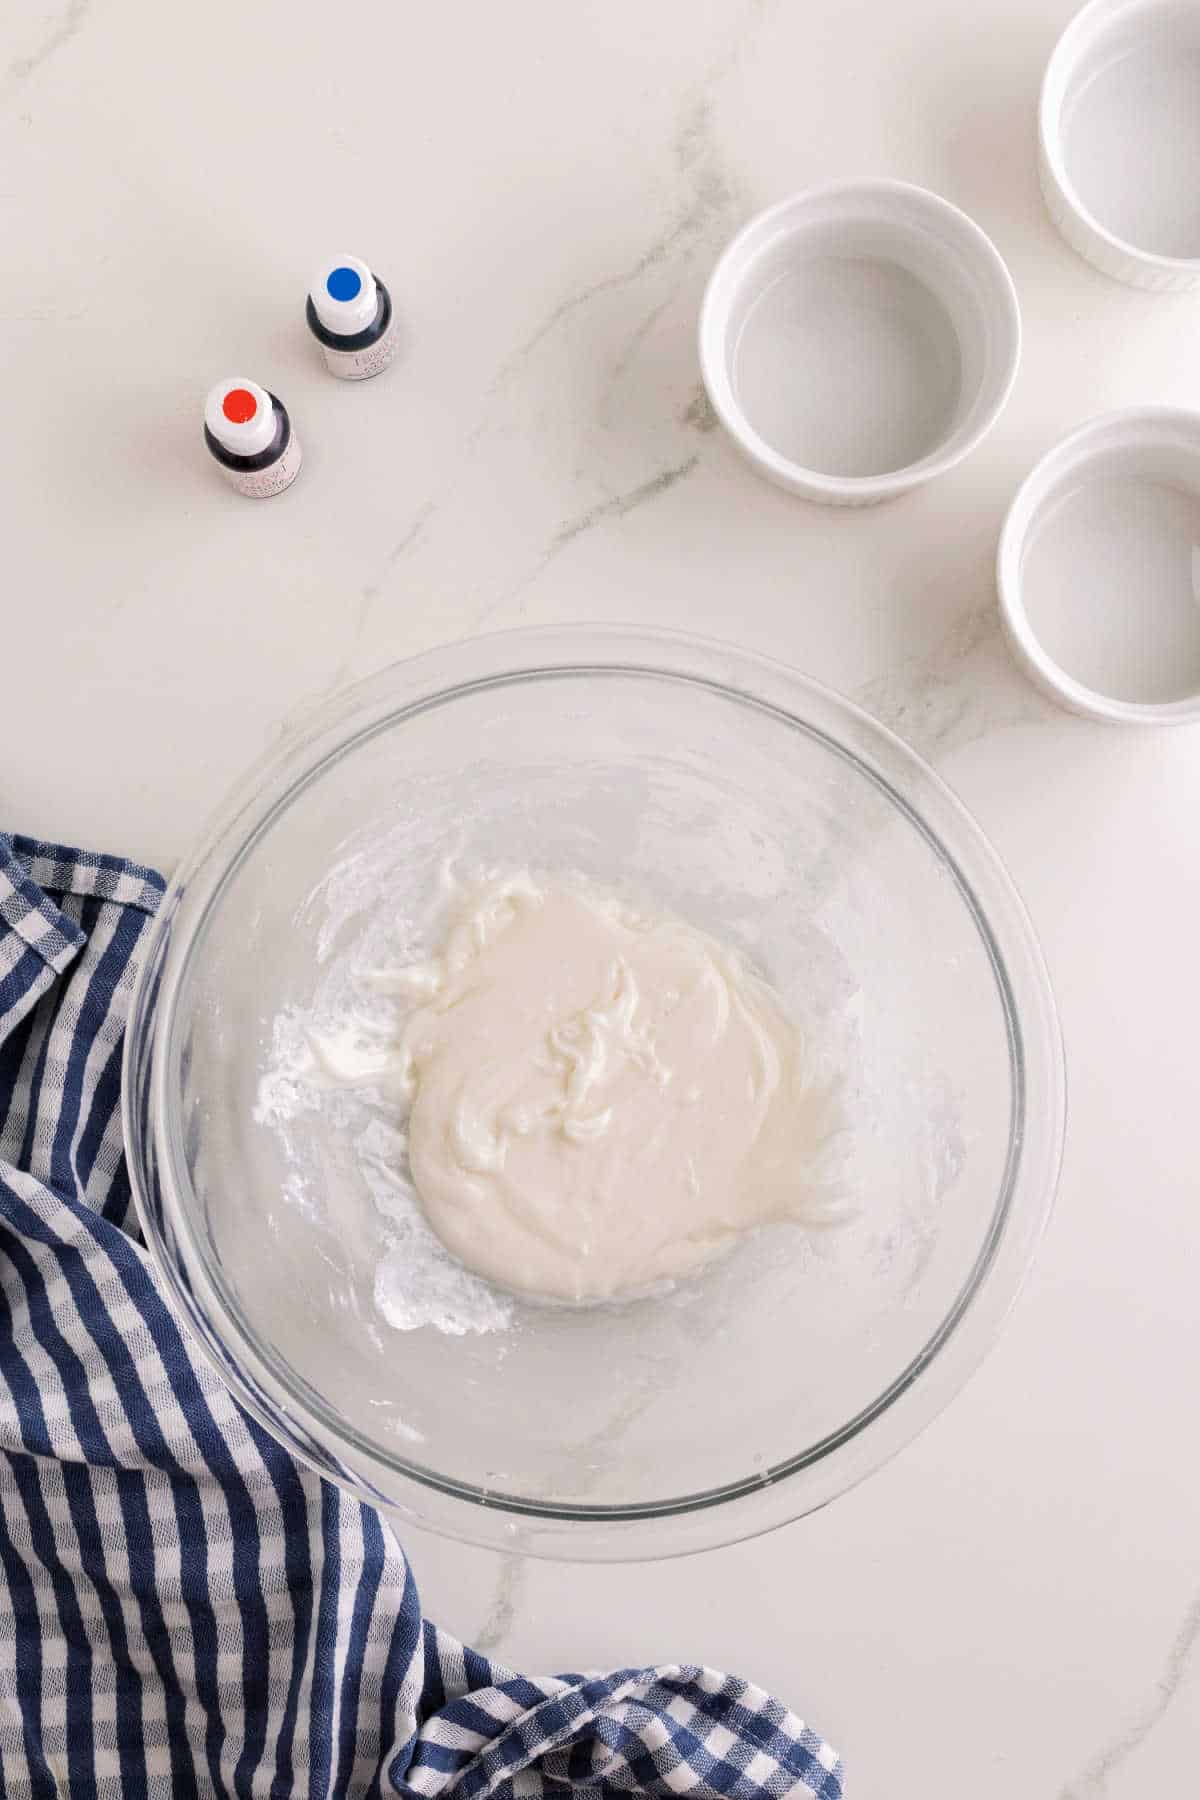
Step 8. Make the icing by mixing the powdered sugar, corn syrup, and milk in a medium-sized bowl. Stir until smooth.
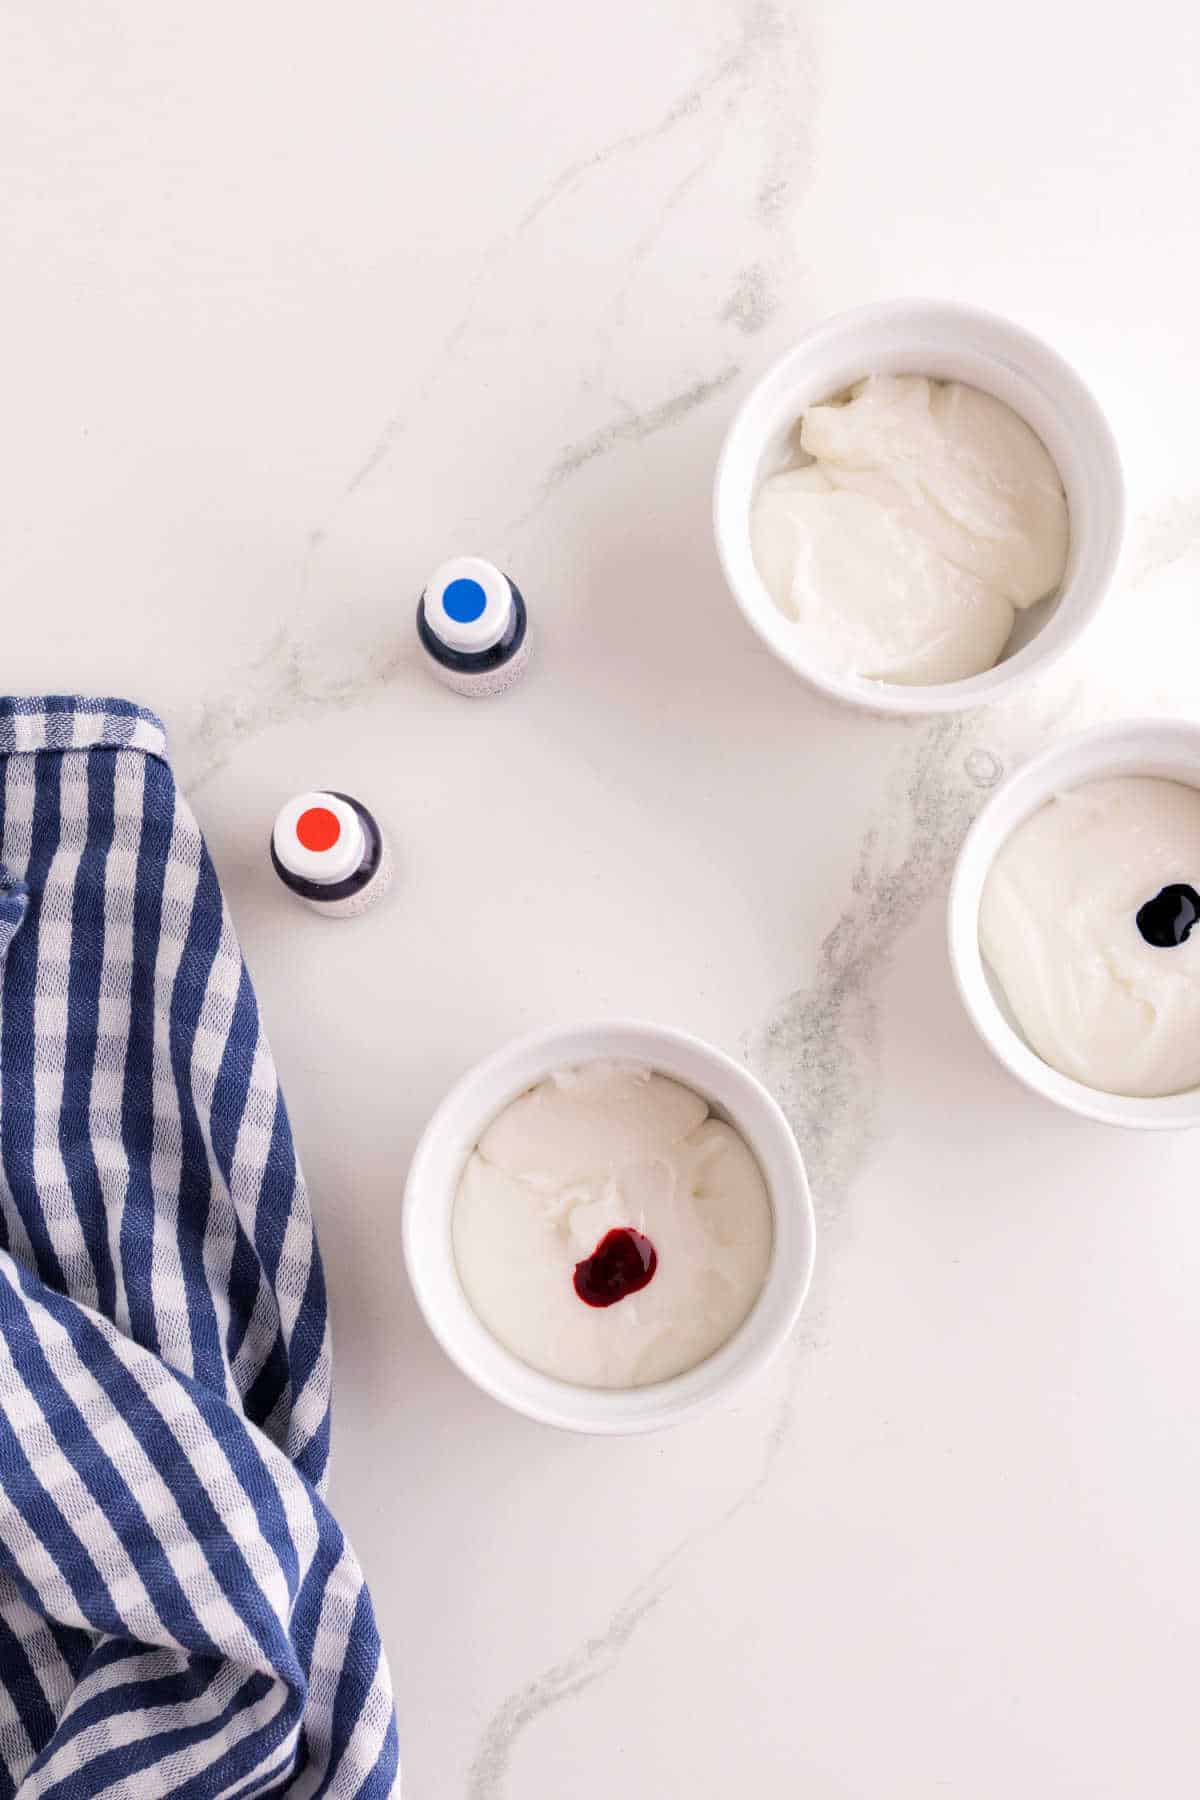
Step 9. Separate the icing into three small bowls, usually about 1/3 cup for each bowl. Add red food coloring to one bowl and blue food coloring to another, leaving the third bowl white. Stir until the colors are evenly blended, adding more food coloring if you would like deeper colors.
Step 10. Once the cookies are completely cooled, spoon the icing into each thumbprint cavity.
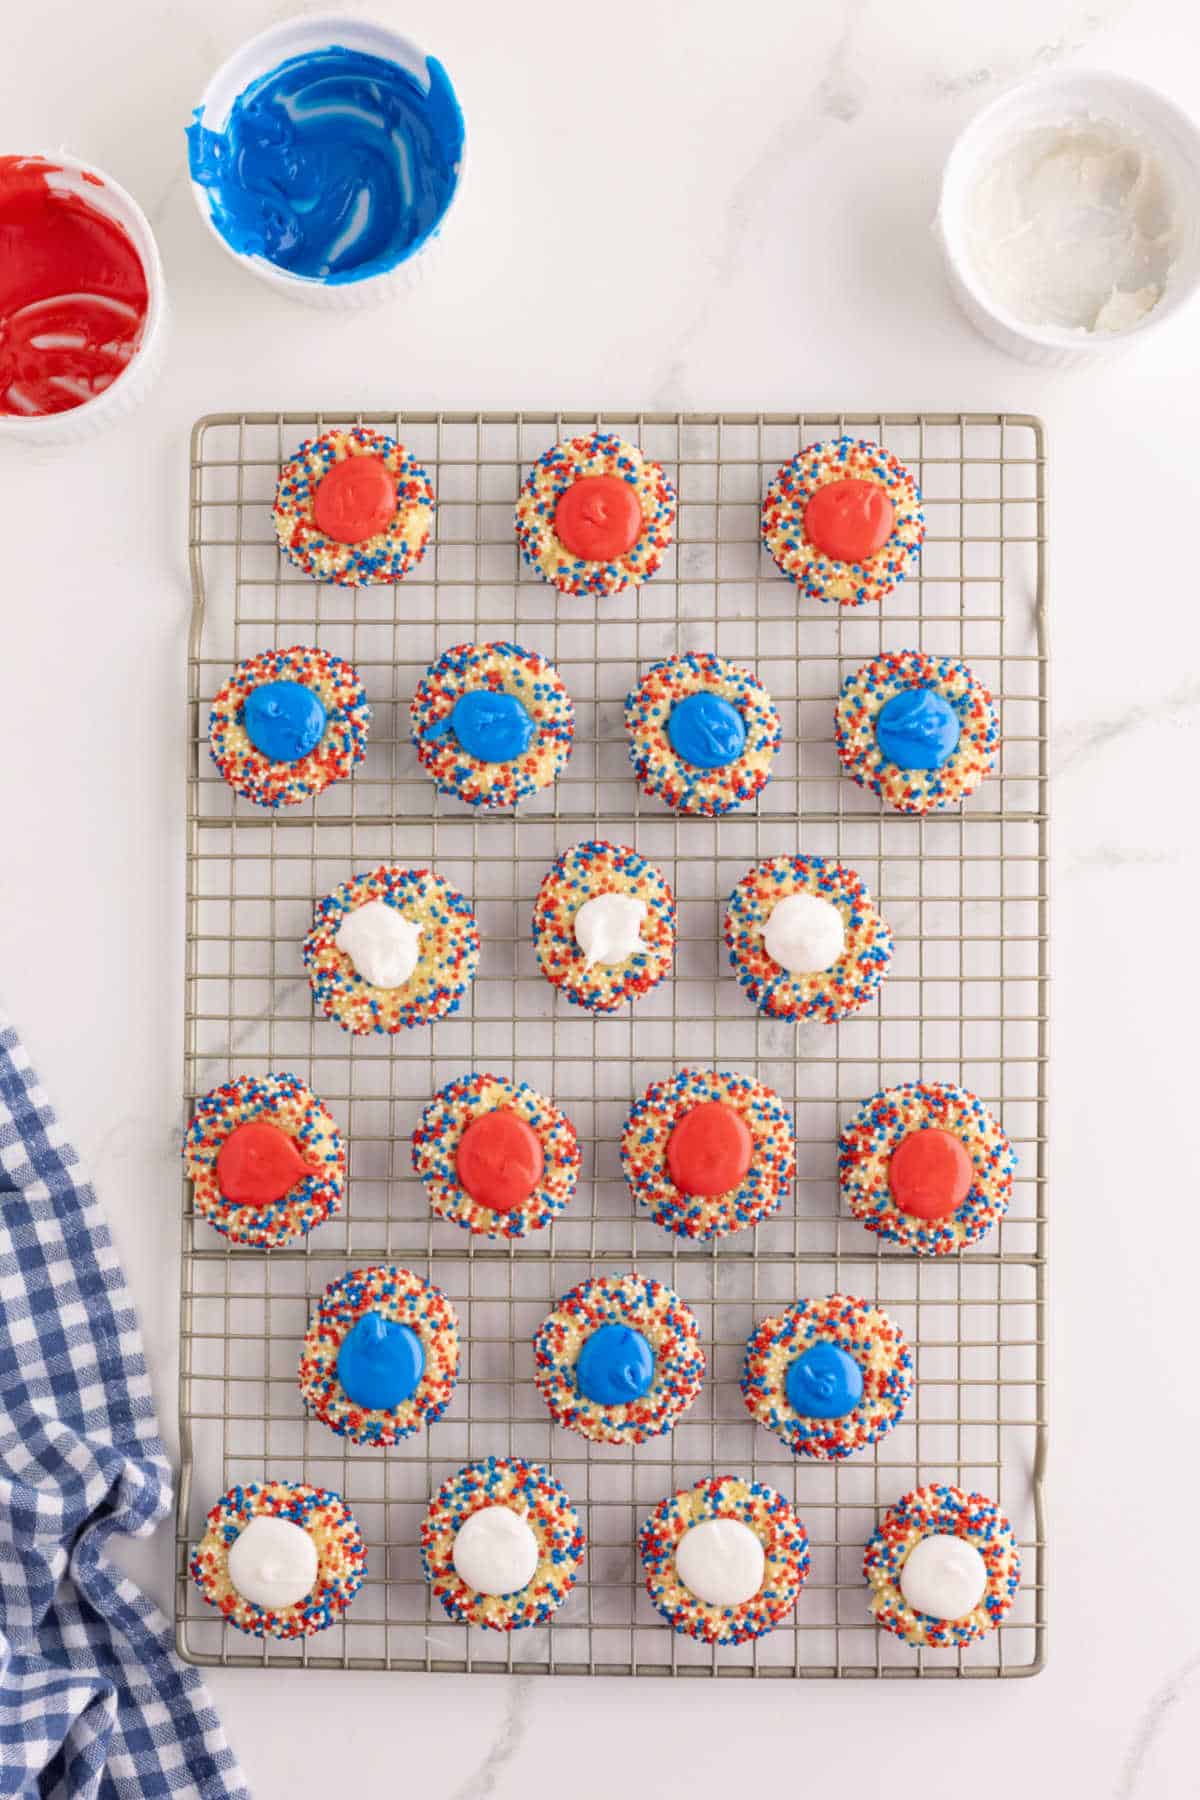
Step 11. Let the cookies sit for an hour to harden the icing. Store in an airtight container for five days.
Celebrating with cookies

More Festive Desserts To Try
- Cookies with sprinkles are always a favorite, and these Raspberry Sprinkle Cookies have a surprise center that make them extra fun to eat.
- Looking for m,ore patriotic treats? Browse all the recipes in my 15 Favorite 4th of July Desserts collections for red,white, and blue desserts for summer celebrations.
- Not cookies, but just as colorful. These Red, White & Blue Jello Cups are ridiculously easy to make and pair perfectly with a cookie tray.
- Cool off with a scoop of Vanilla No-Churn Ice Cream with Red, White and Blue M&Ms. It’s an easy frozen treat that’s perfect for Fourth of July parties and backyard barbecues.
Helpful Tips For Making Thumbprint Cookies
- If the cookie dough cracks when you make the thumbprint, simply press the dough back together with your fingers before baking.
- Even though these cookies are called thumbprint cookies, I prefer using the back of a teaspoon to create the indentation. It makes a deeper, more uniform center for the icing.
- These cookies freeze well after baking and decorating. Store them in an airtight freezer container with parchment or wax paper between the layers. Thaw in a single layer at room temperature.
Equipment needed
- Large mixing bowl
- Hand-held mixer (or a stand mixer)
- #60 Cookie scoop – (tablespoon size)
- Medium-sized bowl
- Three small bowls
- Cookie sheets

Subscribe here for more great recipes, and follow One Hot Oven for more tasty sweet and savory recipes! Pinterest | Instagram | Facebook
Recipe
Tried it? Rate ⭐⭐⭐⭐⭐ & comment below, your feedback keeps the oven mitts flying here at One Hot Oven.

Patriotic Red, White & Blue Thumbprint Cookies
Equipment


Ingredients
- ½ cup butter softened
- ¼ cup granulated sugar
- 1 egg yolk
- 1½ teaspoon pure vanilla extract
- 1 cup AP flour
- ¼ teaspoon salt
- 5 ounces red, white and and blue nonpareil sprinkles
Powdered sugar icing
- 2 cups powdered sugar
- 2 tablespoons milk
- 1 tablespoon light corn syrup
- red gel food color
- blue gel food coloring
Instructions
Making cookie dough
- Preheat the oven to 350°F. Line two baking sheets with parchment paper or a silicone baking mat.
- In a large mixing bowl, combine the softened butter, sugar, egg yolk, and vanilla. Beat with a hand mixer on medium speed until light and creamy. Scrape down the sides of the bowl with a rubber spatula. You can also use a stand mixer.
- Add the flour and salt and mix on low speed just until combined and a soft dough forms.
- Place the nonpareils in a bowl big enough to roll the dough balls.
- Shape the dough into 1-inch balls using a small cookie scoop or a teaspoon. Immediately roll each dough ball in the nonpareils. The warmth of your hands helps soften the dough slightly so the sprinkles stick better.
- Place the dough balls 2 inches apart on the prepared baking sheets. Using the back of a teaspoon measuring spoon, press an indentation into the center of each cookie. You can also use your thumb to make the indentation.
- Bake for 10 minutes, or until the cookies are lightly golden around the edges. If needed, gently re-press the indentation while the cookies are still warm. Let the cookies cool on the baking sheet for 5 minutes, then transfer them to a wire rack to cool completely.
Making the powdered sugar icing
- Add the powdered sugar to a medium bowl and whisk to remove any lumps.
- Add the milk and corn syrup and whisk until smooth.
- Divide the icing evenly among three small bowls. Tint one bowl red and one bowl blue with food coloring, leaving the third bowl white. Stir until the colors are evenly blended. Add additional food coloring if a deeper color is desired.Now you have red, white and blue icing colors.
- Spoon the icing into each cookie thumbprint. Let the icing set for about 1 hour.
- Store the cookies in an airtight container at room temperature for up to 4 days.
Notes
Try this other One Hot Oven Thumbprint Cookies Valentine’s Day Thumbprints in red, pink and white, they are so pretty! Apricot Pecan Thumbprints are classic cookie to bake for the holidays.
As an Amazon Associate I earn from qualifying purchases.
Nutrition
First published: May 19, 2019, Last updated: June 28, 2026, for better readability.
Thank you for stopping by the One Hot Oven blog. Please leave a comment to say hello or tell me what you are baking these days; I always love hearing from fellow bakers. Have any questions or want to chat about the recipe? Please visit my About page for information, and I’ll be happy to help!
About Jere’
From learning to cook on a farm in Indiana to culinary school in California, my passion for food is never-ending. Turning on my oven to bake something for friends and family is my happy place, and I am glad to be here at One Hot Oven, sharing sweet and savory recipes with all my baking friends.


22 cookies my butt. I had to use 1/2 tsp and still only got 12 cookies out of the batch.
Sorry to hear you had problems measuring out these cookies. 1 teaspoon will make 22 cookies. You can try measuring the dough if you have a scale. Each dough ball should be 4 ounces. Hope that helps.
I used my small cookie scoop and got 30 cookies!