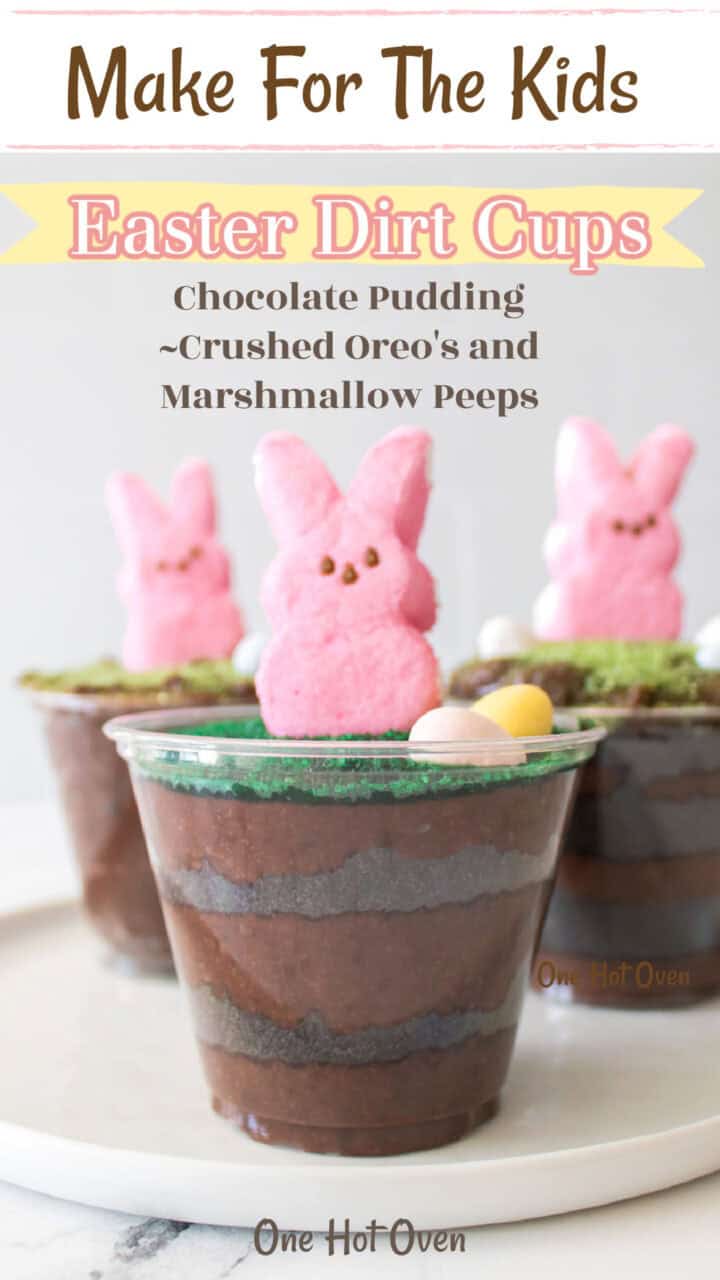
These Easter dirt cups are a quick, fun dessert you can throw together without much effort. They come together in about 20 minutes and don’t require any baking, which makes them perfect when you want something simple but still festive.
Want to save this recipe?
Enter your email & I’ll send it to your inbox. Plus, get great new recipes from me every week!
This page may contain affiliate links; please see my disclosure for policy details.
I started making dirt cups years ago for my kids, and somewhere along the way, they became an Easter tradition I didn’t plan on keeping, but here we are. There’s something about a cup of “dirt” decorated with Peeps and Cadbury Mini Eggs that kids just love, and honestly, grown kids don’t outgrow it either. The kids want to help build them, and honestly, the adults sneak just as many Cadbury Mini Eggs.
What I really love about this recipe is that it solves the “I need something for Easter, but I don’t have time to bake a cake” problem completely. You can put these together the night before, stash them in the fridge, and pull them out when you need them. If you are already in Easter dessert mode, my Easter sugar cookie recipe is another easy one worth bookmarking for the holiday.
If you love easy no-bake treats like these, my Oreo Easter Bark is another fun one to make. It uses the same cookies and comes together just as quickly.

- Type of recipe: Easter Dessert
- Cooking method: No-bake, no-cooking dessert
- Skill level: Easy, just mix, layer, and decorate
- Flavors & textures: Creamy chocolate pudding, crunchy Oreo crumbles, and sweet Easter candy on top
- Serving: 4 cups, ready in 20 minutes
Table of contents
Easter Dirt Cup Ingredients
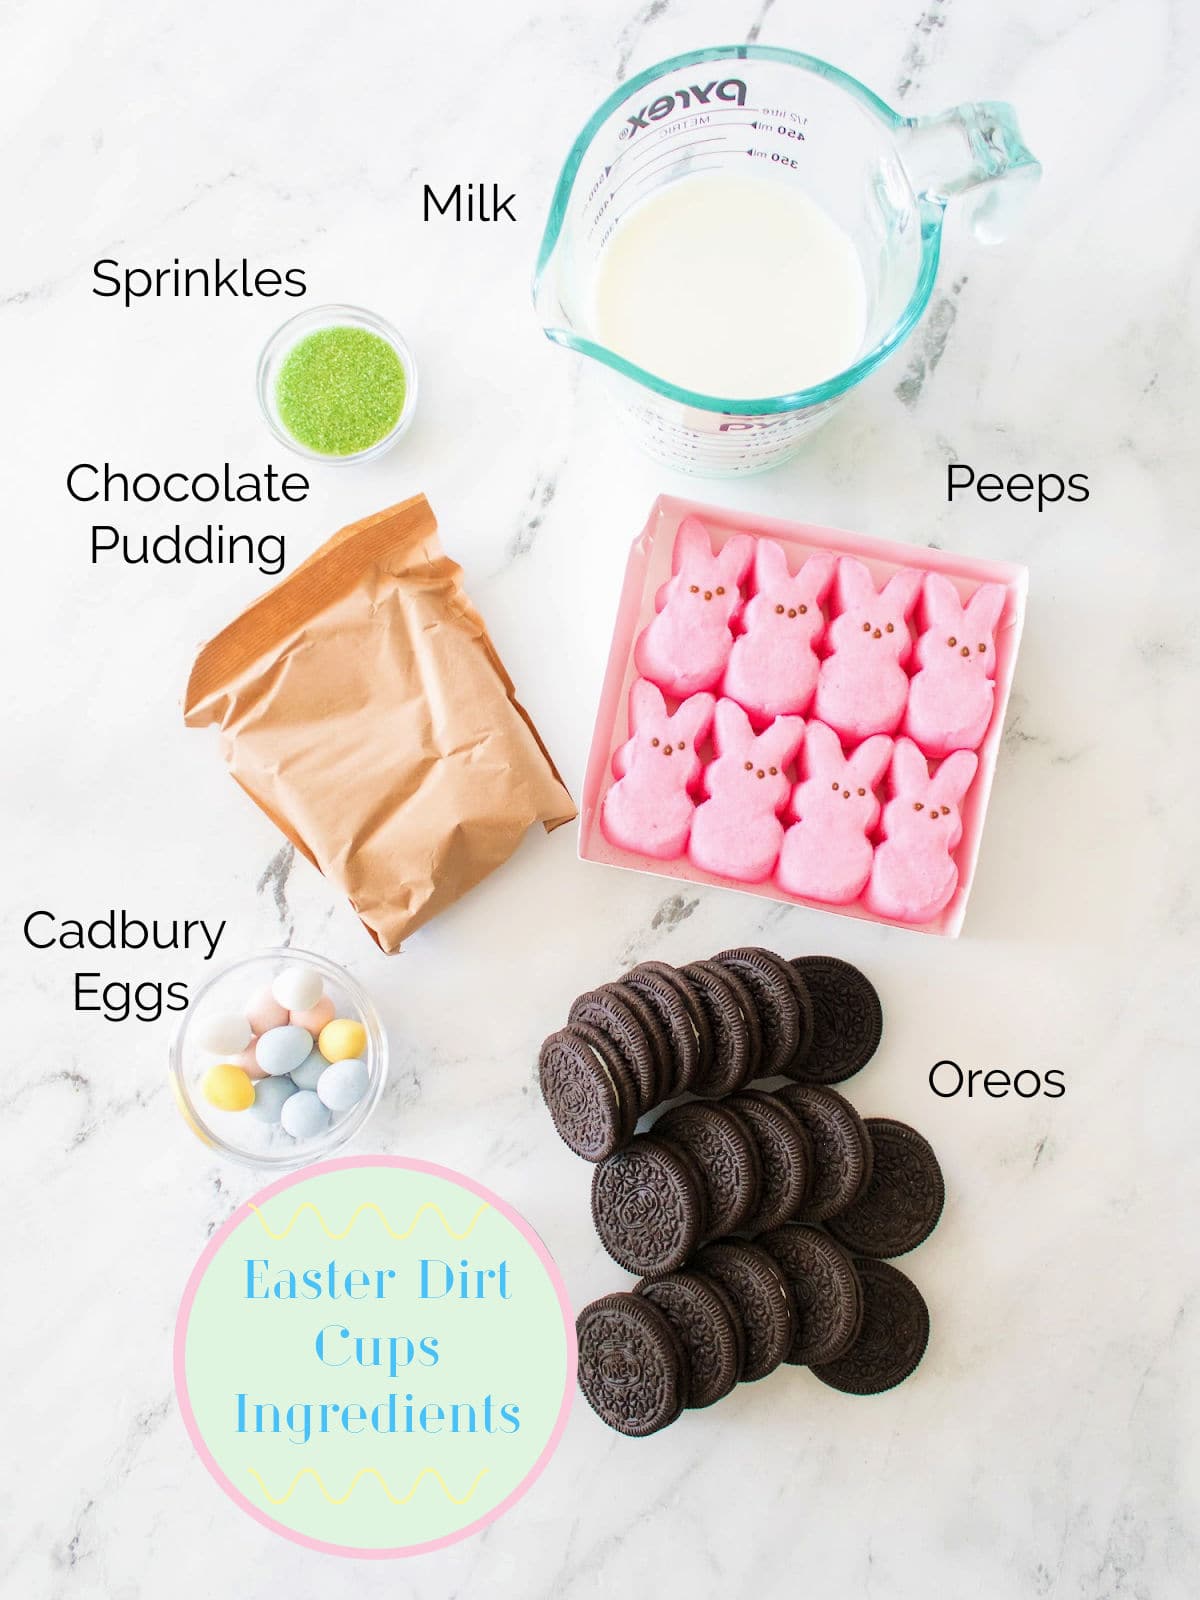
No specialty ingredients here. Just a handful of things you can find at any grocery store this time of year.
Instant chocolate pudding mix – The 5.9 oz instant chocolate pudding box is what you want. Instant is important here since we are not cooking anything, and it sets up quickly in the fridge.
Milk – Regular whole milk gives you the creamiest pudding. 2% works fine too.
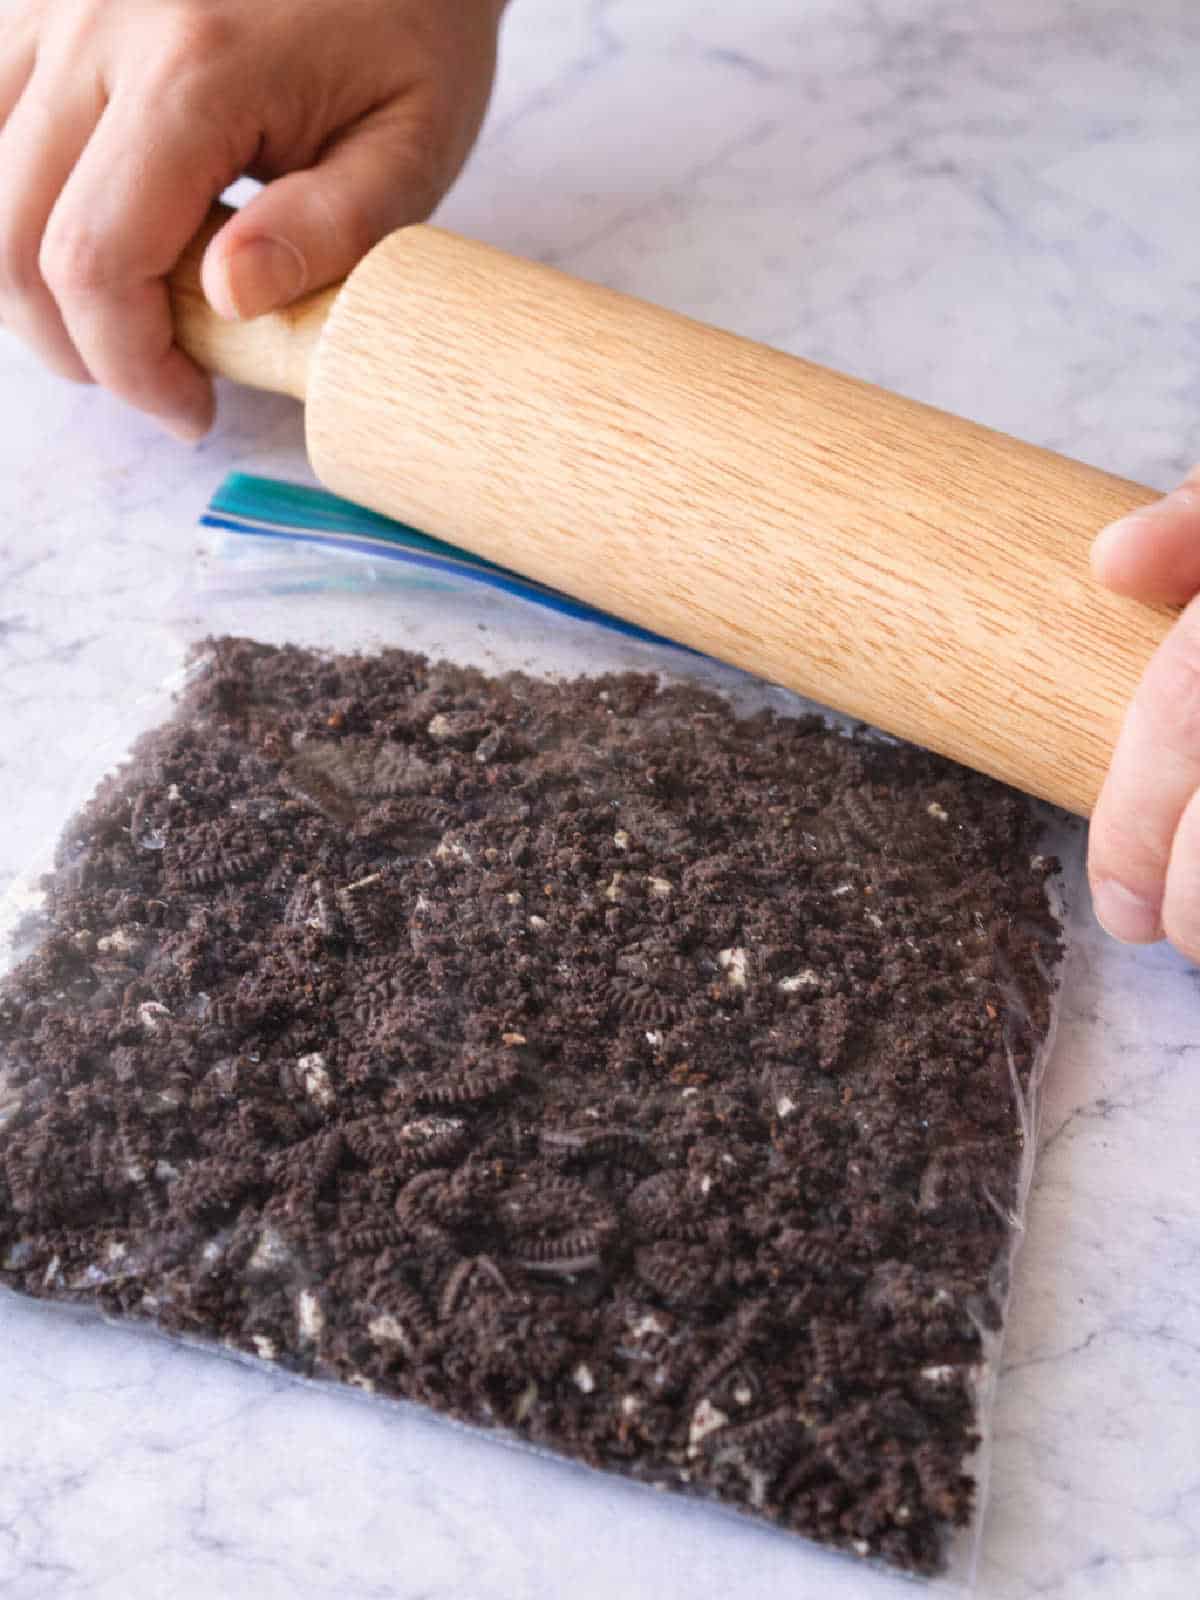
Oreo cookies – These Oreos are the “dirt,” and they do a really good job at it. Crush them in a zip-top bag with a rolling pin, or pulse them a few times in a food processor. You want some bigger crumbles mixed in with the fine bits for the best texture.
Peeps marshmallow bunnies – One per cup. They are the stars of the show on top. Pink Peep’s are my favorites.
Cadbury Mini Eggs – These little candy-coated chocolate eggs are perfect for tucking into the “dirt.” They also add a nice crunch against the soft pudding.
Green sprinkles – These become the “grass” in each cup. A small handful per cup is all you need. Look for green sparkling sugar or sanding sugar.
How To Make Easter Dirt Cups
These come together fast and are easy enough to let the kids help make this fun dessert. Here is the order that works best.
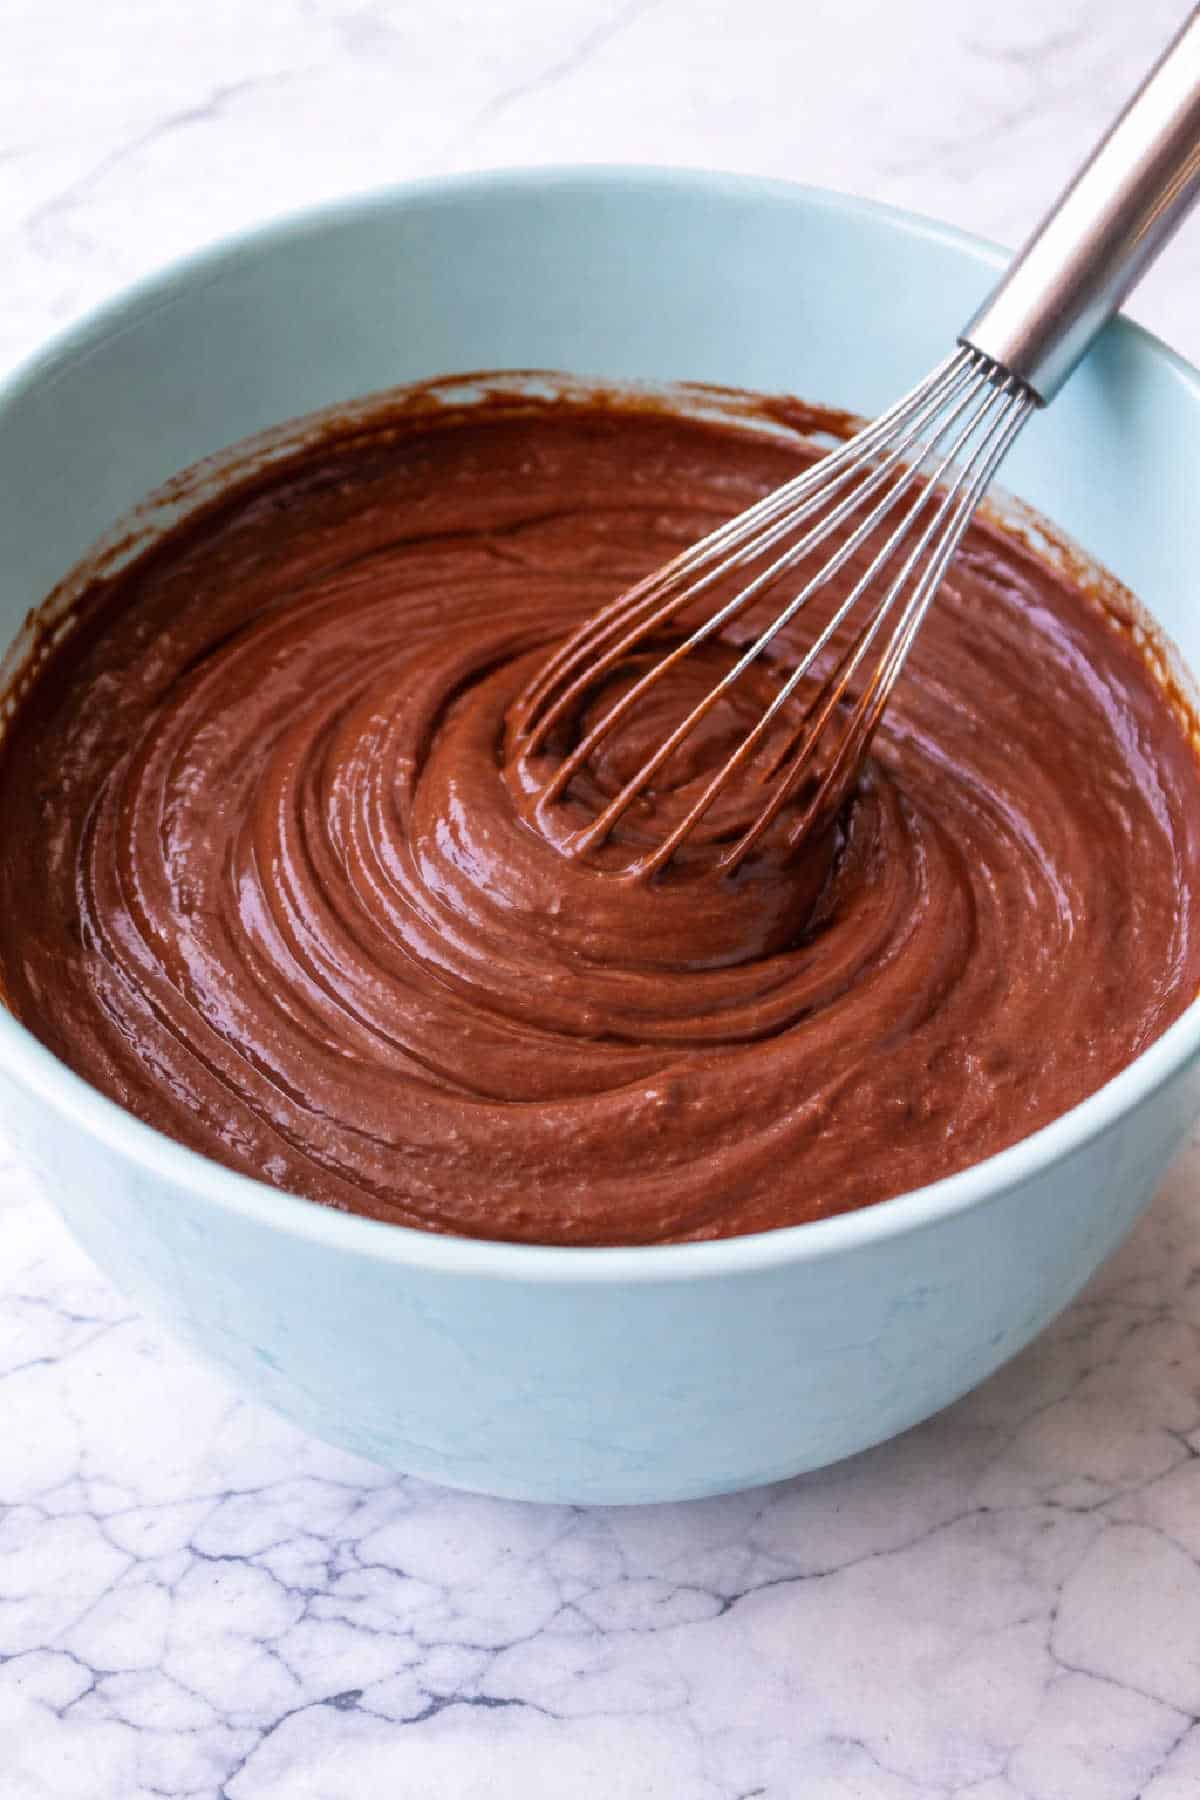
Step 1. Whisk the instant chocolate pudding mix and milk together in a large bowl until smooth. Let it sit for 5 minutes to thicken up. It will look loose at first; that’s normal. Give it the full 5 minutes.
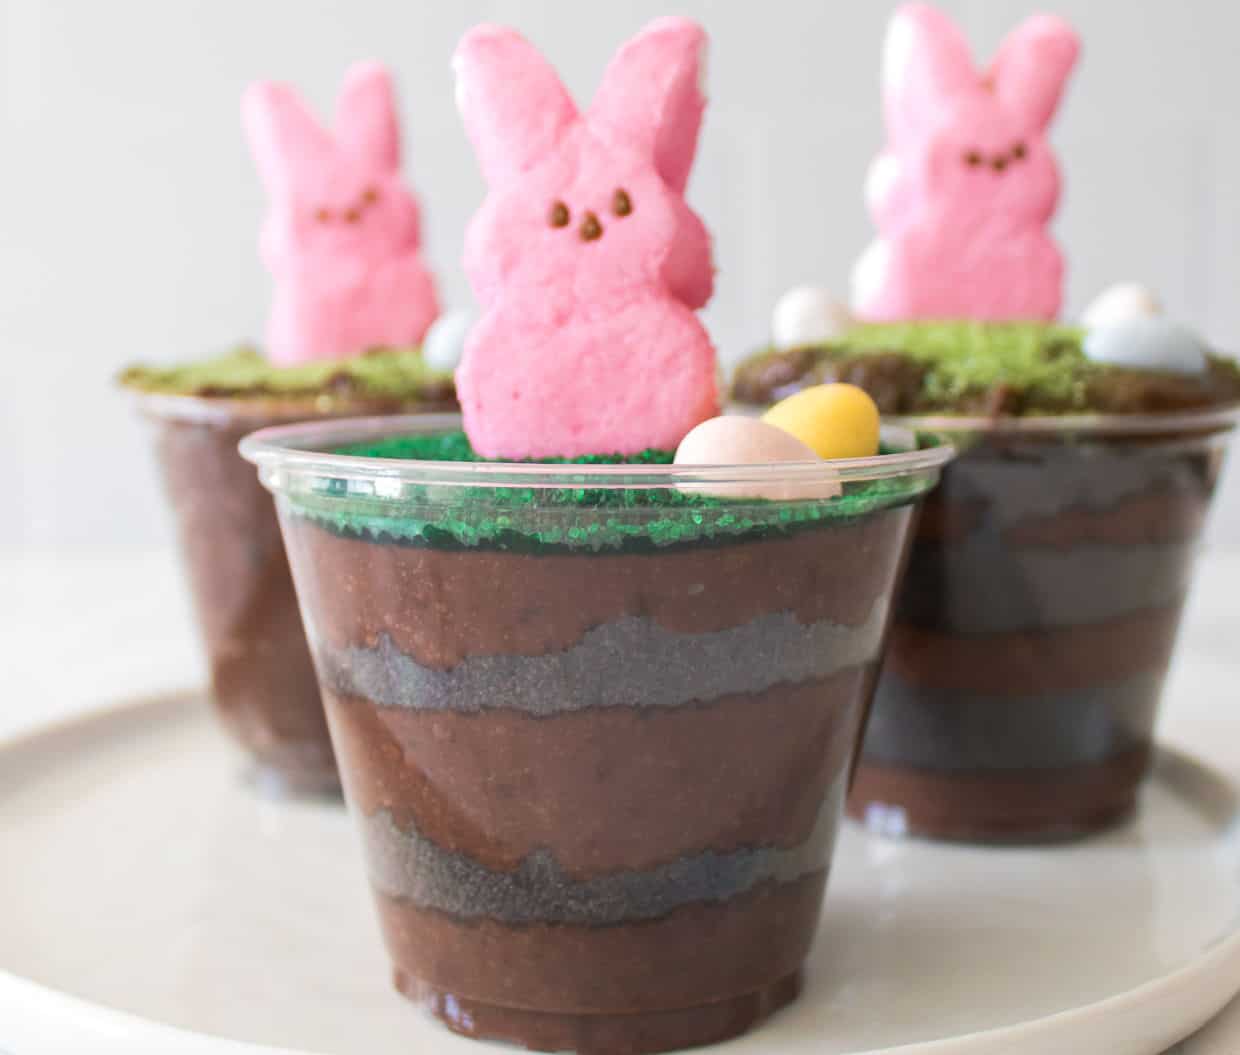
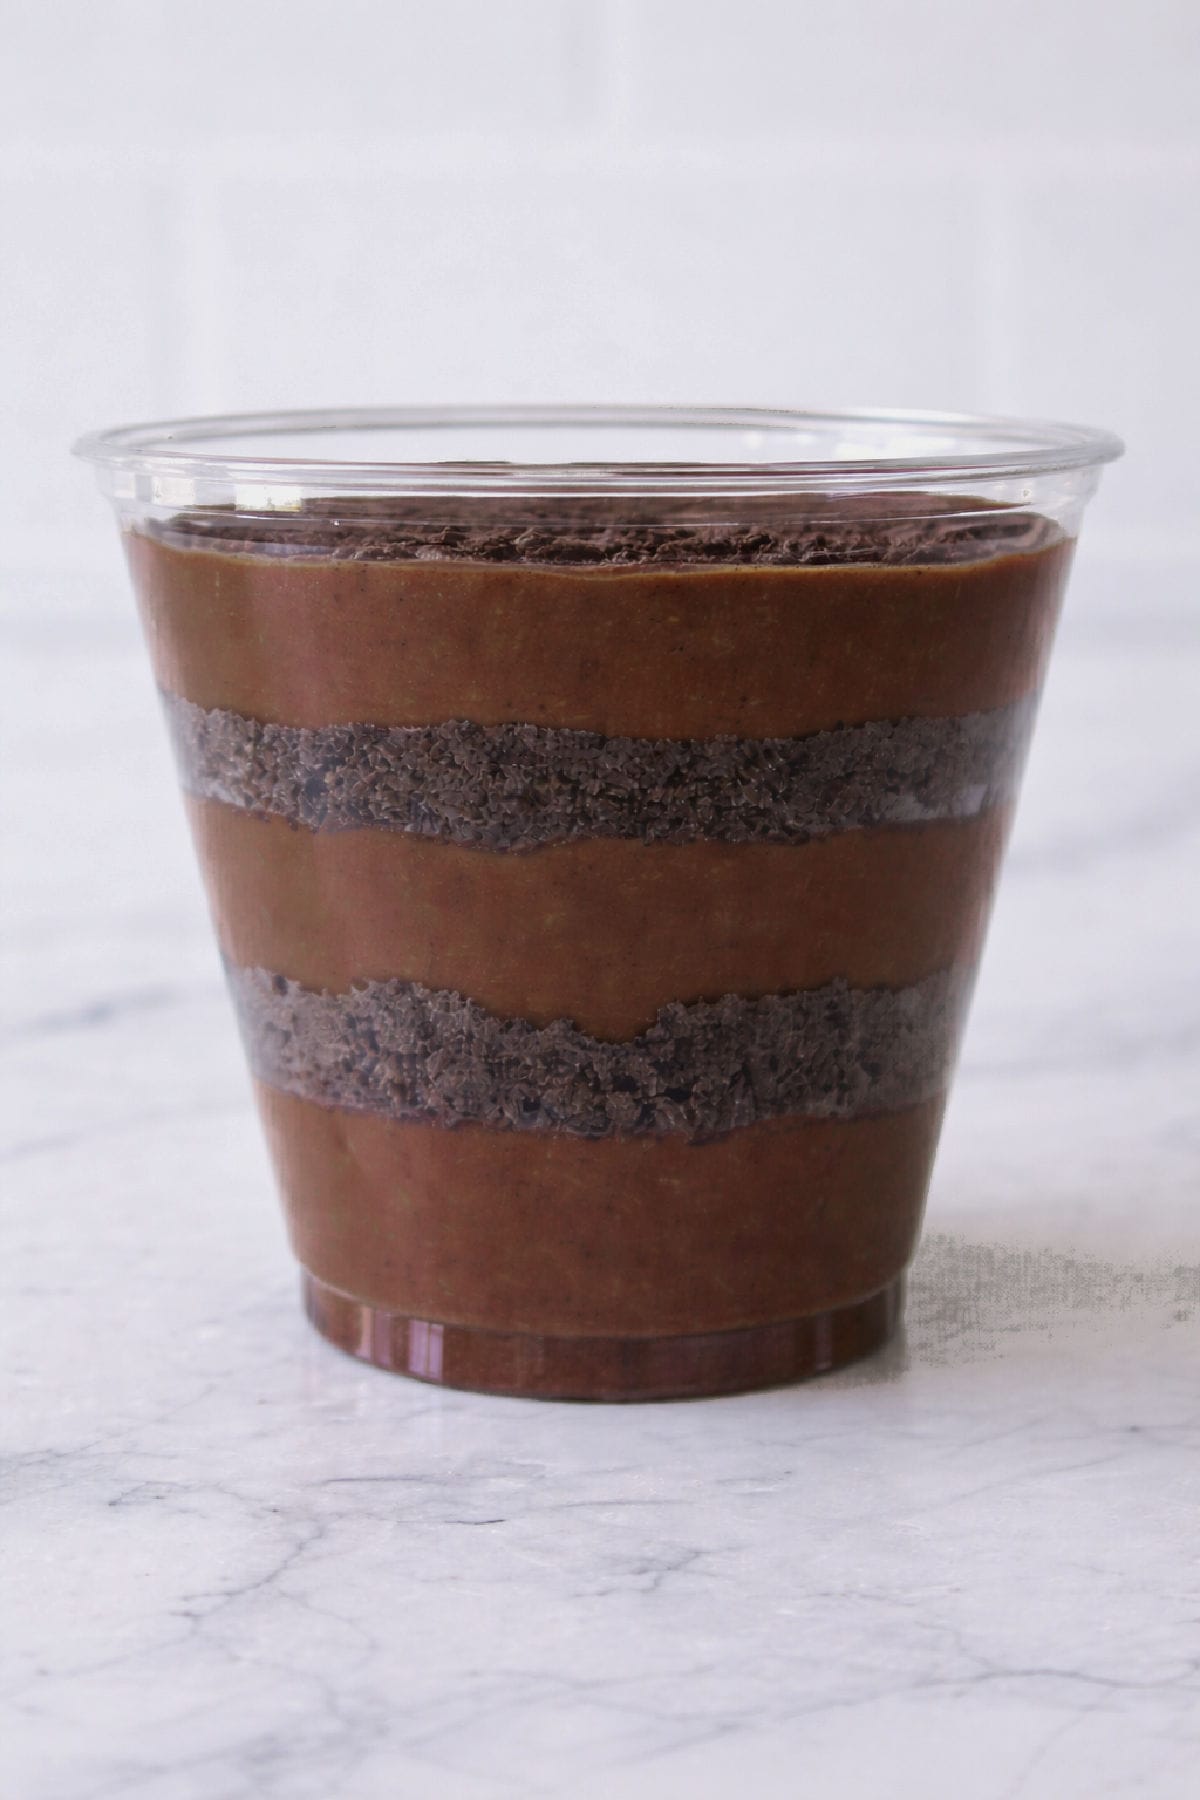
Step 2. Divide the pudding evenly between 4 cups, layering as you go: pudding, Oreo crumbs, pudding, Oreo crumbs, then finish with pudding on top. Use small spoonfuls each time so the layers stay even across all cups. Use about 2 to 3 tablespoons of pudding per layer and 1 to 2 tablespoons of Oreo crumbs so each cup fills evenly.
Step 3. Sprinkle the remaining crushed Oreos over the pudding layer so it looks like a cup of dirt.
Step 4. Decorate each cup with green sprinkles for grass, a few Cadbury Mini Eggs pressed into the top, and one Peeps bunny perched on the edge or standing right in the middle.
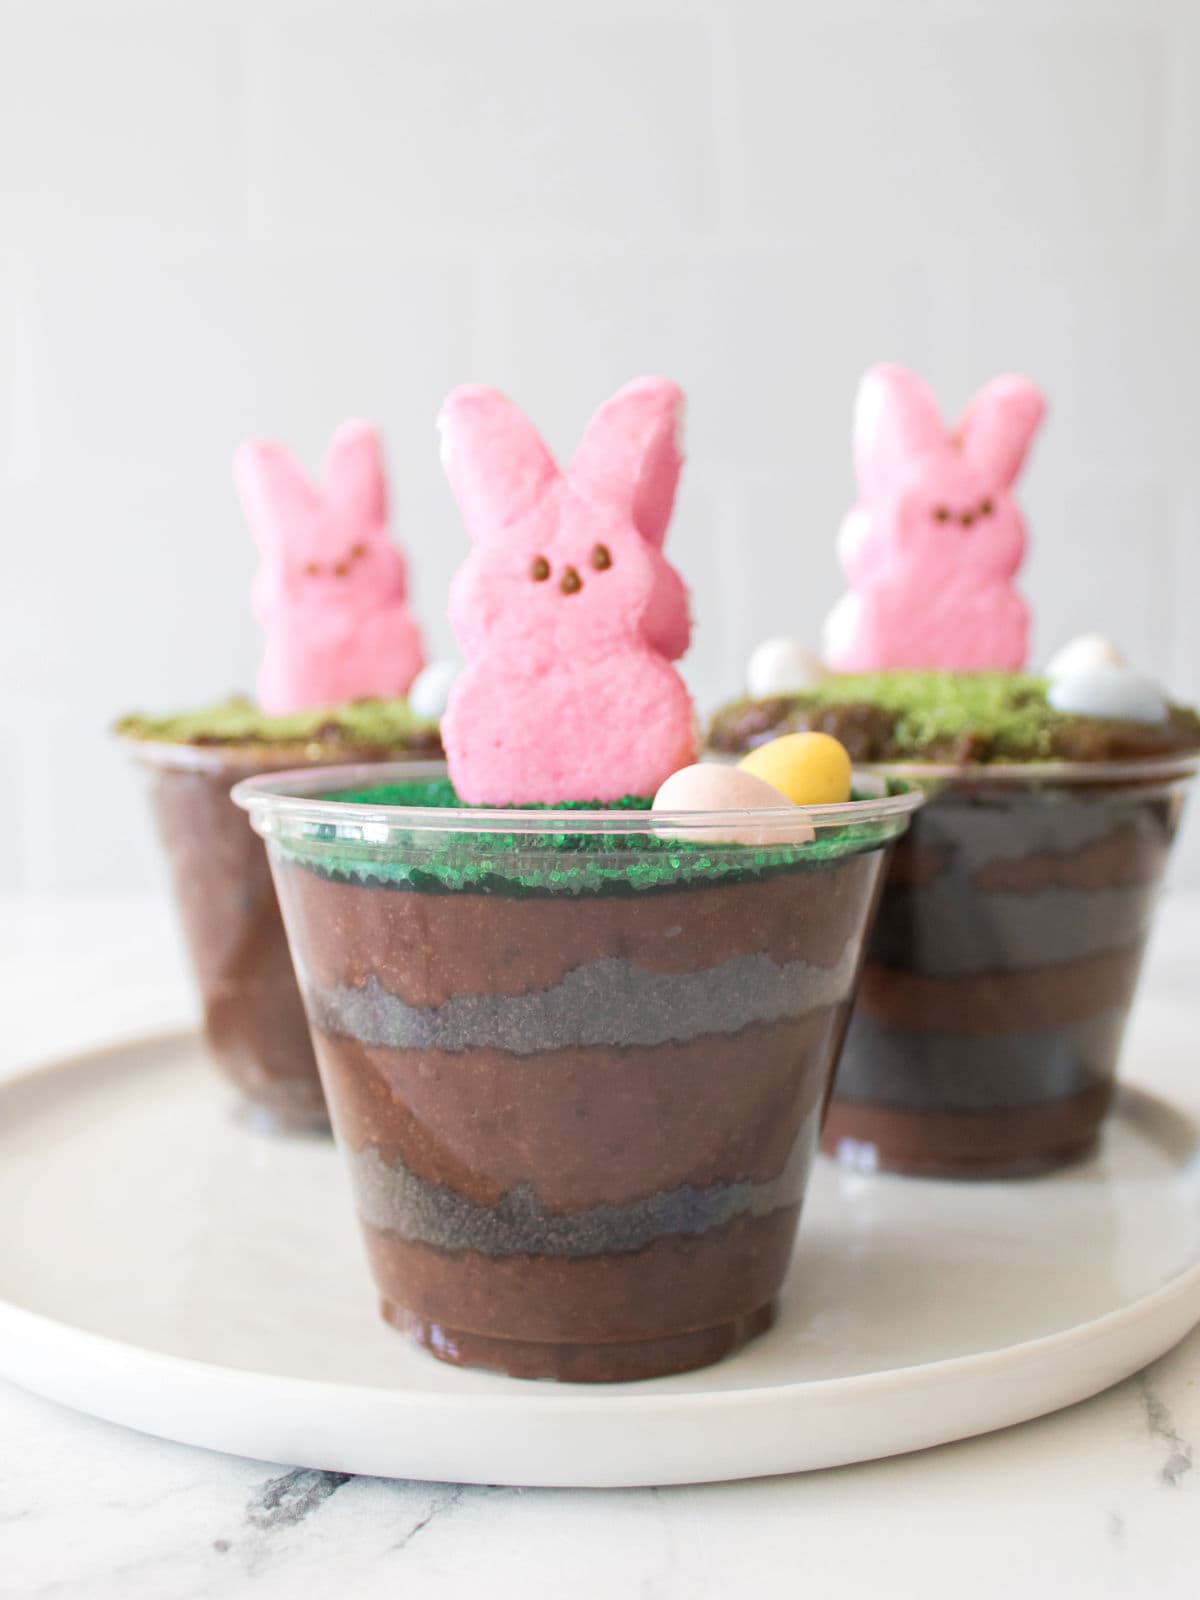
Dirt Cup Tip 1 – Insert a toothpick into the bottom of the Peep and stick that into the dessert cup to help the heavy marshmallow stand up straight.
Step 5. Chill for at least 10 minutes before serving. The pudding firms up nicely, and the flavors settle together.
Dirt Cup Tip 2 – Don’t skip the chill time, even though it’s tempting. Ten minutes makes a real difference in how the pudding sets up and holds its layers when you dig in.
Storage
Store the cups covered in the refrigerator for up to 2 days. The Oreos will soften over time, which some people love and some don’t. If you want a crunch, eat them within the first day.
Fun Variations
One of the best things about this recipe is how easy it is to change up the decorations. A few ideas worth trying:
- Carrot Patch Cups – Skip the Peeps and use strawberries dipped in orange candy melts to look like little carrots poking out of the dirt. Add a small piece of green fruit leather or a sprig of fresh mint for the leafy tops.
- Bunny Burrow Cups – Tuck a small chocolate bunny into the Oreo layer so it looks like it’s peeking out. The kids go wild for this one.
- Extra Chocolatey – Stir a handful of mini chocolate chips into the pudding before layering. More chocolate is always a good idea. My kids loved this version.
- Realistic Grass Look – Swap the green sprinkles for dyed green shredded coconut. It looks surprisingly like real grass and adds a little chew.
- You can also mix and match for each cup so everyone gets a slightly different one. It makes serving them even more fun.
If you’ve got extra Oreos, my Oreo ice cream bites are another easy treat to make. They’re cold, chocolatey, and just as simple.
Tips For Success
Use small clear cups or mason jars – The layers look great when you can see them from the side. Small drinking glasses, 8 oz mason jars, or even plastic cups all work well.
Crush the Oreos in a bag – Crush the Oreo cookies into fine crumbs using a food processor, or place them in a zip-top bag and crush with a rolling pin until broken down into small crumbs (not large chunks.) Divide the crumbs evenly for layering.
Make the pudding first – Let it sit and firm up while you crush the cookies and set up your cups. This little bit of timing makes the whole process faster.
Make it ahead – These are great make-ahead desserts. Build the cups the night before, cover them with plastic wrap, and refrigerate. Add the Peeps and candy just before serving so they stay fresh and don’t sink.
FAQ’s
You can, but let it cool completely before layering, or the Oreos will get soggy. Instant pudding is the easier route for this recipe since there’s no cooking involved.
Chocolate gives you the best “dirt” look, but vanilla or butterscotch pudding works if you want something different. The color won’t look like dirt, but it will still taste great with the toppings.
If you try these, I hope they become a little Easter tradition at your house, too. That’s the kind of recipe I love most.

Subscribe here for more great recipes, and follow One Hot Oven for more tasty sweet and savory recipes! Pinterest | Instagram | Facebook
Recipe
Tried it? Rate ⭐⭐⭐⭐⭐ & comment below; our feedback keeps the oven mitts flying here at One Hot Oven.
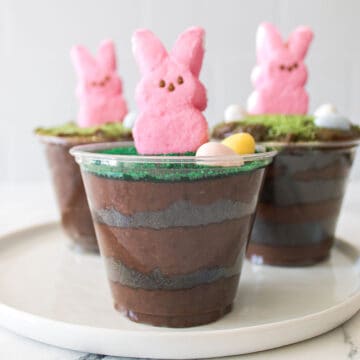
Easter Dirt Cups
Equipment


Ingredients
- 5.9 ounce Instant chocolate pudding
- 2½ cups milk
- 15 each Oreo cookies
- 4 each Peeps Marsharmallow Bunnies
- Cadbury Chocolate Eggs
- Green sparkling sugar
Instructions
Make the dirt cups
- Measure the milk into a medium sized bowl.
- Add the chocolate pudding mix and mix or whisk with the milk until you get a smooth and creamy pudding.
- Crush the Oreo cookies into fine crumbs. Use a food processor or place them in a zip-top bag and crush with a rolling pin. You want small crumbs, not big chunks, so they look like dirt.
- Divide the pudding evenly between 4 cups, layering as you go: start with pudding, add Oreo crumbs, then repeat with pudding, Oreo crumbs, and finish with a final layer of pudding on top.
Decorate the dirt cups
- Decorate each cup with a light layer of Oreo crumbs, then green sprinkles, Cadbury Mini Eggs, and a Peeps marshmallow bunny. If needed, insert a toothpick into the bottom of the bunny to help it stand upright.
- Chill in the refrigerator for at leaat 10 minutes before serving.
Storage
- Store covered in the refrigerator for up to 2 days. The Oreos will soften over time, which some people love and some don't. If you want a crunch, eat them within the first day.
Notes
- You can stretch this to 6 smaller cups if you’re serving a crowd or making kid-size portions.
- If you have leftover Cadbury Mini Eggs or Peeps after making these, they keep well in an airtight container at room temperature for snacking.
Fun Variations & Add-Ins:
Carrot Patch Theme – Swap Peeps for strawberry “carrots” (dipped in orange candy melts).Bunny Burrow Cups – Add a small chocolate bunny peeking out of the “dirt.”
Extra Chocolatey – Mix mini chocolate chips into the pudding layer.
Realistic Grass Look – Use dyed shredded coconut instead of sprinkles.
As an Amazon Associate I earn from qualifying purchases.
Nutrition
Thank you for stopping by the One Hot Oven blog. Please leave a comment to say hello or tell me what you are baking; I always love hearing from fellow bakers. Do you have any questions or want to chat about the recipe? Please visit my About page for information, and I’ll be happy to help!
Hello there, I’m Jere’
From learning to cook on a farm in Indiana to culinary school in California, my passion for food is never-ending. Turning on my oven to bake something for friends and family is my happy place, and I am glad to be here at One Hot Oven® sharing sweet and savory family-friendly recipes for your cooking and baking inspiration.


