Skip the store-bought crust and make your own graham cracker pie crust at home. It uses simple pantry staples and takes minutes to mix and press. This buttery crust works for cheesecakes, cream pies or no-bake fillings.
Want to save this recipe?
Enter your email & I’ll send it to your inbox. Plus, get great new recipes from me every week!
This page may contain affiliate links. Please see my full disclosure for policy details.
With just a few pantry ingredients, you can make a graham cracker crust that tastes fresher and cuts cleaner than anything from the grocery store. You control the sugar, the flavor and the texture. No surprises.
I usually start with a homemade crust because I know exactly how it will bake and slice. That said, if you’re in a hurry, a store-bought crust will work. But once you make this one, you may not go back.
Match the crust to your filling. Chocolate graham crackers are perfect for a chocolate cream pie. Honey grahams work beautifully with vanilla cheesecake. This crust is also the base for my lemon-lime cream pie.

Type of recipe: Dessert
Cooking method: Baked or no-bake options
Skill level: Easy
Flavors & textures: Buttery, lightly sweet, crisp edges, sandy texture.
Serving ideas & occasions: Cheesecakes, cream pies, icebox pies, bars.
Table of contents
Ingredients
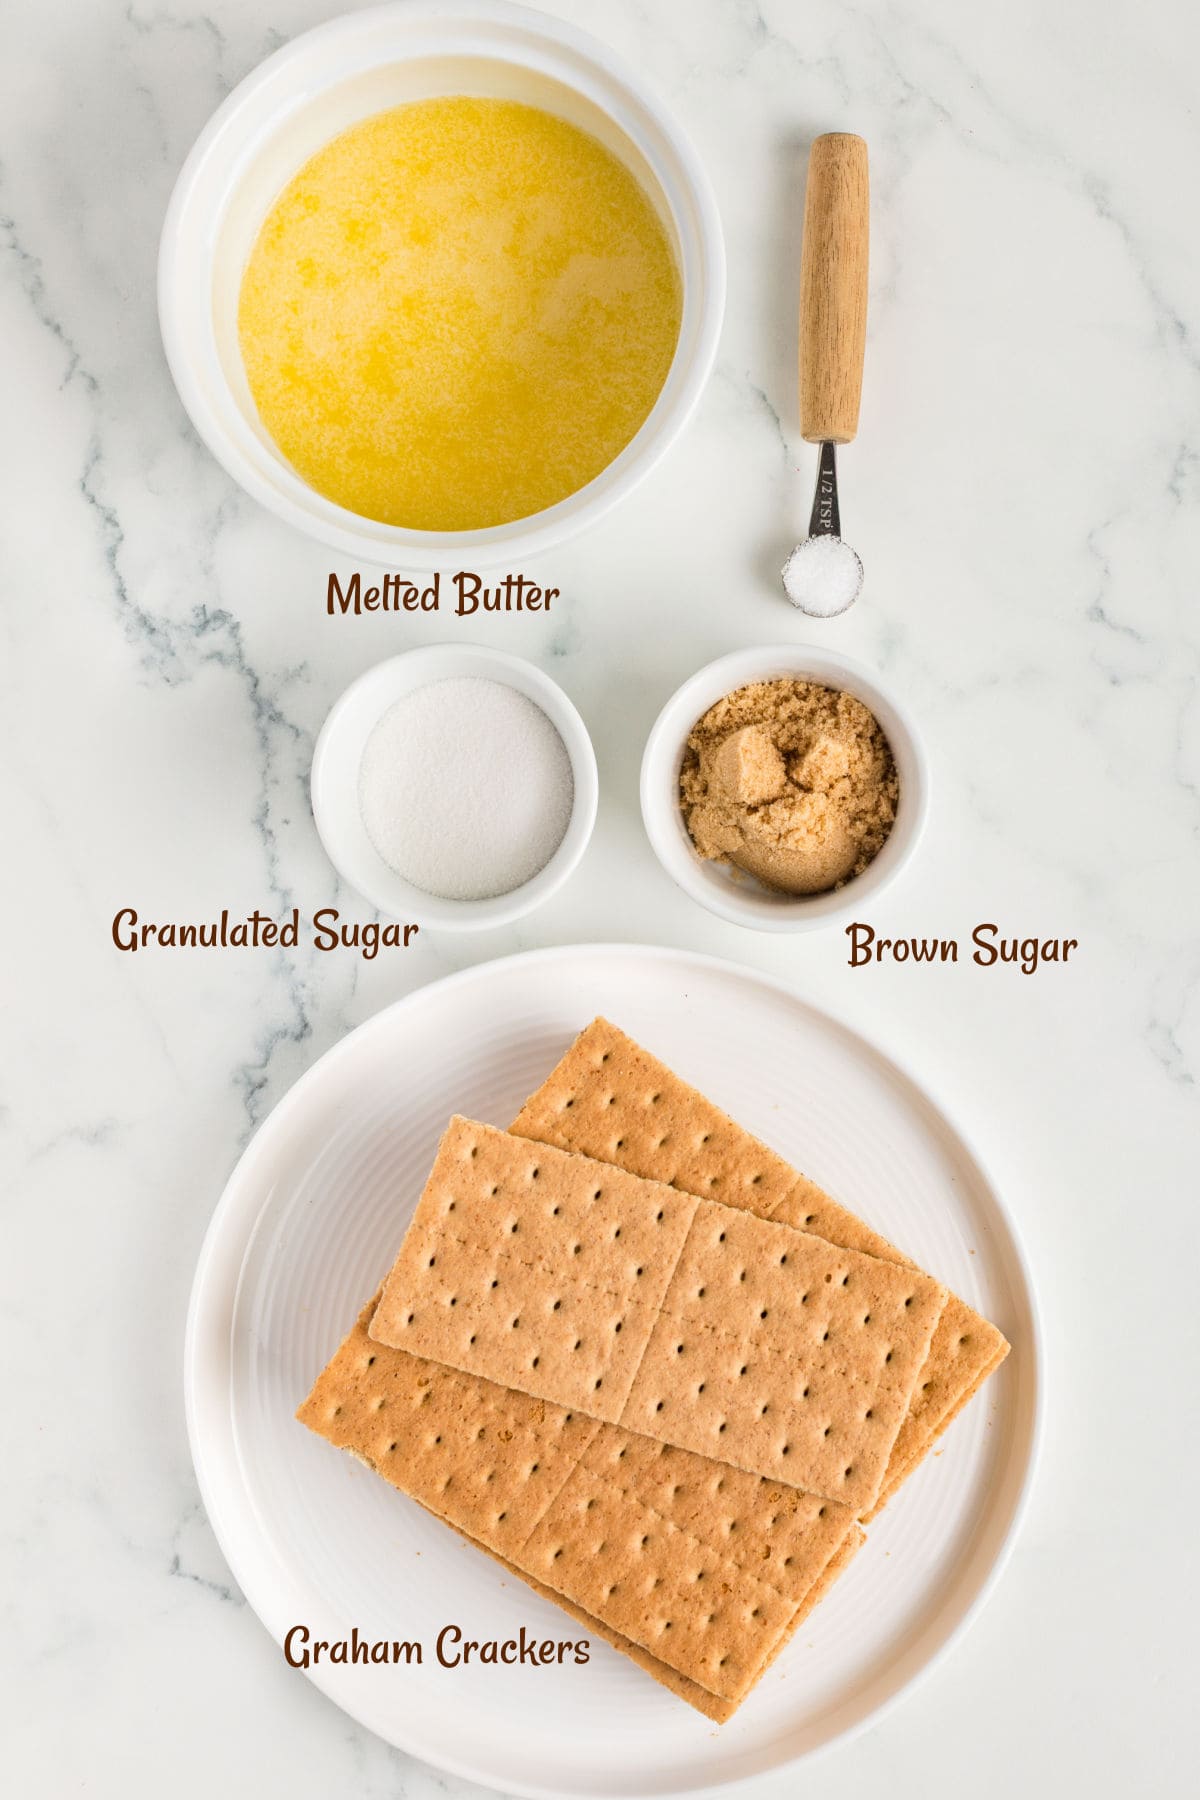
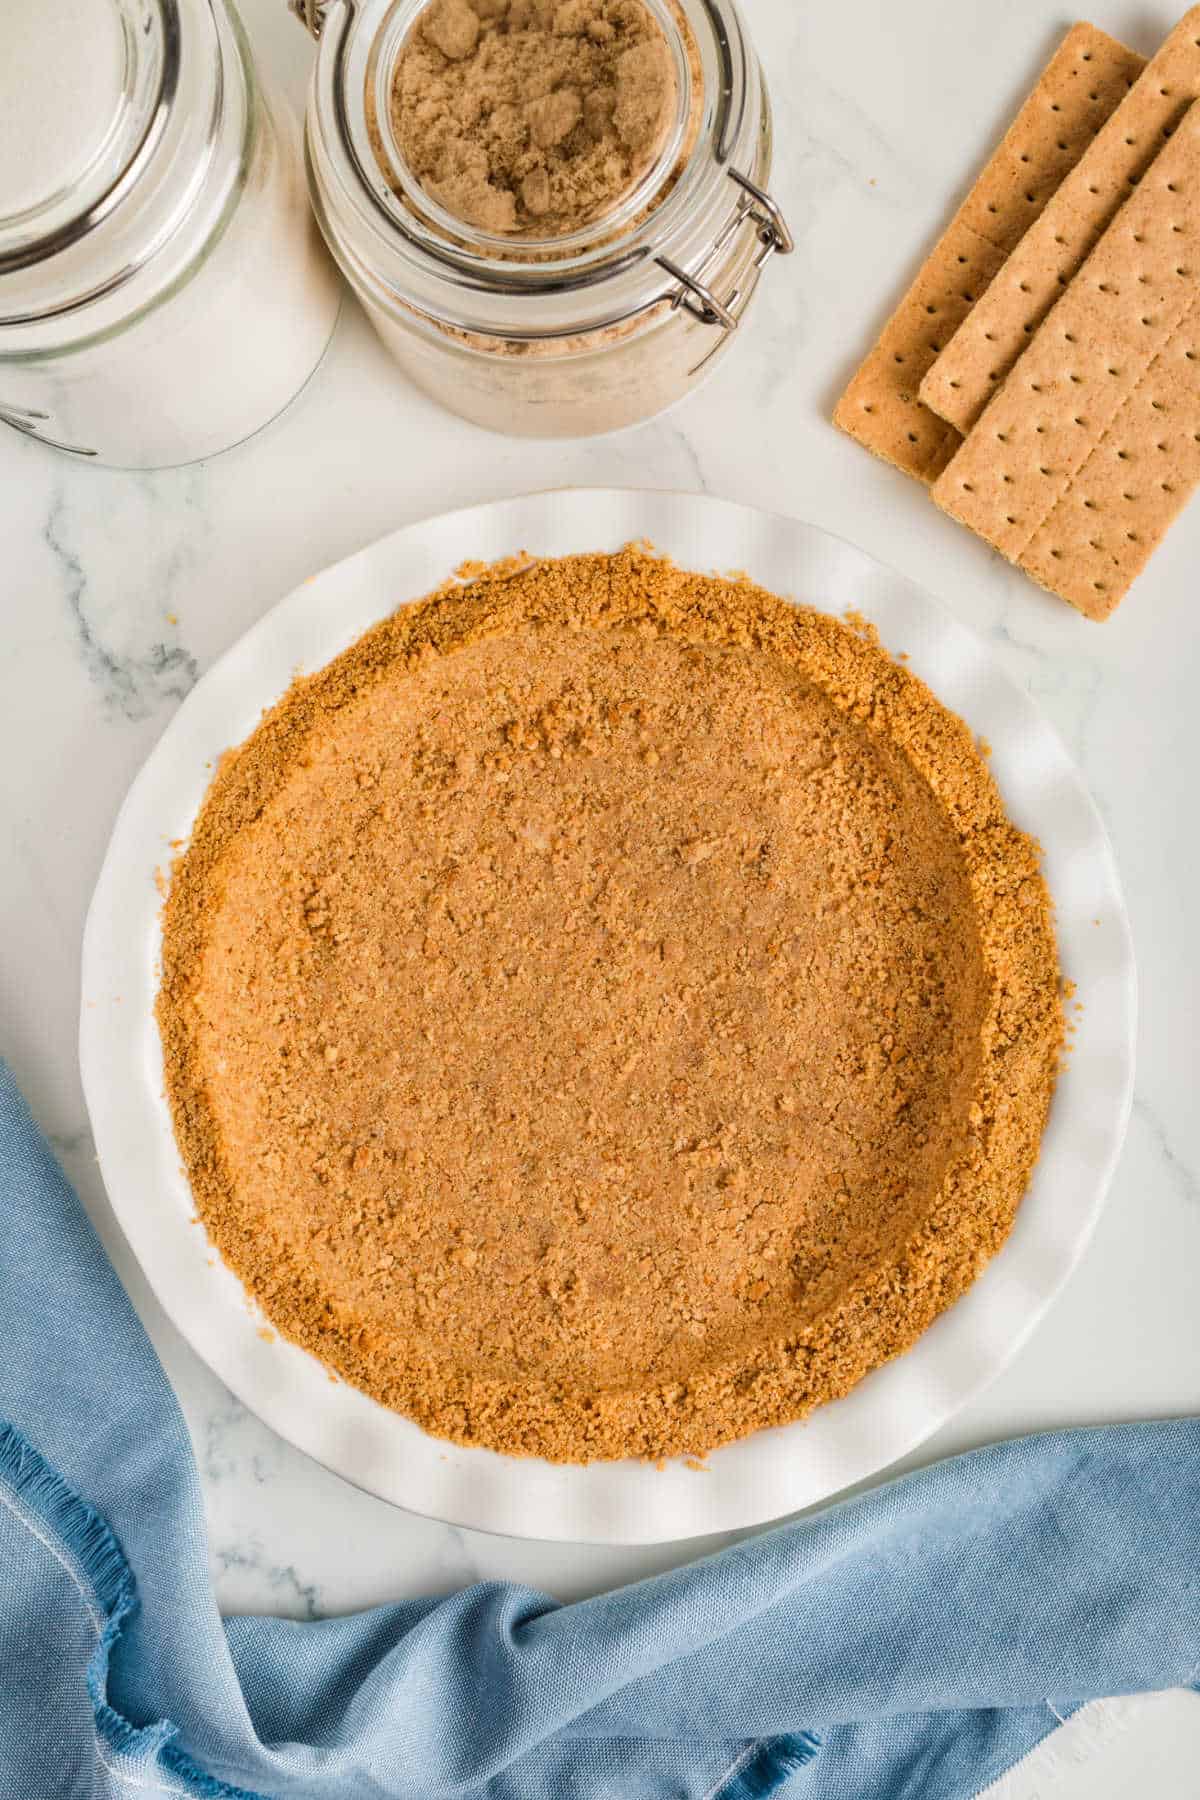
- Graham crackers: You need 1 1/2 cups of fine crumbs. That’s about 10 full sheets, but measure to be sure. Use your favorite graham crackers.
- Butter: I used unsalted, melted butter. Melted butter works best here. Softened butter will not coat the crumbs evenly and can create dry patches.
- Sugar: A mix of brown and white sugar gives better flavor and structure.
- Salt: Just a pinch balances the sweetness.
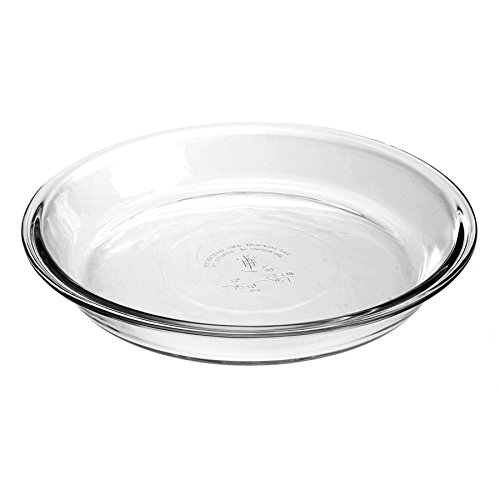
This crust works in a 9-inch pie plate, a springform pan for cheesecake, or even pressed into a square pan for bars.
How To Make A Homemade Graham Cracker Crust
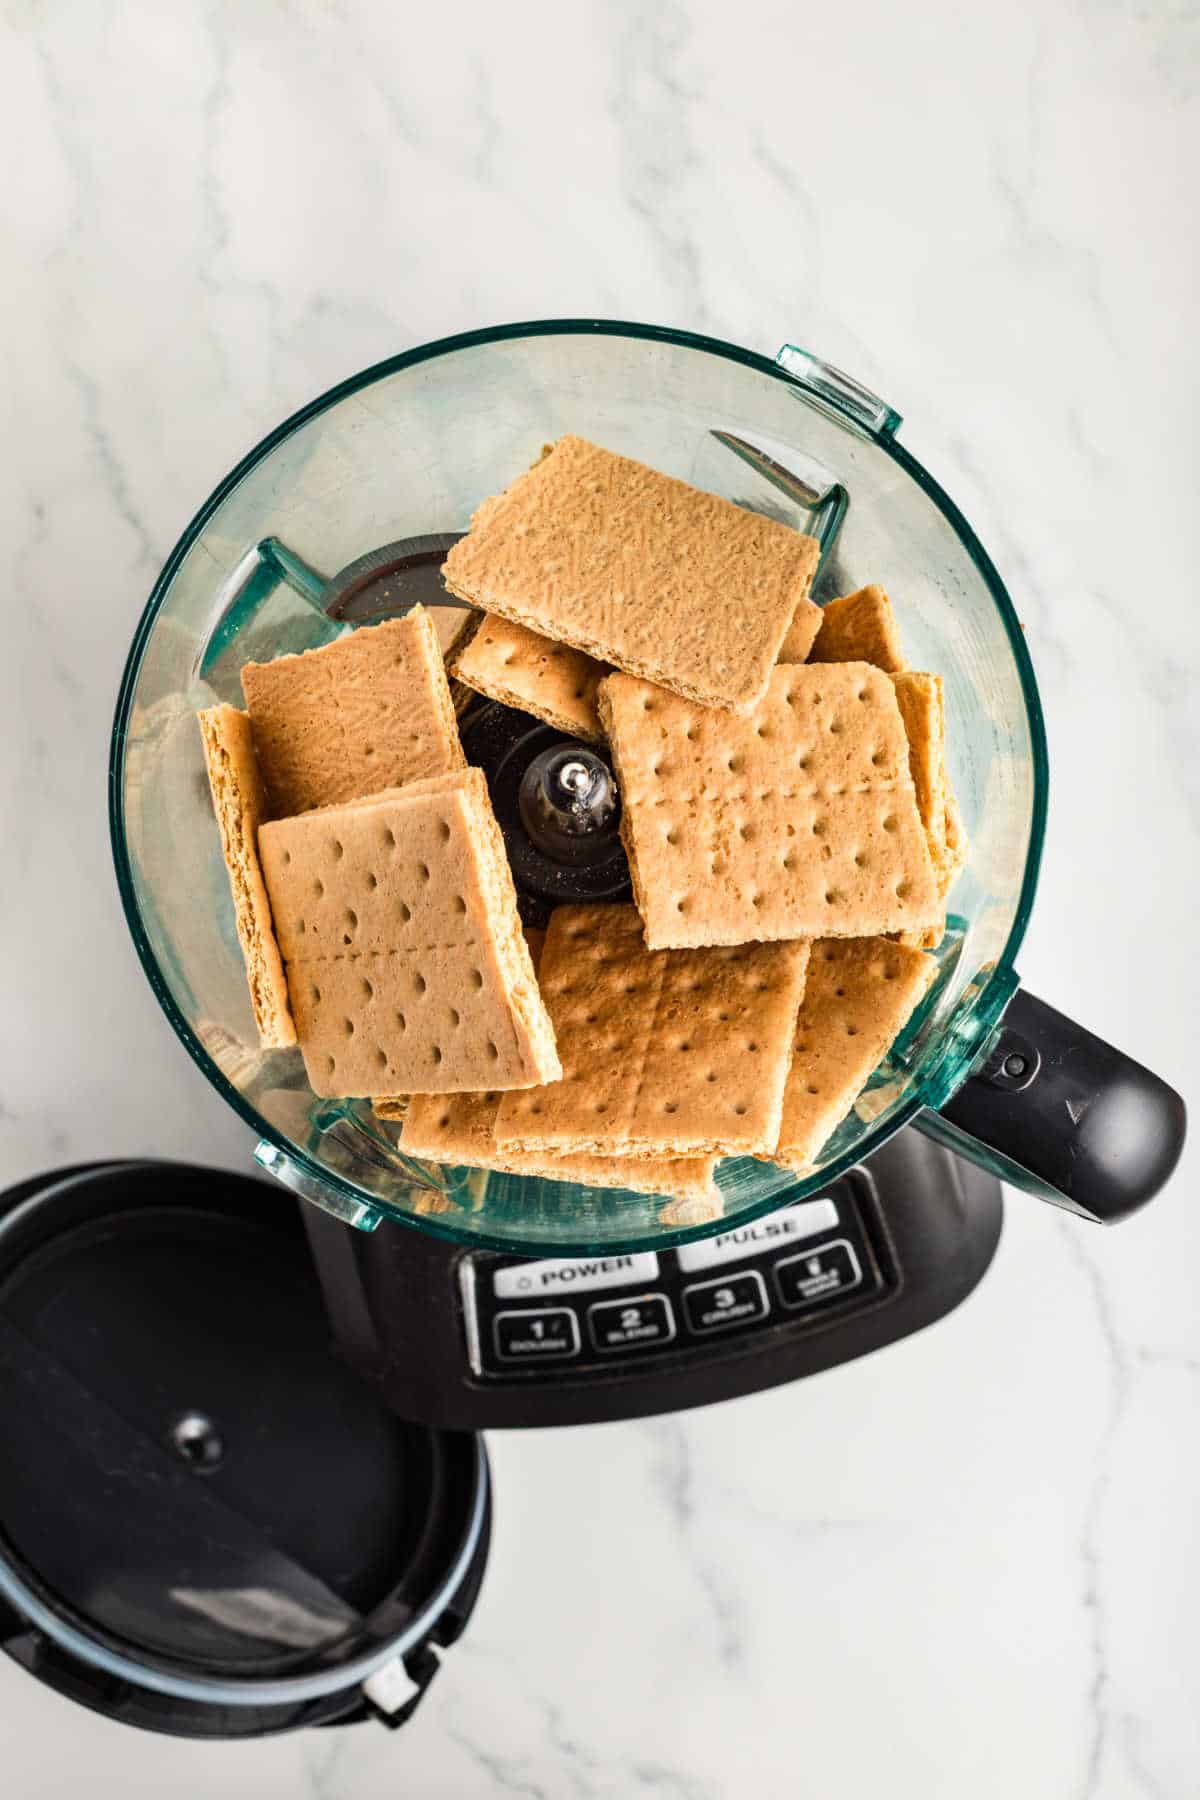
Step 1. Make the Crumbs:
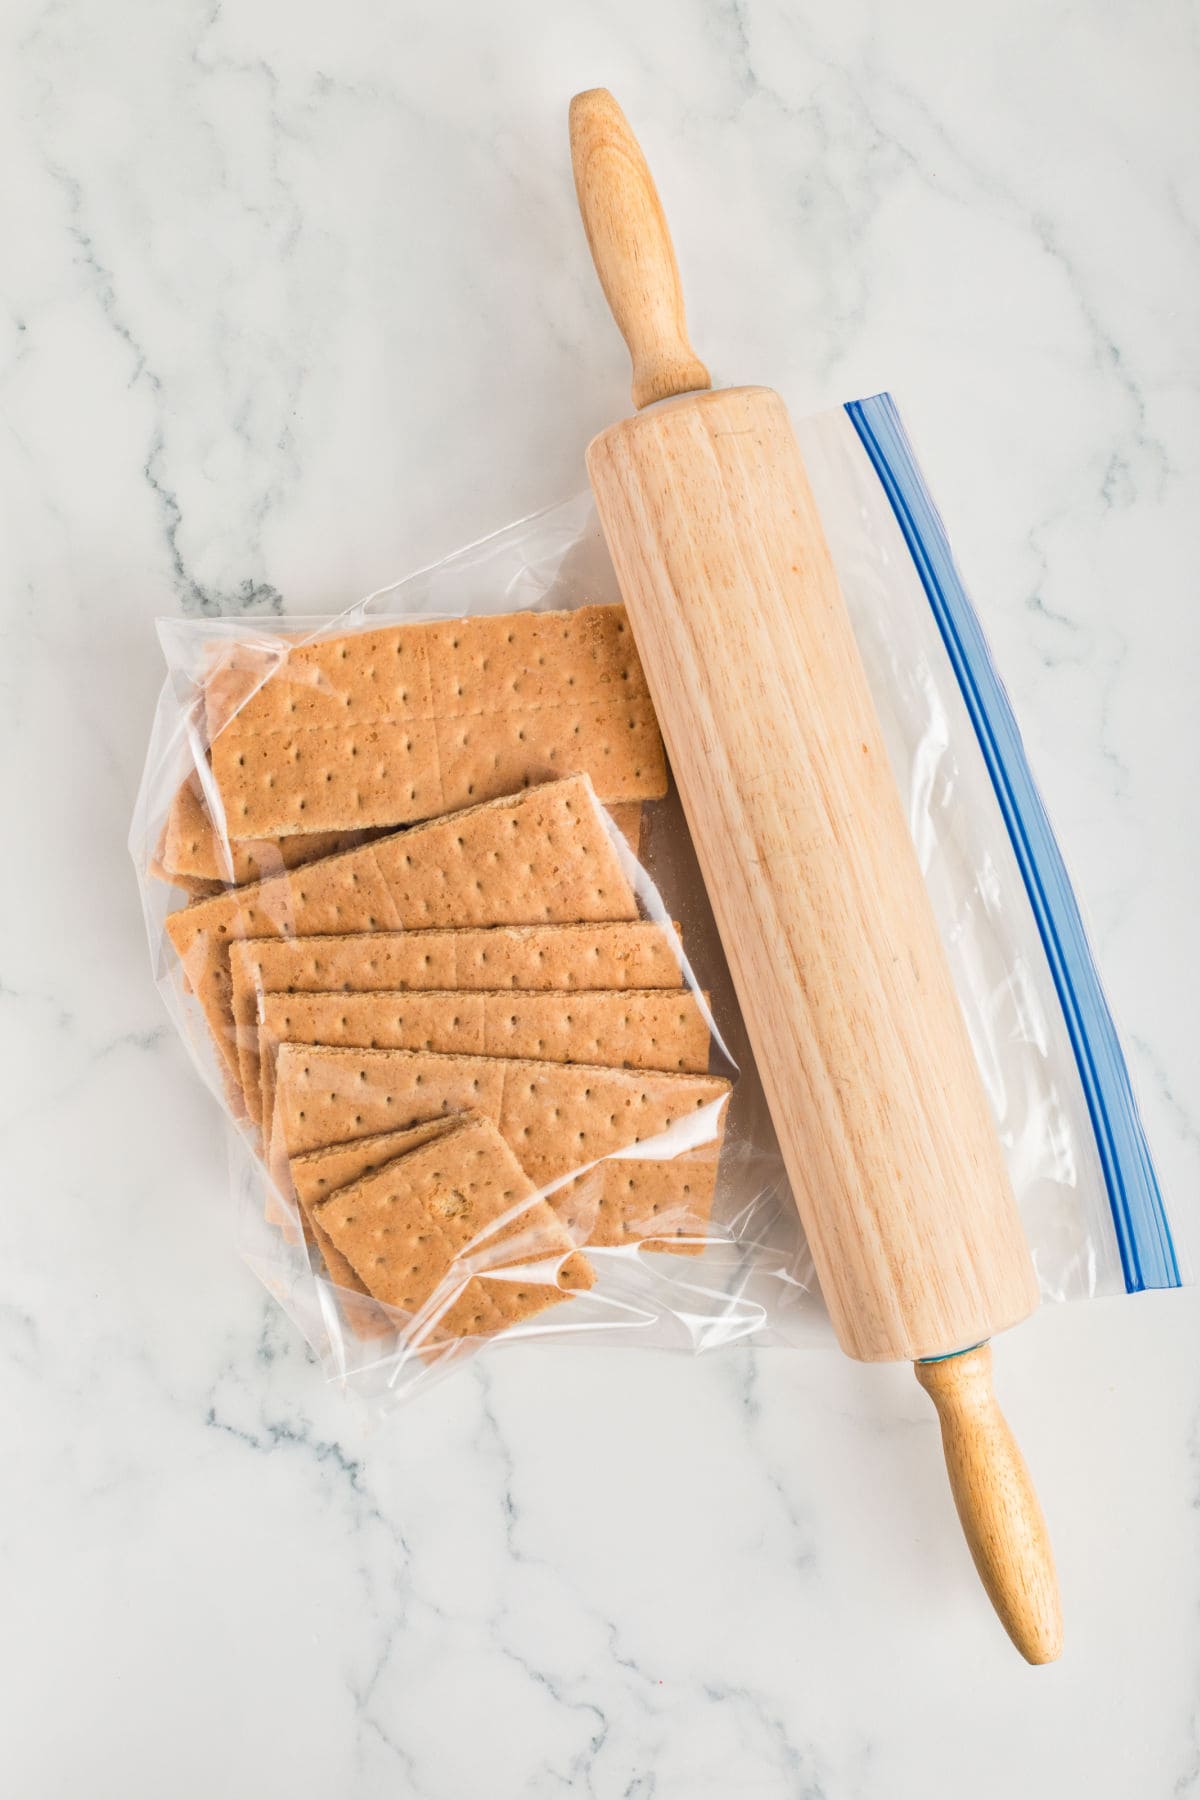
Break the graham crackers into pieces and pulse in a food processor until very fine. If you don’t have one, seal them in a zip-top bag, then crush them with a rolling pin. Measure 1 1/2 cups after crushing. Add more crackers if needed.
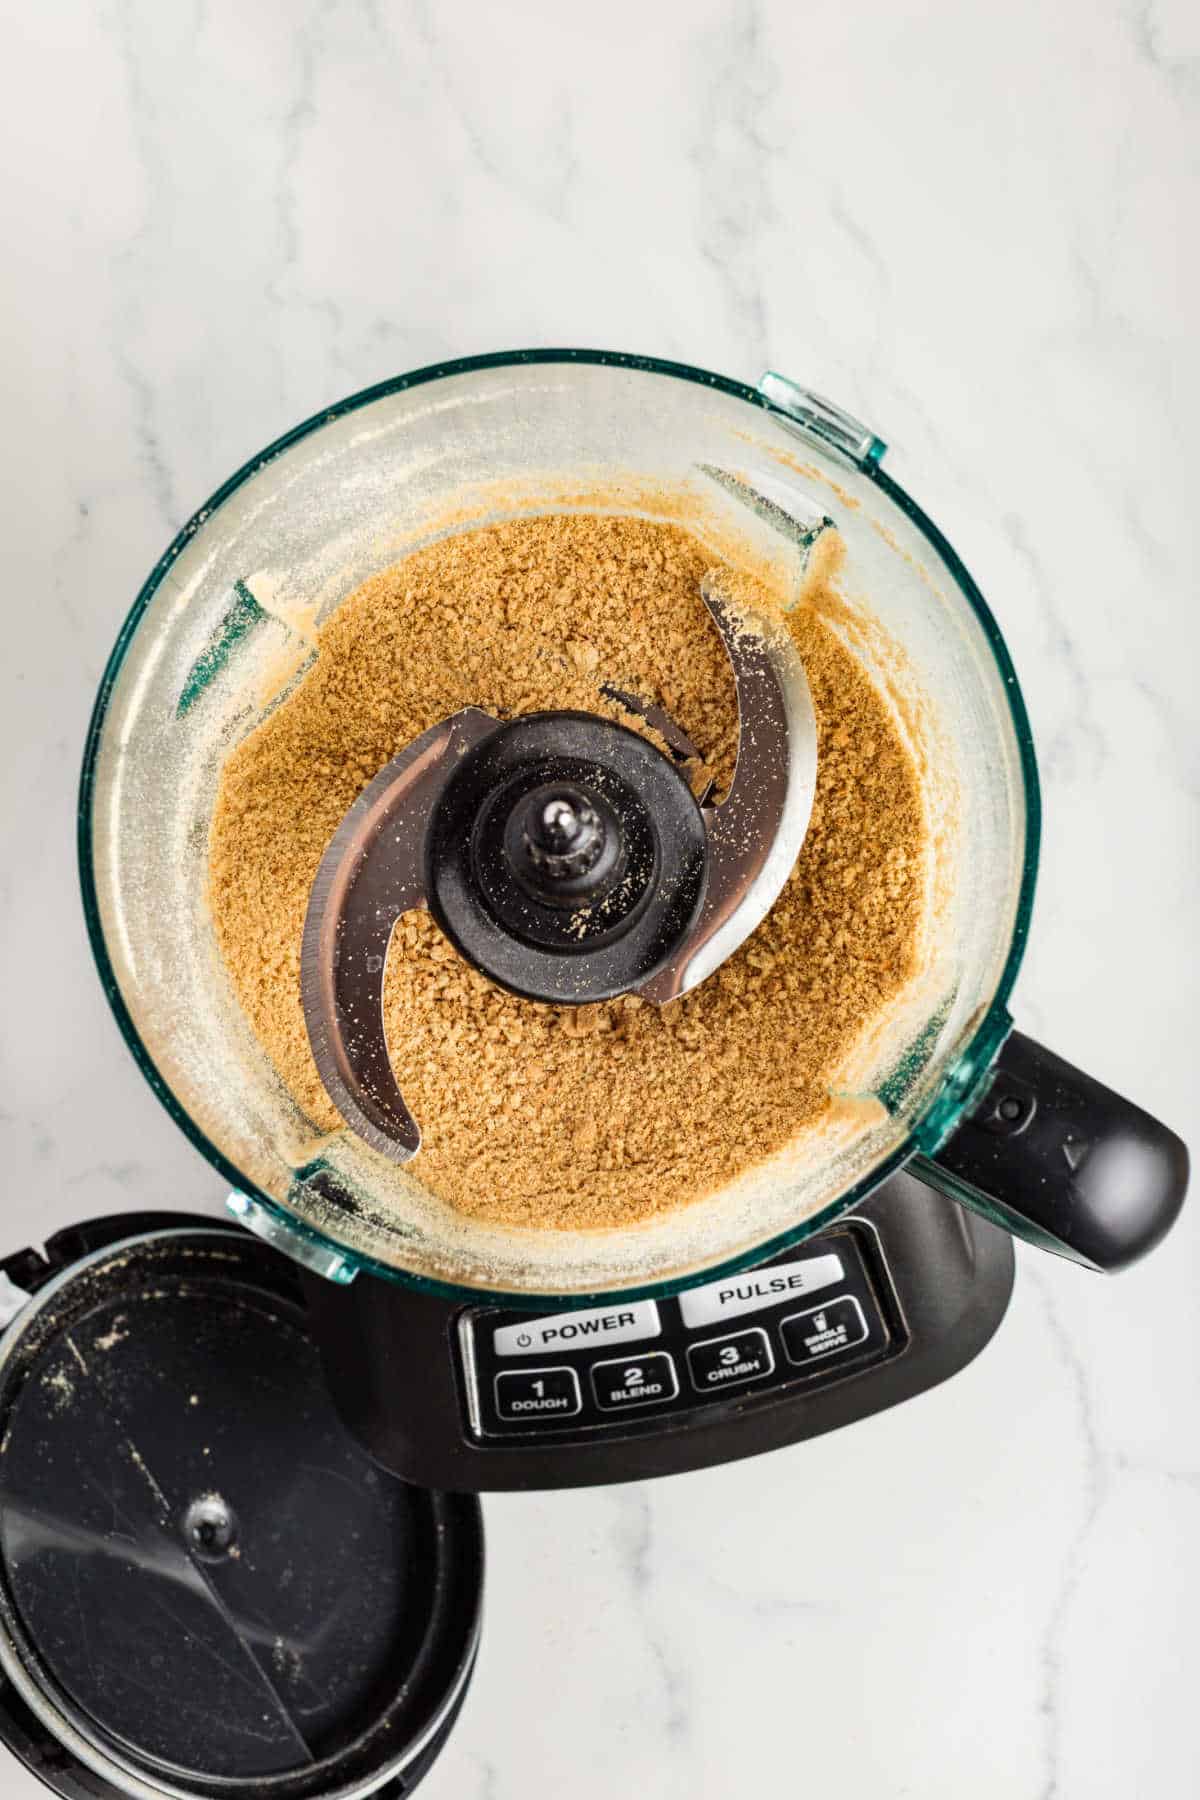
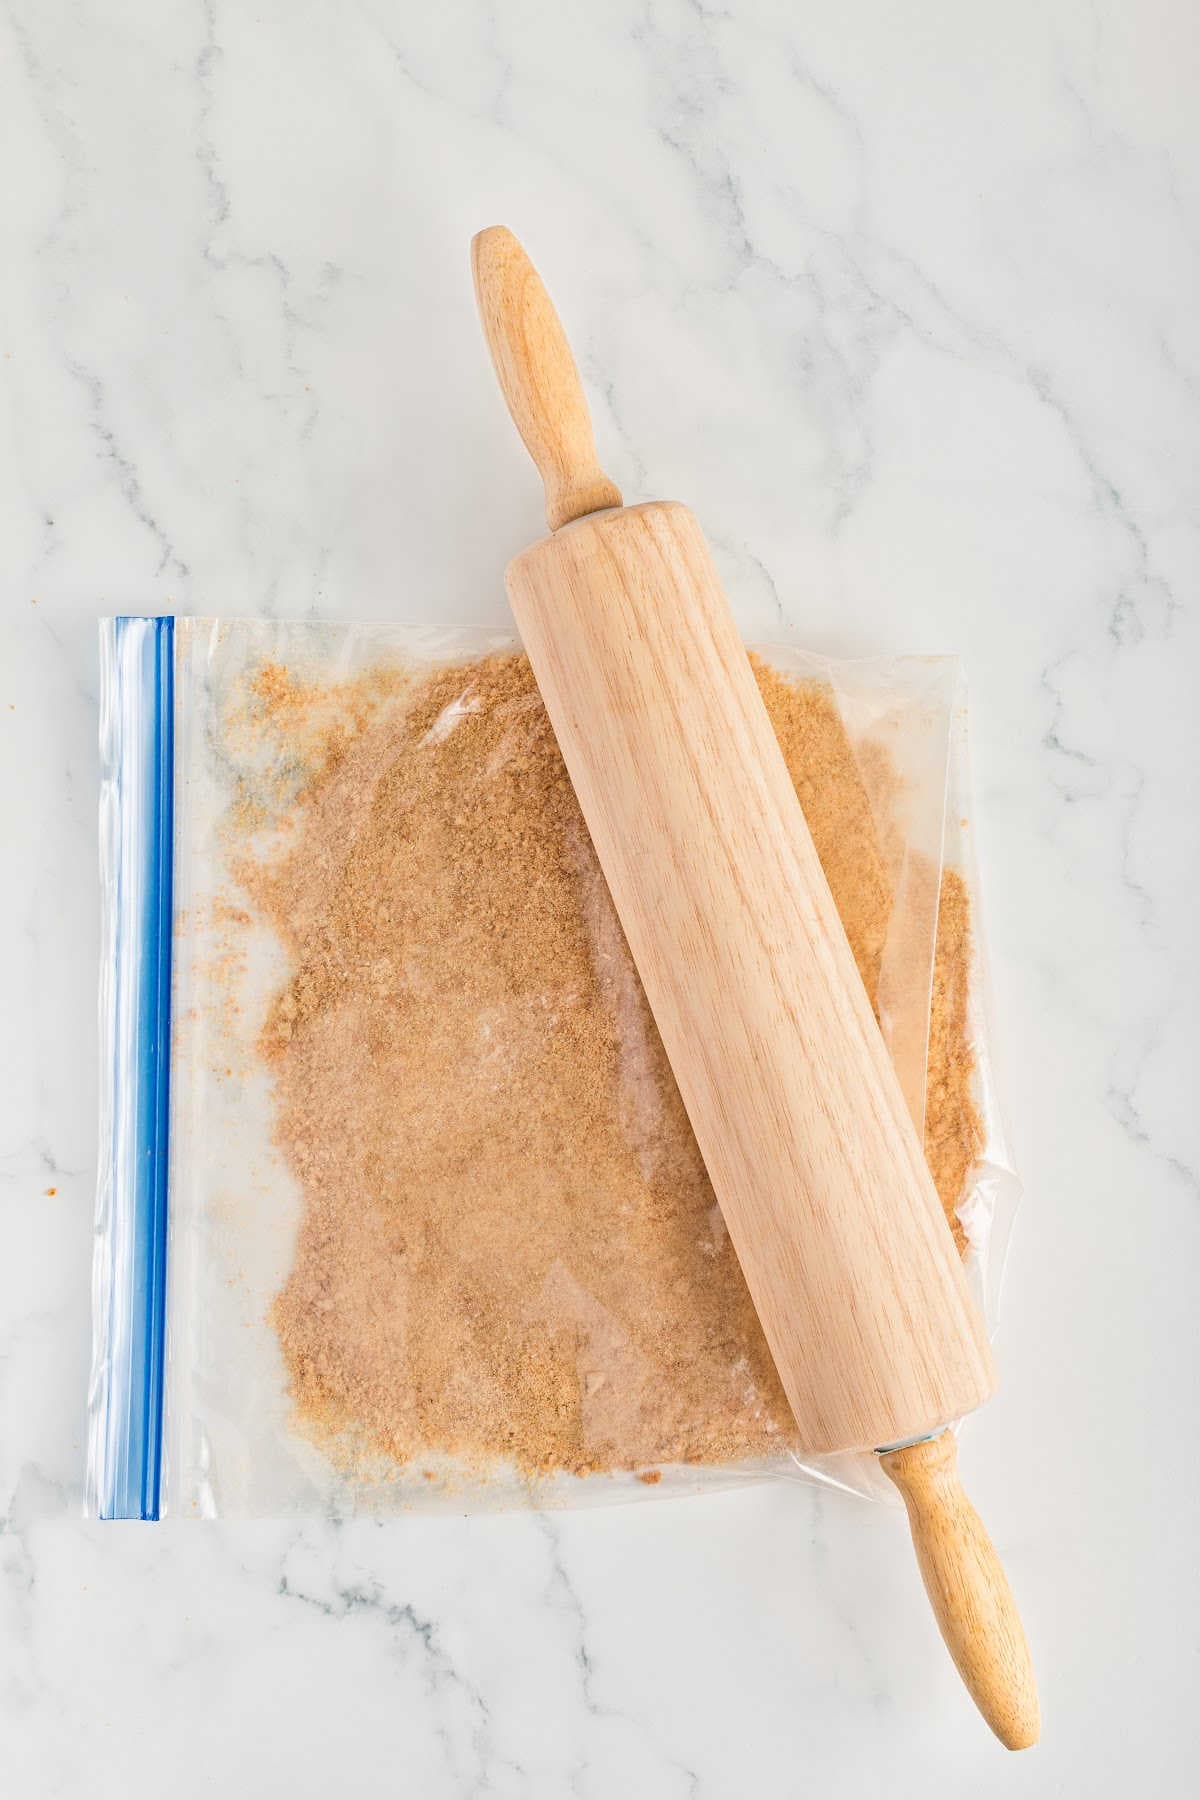
The crumbs should look like sand. Large chunks will make slicing messy later.
Crumb tip – You can use boxed graham cracker crumbs if that’s what you have. Just measure 1 1/2 cups and make sure they are finely ground.
Step 2.Mix and Press:
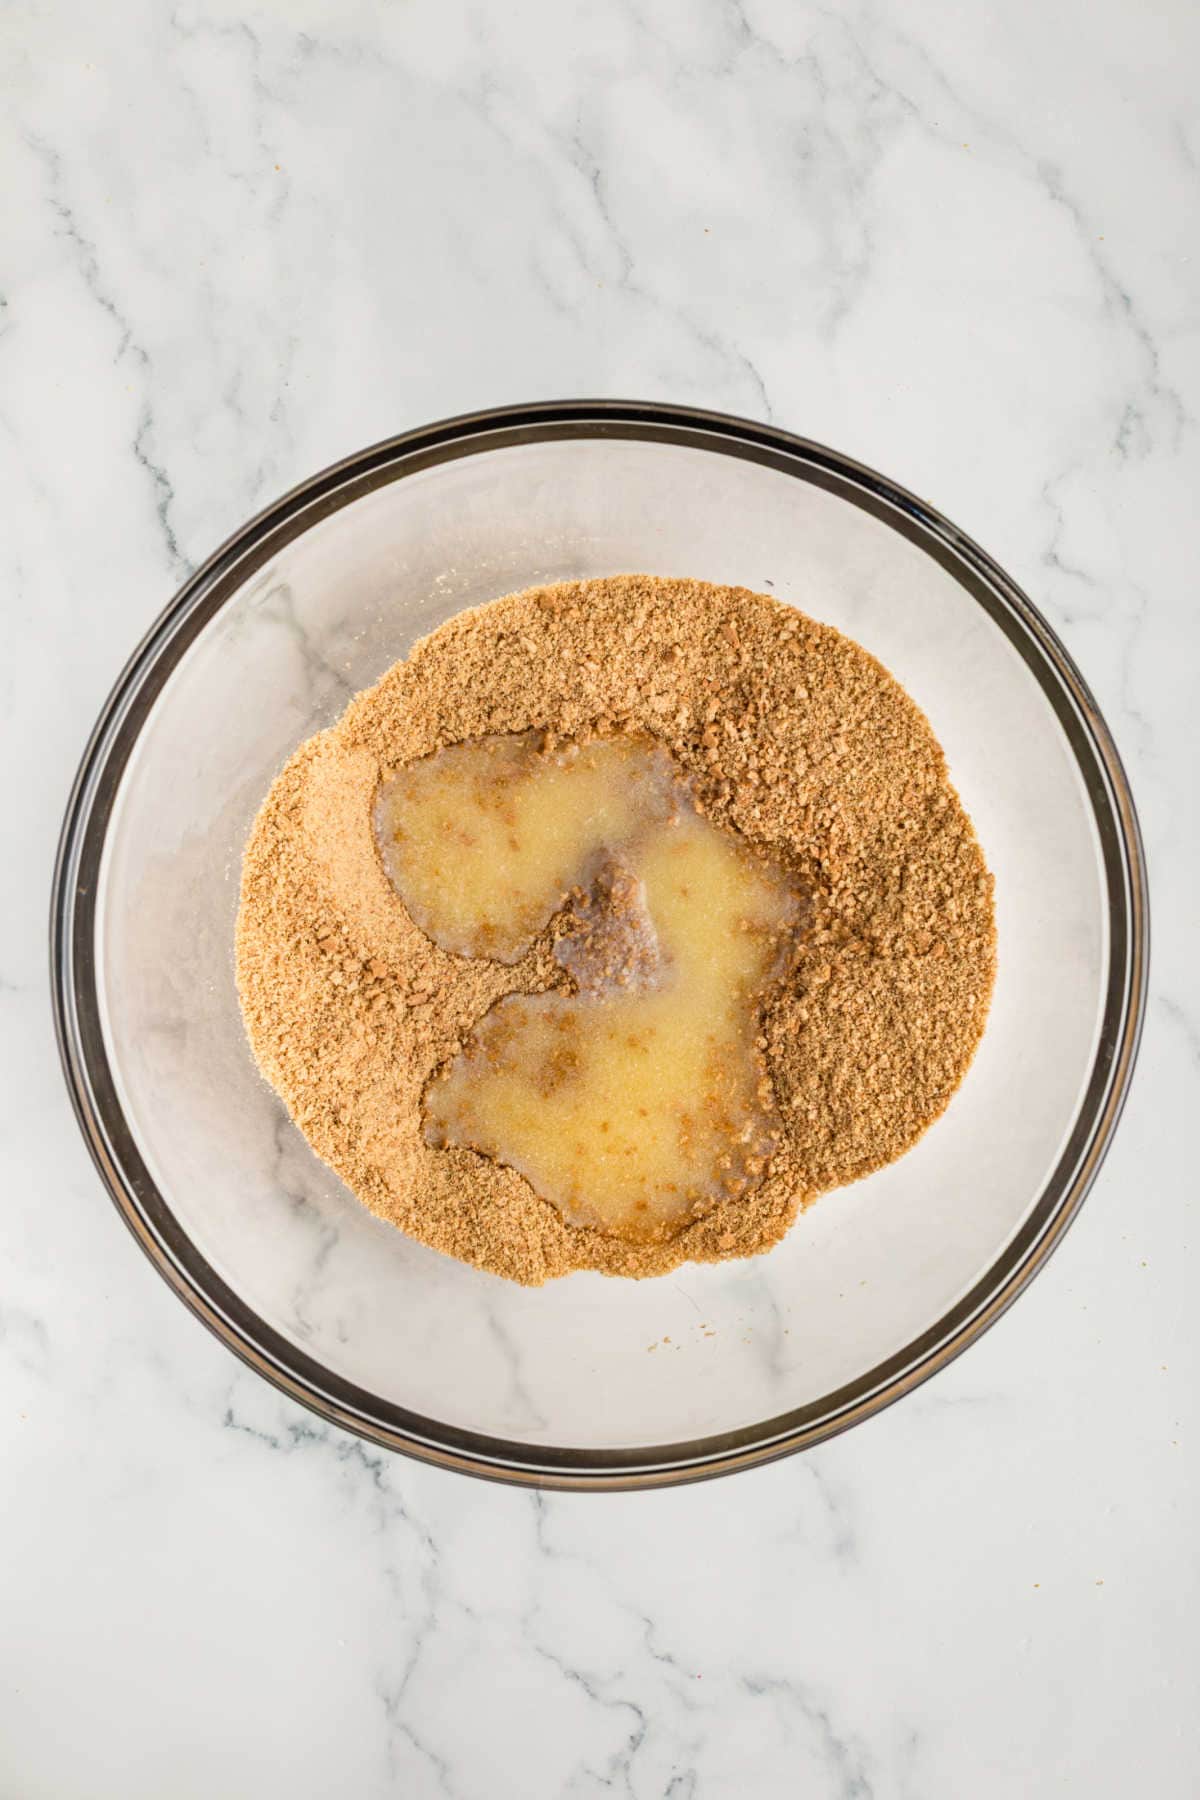
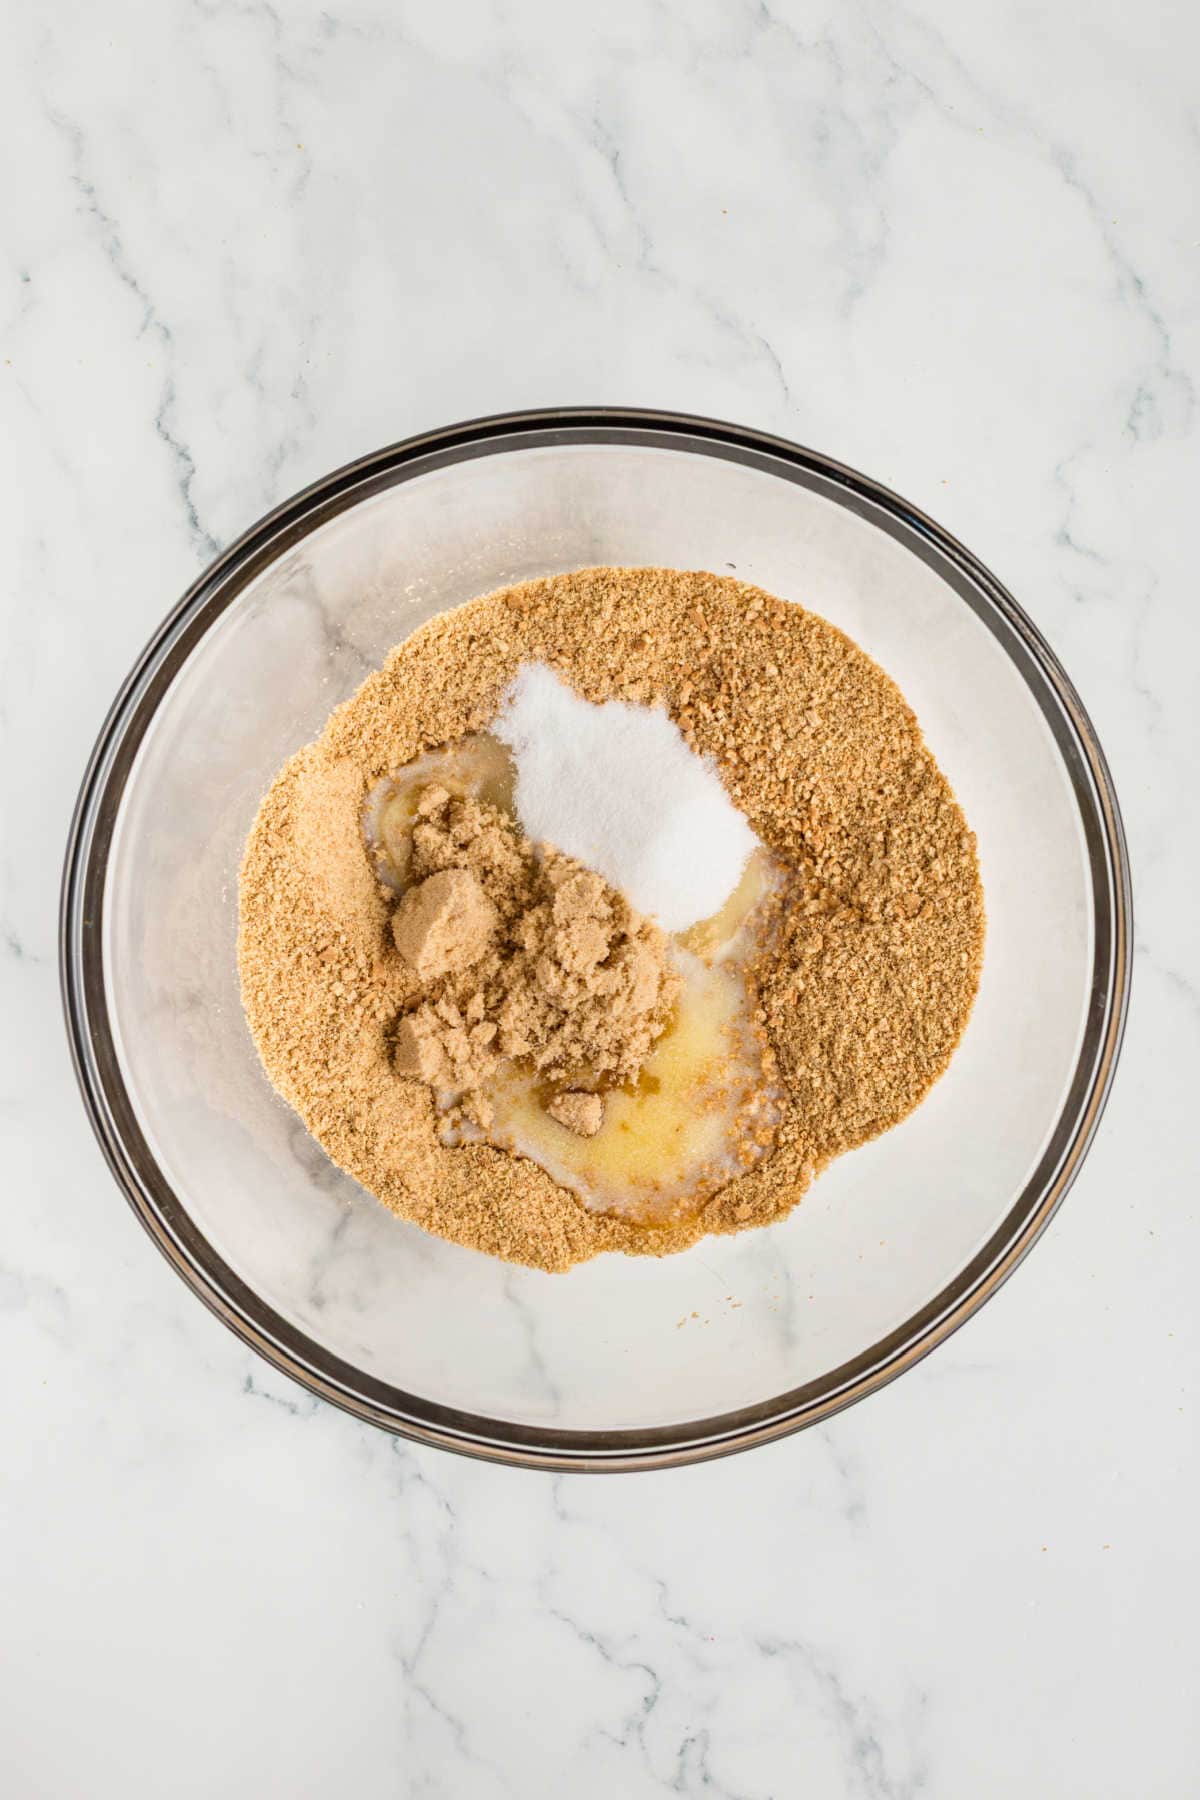
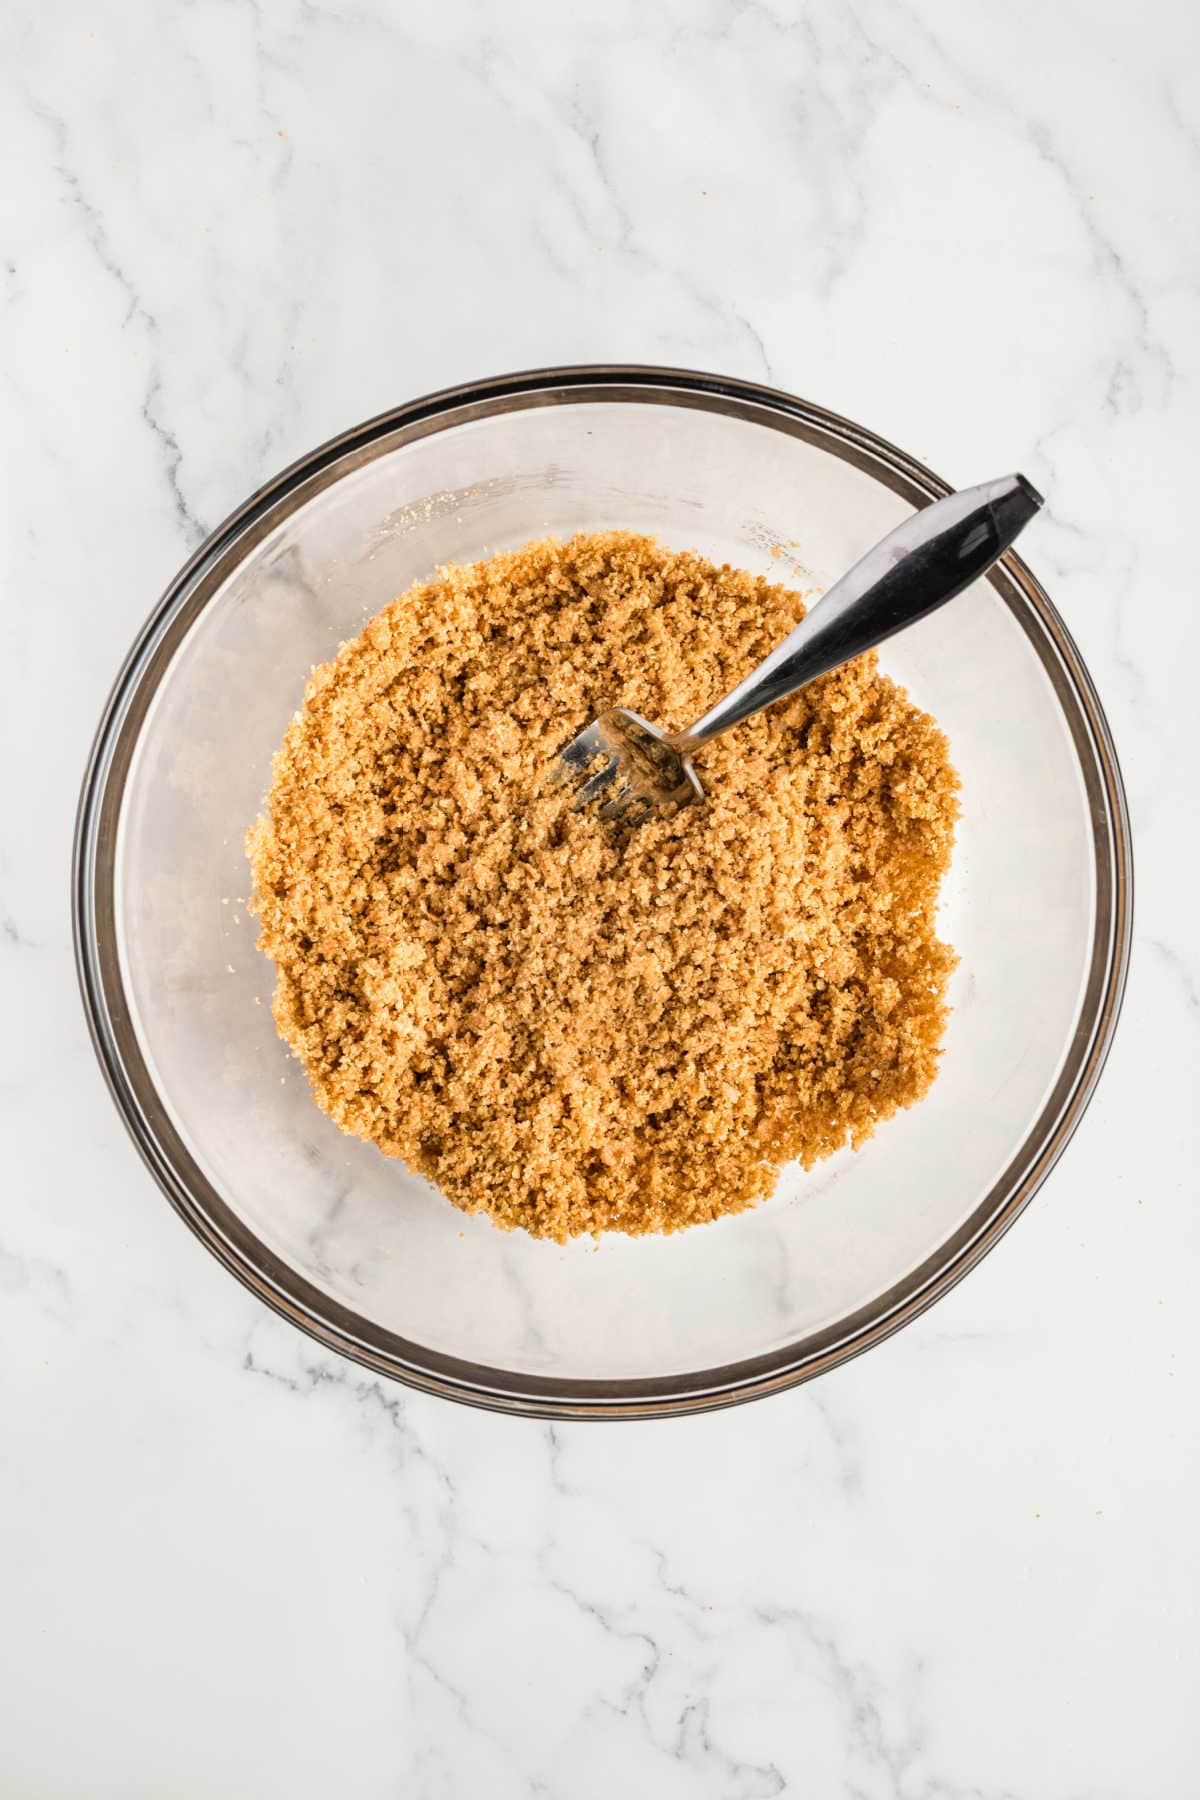
Pour in the melted butter, brown sugar, white sugar, and salt into the crumbs. Toss with a fork until the mixture looks like damp sand and holds when squeezed in your hand.
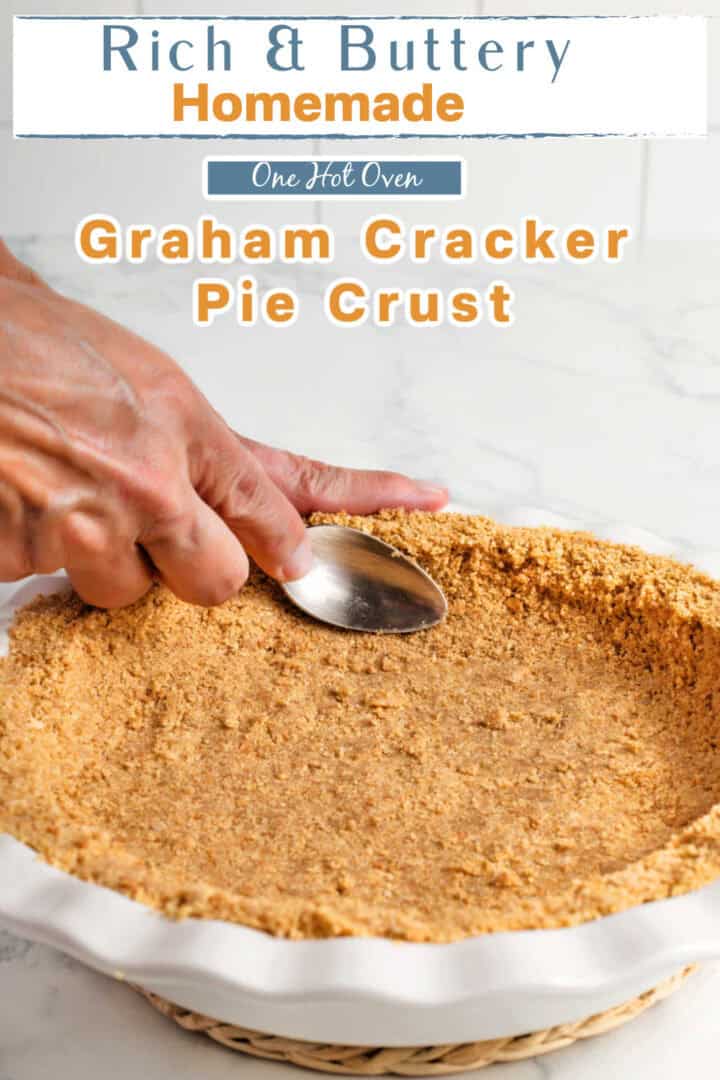
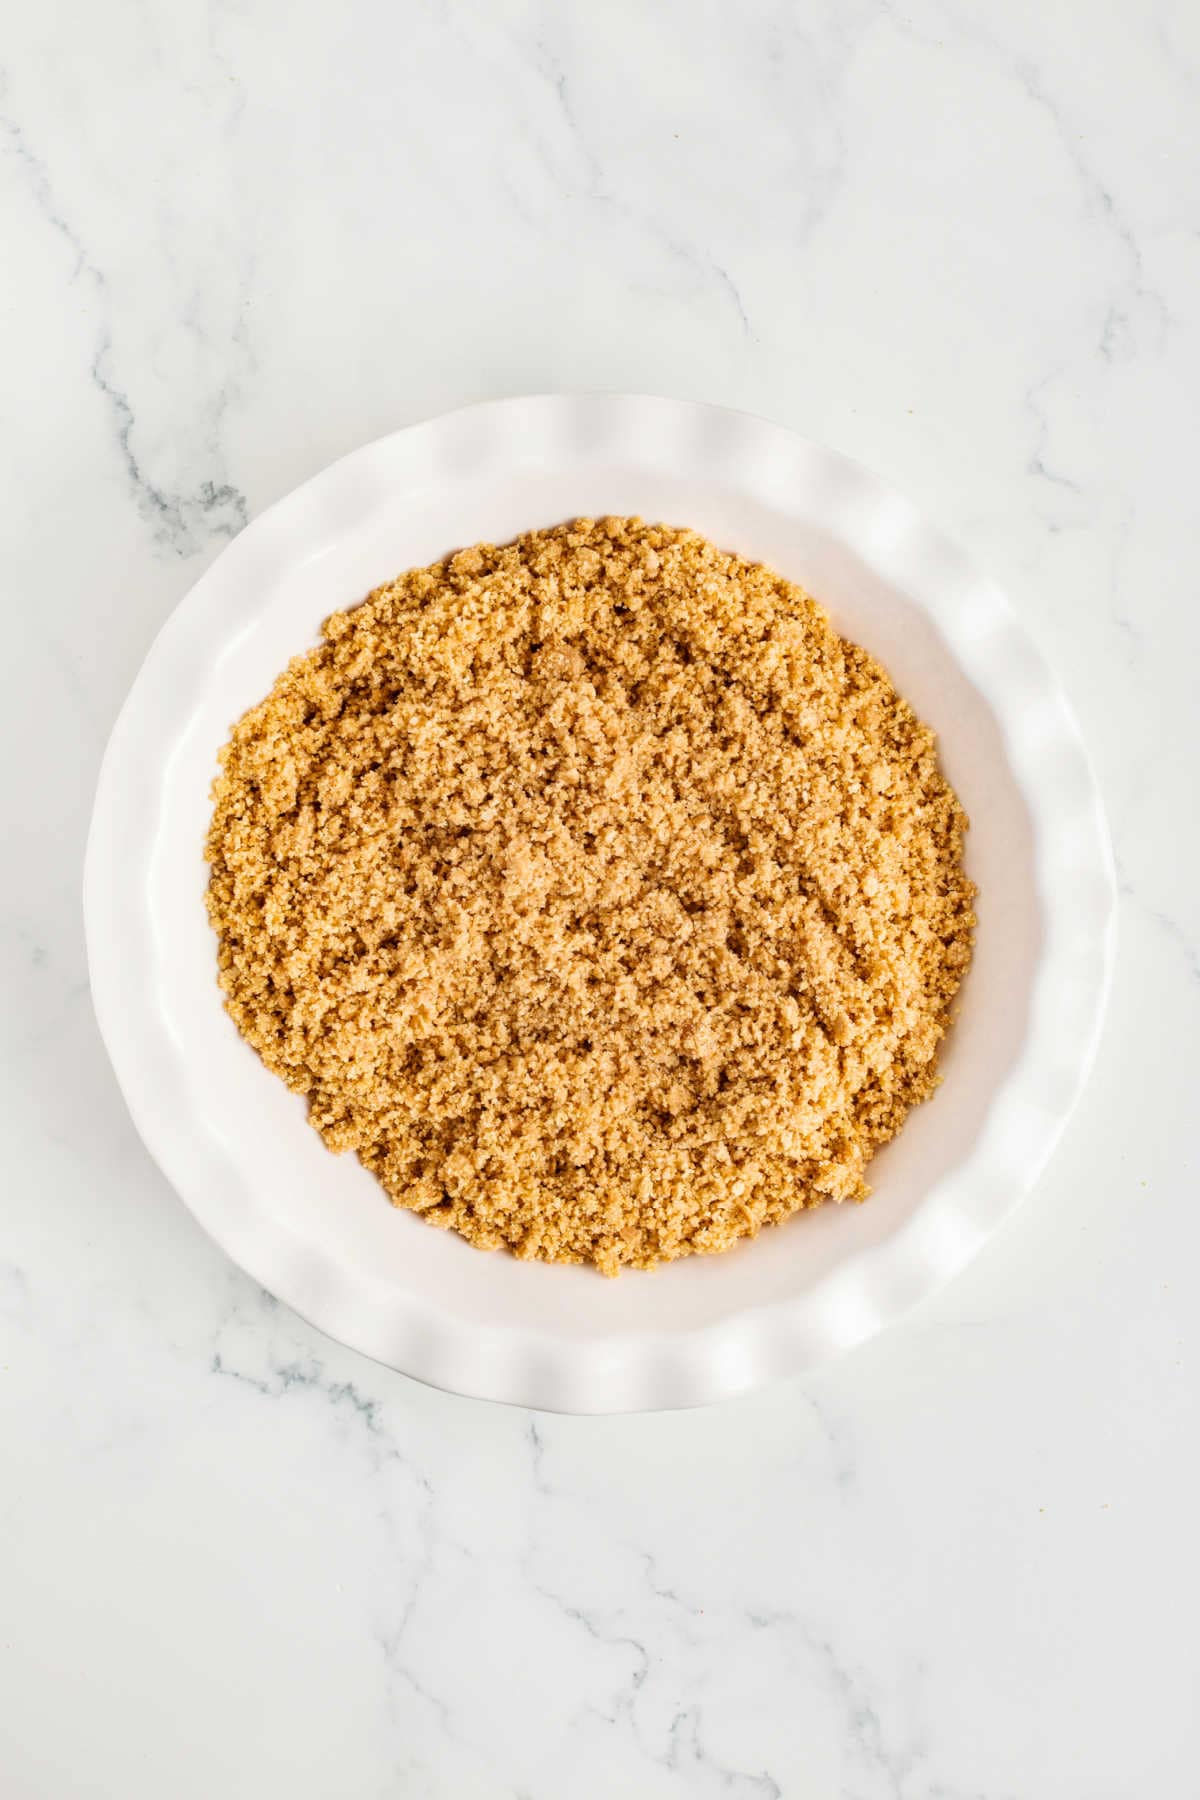
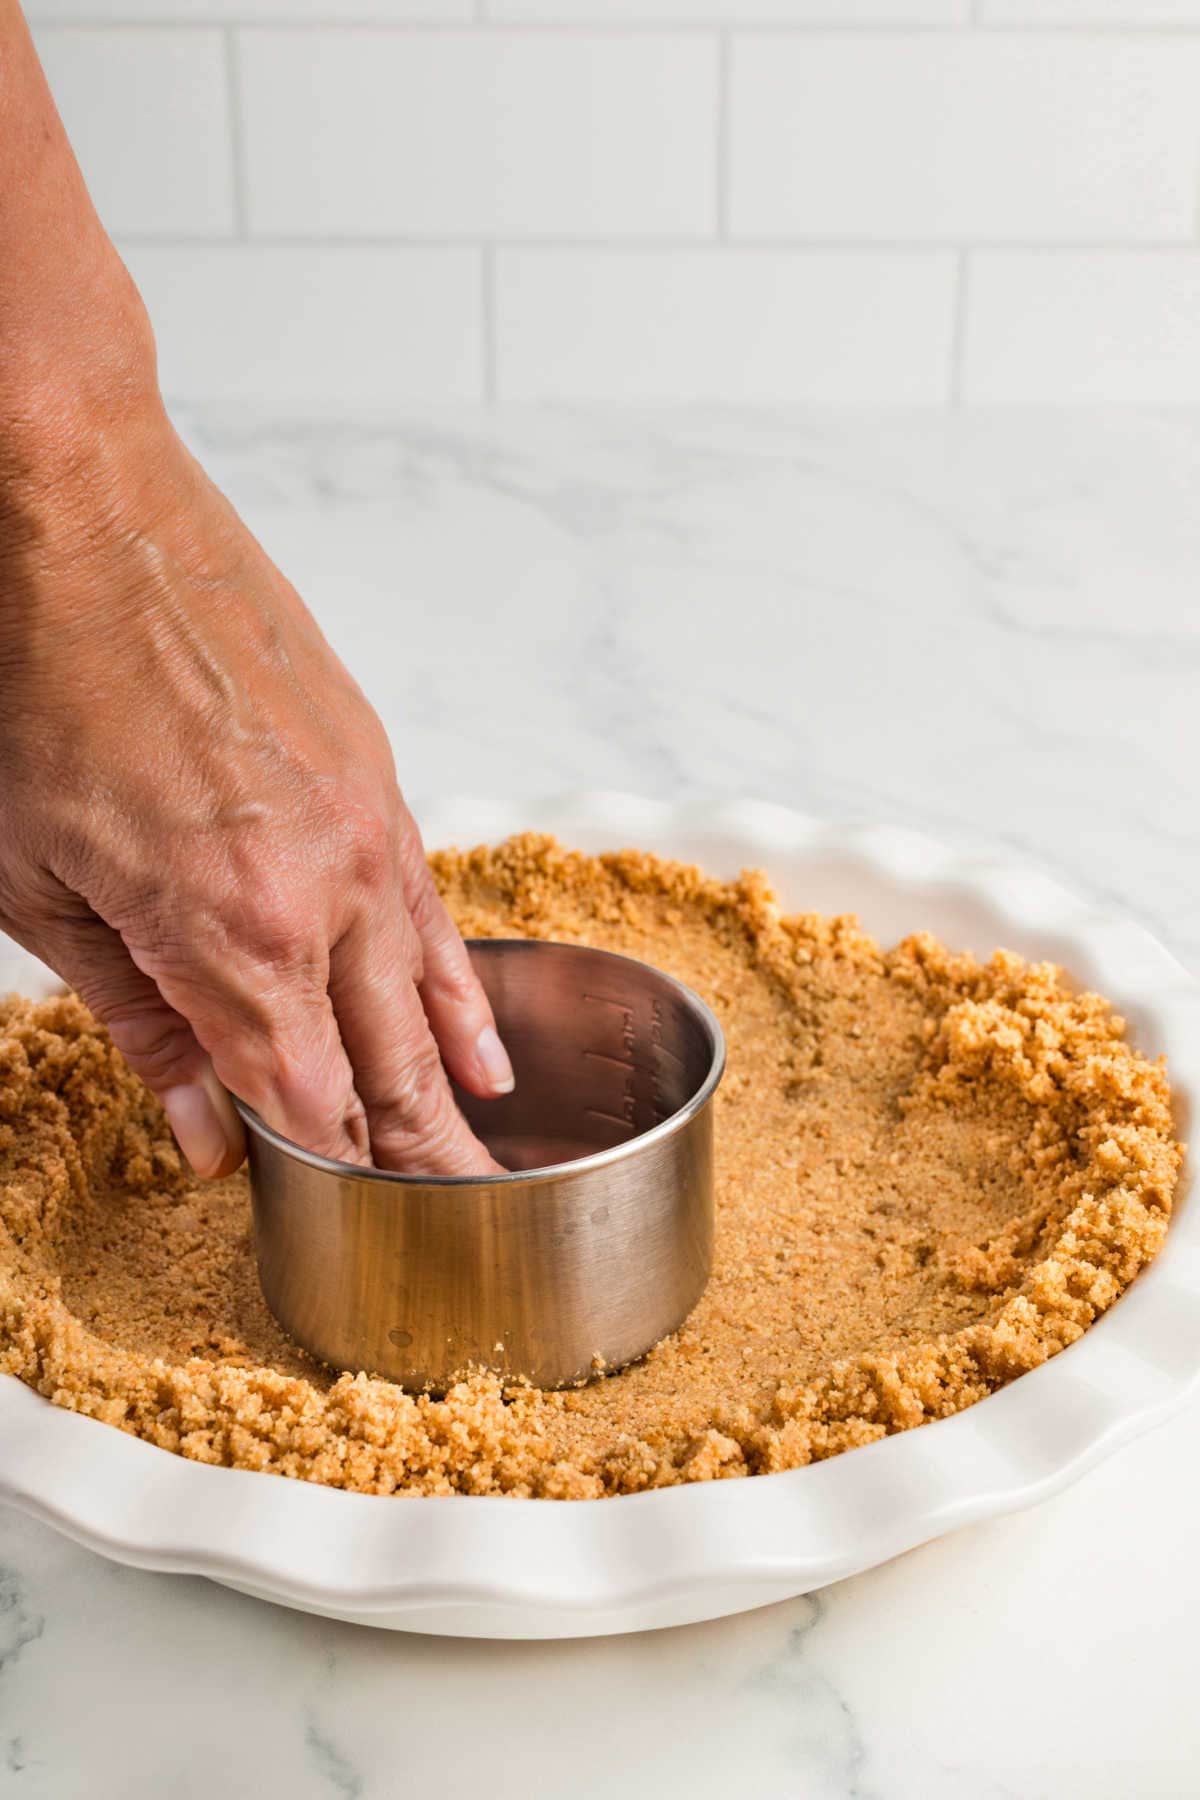
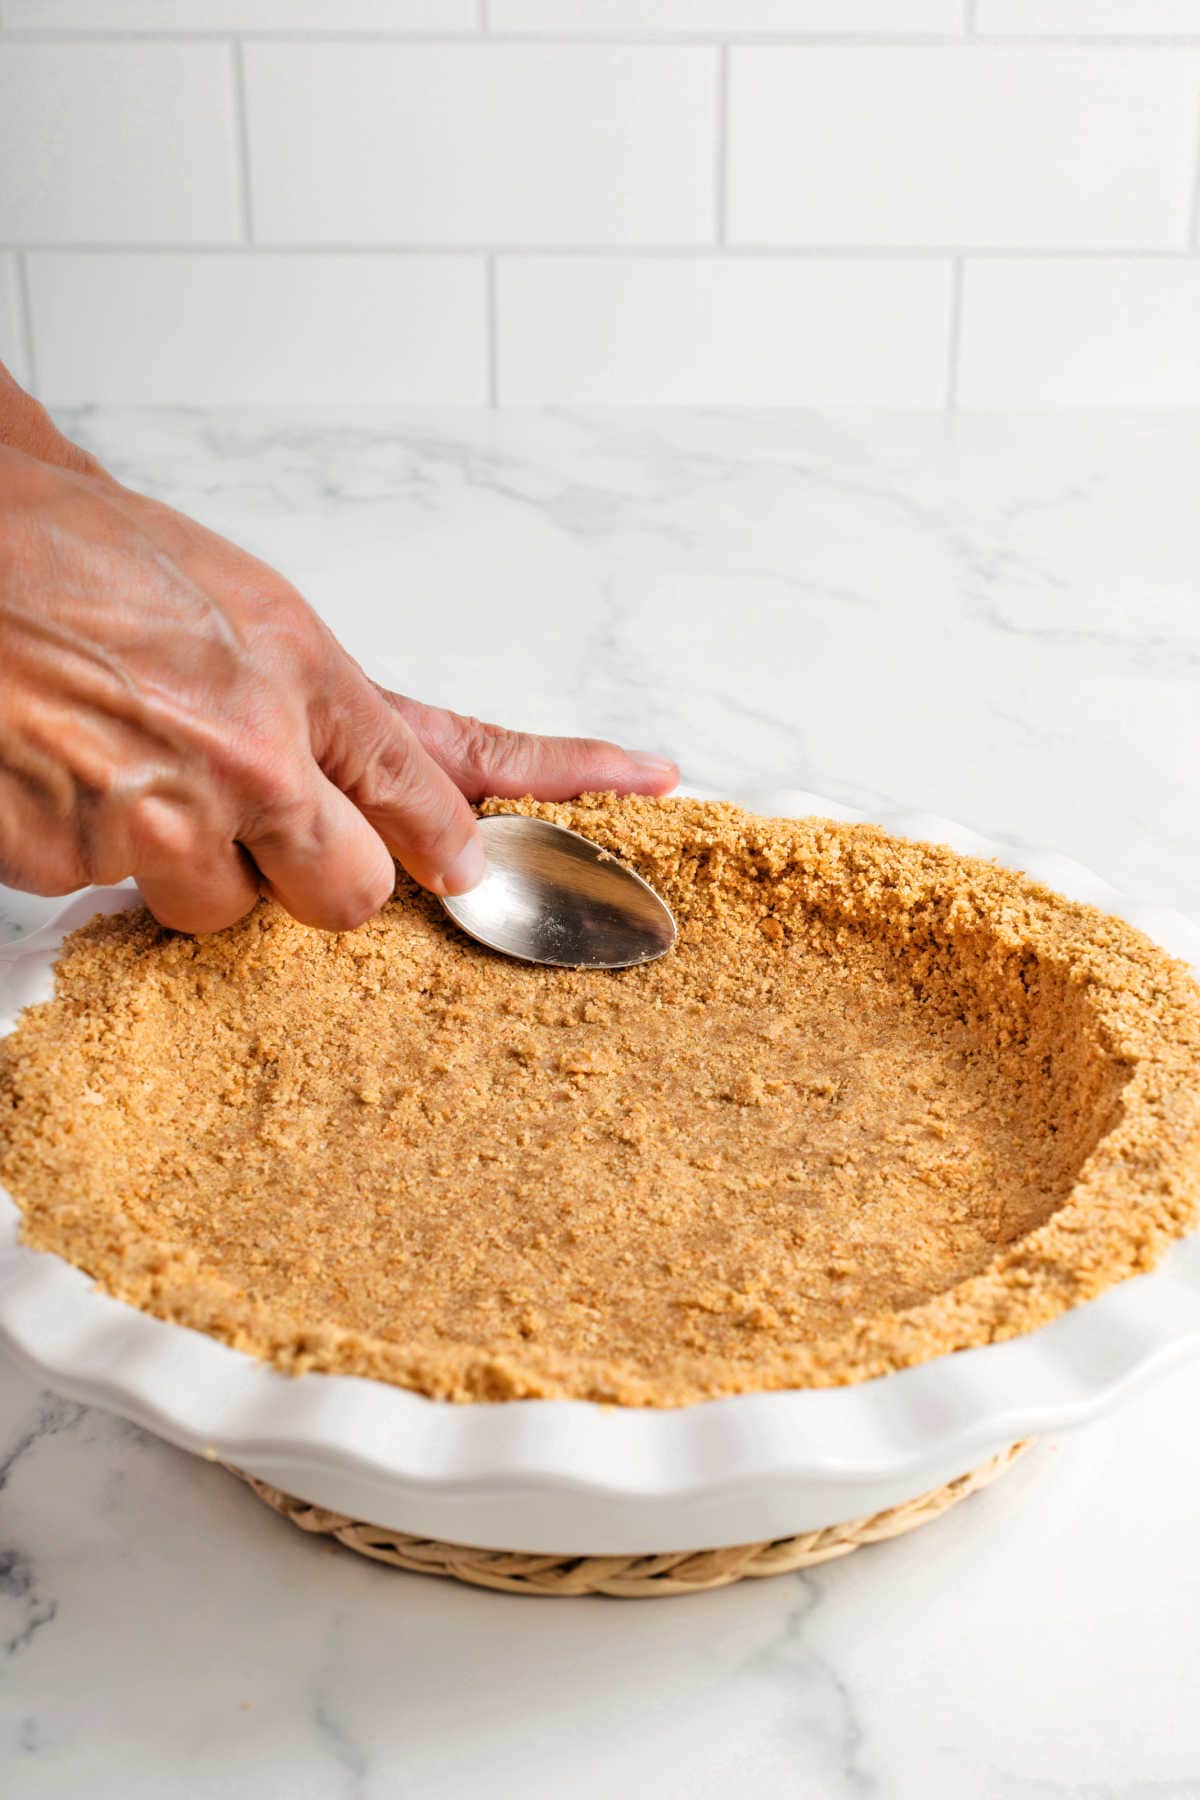
Press the crumbs firmly into a 9-inch pie plate. Use a flat bottom measuring cup to pack the base evenly. Use the back of a spoon to press up the sides. Don’t overpack it, or it will be too hard to cut. When done, tidy the top of the crust of loose crumbs.
Step 3. Bake or Chill:
- For a baked crust: Bake at 350°F for 10 minutes. Cool before adding a filling.
Tip for cheesecakes – For cheesecake, always use the baked version. Pre-baking helps the crust stay firm under a heavy filling.
- For a no-bake crust: Refrigerate at least 2 hours so the butter firms up and sets the structure.
Variations To Try
If you want to change the flavor, keep it simple:
- Cinnamon – Good with a banana cream pie
- Vanilla beans – Great with cheesecakes
- Nutmeg – Works well with eggnog filling
- Cardamom – Nice with citrus cream pies
- A pinch of red pepper – Bold, but excellent with chocolate
Pro Tips For Success

- Sugar helps the crust set when heated with butter. It’s not just for sweetness.
- Toss with a fork so the butter coats everything without creating soggy spots.
- Press firmly, but don’t mash it flat like concrete. Too much pressure makes it hard to slice.
Make Ahead and Storage
You can make this crust 1 to 2 days ahead and keep it covered at room temperature if baked.
For longer storage, wrap tightly and freeze for up to 2 months. Thaw at room temperature before filling.
Troubleshooting
It usually needs one of two things: more butter or firmer pressing. The crumbs must be very fine, and the mixture should hold when squeezed in your hand before pressing.
1. Overbaking
2. Packing too tightly
3. Too much butter
If it’s already baked and too firm, set the pie plate on a hot, damp towel for a few minutes before slicing. The gentle heat softens the butter slightly and helps with clean cuts.
Very fine. If you see visible cracker bits, keep crushing. Fine crumbs slice better and look cleaner.
Use a warm knife. Run the blade under hot water, dry it, then cut your slices.
Butter gives the best flavor and structure. Margarine can work, but the crust may be softer and slightly greasy.
More Pie Crust Recipes
If you’re building your pie skills, here are a few more crust recipes that cover the basics:
- How to Make A Short Crust Tart Dough – A sturdy, rolled dough that works well for tarts and fruit fillings.
- How to Make A Flaky Pie Crust – My go-to double crust for traditional fruit pies.
- How to Blind Bake A Pie Crust – Step-by-step instructions for pre-baking a crust for cream and custard pies, and can be used for no-bake fillings.
Don’t forget to Pin to your favorite board

Subscribe here for more great recipes, and follow One Hot Oven for more tasty sweet and savory recipes! Pinterest | Instagram | Facebook
Tried it? Rate ⭐⭐⭐⭐⭐ & comment below—your feedback keeps the oven mitts flying here at One Hot Oven.
Recipe

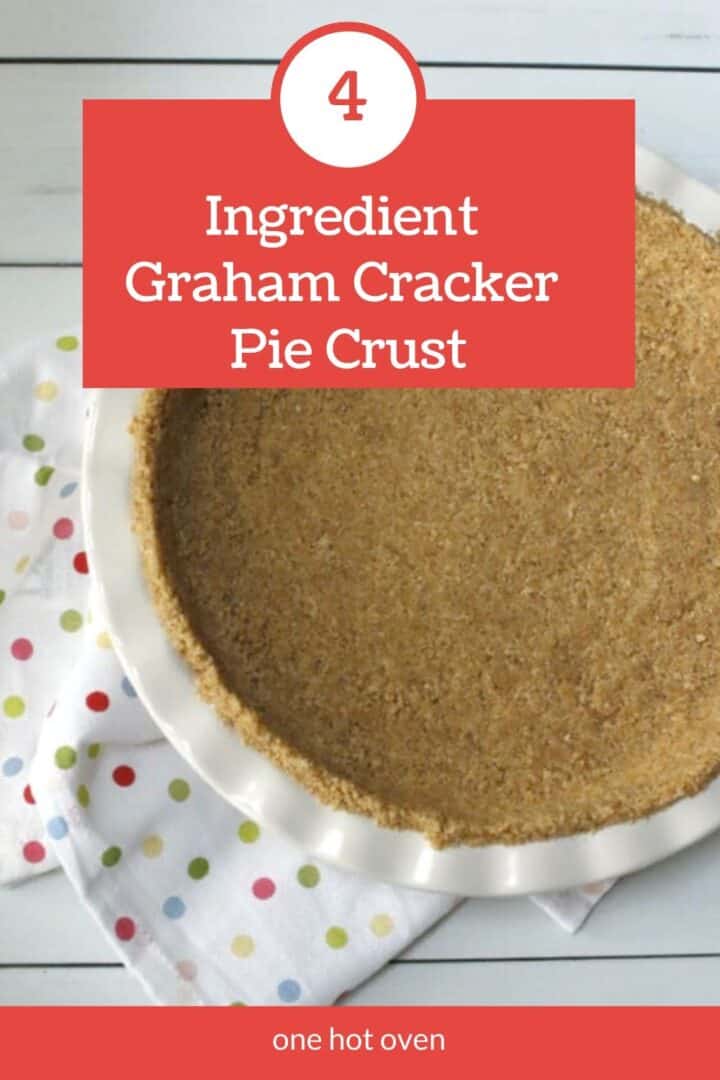
Easy Graham Cracker Pie Crust
Equipment
Ingredients
- 1 ½ cups graham crackers Use approximately 10 sheets or use boxed graham cracker crumbs. Brands vary a bit, so it can range from 9 to 12 sheets.
- 2 tablespoons sugar
- 2 tablespoons brown sugar
- 5 tablespoons butter melted
- ½ teaspoon salt
Instructions
- If using graham cracker sheets, break them up and grind in a small food processor. You can also place the graham cracker sheets in a ziplock bag and crush them with a rolling pin.
- Transfer the crumbs to a mixing bowl and add the melted butter, sugar, and brown sugar. Mix all together with a fork until the mixture is coated in the butter and looks crumbly.
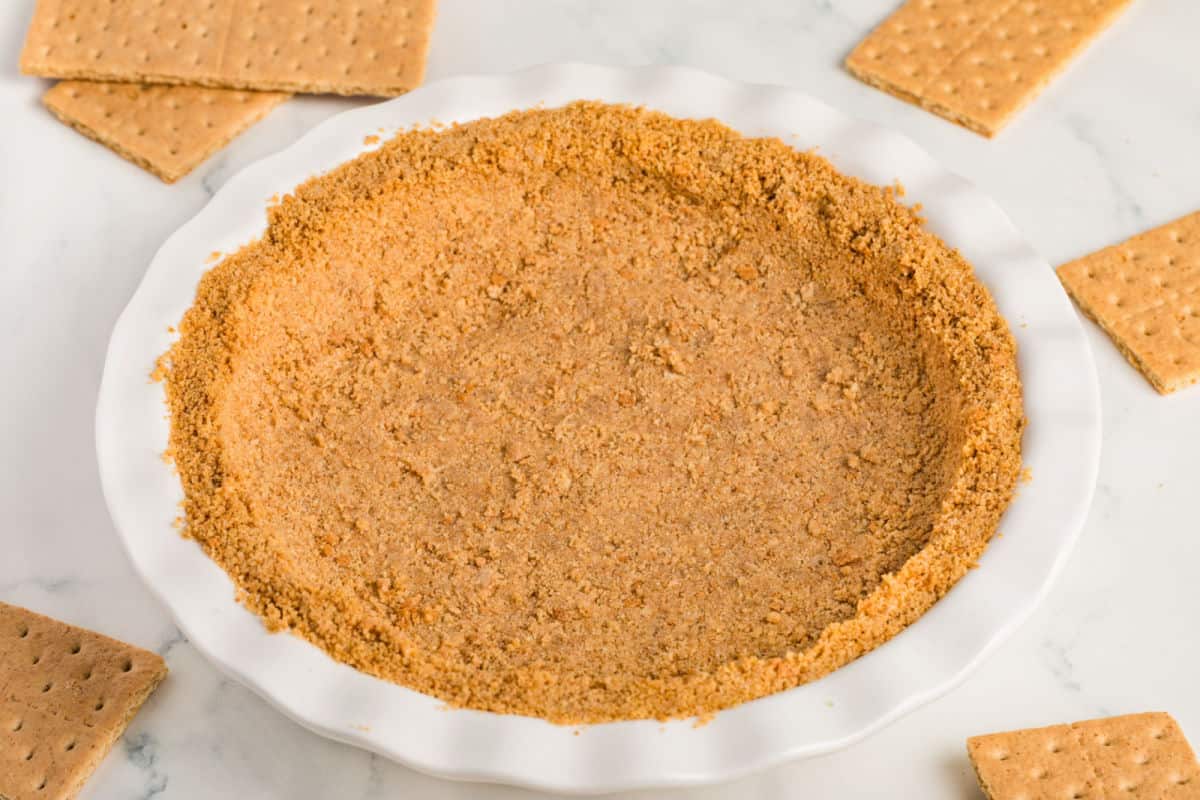
- Pour the graham cracker crumbs into a 9" pie plate.
- With your fingers or the bottom of a cup press the crumbs evenly all around the pie plate; bottom and sides. You can use a spoon to press in the sides of the crust. You want the crumbs to be compact so the crust does not crumble when cut.
No-Bake Graham Cracker Crust
- Make the crust a directed and place in the refrigerator for at least two hours before adding the filling.
For a Baked Graham Cracker Crust
- Preheat the oven to 350° F. Bake the crust for 10 minutes.
Notes
- For the sugar in the recipe, instead of using half brown sugar and half white sugar, you can use just one type of sugar.
- Digestive biscuits can be used instead of graham cracker crumbs.
- When pressing down on the cracker crumbs in the pie plate, you want them compressed enough to be firm, but if they are too compressed, you won’t be able to cut the crust once it is baked.
- Baked crust: Bake at 350°F for 10 minutes. Cool before adding a filling.
- Unbaked crust: Refrigerate 2 hours so the butter firms up.
- You can use different flavors of graham crackers, such as honey or chocolate
- Add spices like cinnamon, nutmeg, apple pie spice and cardamom
As an Amazon Associate I earn from qualifying purchases.
Nutrition
First published: May 6, 2020. Last updated: February 27, 2026, for better readability.
Thank you for stopping by the One Hot Oven blog. Please leave a comment to say hello or tell me what you are baking; I always love hearing from fellow bakers. Do you have any questions or want to chat about the recipe? Please visit my About page for information, and I’ll be happy to help!
Hello there, I’m Jere’
From learning to cook on a farm in Indiana to culinary school in California, my passion for food is never-ending. Turning on my oven to bake something for friends and family is my happy place, and I am glad to be here at One Hot Oven® sharing sweet and savory family-friendly recipes for your cooking and baking inspiration.


I usually use store-bought crust but this one was really easy to make and tasted so much better! I’ll be making only my own from now on!
Love this four ingredient crust recipe. Looks so perfect. Can’t wait to try this out with cheesecake. Thanks for sharing
Yes, you gotta have a good graham cracker crust for cheesecake.
I love a good graham cracker crust! thanks for sharing your easy to make foolproof recipe