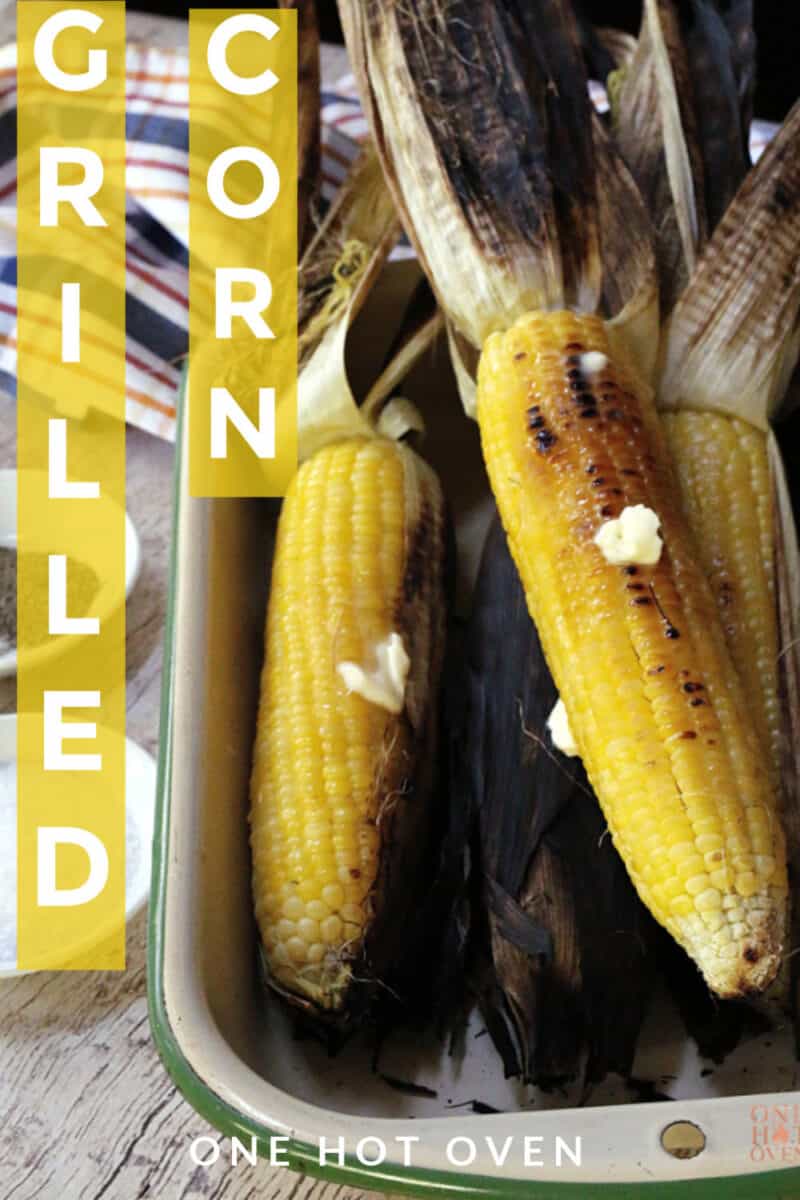

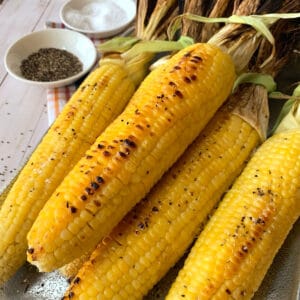
Grilling corn in the husk is my favorite way to cook fresh summer corn. The husks trap moisture and steam the kernels, adding a light, smoky flavor from the grill. No soaking, foil, or boiling required.
Want to save this recipe?
Enter your email & I’ll send it to your inbox. Plus, get great new recipes from me every week!
This page may contain affiliate links. Please see my disclosure for policy details. I earn commissions if you shop through the links on this page.
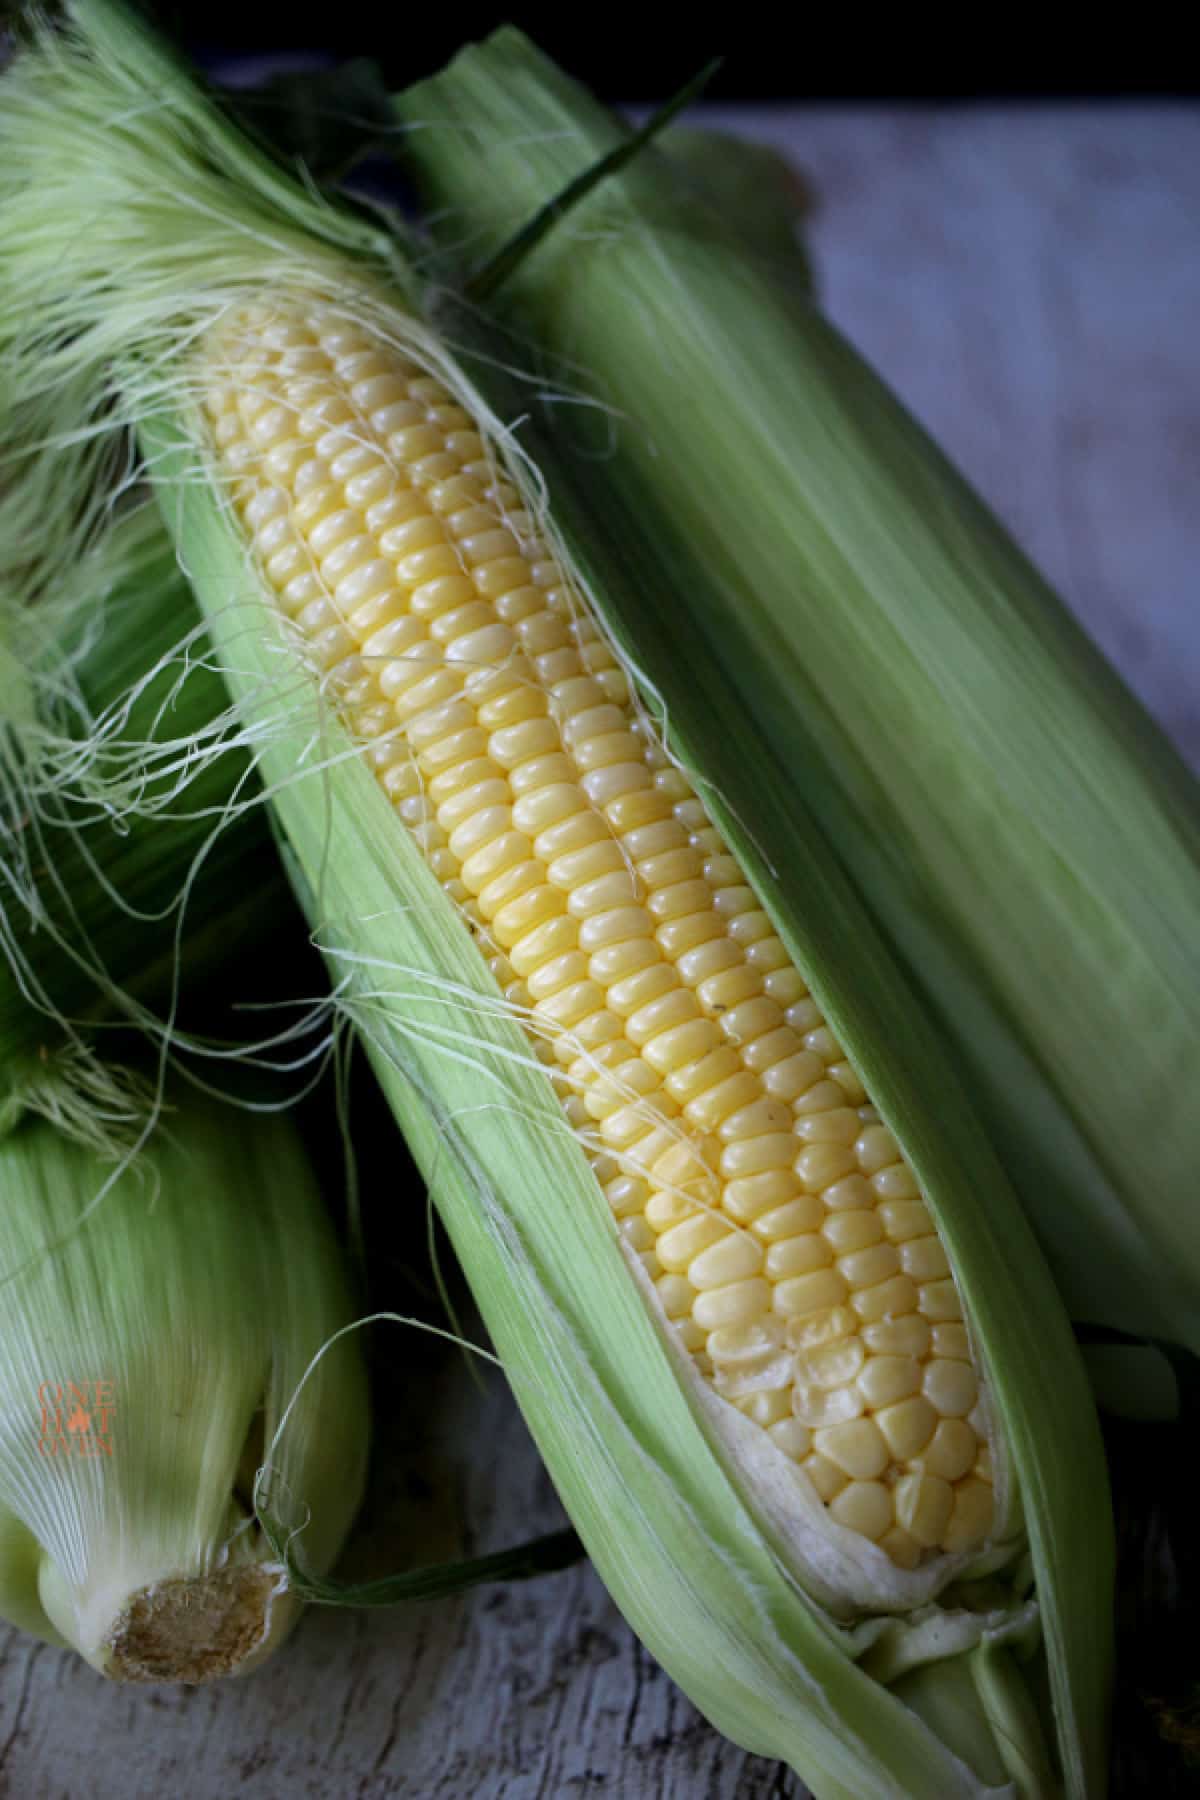
It is the middle of summer, and the time of year when fresh sweet corn appears in stores, farmers’ markets, and roadside veggie stands. Yellow sweet corn, delicate white corn, and yellow-and-white corn are all delicious and make a perfect side dish for summer, tailgating parties, or barbecues.
Recipe Highlights

- Type of Recipe: Summer grilled side dish
- Cooking Method: Outdoor grilling
- Skill Level: Easy, hands-off cooking
- Flavors and Texture: Sweet, juicy kernels with a light smoky flavor and tender bite
- Best For: Cookouts, backyard barbecues, potlucks, and weeknight dinners
Why Grill Corn On The Cob In The Husks?
I’ve boiled corn, wrapped it in foil and even cooked it in the microwave, but grilling corn in the husk is still my favorite method. The husks trap steam, while the grill adds a light, smoky flavor you simply don’t get from boiling.
How to Pick a Good Ear of Corn
The freshest corn is usually the corn that was picked that day, which is why I love buying it from farmers’ markets and roadside stands.
Look for bright green husks that still feel moist and fresh. The silk at the top should be golden and slightly sticky, not dry and black. The ears should feel full and firm through the husk.
One thing I never do is peel back the husk to inspect the kernels before buying. Once the husk is pulled back, the corn starts drying out. Most ears are perfectly fine inside, even if the tip looks a little rough or has a few missing kernels.
Fresh corn is best eaten within a day or two of being picked because the natural sugars gradually convert to starch.
Tips For Grilling Corn
My biggest tip is don’t bother soaking the corn
Fresh corn already contains plenty of moisture, and the husks trap steam while it cooks. Skipping the soak saves time and still produces juicy kernels.
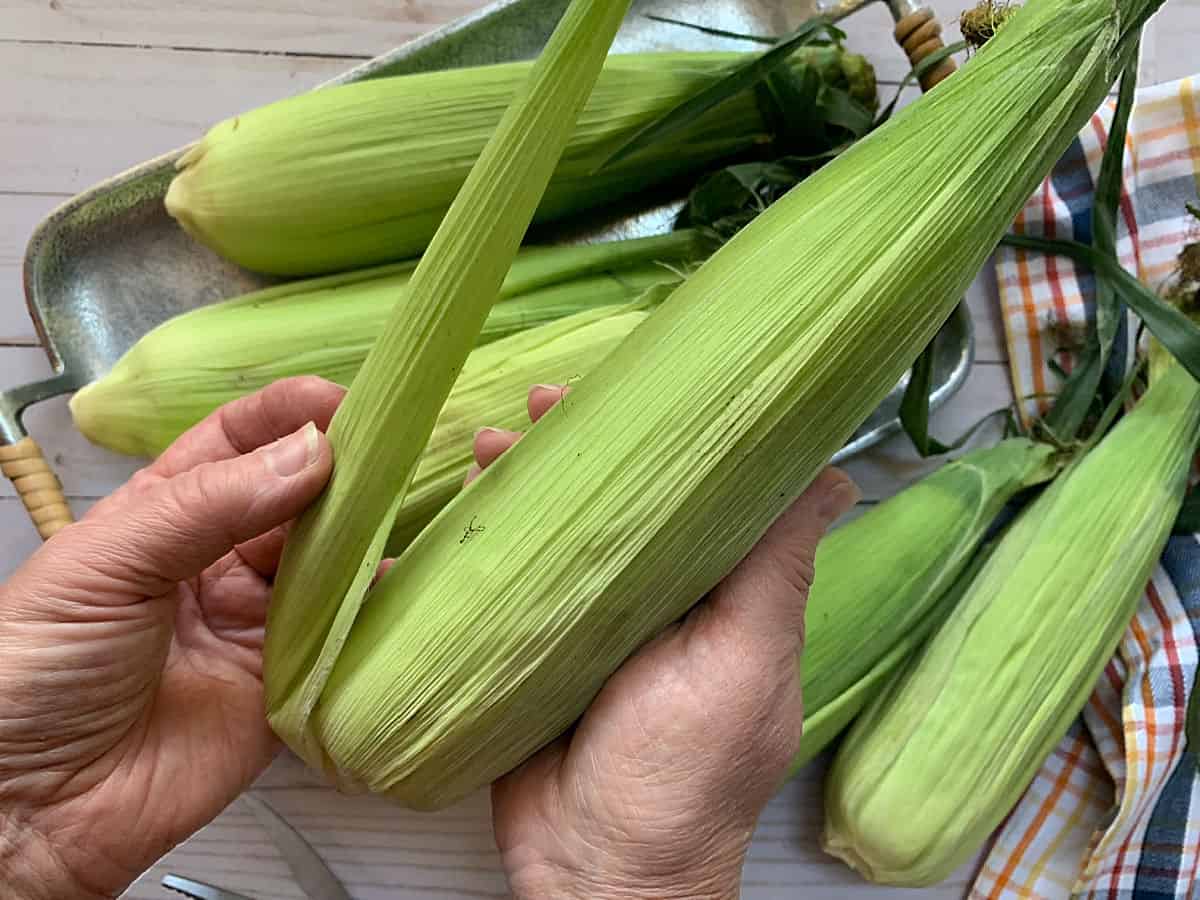
Leave most of the husk intact
Remove any loose or damaged leaves, but keep the majority of the husk attached. The husks help protect the corn from direct heat and keep it from drying out.
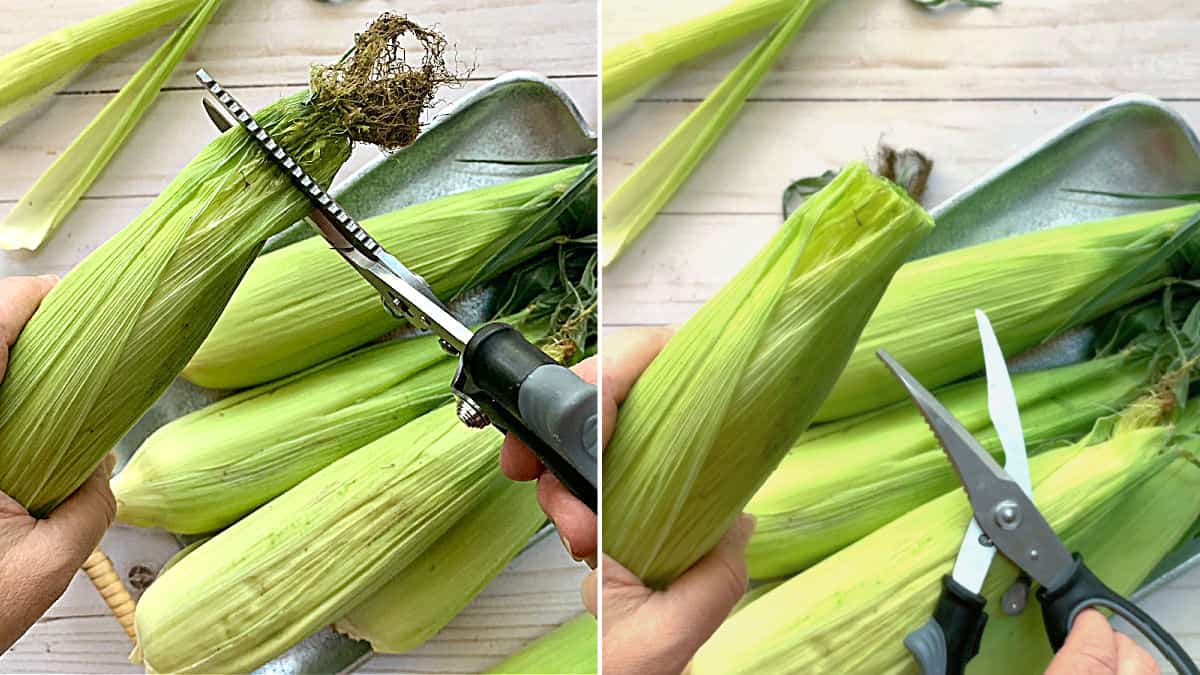
Trim the silk before grilling
I leave the husks in place and simply snip off the exposed silk at the top of each ear. This keeps the silk from burning while the corn cooks.
Jere’s Tips: Grill extra corn! I always buy more corn than what I will be serving because you can grill lots of ears, and it’s a great way to use leftover corn for other recipes like a corn salad, this creamy bowl of Mexican Corn and Bean Soup or our favorite homemade Iron Skillet Cornbread recipe that is full of fresh veggies and lots of cheese. You can also freeze any leftovers in freezer bags for later.
Use the leftover corn to make this Creamy Cheesy Corn Casserole. It’s always a potluck favorite.
Ingredients
- Fresh ears of corn in the husk
- Butter
- Salt and pepper
How to Grill Corn on The Cob in The Husks
Step 1. Heat the grill to medium-high heat, about 400 degrees or a medium flame.
Step 2. Pull any loose husks off the corn cob. The more leaves you pull off, the more your corn will get charred during grilling. Sometimes I pull quite a few husks off because the hubby likes his corn more charred than I do.
Step 3. With a pair of kitchen shears or just scissors, snip off a little bit at the top of the corn so the long silks and the tips of the husks don’t burn on the grill.
Step 4. Place the prepared corn cobs directly on the hot grill grates. Adjust the temperature to about 375 degrees, or the flame to medium-low. Cover and grill for 5 minutes.
The ears of corn below have been grilled for five minutes and are ready to turn.

Step 5. After five minutes, open the grill lid and, using long-handled grilling tongs, turn the ears of corn about a quarter turn. Longer tongs make it easier to reach across a hot grill and keep your hands away from the heat. Grill for another five minutes.
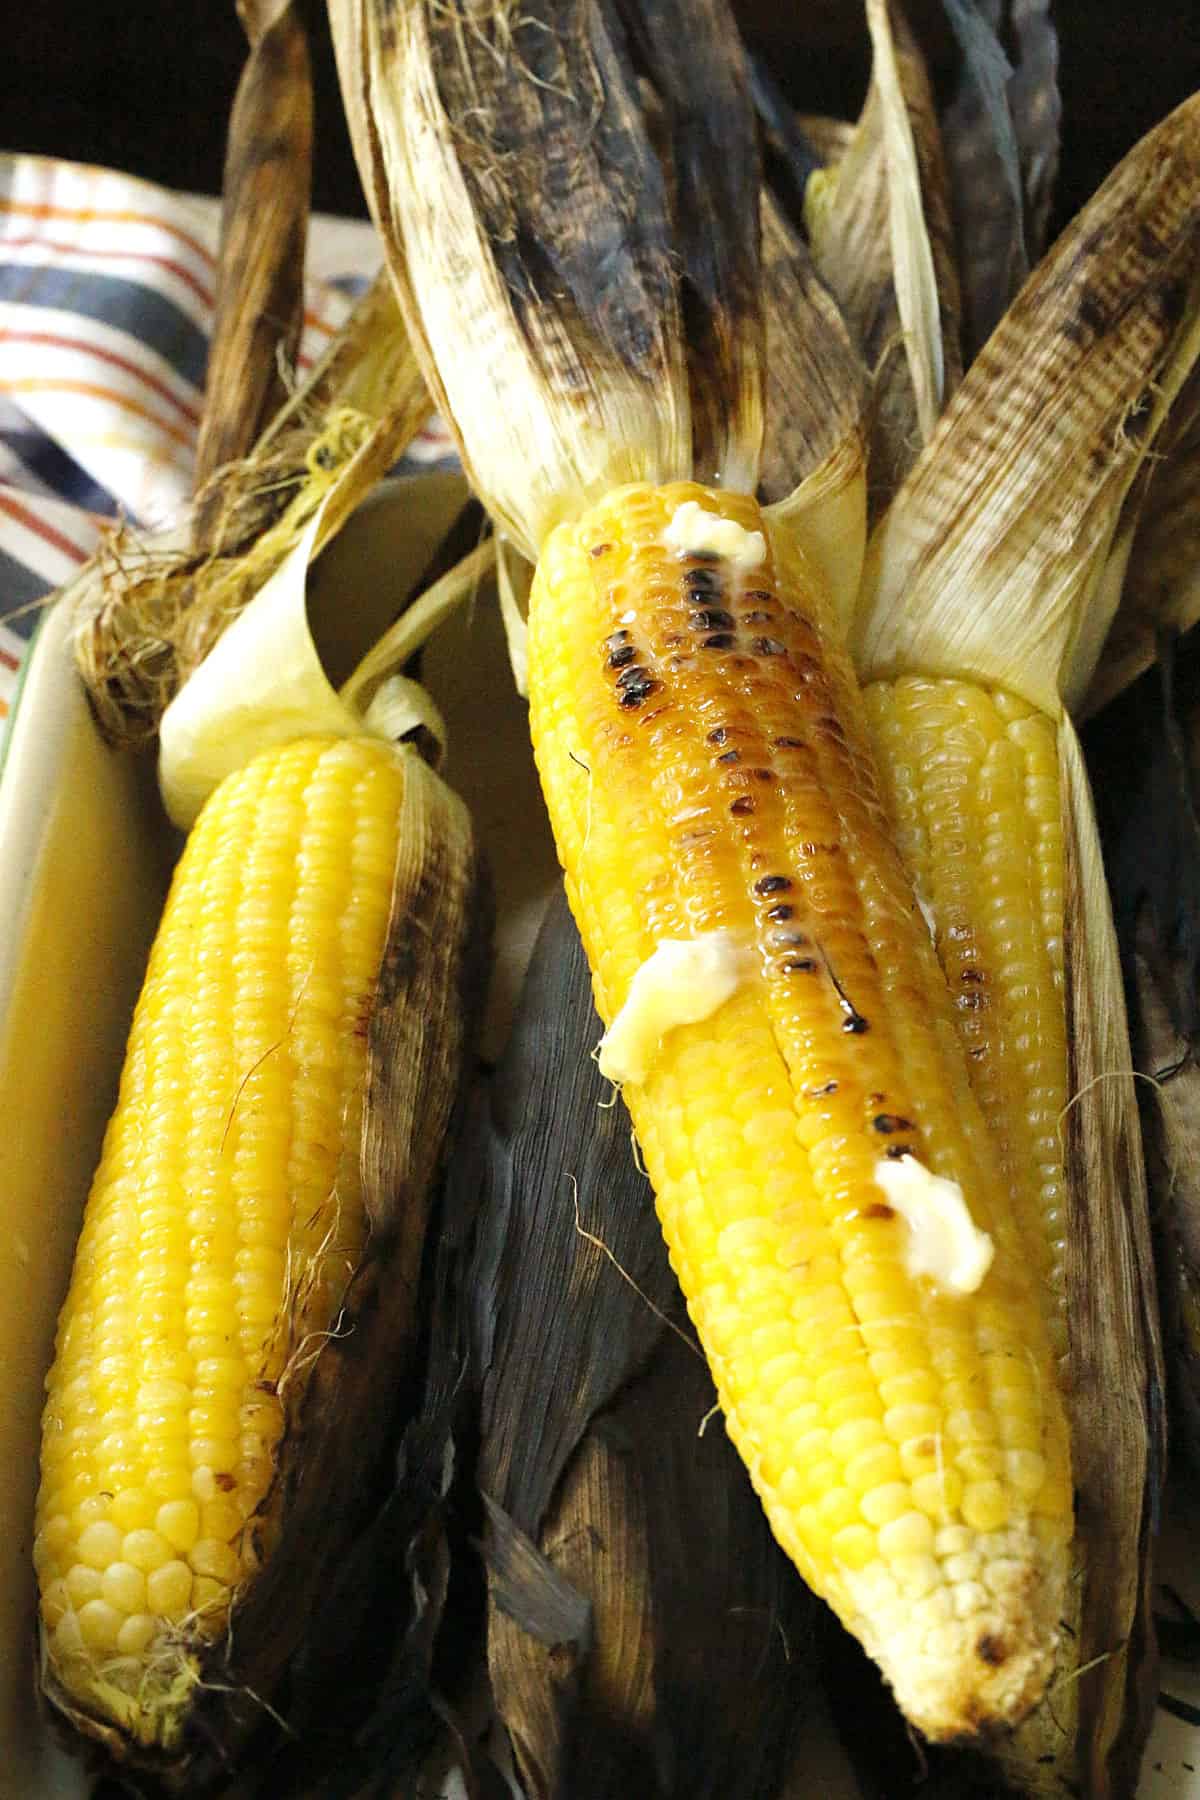
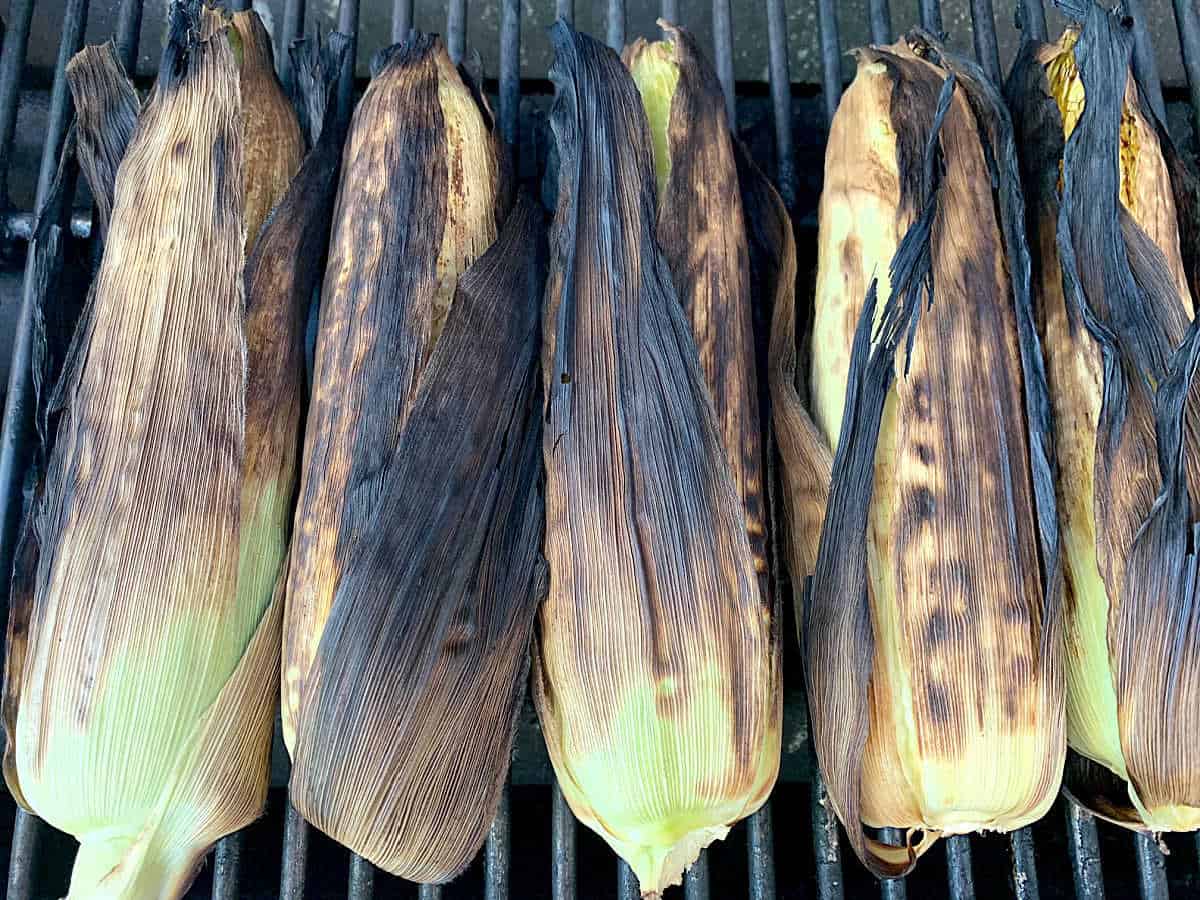
Step 6. Repeat, turning the corn every five minutes for about 20 minutes. To check if the corn is done grilling, pull back the husk with tongs to see if it is cooked to your liking. You can grill a bit longer if you want more of a char.
As with any grill, the heat is different, so you may need to adjust the flame/temperature during grilling.
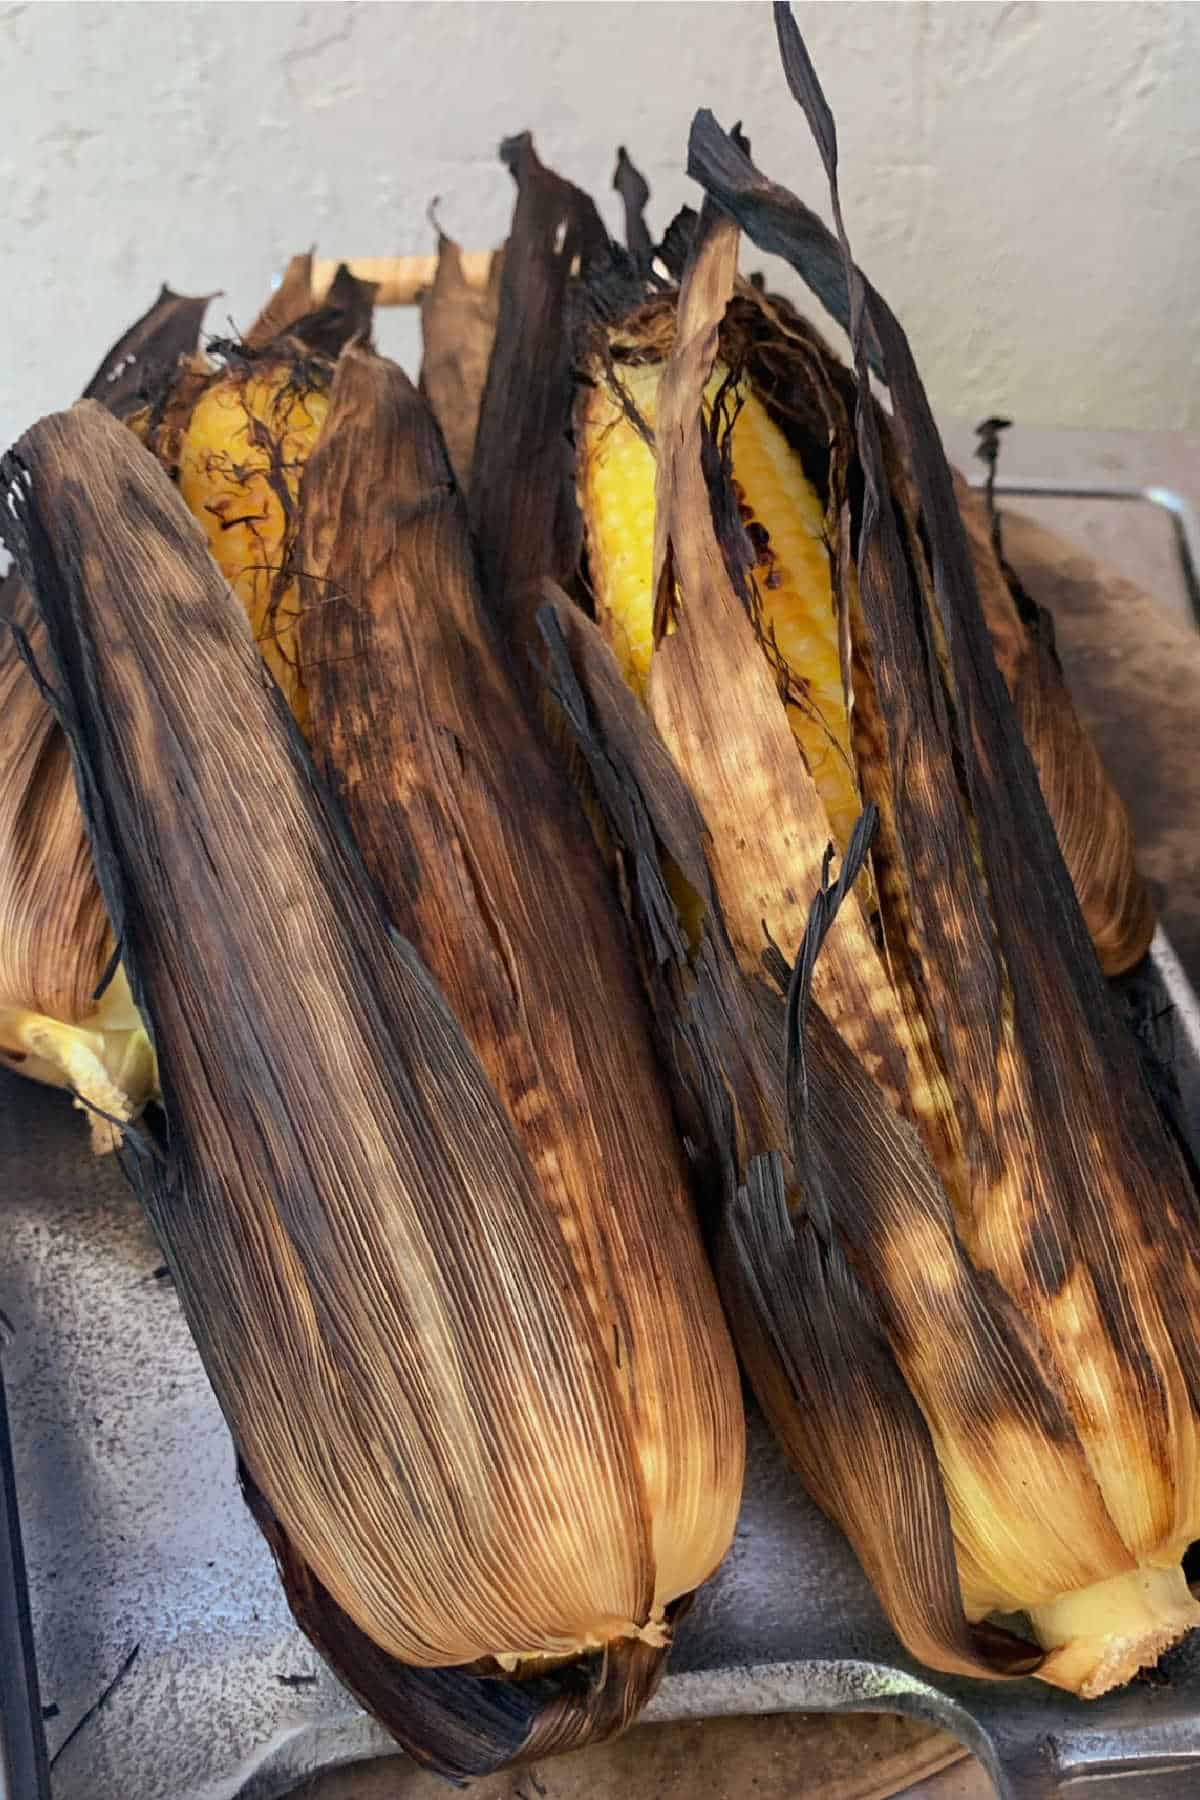
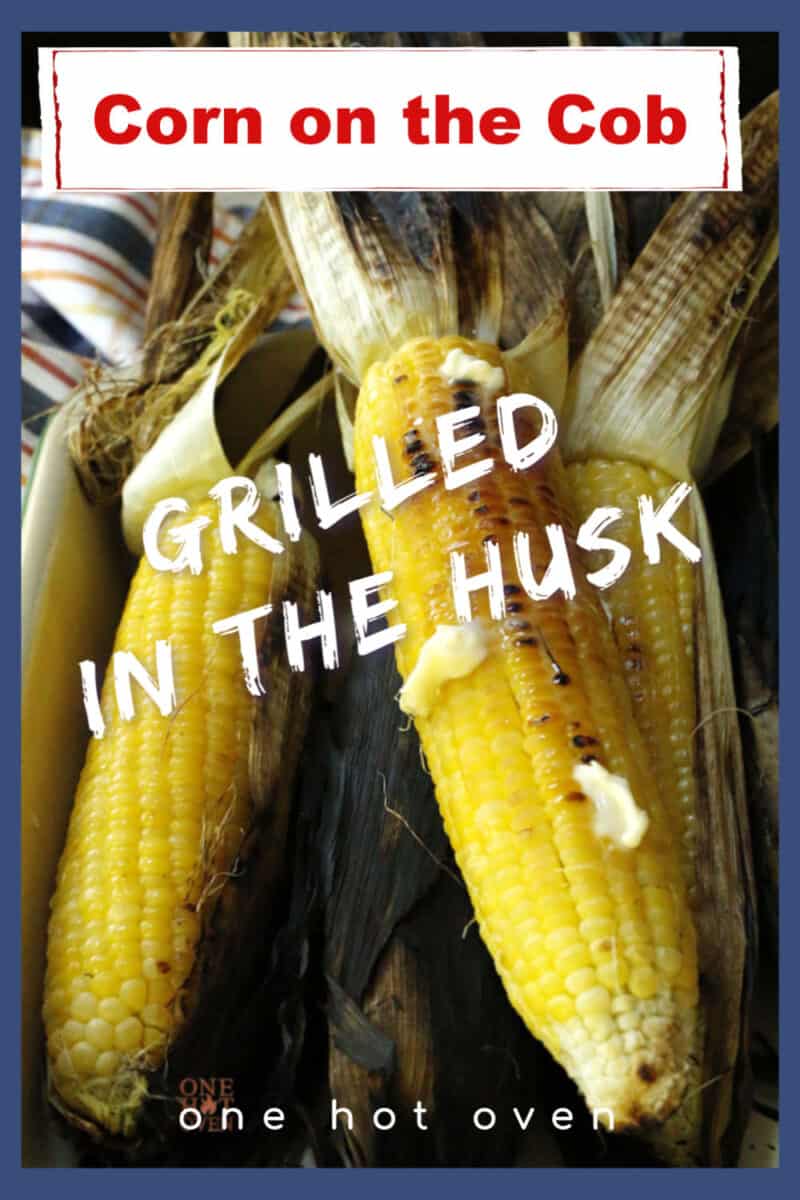
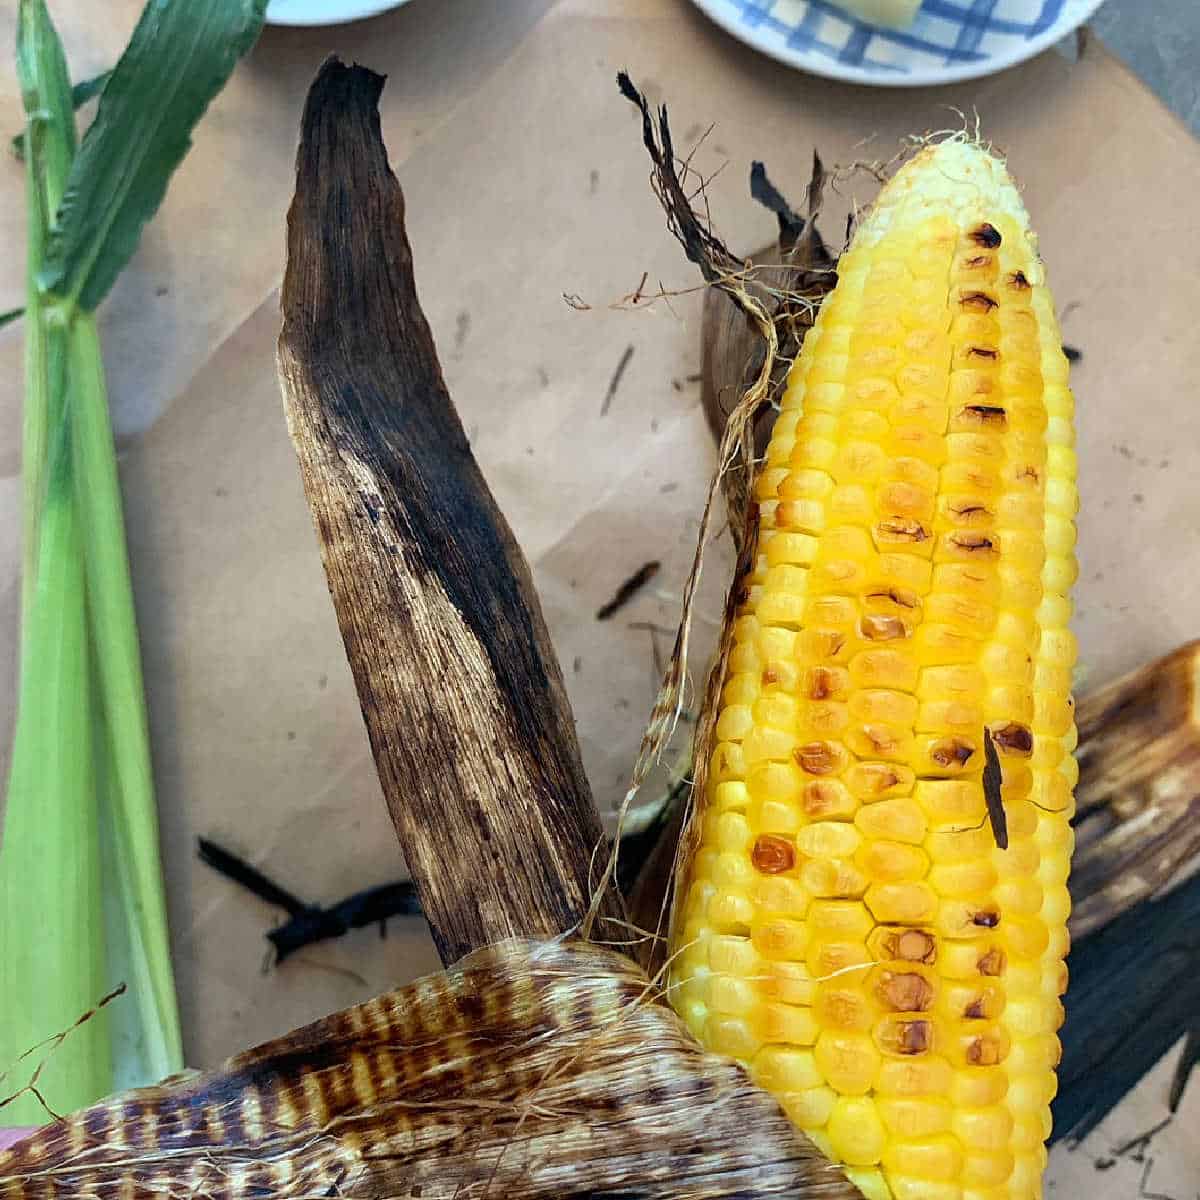
Step 7. Remove the grilled corn and let it cool for about five minutes. To shuck the corn, simply pull back all the husks. Usually, the corn silk pulls off with the husks. At this point, you can either remove the husks, tie them with twine or leave some of the green corn husks on for serving.
Tip for removing the corn husks: It’s best to do this over a trash can, or, if I am shucking a lot of corn, I will lay paper down on my table to remove the husks.
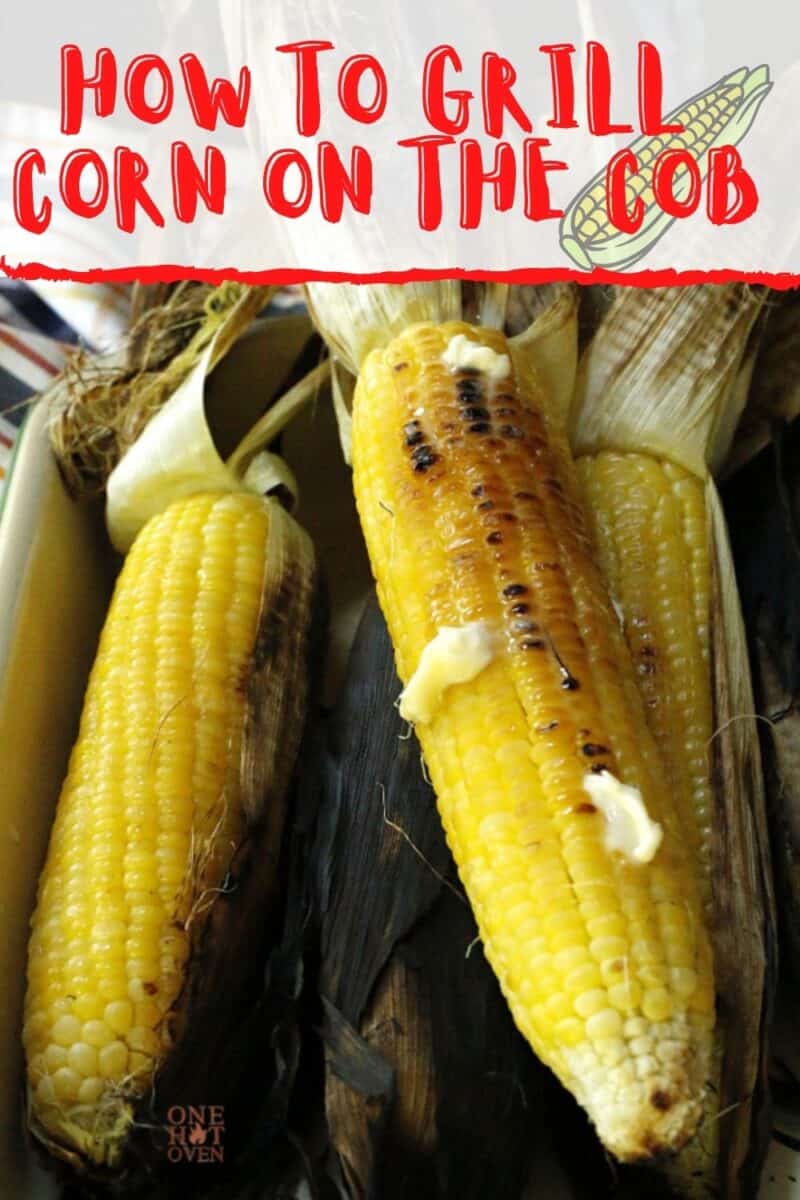
Step 8. You can serve the roasted corn with the husks on, or remove them by pulling them off or cutting them with kitchen shears. Add plenty of melted butter, salt, and black pepper.
My Favorite Way To Serve Grilled Corn
I usually serve grilled corn with melted butter, salt, and plenty of black pepper. For cookouts, try brushing the corn with garlic butter or sprinkling it with Parmesan cheese and fresh herbs.
Build A Summer Cookout Menu
Serve grilled corn alongside:

Storing Fresh and Grilled Corn
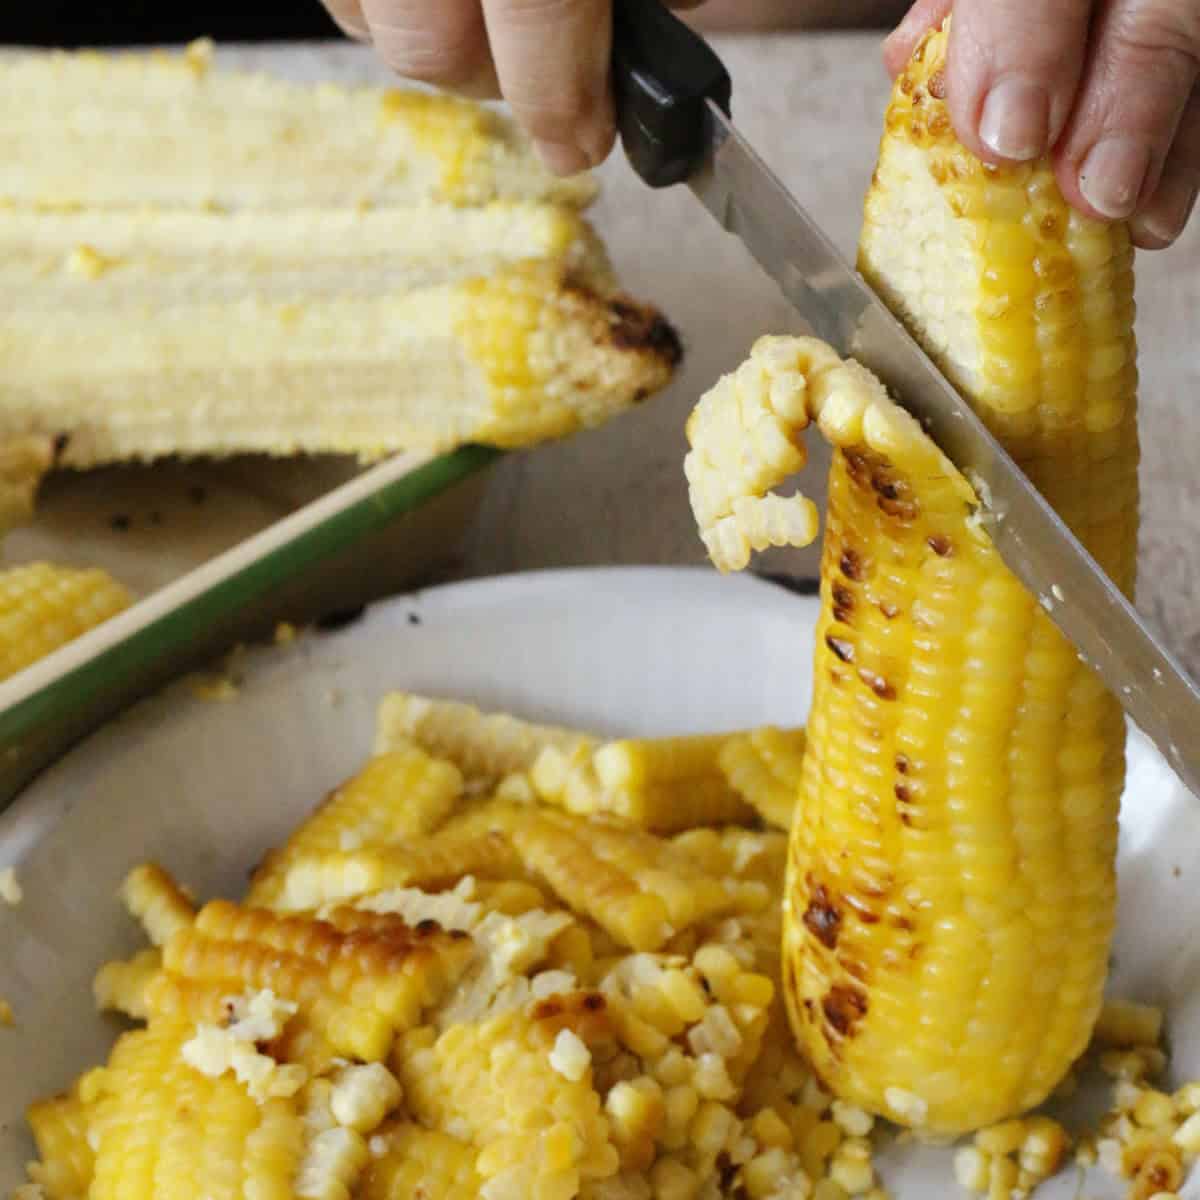
Leftover grilled corn can be wrapped and refrigerated for up to three days. I often cut the kernels from the cob and use them in soups, salads, casseroles, or cornbread.
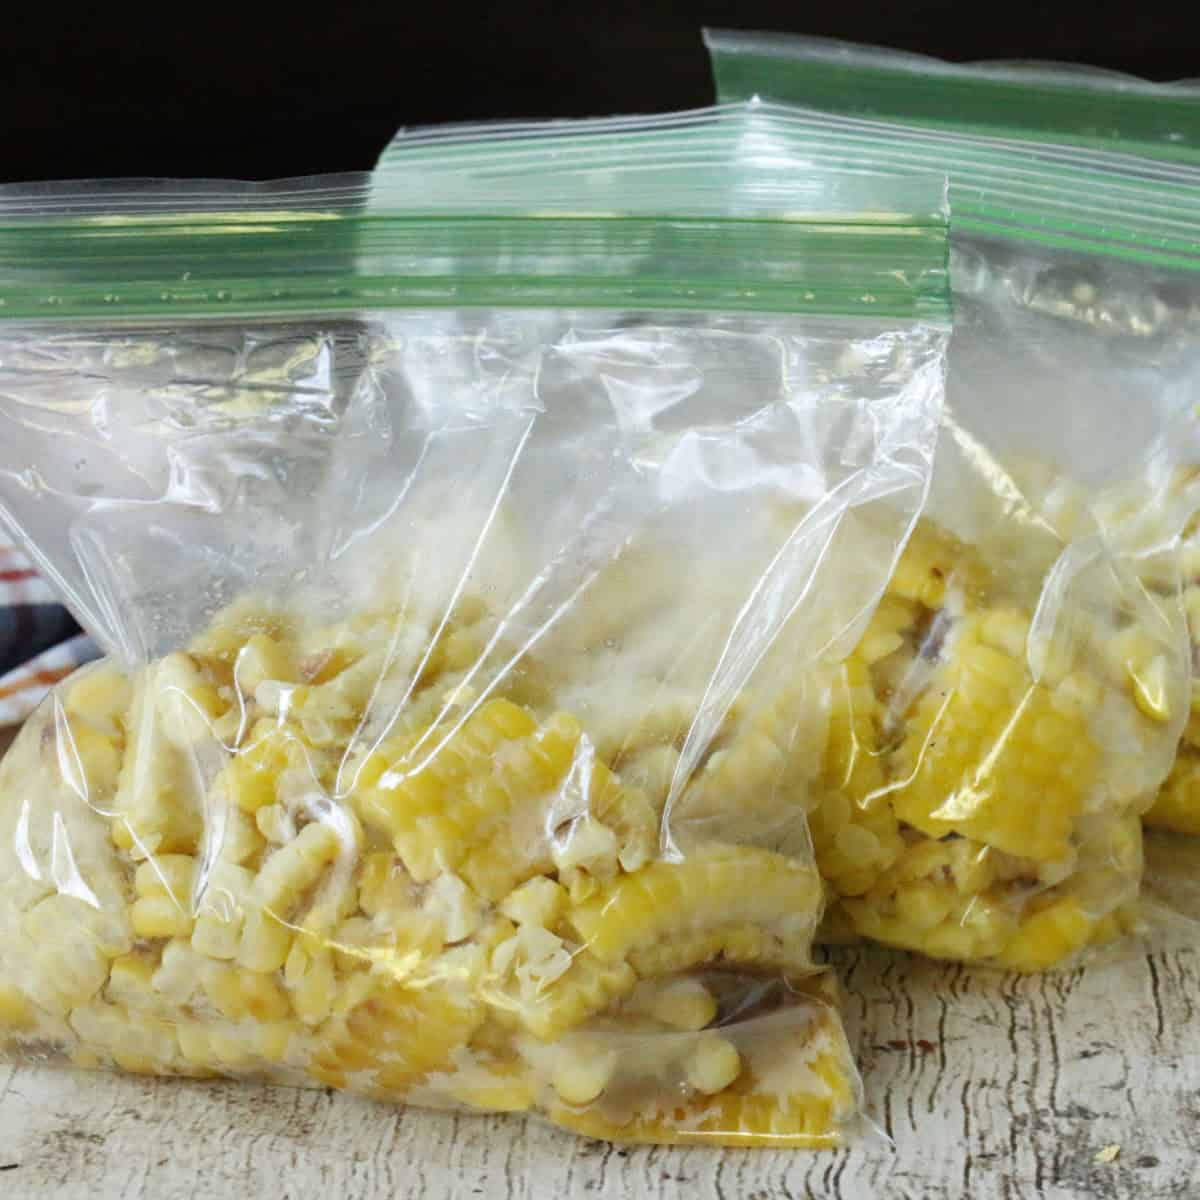
The kernels can also be frozen for up to three months. I freeze extra corn every summer, and if you like stocking your freezer too, take a look at my guide to foods you can freeze for more ideas.
More Corn Recipes You’ll Love
If you’re bringing home a big bag of sweet summer corn from the farmers market, here are a few more ways I like to use it:
- Chicken and Corn Noodle Soup
- Smoked Corn on the Cob
- Creamy Cheesy Corn Casserole
- Instant Pot Corn Chowder

Subscribe here for more great recipes, and follow One Hot Oven for more tasty sweet and savory recipes! Pinterest | Instagram | Facebook
Recipes
Tried it? Rate ⭐⭐⭐⭐⭐ & comment below, your feedback keeps the oven mitts flying here at One Hot Oven.
How To Grill Corn on the Cob In The Husk
Equipment


Ingredients
- 4 ears of corn in the husk
- ¼ cup butter
- salt and pepper to taste
Instructions
- Heat your grill on high to around 375° F.
- Pull off any loose corn husks from the cob. You can also pull off a few additional husks which will allow more of the corn kernels to get charred.
- With a pair of scissors, trim the ends of the corn where the silk is and the thin strands of the cornhusk.
- Place the ears of corn on the heated grill and cover with the lid. Adjust the grill as necessary and try to maintain around 375-400 degrees, or at a medium-low flame.
- Turn the ears every five minutes to cook all the sides and keep the husks evenly charred. This should take 15 – 20 minutes.
- Remove the corn from the grill and let cool for about five minutes so it will be easier to handle.
- Remove the corn husks and the silk for the corn by pulling the husks backward from the ear. I tie the husks with the corn husks I pulled off earlier. It helps to use a towel to hold the corn while you shuck it because it is going to be hot. You can also pull the husks off the ear or cut them off with scissors. Whatever is easier for you.
- Place the corn on a platter, spread butter over each ear, and salt and pepper to taste.
- Leftover corn and be stored whole wrapped in plastic wrap or in a plastic bag in the refrigerator for three days. You can also cut the corn off the cob and keep it in a sealed container or you can put the cut corn in a plastic bag and freeze it.
Notes
As an Amazon Associate I earn from qualifying purchases.
Nutrition
First published: Sept. 19, 2019, Last updated: June 6, 2026, for better readability.
Thank you for stopping by the One Hot Oven blog!
Please leave a comment to say hello or tell me what you are baking; I always love hearing from fellow bakers. Do you have any questions or want to chat about the recipe? Please visit my About page for information, and I’ll be happy to help!
About Jere’ Cassidy
From learning to cook on a farm in Indiana to culinary school in California, my passion for food is never-ending. Turning on my oven to bake something for friends and family is my happy place. I am glad to be sharing sweet and savory family-friendly recipes for your cooking and baking inspiration.


Your grilled corn recipe was so easy to make and it tastes so good! Two thumbs up from my whole family!!
Smoky, sweet and delicious! Thanks for the easy recipe!
It’s corn season in the Midwest where I am. I usually boil my corn but wanted to try something different. Thanks for the step by step guide. It turned out awesome!
Thanks for all the tips, my grilled corn came out perfect!
Corn on the cob is always a must for our family when ever we find fresh cobs. This grilled corn on the cob looks yummy.
I’m actually grilling extra corn on the cob and freezing it for later.