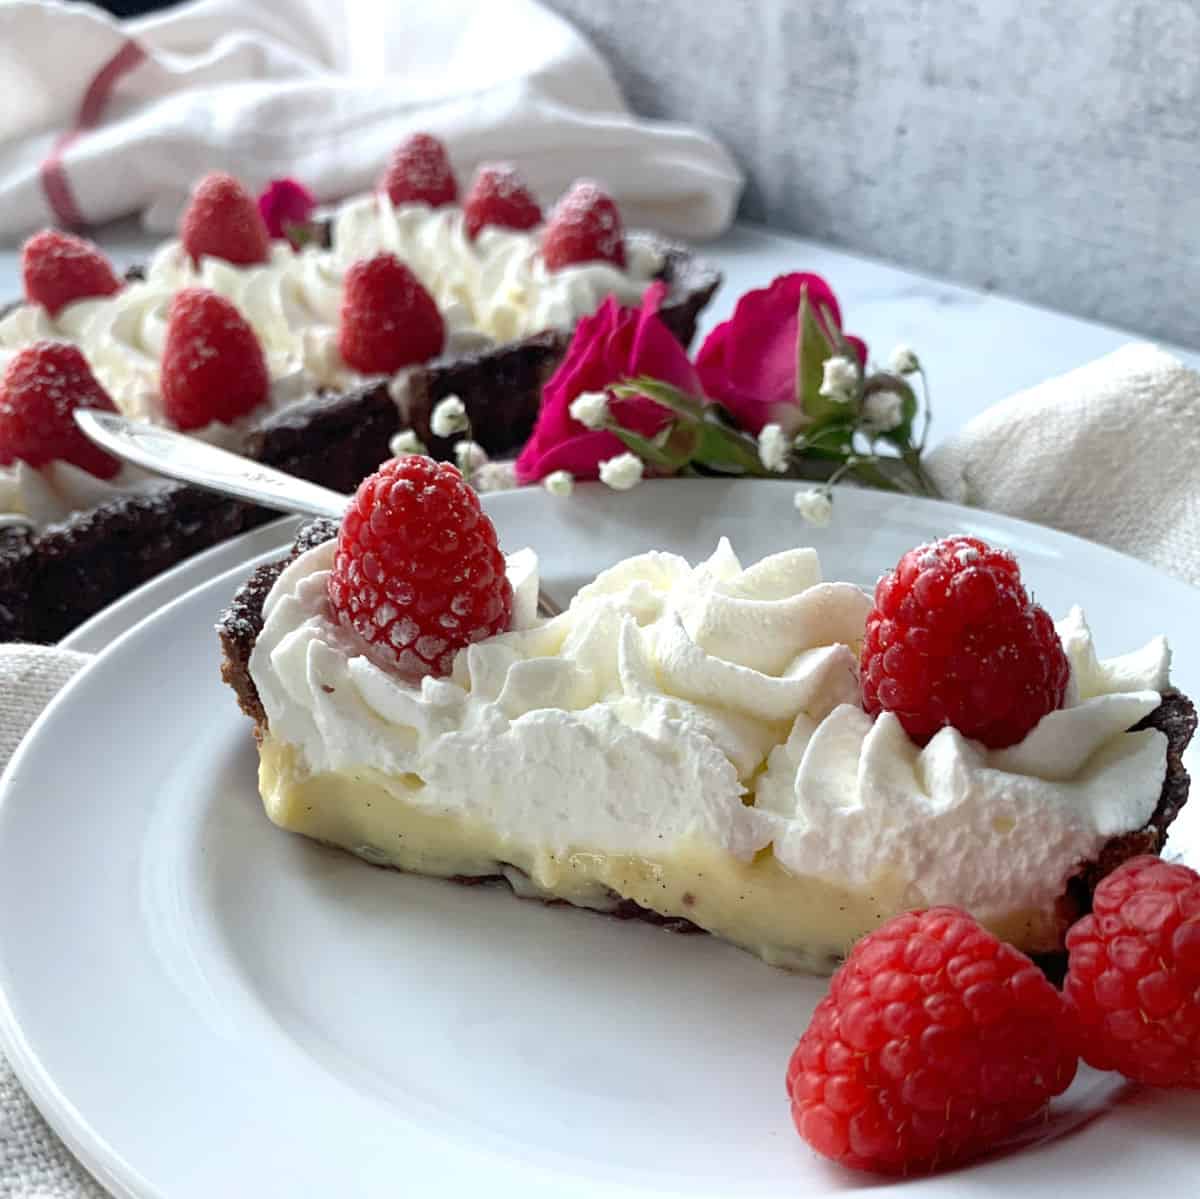
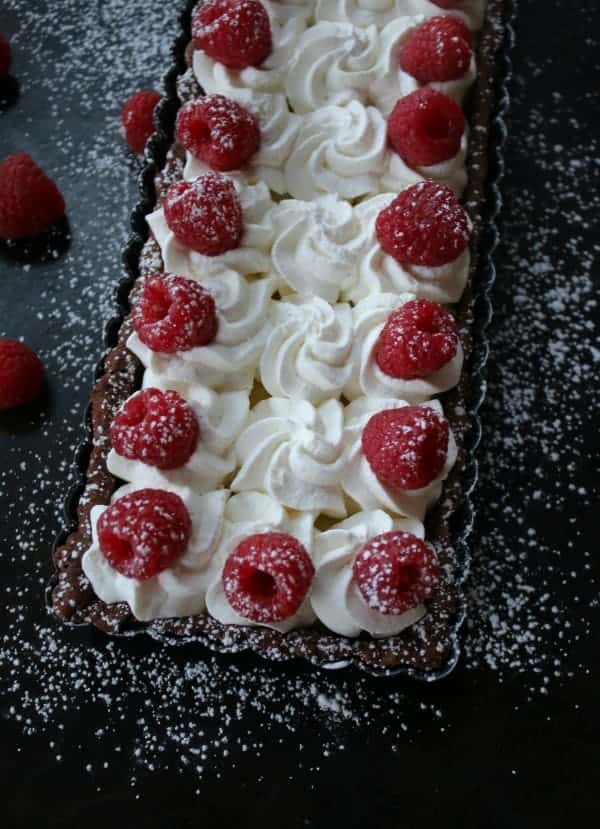
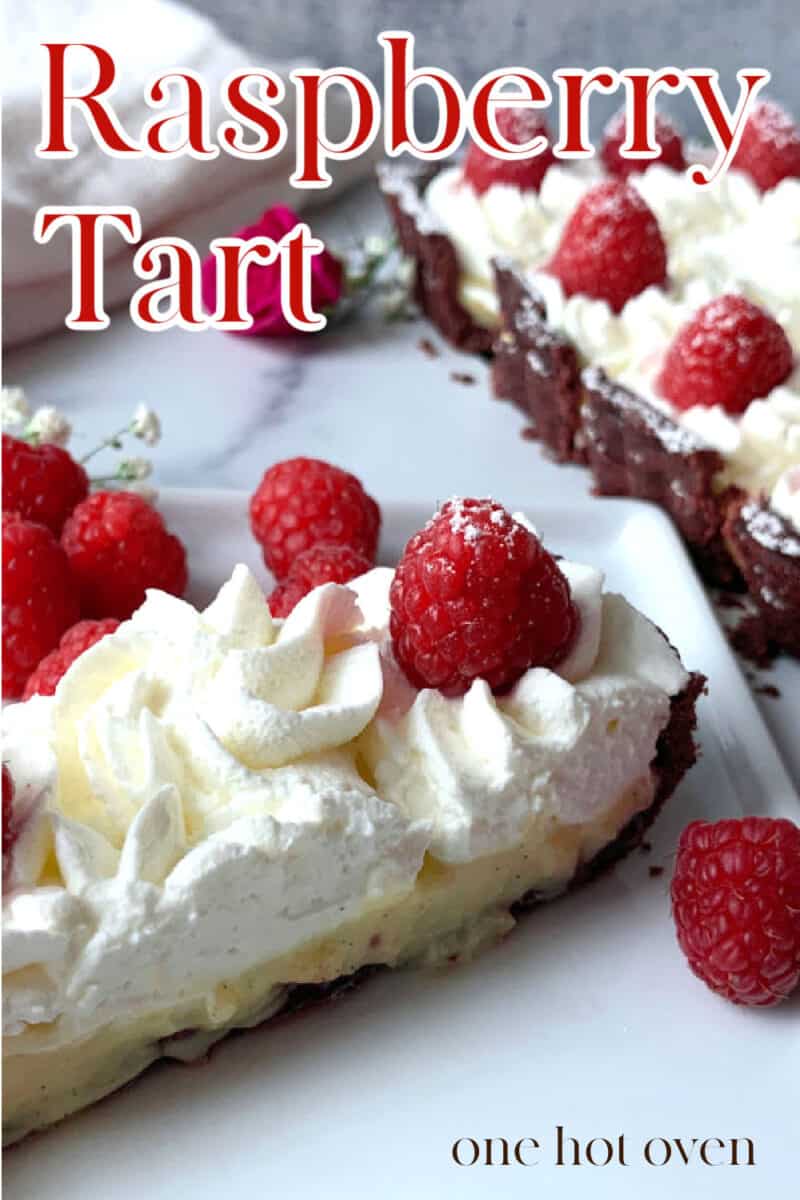
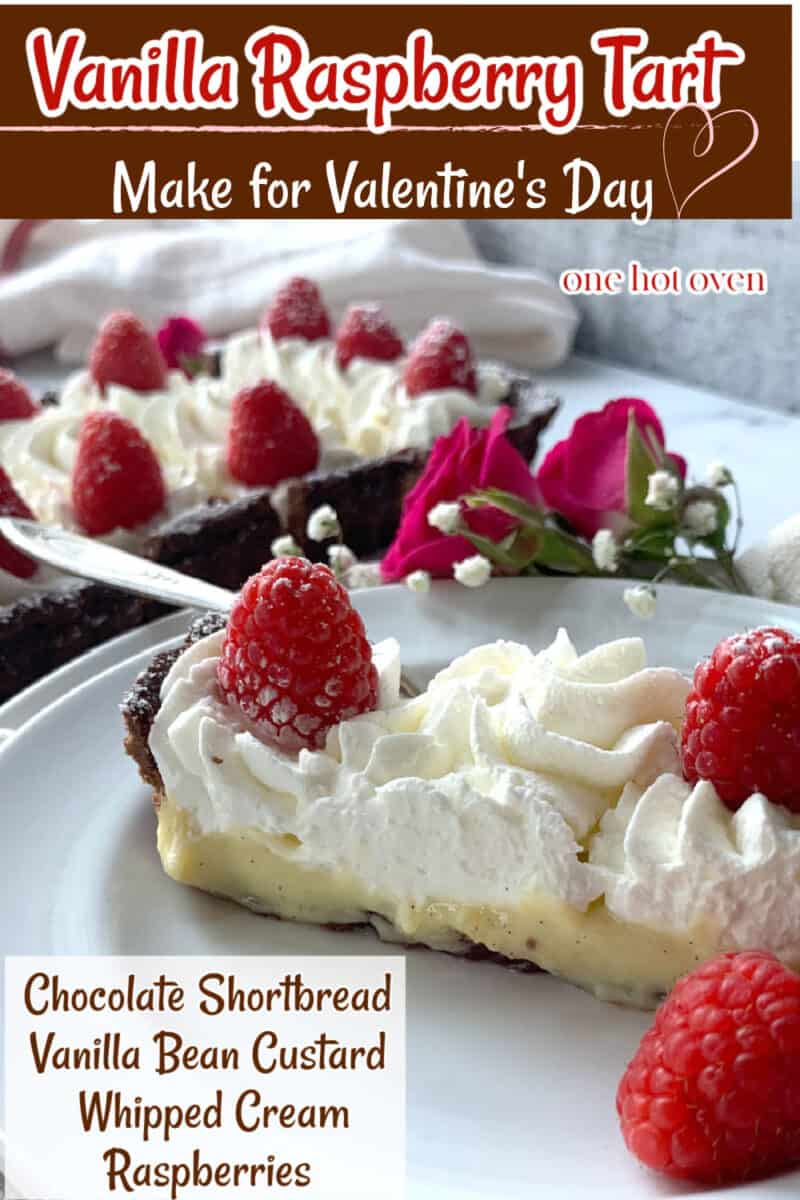
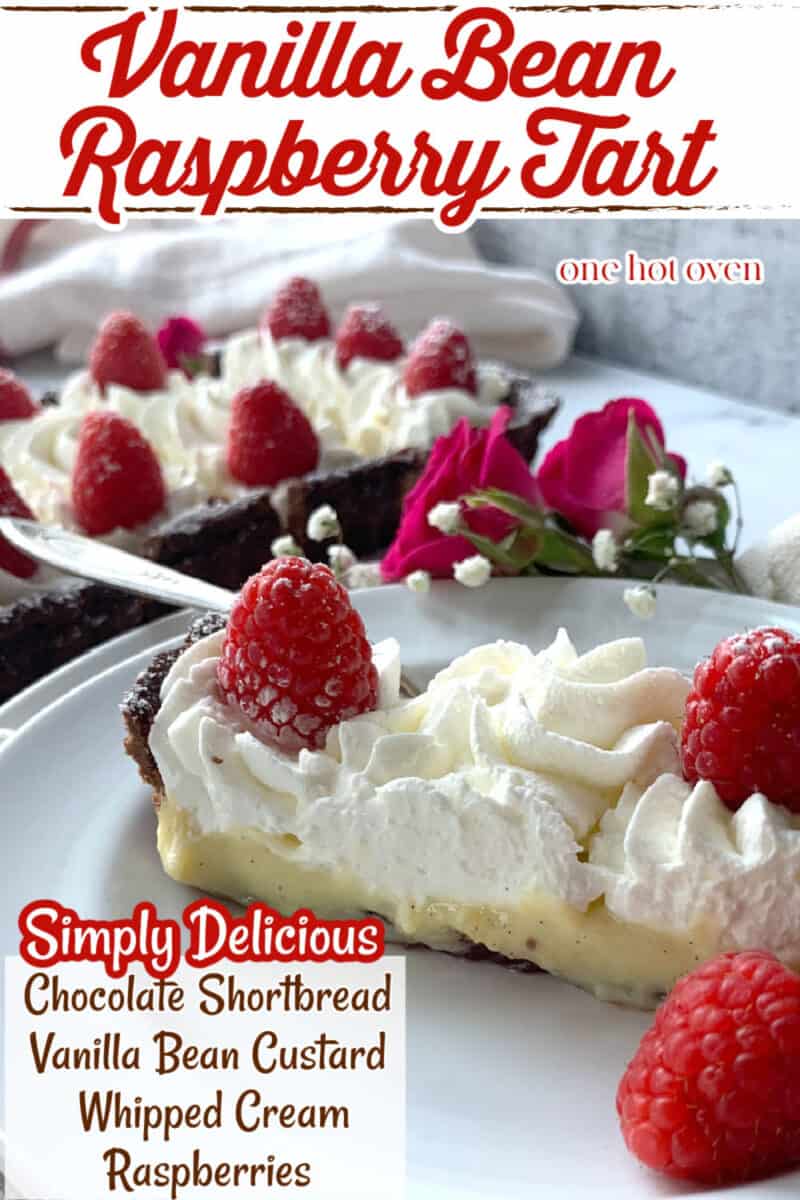
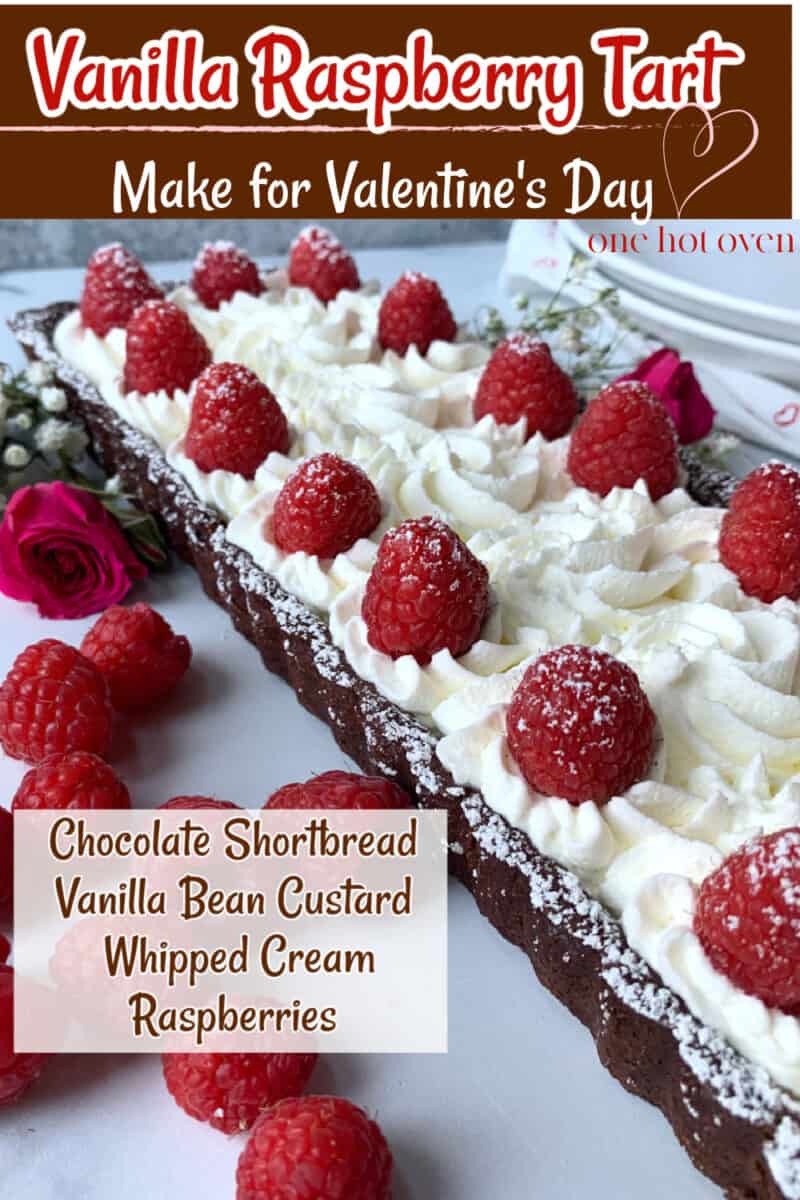
This easy-to-make Chocolate Raspberry Tart looks elegant; it tastes amazing with a chocolate shortbread crust, a vanilla pastry cream, and lots of raspberry flavor. It's just three luscious layers of dessert decadence.
Want to save this recipe?
Enter your email & I'll send it to your inbox. Plus, get great new recipes from me every week!
This page may contain affiliate links, please see my full DISCLOSURE for policy details.
Looking at this tart, you may think you will be in the kitchen all day, but that's not the case. This tart is simple to make.
The only thing that gets baked is the chocolate crust, and the pastry cream can be made while the crust is baking. Or, and this is the great part, you can pre-make the crust and pastry cream one day and put the tart together the next day. Let's make this easy!
Chocolate and red raspberries make a delightful pairing with the vanilla-flavored pastry cream, making this tart perfect for a special occasion or dinner party. My hubby told me this is the best dessert I've ever made, so this is his special Valentine's Day dessert, along with these Dark Chocolate Shortbreads that he loves.
A few more raspberry recipes
- Another great raspberry dessert that is easy to make and perfect for a celebration is this Raspberry Chiffon Cake which has a wonderful light and airy texture.
- Dessert bars are simple to make and when peaches and raspberries are in season make these Raspberry Peach Crumble Bars for a quick snack or dessert.
- And we love these Raspberry White Chocolate Cookies that are filled with fresh berries.
Jump to:
Chocolate shortbread crust
The first step in this dessert is to make the crust.
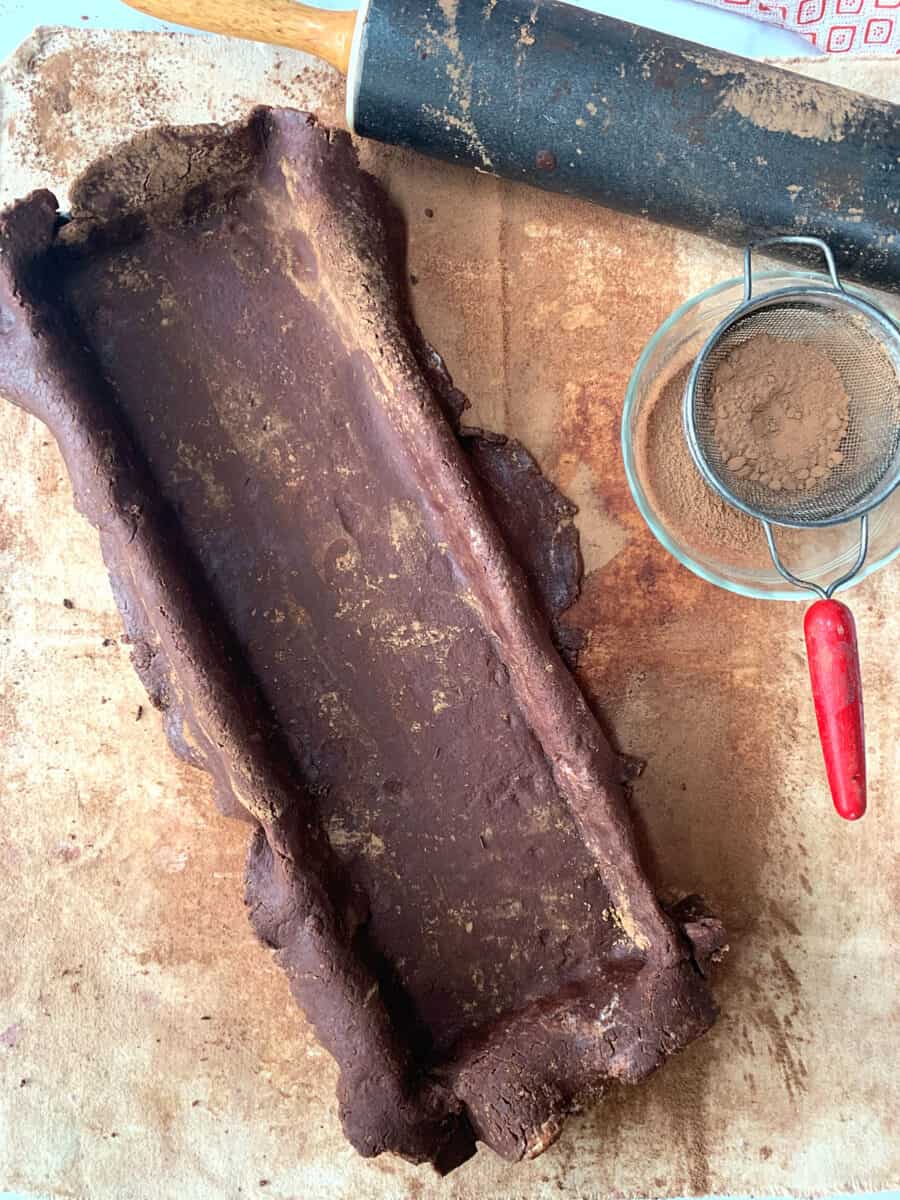
I'm a big fan of chocolate crusts, and this chocolate shortbread recipe is perfect for a tart. It's rich and chocolaty and holds up well with the pastry cream. For this recipe, I used the long narrow tart pan that makes the dessert look ultra-fancy, but you can also make this in a round 9-inch tart pan. Just make sure your tart pan has a removable bottom.
And if you want to make this in a pie plate, that will work, too; you will have a thicker layer of pastry cream, and there is nothing wrong with that.
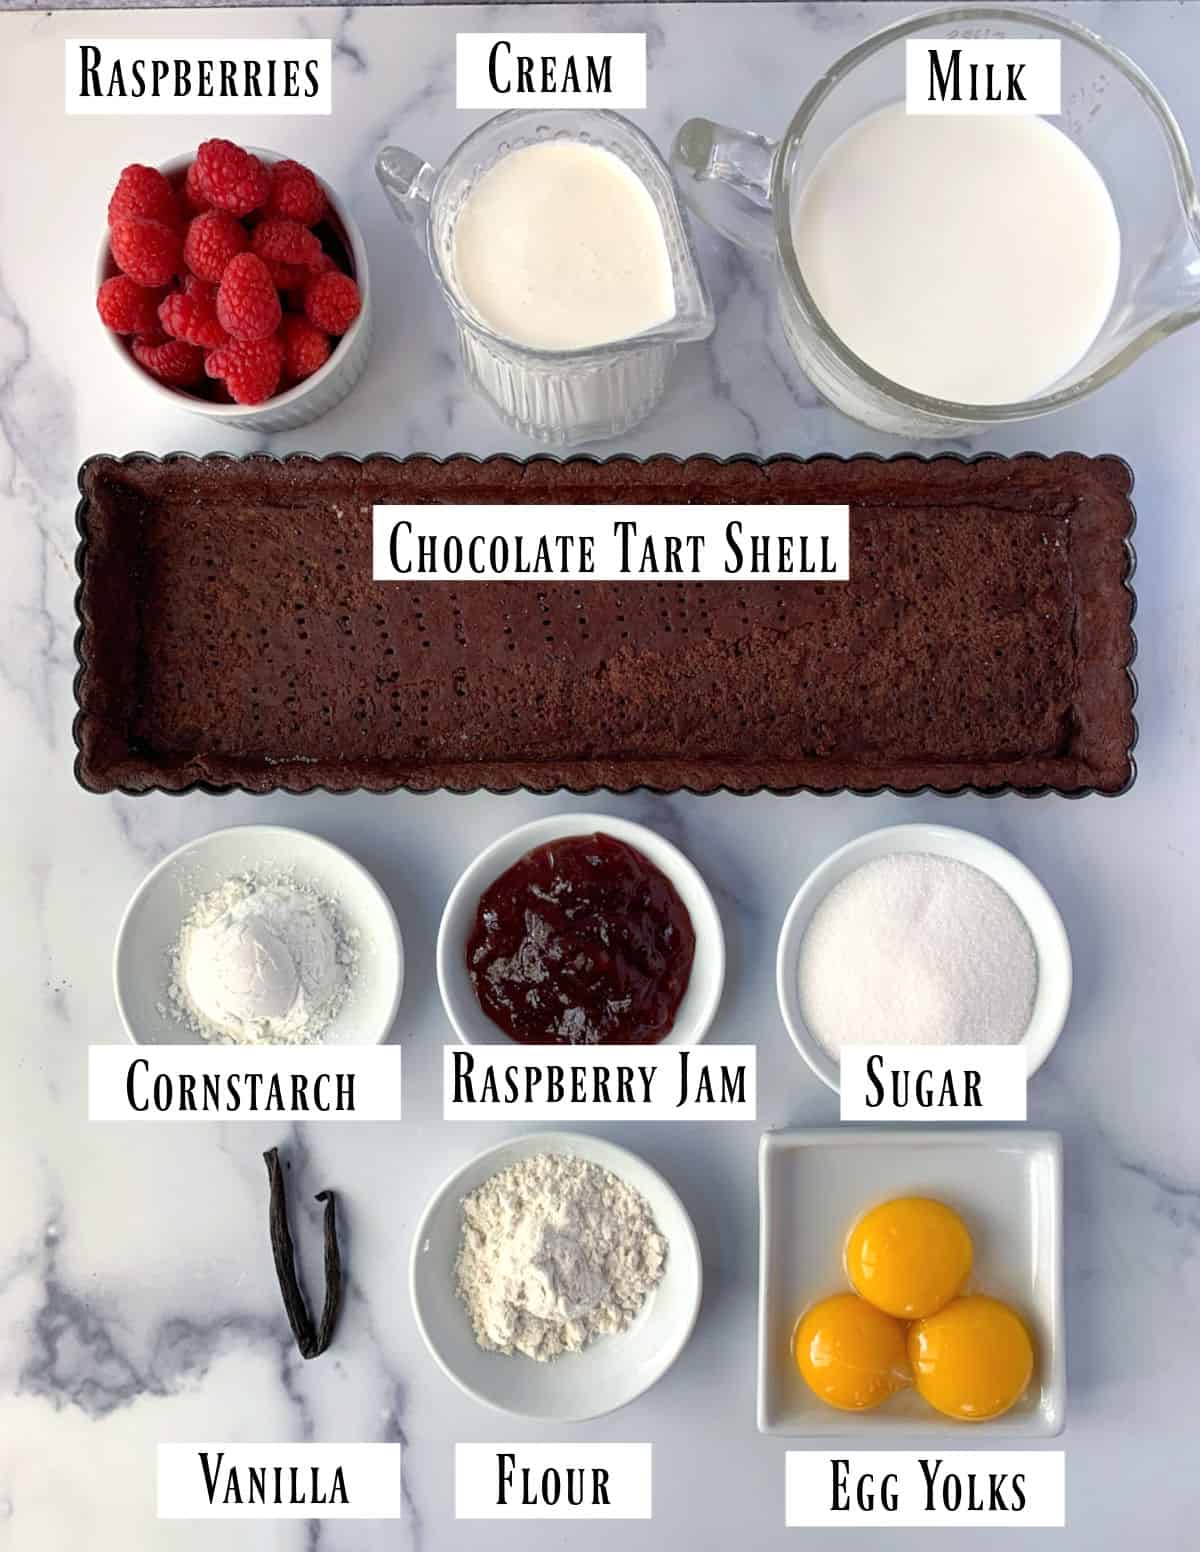
Tart Ingredients
Vanilla bean pastry cream
The next step is making the pastry cream.
What is pastry cream? It is considered a custard and is also known as Crème Pâtissière. The cream or milk base is thickened with egg yolks to make the custard thick.
For today's custard, we are mixing six simple ingredients of milk, eggs, sugar, cornstarch, and flour, plus lots of vanilla bean seeds resulting in a rich and creamy custard that adds delightful silkiness to this tart.
The vanilla pastry cream is the main ingredient in this tart, and I consider it the best part of any dessert. Honestly, I would be happy just spooning this custard into dessert dishes and adding a few fresh berries for a tasty dessert. Feel free to just lick the spoon and bowl.
A vanilla tip
We all know vanilla beans are very expensive, so after you halve and scrape the seeds from the pod, store the pod in a container with sugar. The pod will flavor the sugar with a delightful vanilla flavor to use in other recipes or even in your coffee or tea.
For more information on vanilla, read this guide, What is Vanilla, to learn about the different types of vanilla and how to use it.
Let's make a tart
With this easy cream tart, you can be as creative as you want with the whipped cream topping and berries.
Step 1. Make and bake this easy chocolate crust recipe. You can make and bake this tart day before you need it or even make the dough days earlier. Optionally, you can also make a regular shortbread tart crust if you don't want chocolate, or a graham cracker crust will be just as good.
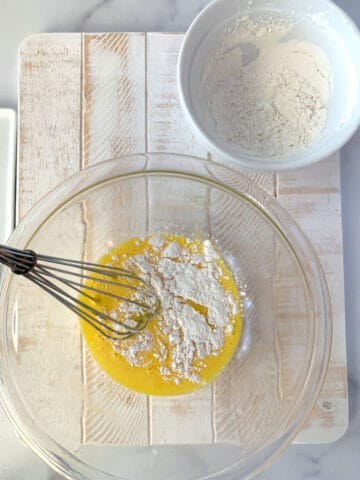
Step 2. Add the egg yolks and sugar in a medium-sized mixing bowl, then whisk to combine. In a small bowl, whisk the flour and cornstarch together, then add to the egg yolk mixture and whisk until the mixture is smooth.

Step 3. On a cutting board, cut the vanilla bean seed in half, then scrape out the seeds.
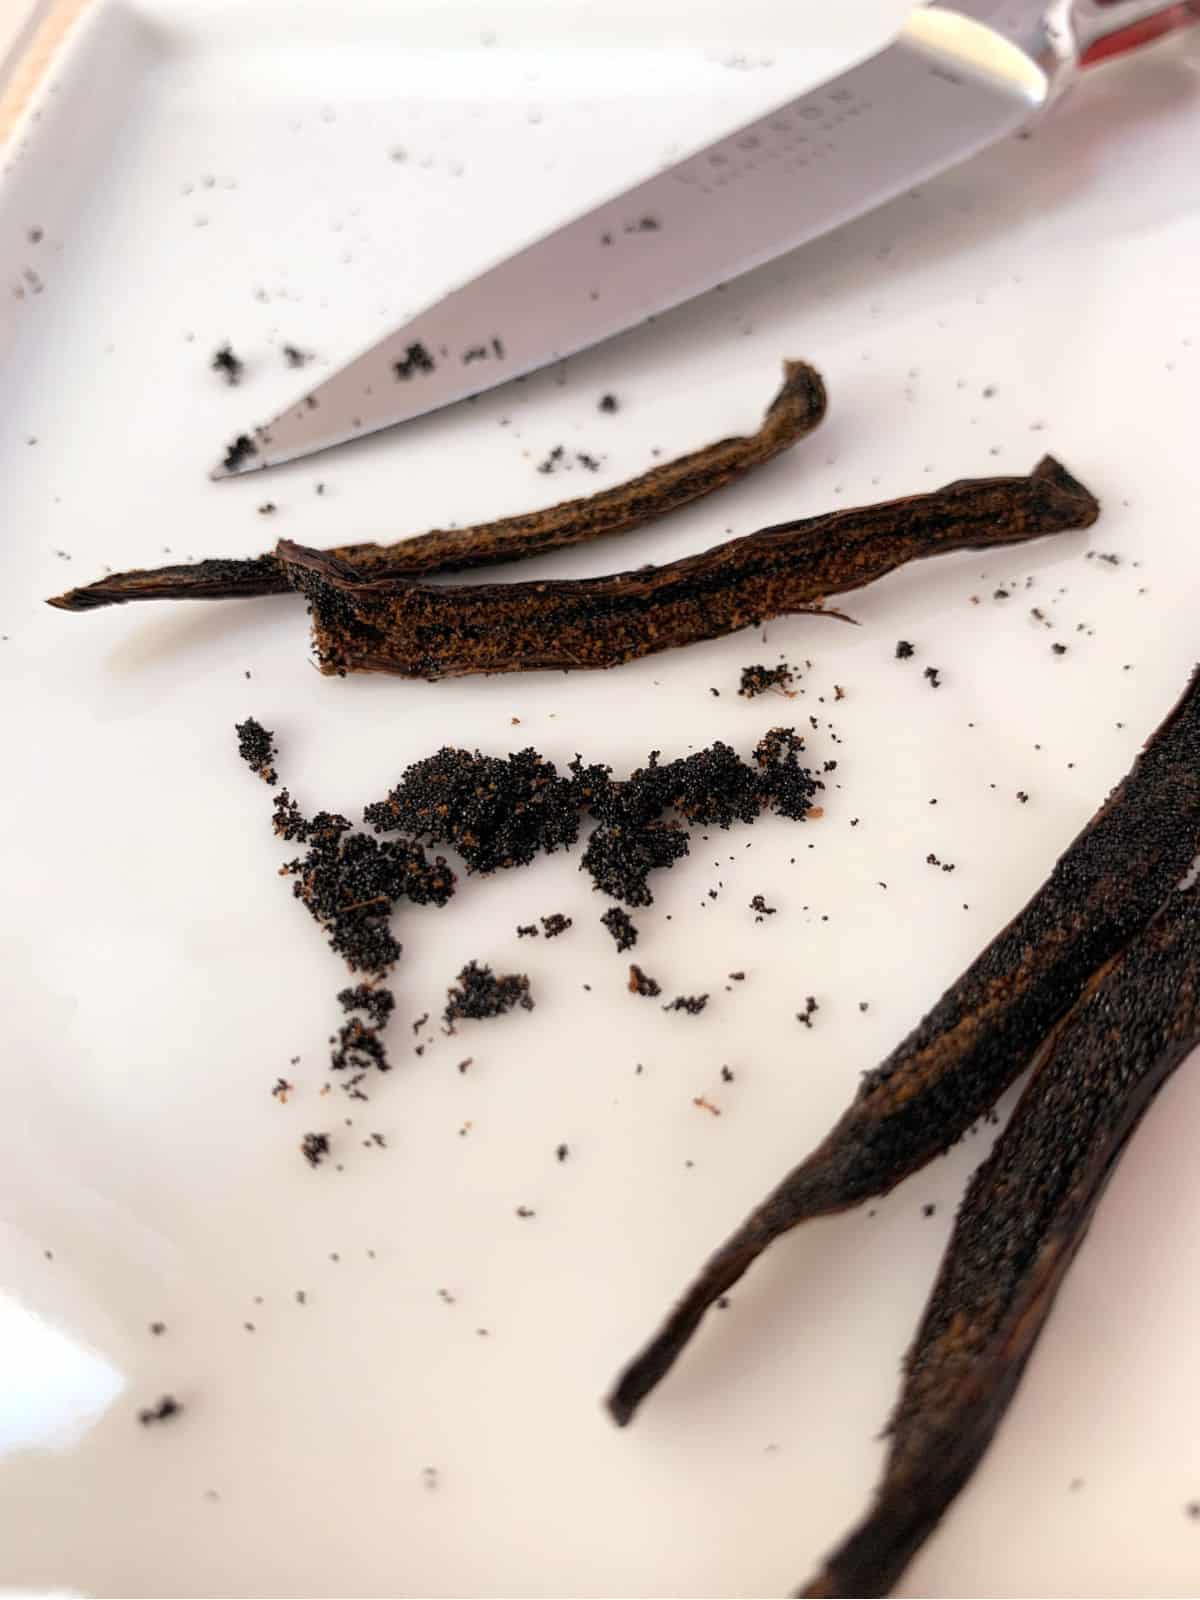
Step 4. Add the milk, vanilla bean seeds, and the vanilla bean pod in a medium saucepan, and then bring this mixture to a soft boil.
Step 5. Remove the vanilla bean pod, then slowly whisk the hot milk mixture into the egg mixture; keep whisking to prevent the egg yolks from curdling. Whisk in all of the milk.
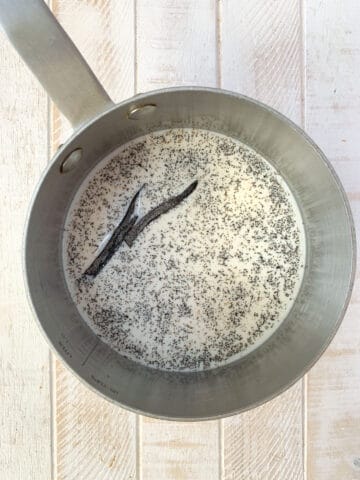
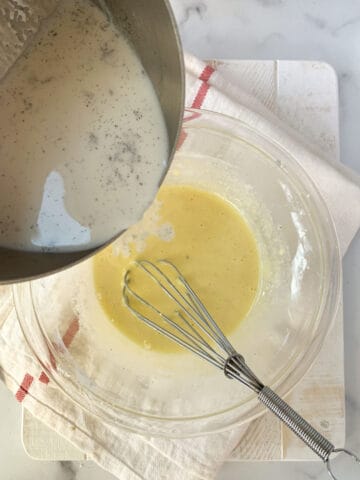
Step 6. Pour milk and egg mixture back into the saucepan and cook over medium heat, stirring constantly for about 10 minutes until the pastry cream thickens.
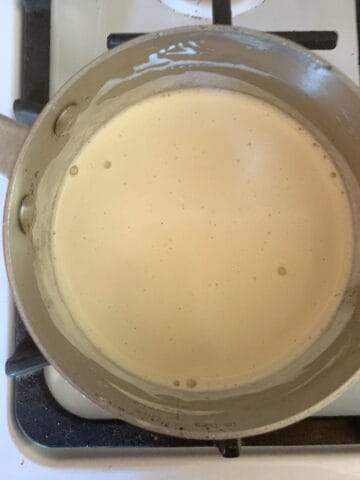
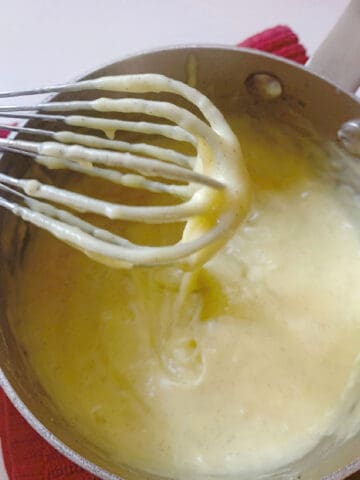
Step 7. Pour the thickened custard into a small bowl and cover it with plastic wrap. Chill for an hour.
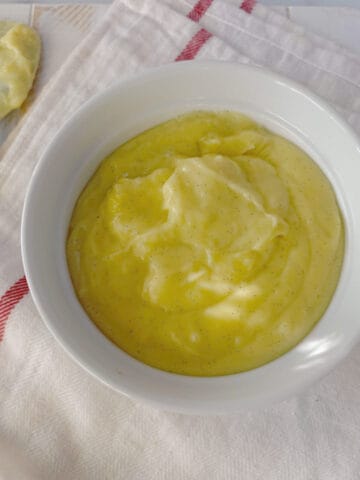
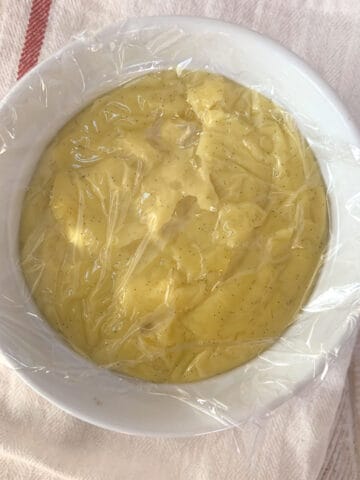
Step 8. Add the heavy cream to a medium-sized bowl with powdered sugar to make the whipped cream. With an electric mixer, mix on medium to medium-high speed until soft peaks form. Use the whisk attachments if you have them.
Step 9. Before filling the tart shell, push up from the bottom of the tart pan to make sure the sides of the tart are loosened from the tart pan. At this time, you can remove the sides of the pan and set the tart on a serving platter, or you can remove the pan sides after you have the tart filled and decorated.
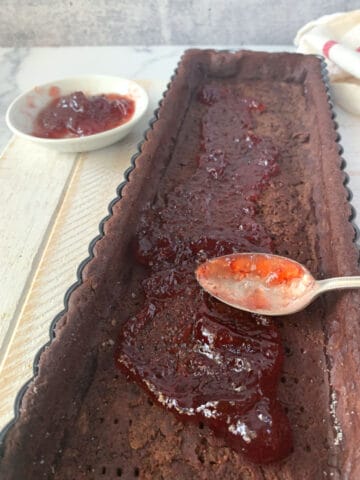
Step 10. Stir the jam so it is smooth and spreadable. Dollop the jam in the tart shell and then spread it with a spoon to the edges.
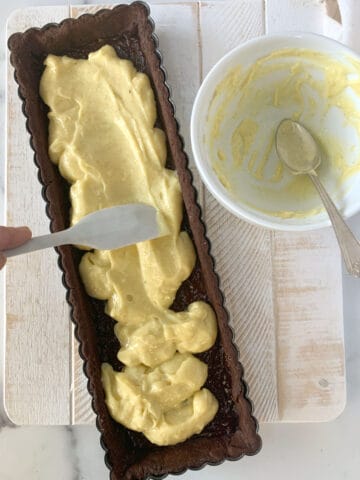
Step 11. Stir the cooled custard and spoon dollops over the top of the jam, and spread it to the edges of the tart shell.
Step 12. Fit a piping bag with a large star tip, such as 1M, and fill with whipped cream. Pipe rows of whipped cream rosettes on top of the custard, then top with fresh raspberries.
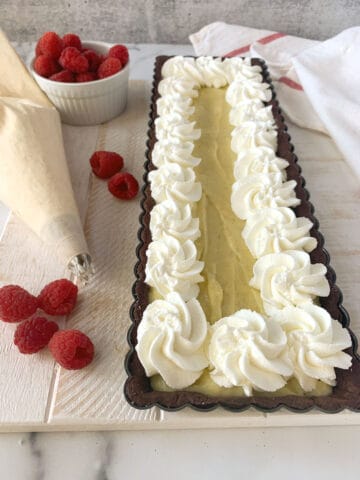

Alternatively, you can spread the whipped cream over the pastry cream and add the raspberries as you like.
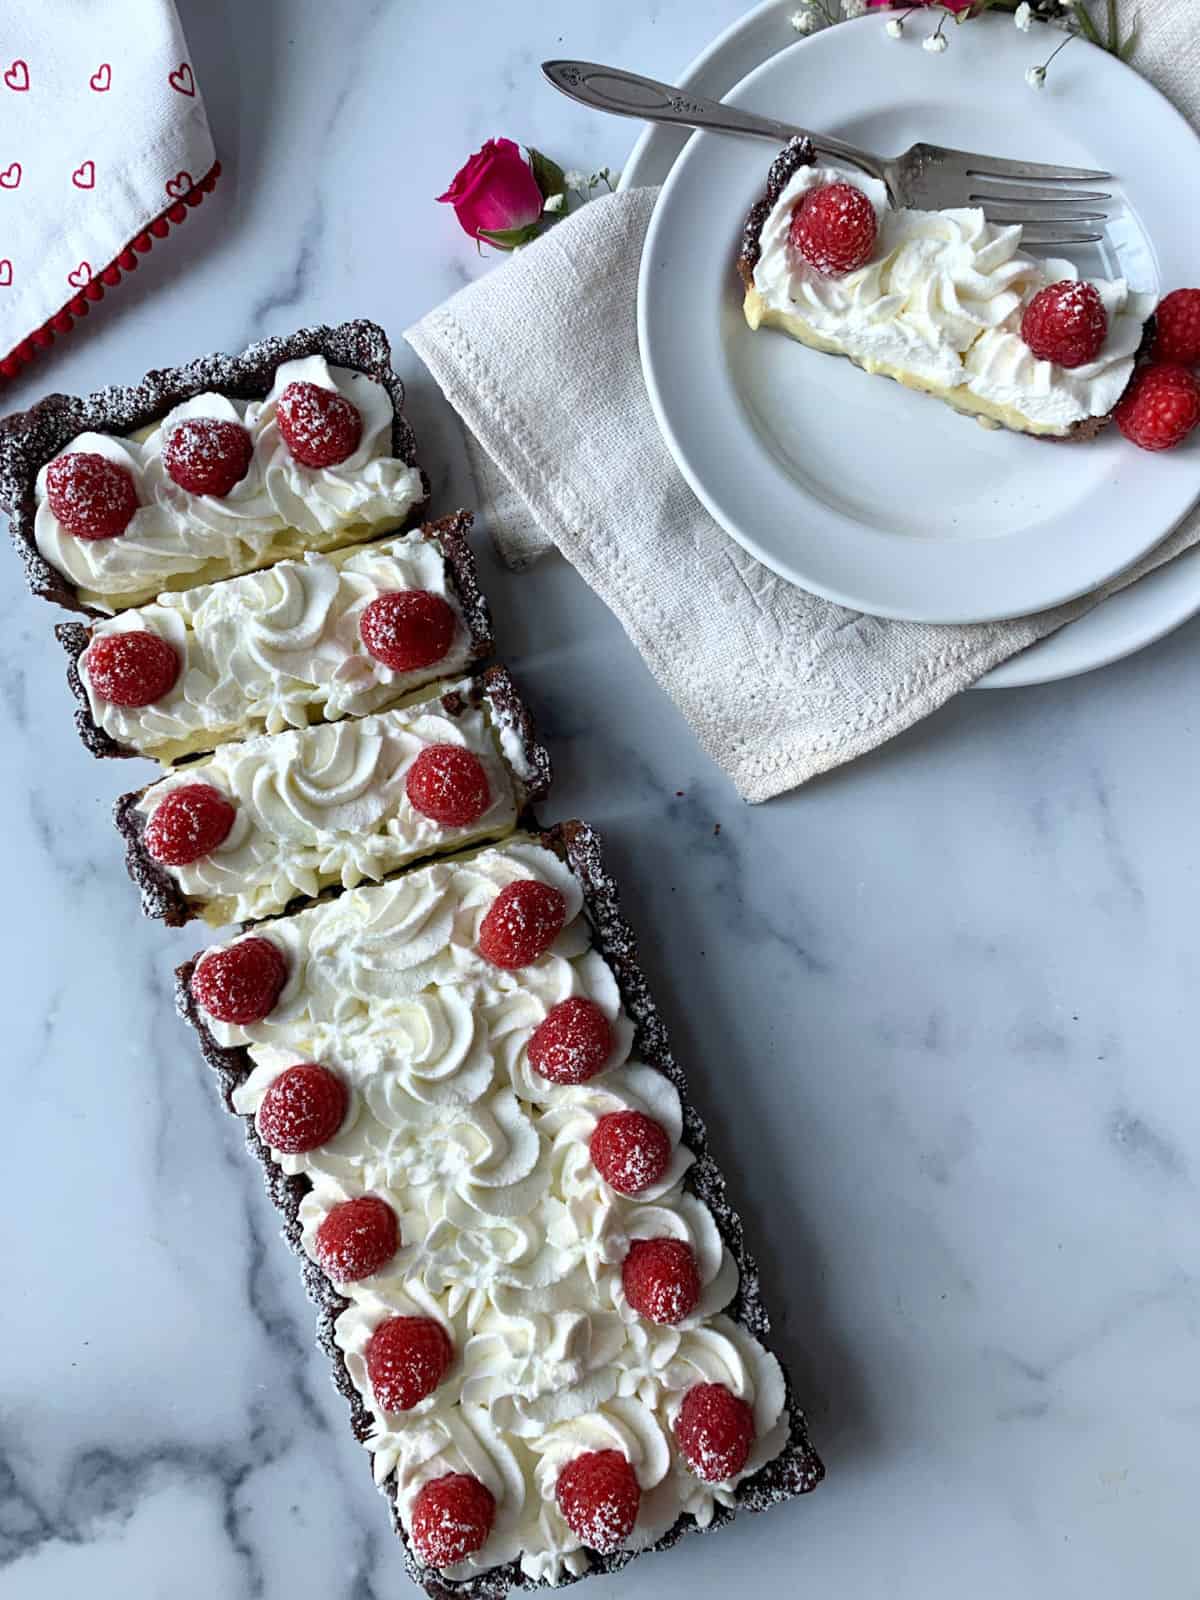
Step 13. Place the tart in the refrigerator for an hour, remove the tart pan if you haven't already, place the tart on a serving platter, and cut it into slices.
Step 14. Store any leftover tart in the refrigerator, covered loosely with plastic wrap.
Raspberry tart variations
There is always something you can change
- You can use a homemade or store-bought pie crust for the tart shell.
- The fresh fruit and the jam can be changed to strawberries or blackberries.
- Try making chocolate or a fruit whipped cream.
- Instead of using a whole vanilla bean, you can also use vanilla bean paste or pure vanilla extract.
Tart FAQ's
If you don't have a vanilla bean, the best substitute is to use vanilla bean paste which has vanilla bean seeds in it.
This tart is meant to be eaten as soon as it is made. You can store the leftovers for up to two days.
Pastry cream, also called crème pâtissière, is a thickened custard.
More pies and tarts
You must use the category slug, not a URL, in the category field.I won't keep you waiting any longer; here's the recipe for this fabulous dessert. And as I promised, this is an easy dessert to make. Start with your crust, cook the pastry cream, and whip the cream. That's it!
Recipe

Chocolate Raspberry Tart
As an Amazon Associate I earn from qualifying purchases.
Equipment
Ingredients
Premade Chocolate Crust
Vanilla Bean Pastry Cream
- ¼ cup granulated sugar
- 3 egg yolks
- 2 tablespoon AP flour
- 2 tablespoon cornstarch
- 1 ¼ cups milk, whole
- ½ vanilla bean
Sweetened Whipped Cream
- 1 pint heavy whipping cream
- 1 tablespoon granulated sugar
Other Ingredients
- 3 tablespoon raspberry preserves
- 1 pint fresh raspberries
Instructions
Make and bake the Chocolate Crust
- Use this recipe to make the chocolate shortbread crust. Plan on chilling this dough before rolling it out and baking. You can premake this crust as it will keep for several days before you add the cream filling.
Making the Vanilla Bean Pastry Cream
- Using a medium mixing bowl whisk the egg yolks and sugar until combined. Next, whisk the flour and cornstarch together in a small bowl and add to eggs. Whisk until the mixture is smooth.
- On a small cutting board, cut the vanilla bean in half. Flatten the bean pod and scrape out the seeds with a knife.
- In a medium saucepan, add the milk, the scraped vanilla bean, and the bean pod; bring to a soft boil over medium heat. Next, remove the vanilla bean and slowly whisk the hot milk mixture into the egg mixture, keep whisking to prevent the egg yolks from curdling.
- Pour the milk mixture back into the medium saucepan and bring to a boil over medium heat, stirring constantly. Keep stirring until the mixture has thickened to a pudding consistency. This will take about 10 minutes. Pour the pastry cream into a small bowl and cover with plastic wrap. Chill for an hour or until ready to use.
Putting it all together
- Before making the tart, remove the tart shell from the tart pan by pushing it up on the bottom of the tart pan. Place the tart shell on a serving platter.I leave the shell sitting on top of the tart pan's removable bottom tray.
- Stir the jam to soften it then dollop small amounts around the bottom of the crust and spread it out with a spoon.
- Spoon dollops of the chilled pastry cream on top of the jam then spread the custard to the edges of the tart shell.
Making the Sweetened Whipped Cream
- In a medium-sized bowl beat the chilled whipping cream and the sugar until soft peaks with an electric mixer. Place the whipped cream in a pastry bag fitted with a large pastry tip, like a 1M, and pipe rosettes onto the tart, or you can spread the whipped cream over the pastry cream with a spoon.
- Add fresh red raspberries on top of the whipped cream.
- Chill the tart for an hour then slice and serve.
- Store any leftover in the refrigerator lightly covered with plastic wrap for two days.
Notes
- Making and baking the tart shell and keeping it tightly wrapped for several days.
- Make the vanilla pastry cream up to two days before needed.
Nutrition
Thank you for stopping by the One Hot Oven blog. Please leave a comment to say hello or tell me what you are baking; I always love hearing from fellow bakers. Do you have any questions or want to chat about the recipe? Please visit my About page for information, and I’ll be happy to help!
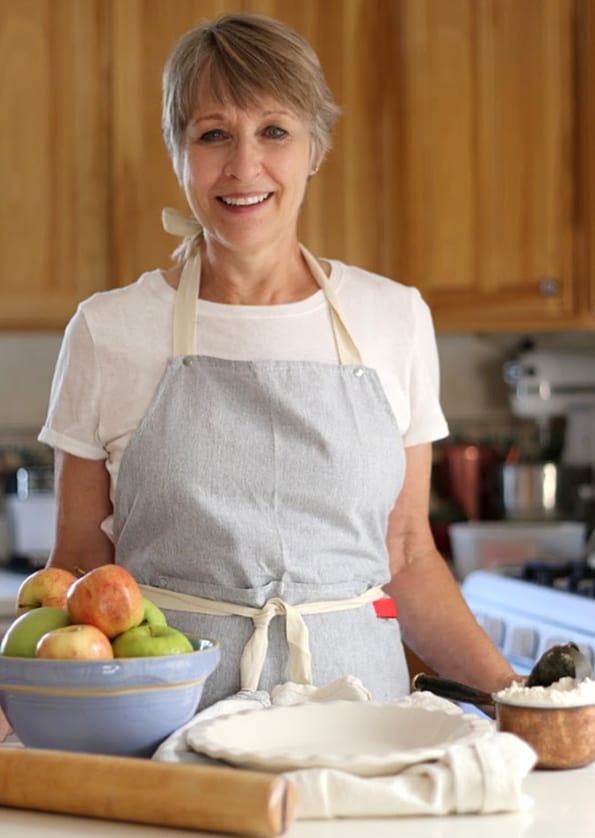
Hello there, I'm Jere'
From learning to cook on a farm in Indiana to culinary school in California, my passion for food is never-ending. Turning on my oven to bake something for friends and family is my happy place, and I am glad to be here at One Hot Oven sharing sweet and savory family-friendly recipes for your cooking and baking inspiration.



Gina
Love how easy this tart is yet looks and tastes so elegant! It's become my go to dessert when I need something impressive in a pinch!
Kate
Wow, this was amazing! I don't usually leave reviews, but had to because everyone who ate it wanted the recipe
Jere Cassidy
Wonderful, thank you for letting me know. I think this tart is amazing too, and it's so easy to make.