


These Autumn Leaf Sugar Cookies with Maple Syrup are a colorful way to celebrate fall. Made with brown sugar, maple syrup, and swirls of red and orange cookie dough, these fall leaf cookies have beautiful autumn colors without any icing or fancy decorating. They’re perfect for Halloween parties, Thanksgiving, or a little fall baking fun.

Want to save this recipe?
Enter your email & I’ll send it to your inbox. Plus, get great new recipes from me every week!
We’ve made batches of these maple-syrup-flavored fall cookies for Halloween parties, and they’re always a hit on my Thanksgiving table. They hold their pretty leaf shapes while baking and stay soft, not crunchy.
In my family, it’s common to pick out our favorite cookies and set them on plates with our names for after dinner. Everyone wants the prettiest, most colorful leaf cookie on the platter!
These cookies are lightly sweetened with a subtle maple flavor. You’ll taste a hint of maple syrup, but don’t expect the rich maple sweetness of pancakes covered in syrup. I especially like them with a cup of tea or coffee.
If you’re planning a Halloween party, you’ll find more fun ideas in my collection of Easy Halloween Treats and Desserts for Parties.
Which Fall Cookie is Your Favorite?
It’s hard to pick a favorite when they are all so pretty.

Ingredients for Autumn Leaf Sugar Cookies
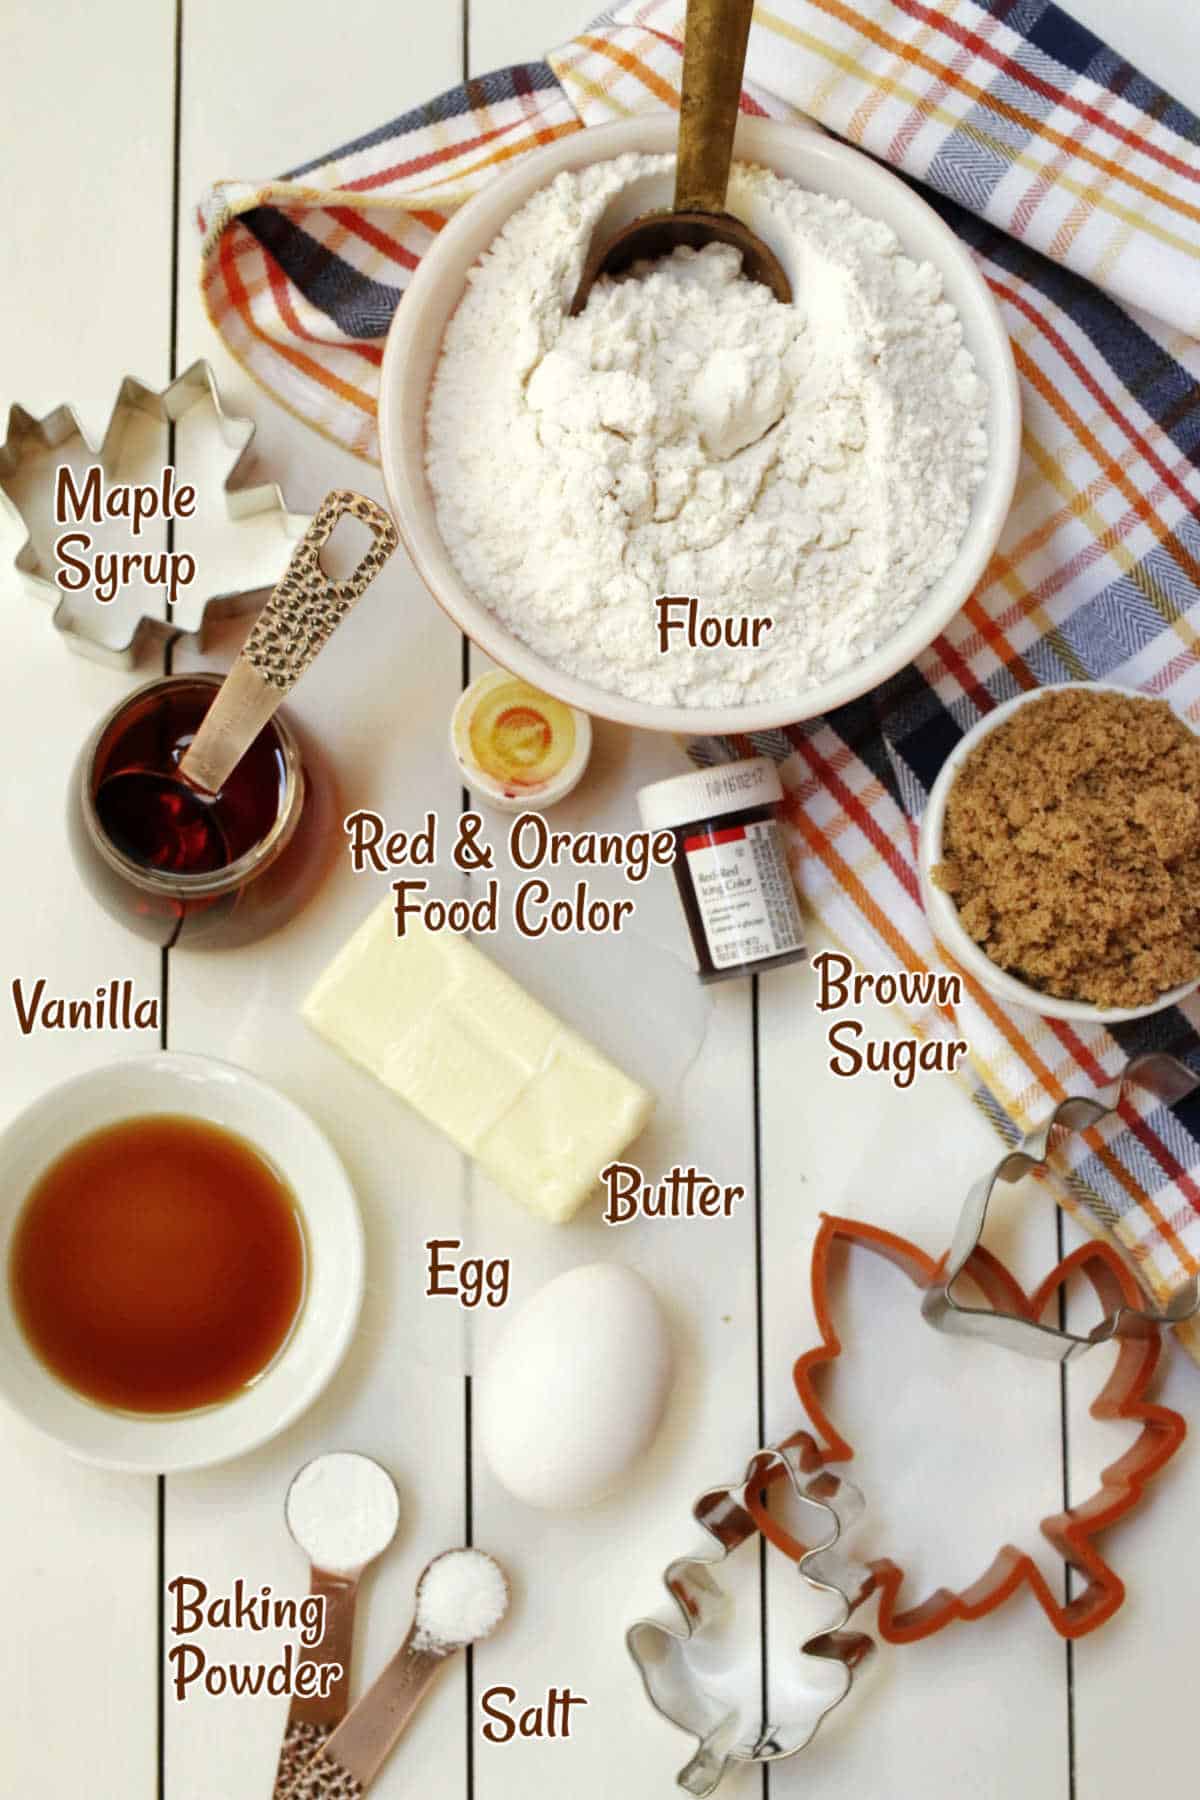
These fall leaf cookies use everyday baking ingredients, along with maple syrup and gel food coloring for those pretty autumn colors. Here’s what you’ll need to know about a few of the ingredients.
- Maple syrup: Use pure maple syrup, preferably Grade A Dark Color, Robust Taste, for a more pronounced maple flavor. These cookies have a subtle maple taste, so a darker syrup works especially well. For a more pronounced maple flavor, you can add a little maple extract.
- Brown sugar: Adds sweetness and a little extra flavor to the dough.
- All-purpose flour: I’ve found that 2¼ cups make a firmer dough that’s easier to roll and cut into leaf shapes.
- Gel food coloring: I use red and orange to create the autumn colors. Gel coloring works well because you only need a small amount.
Tips for Making Fall Leaf Cookies
These colorful leaf cookies are fun to make, and every leaf turns out a little different. Here are a few tips I’ve learned from making them.
- Chill the dough: Refrigerate the dough for at least one hour before rolling. Chilling firms up the butter, makes the dough easier to handle, and helps the cookies hold their shapes while baking.
- Go easy on the flour: Lightly dust your rolling surface and rolling pin with flour, using only enough to prevent sticking. Too much flour can keep the colored dough ropes and scraps from sticking together when you twist, fold, and reroll them.
- Keep the dough cool: If the dough gets soft or sticky while rolling and cutting, put it back in the refrigerator for a few minutes, until it’s firm enough to work with.
- Use red and orange gel colors: I’ve found these two colors make the prettiest autumn leaves when swirled with the plain dough. You can also experiment with yellow or a tiny amount of green.
- Don’t overmix the colors: Twist the dough just enough to create the marbled pattern. Too much mixing will blend the colors together.
- Add extra flavor: For stronger maple flavor, add a little maple extract. Cinnamon or nutmeg also works well.
- Watch the baking time: These cookies bake in about 8 minutes at 375°F. They should be set but still soft, not brown or crunchy. Don’t overbake them, or they’ll lose that lovely soft sugar cookie texture.
How To Make Leaf Cookies
How to mix and color the dough
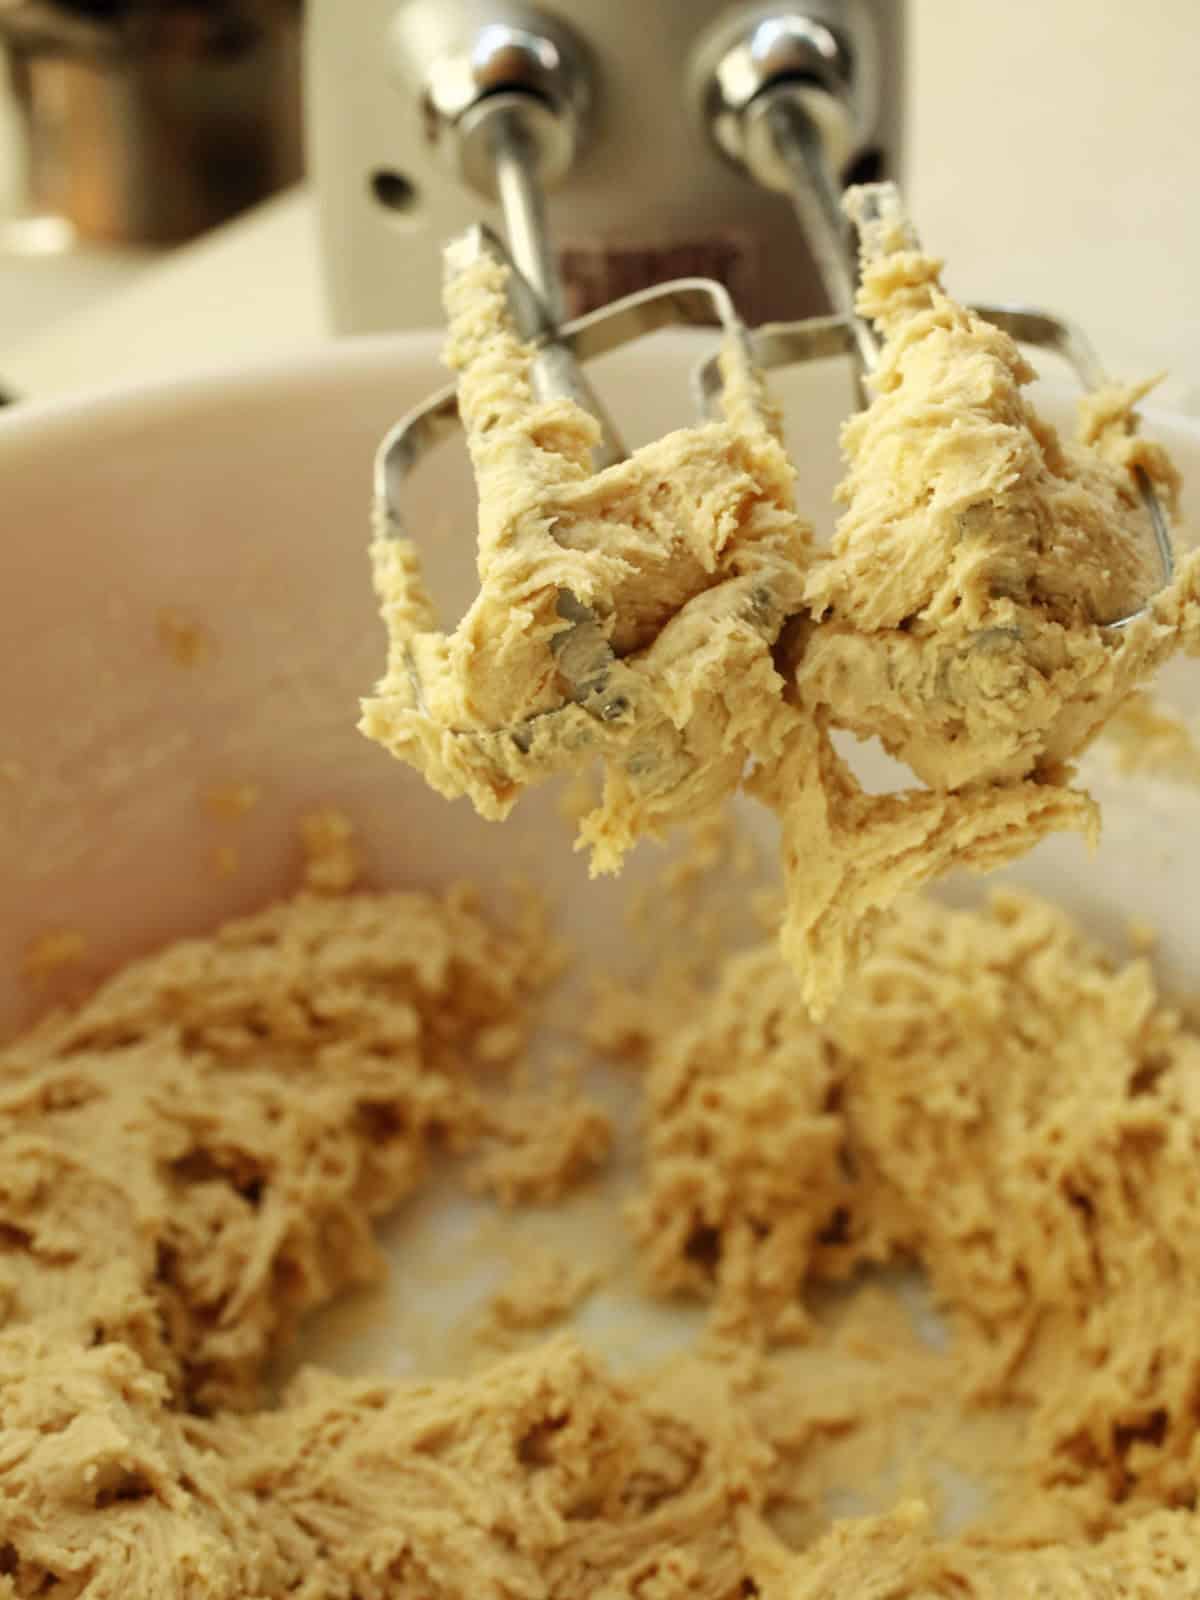
Step 1. In a large mixing bowl, beat the softened butter until creamy. Add the brown sugar, baking powder, and salt, then mix until combined.
Step 2. Add the egg, maple syrup, and vanilla extract. Mix until combined, scraping down the sides of the bowl as needed. The mixture may look a little curdled at this point, and that’s okay.
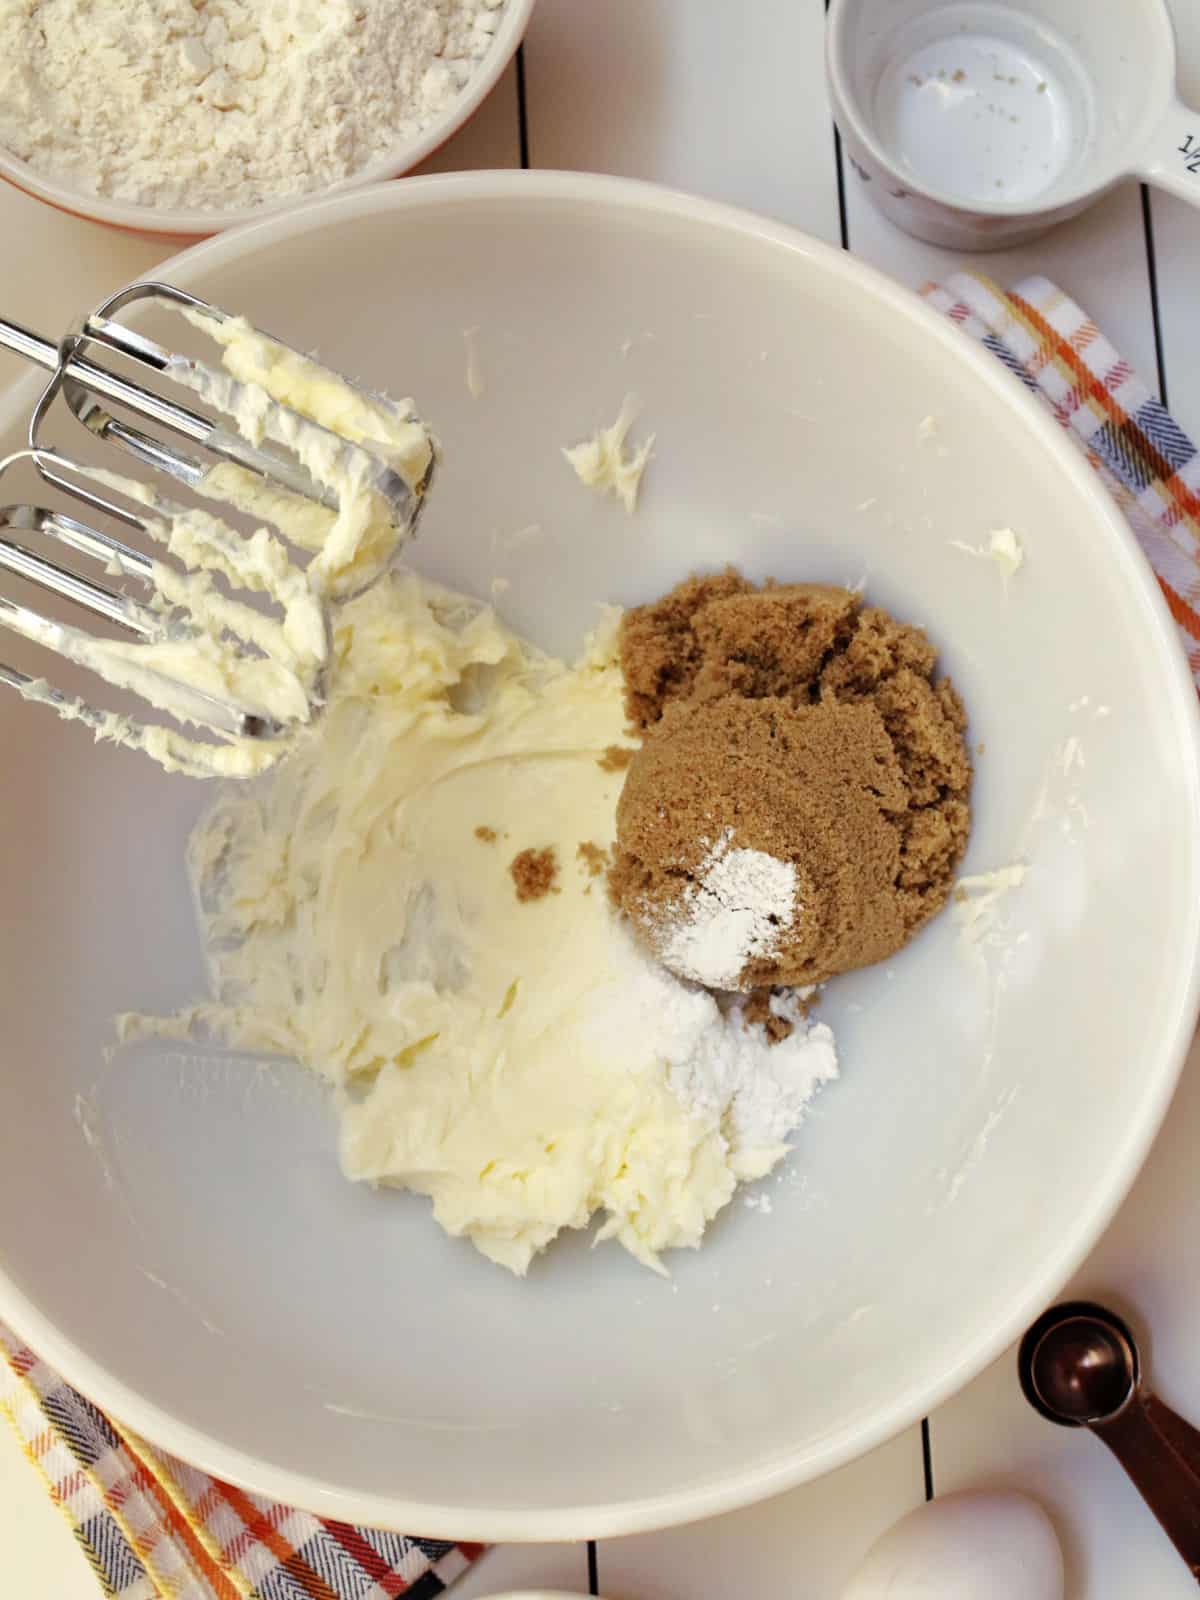
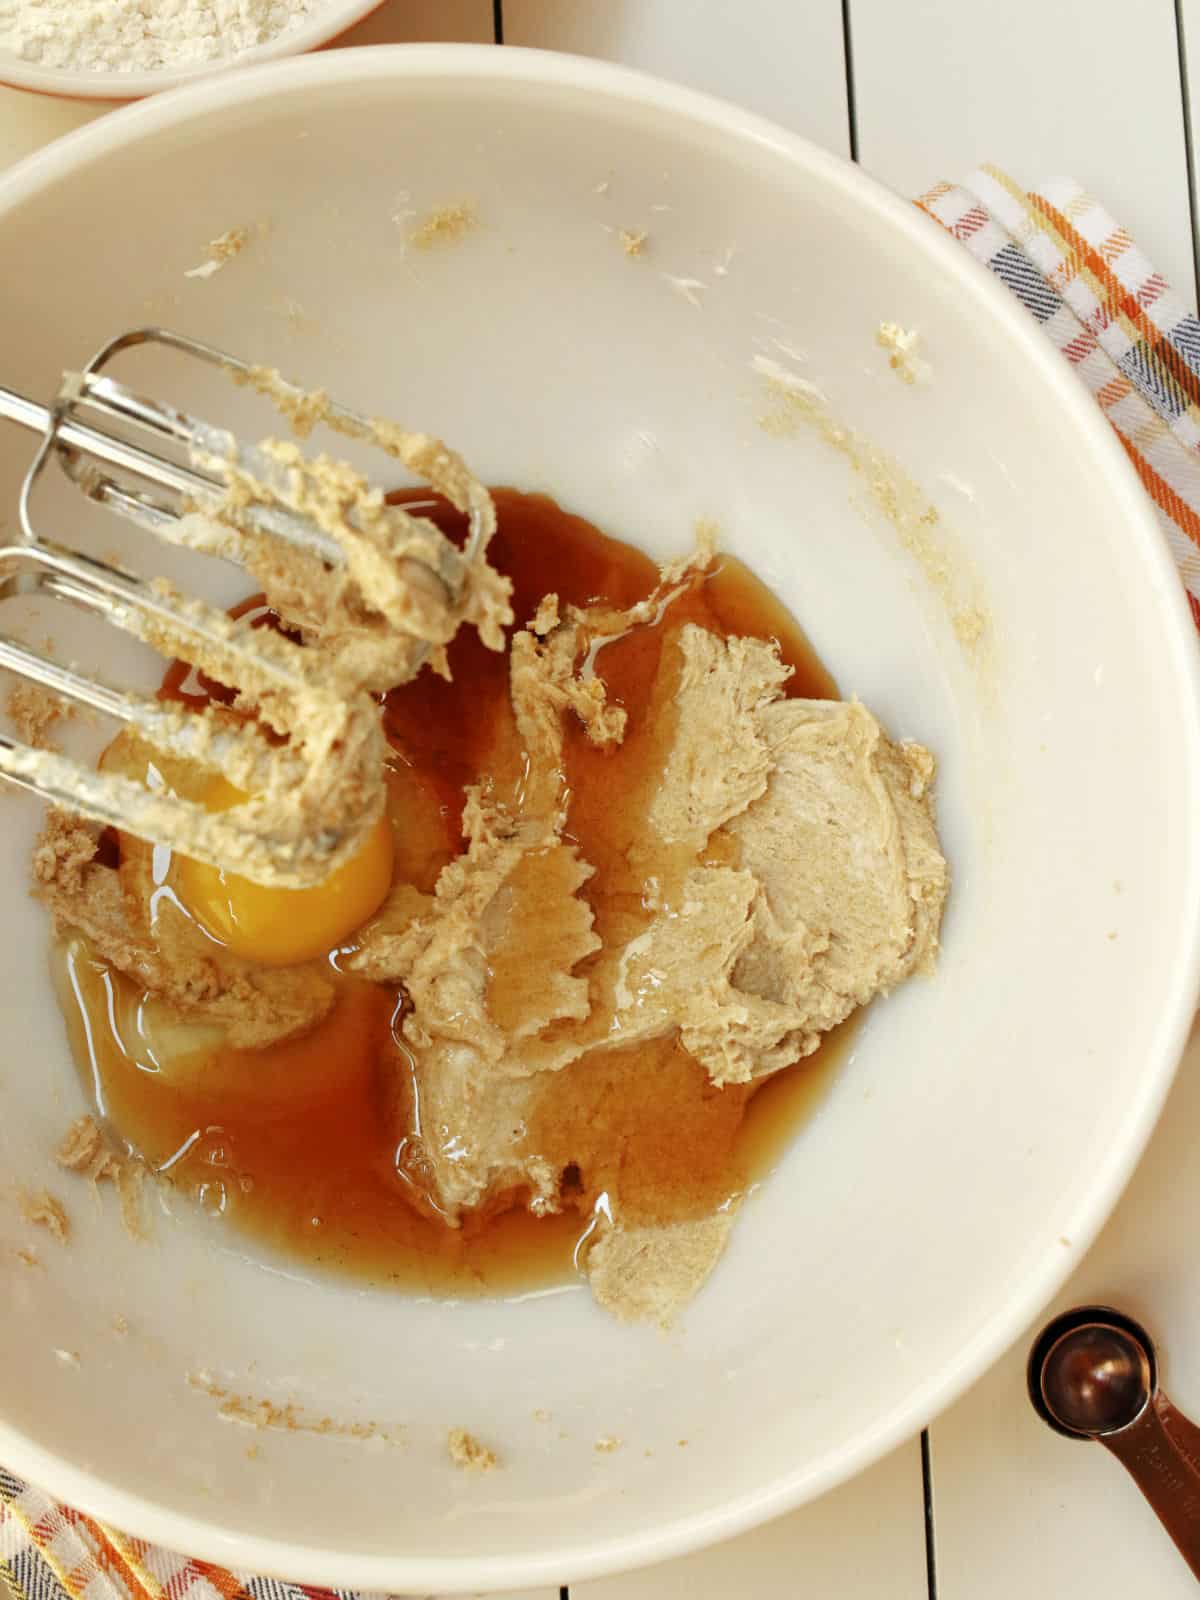
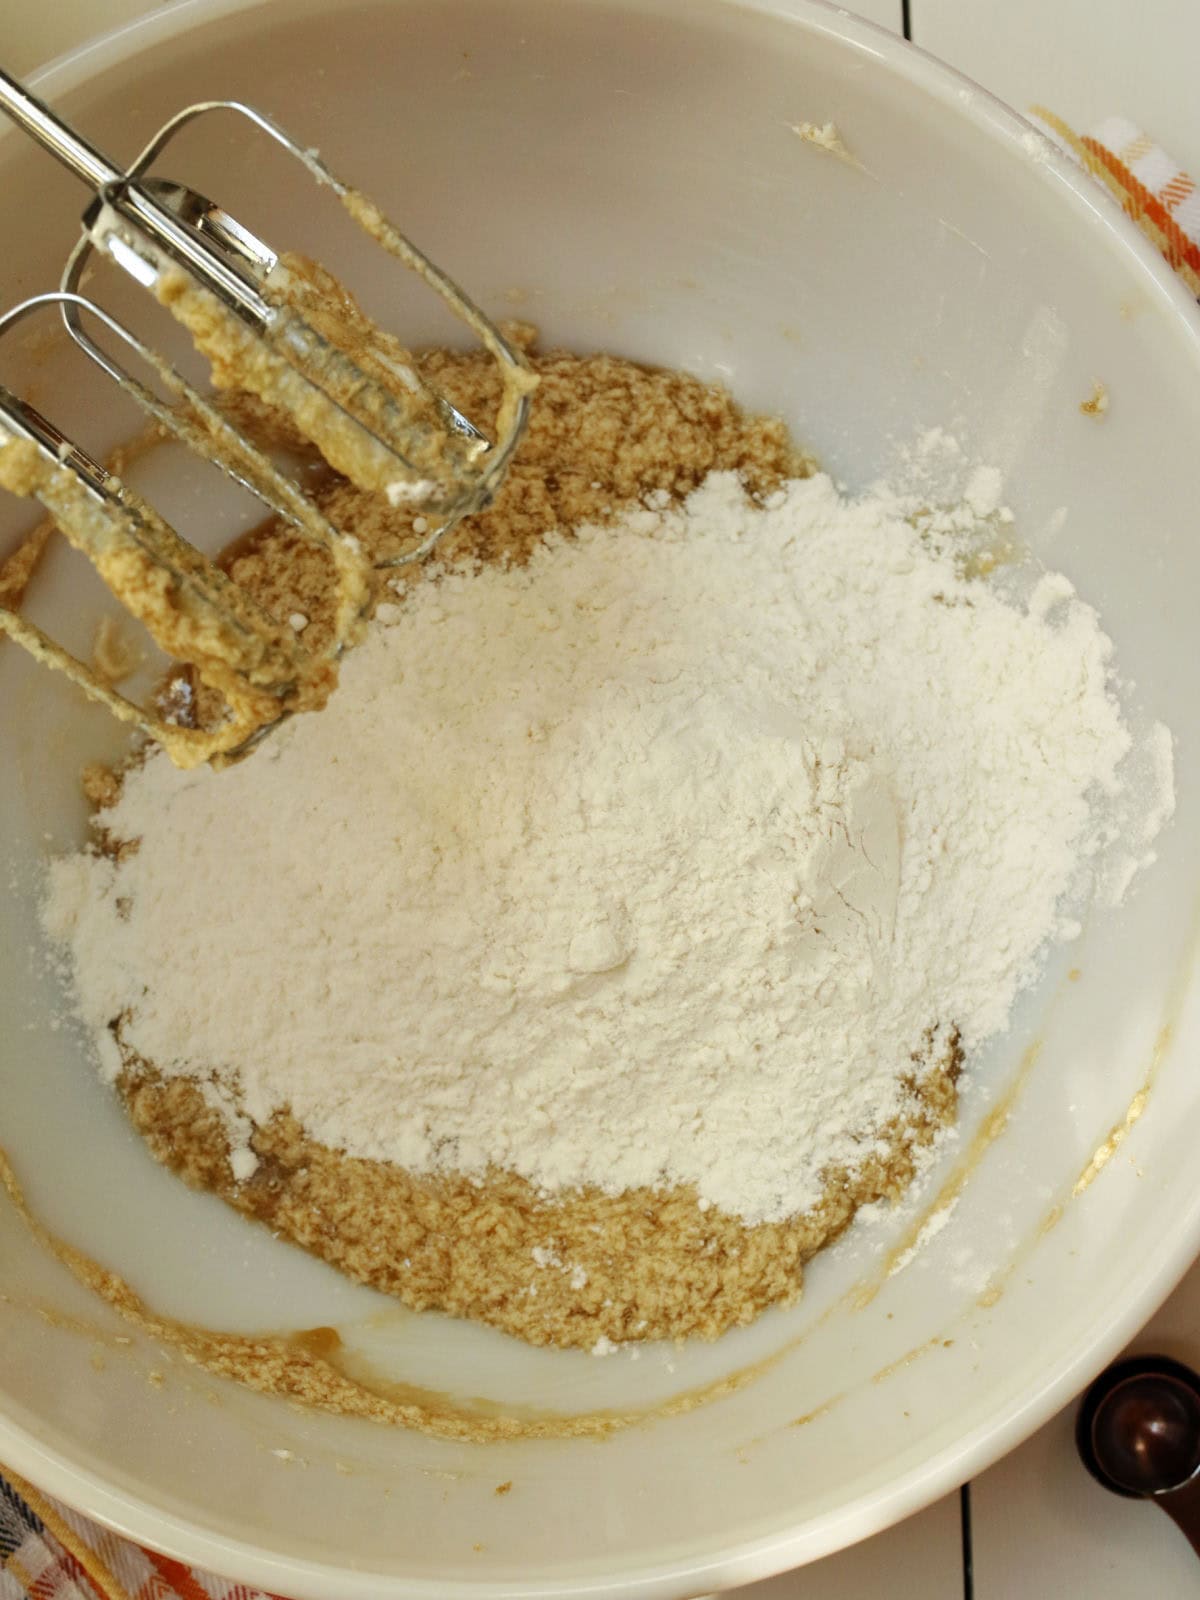
Step 3. Add 1 cup of flour and mix on medium-low speed until combined. Add the remaining 1¼ cups of flour and mix just until the dough comes together.
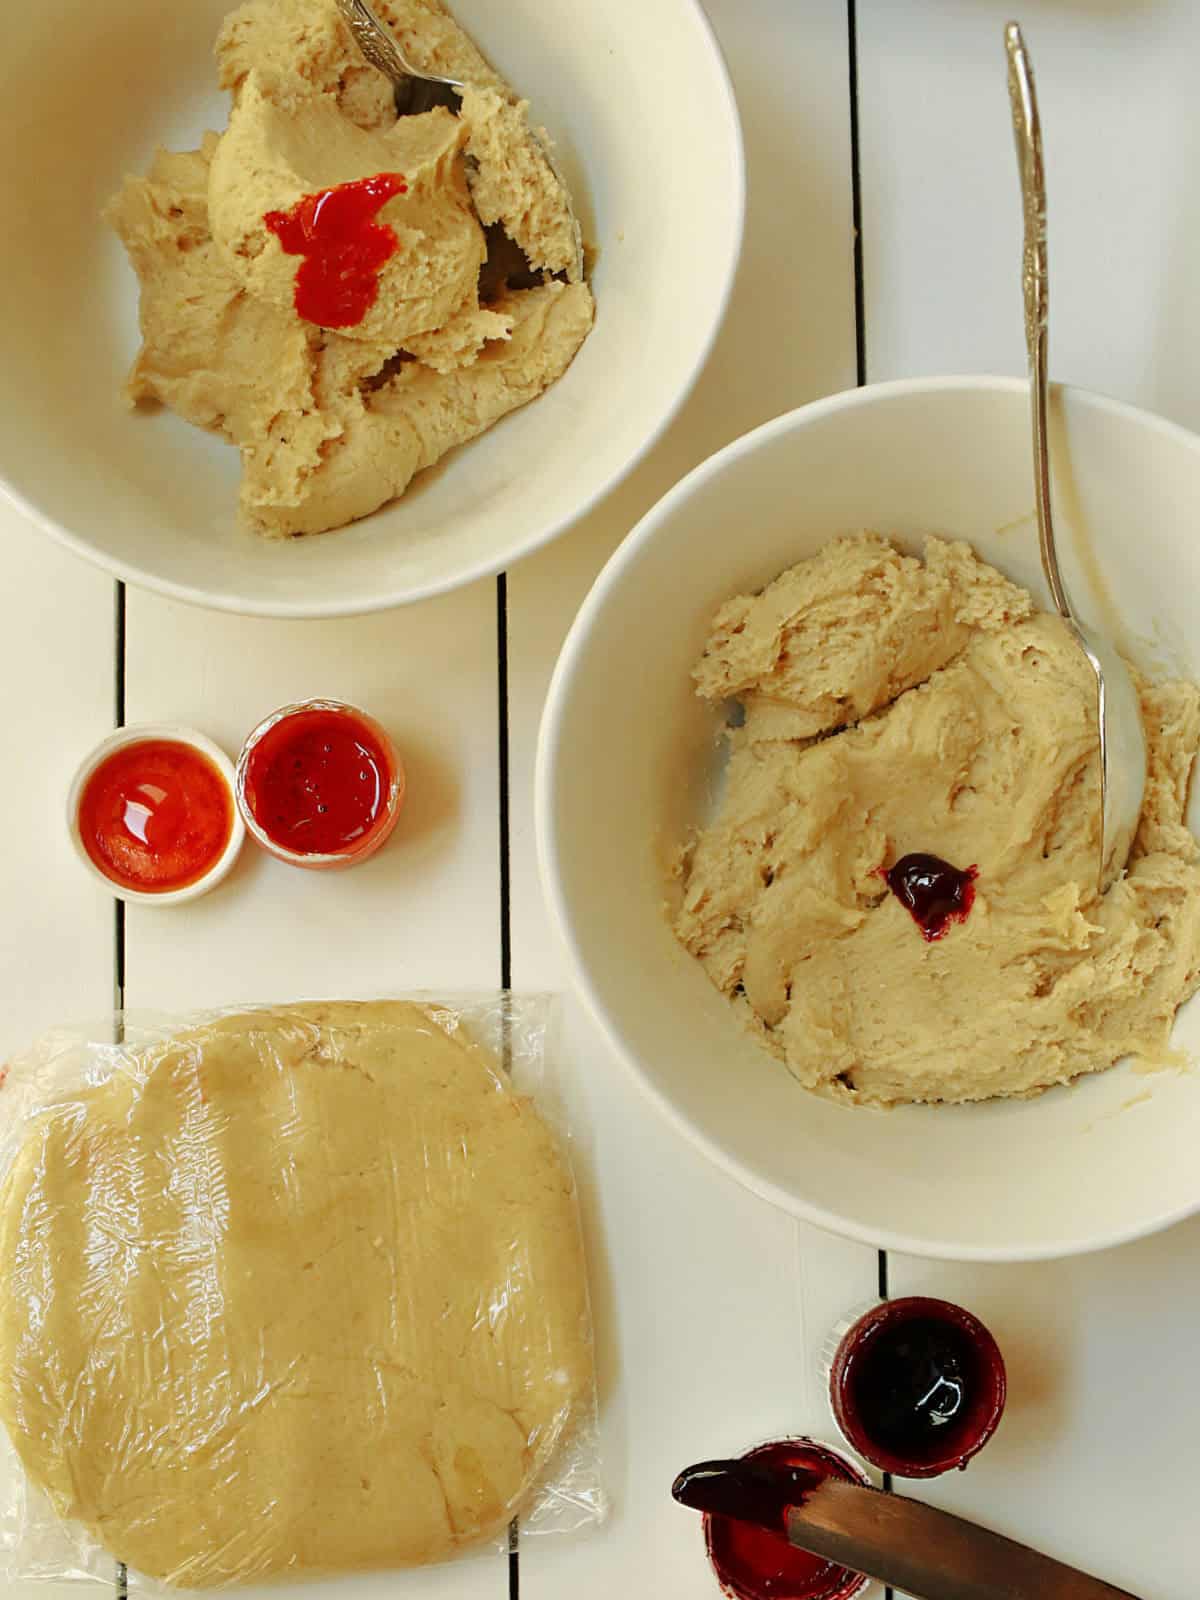
Step 4. Divide the dough into three equal portions. You can do this by eye; they don’t have to be exact. Leave one portion plain and place the other two in separate bowls for coloring.
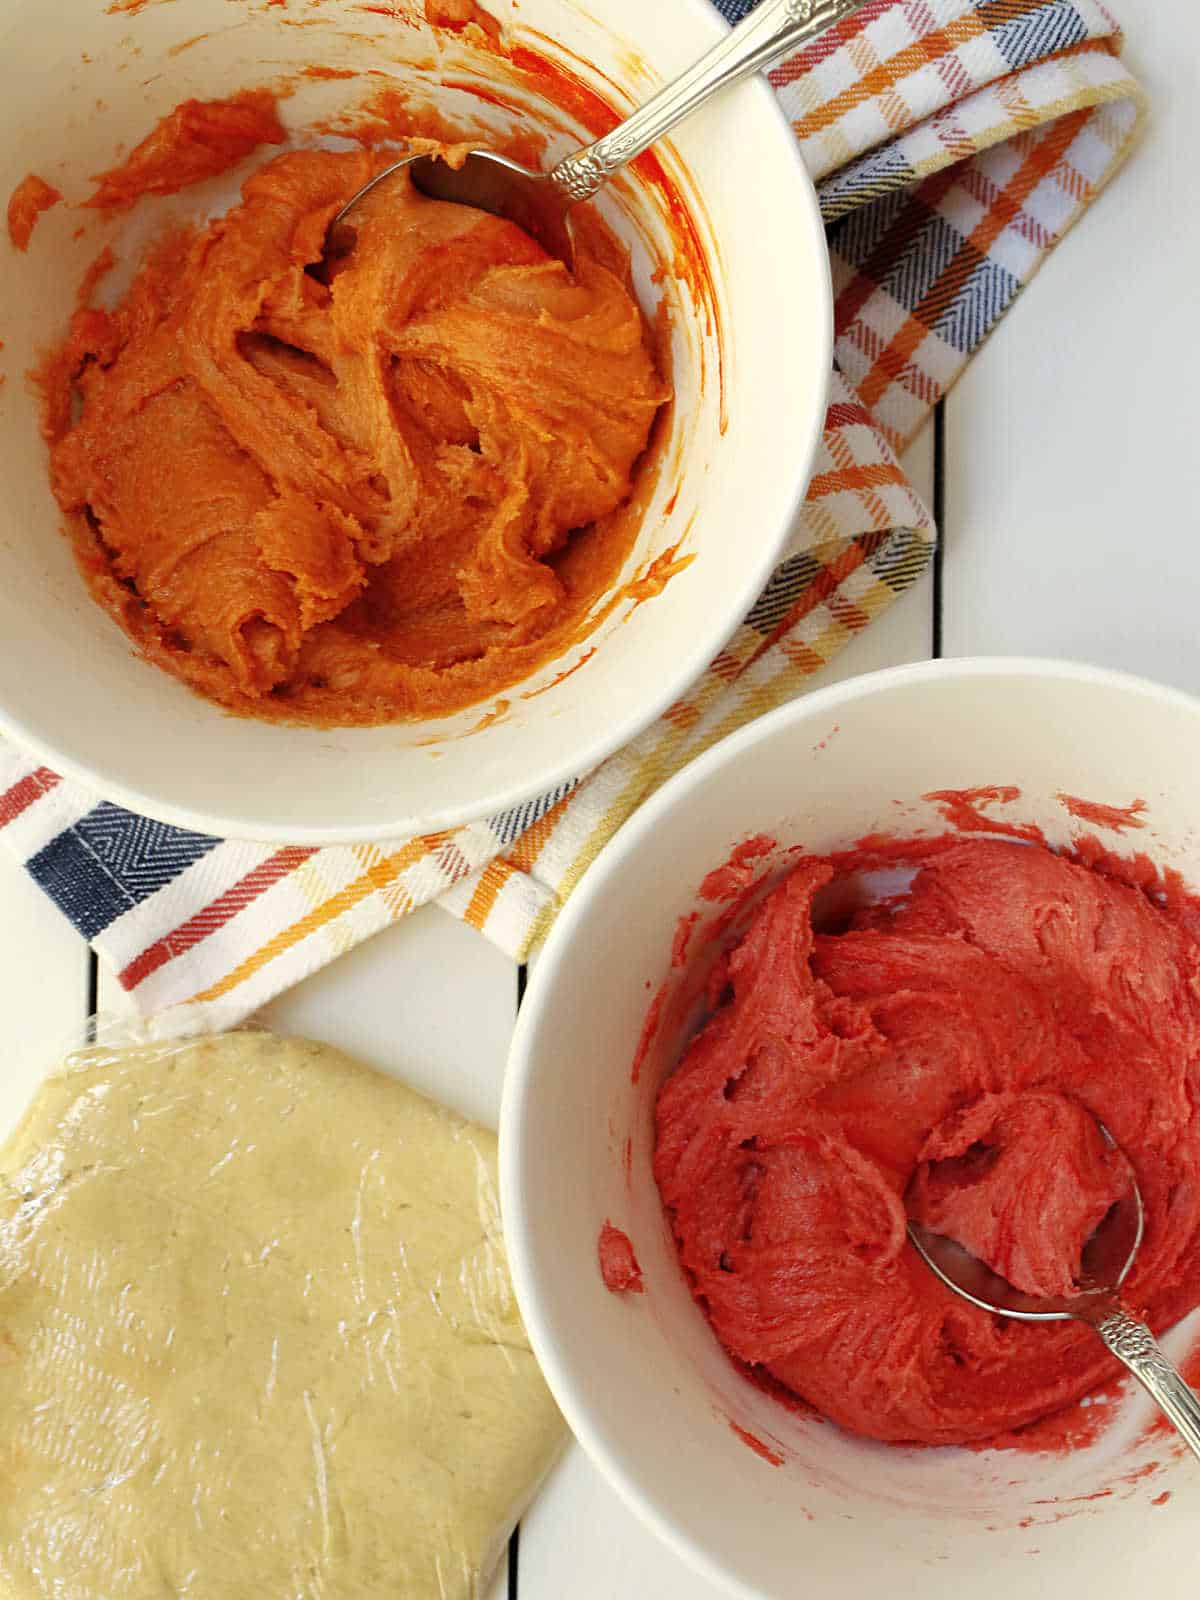
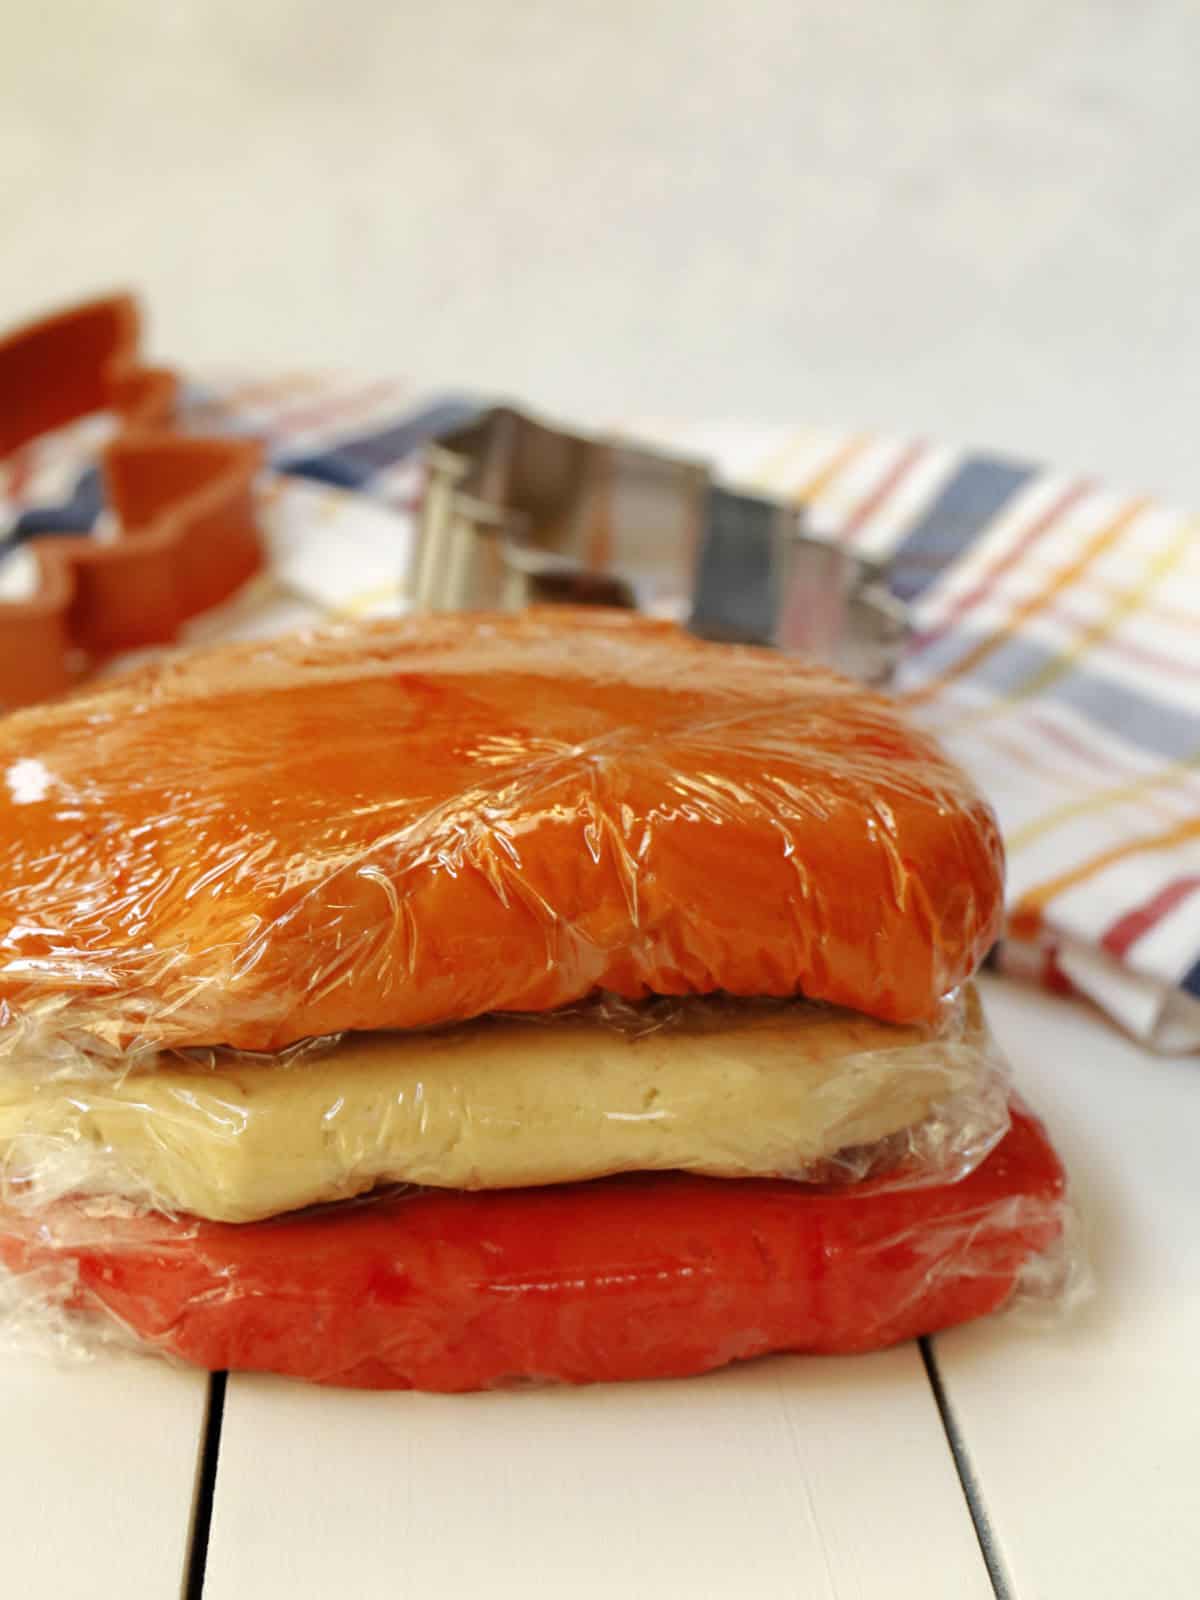
Step 5. Add about 1/8 teaspoon of red gel food coloring to one bowl and orange gel food coloring to the other. Mix each until the color is evenly distributed. Wrap each portion separately in plastic wrap and refrigerate for at least 1 hour.
How to Shape the Dough for Cutout Cookies
Step 6. Preheat the oven to 375°F. Line two baking sheets with parchment paper or silicone baking mats.
Step 7. Lightly dust your pastry cloth or rolling mat with flour, using only what you need to prevent sticking. Divide each chilled dough color into three pieces. Working with one piece of each color, roll each into a rope about 10 inches long.
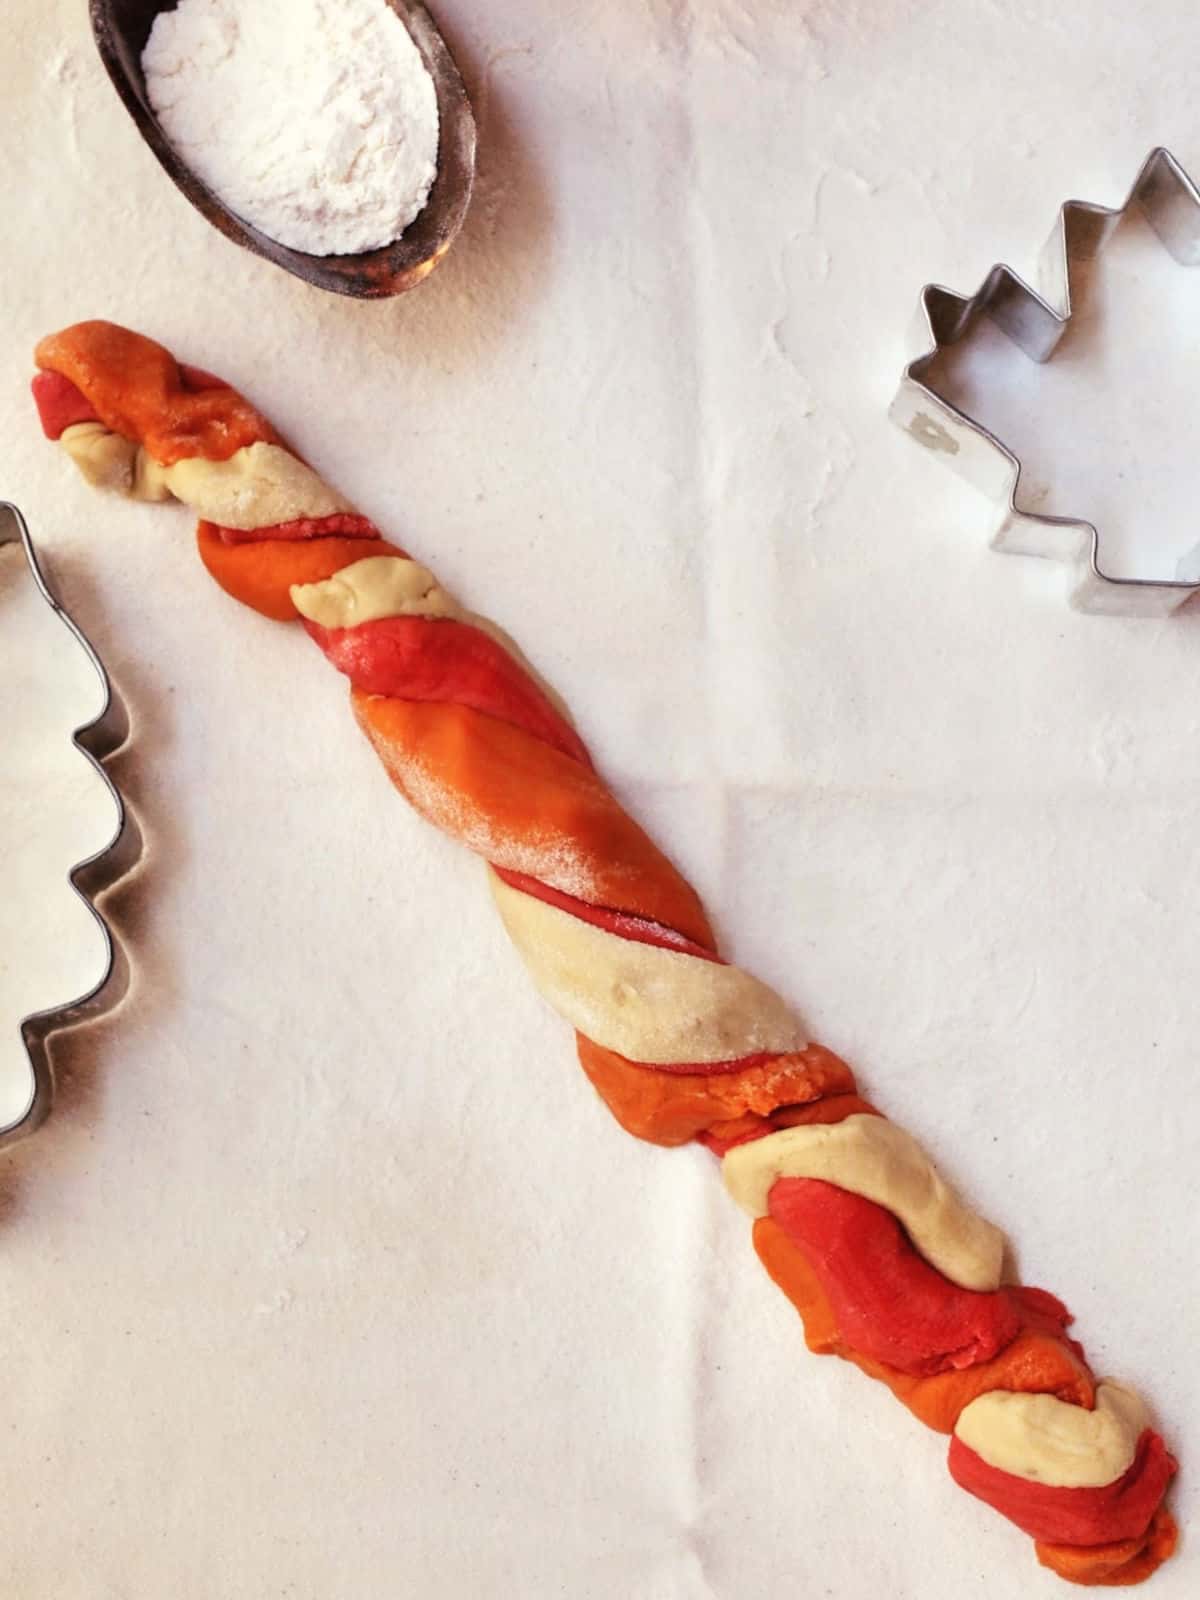
Step 8. Lay one plain, one red, and one orange rope side by side. Gently twist the three ropes together to create one colorful rope of dough.
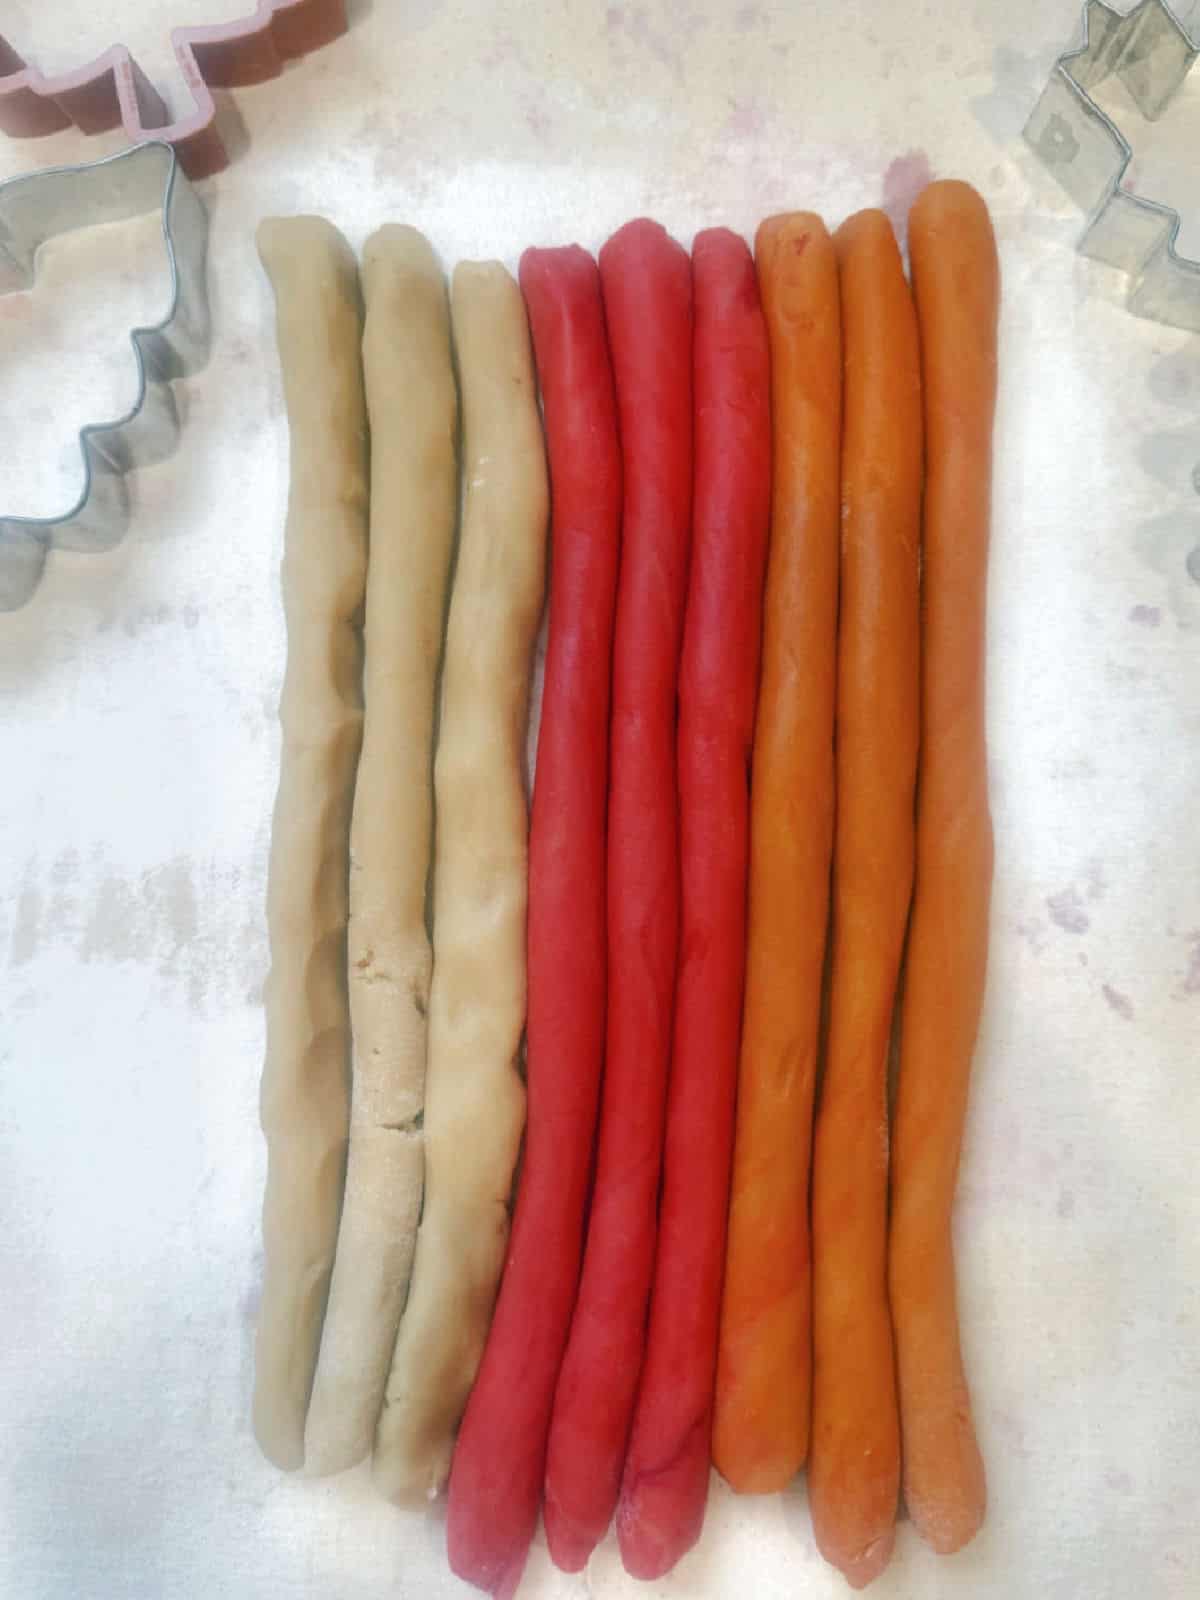
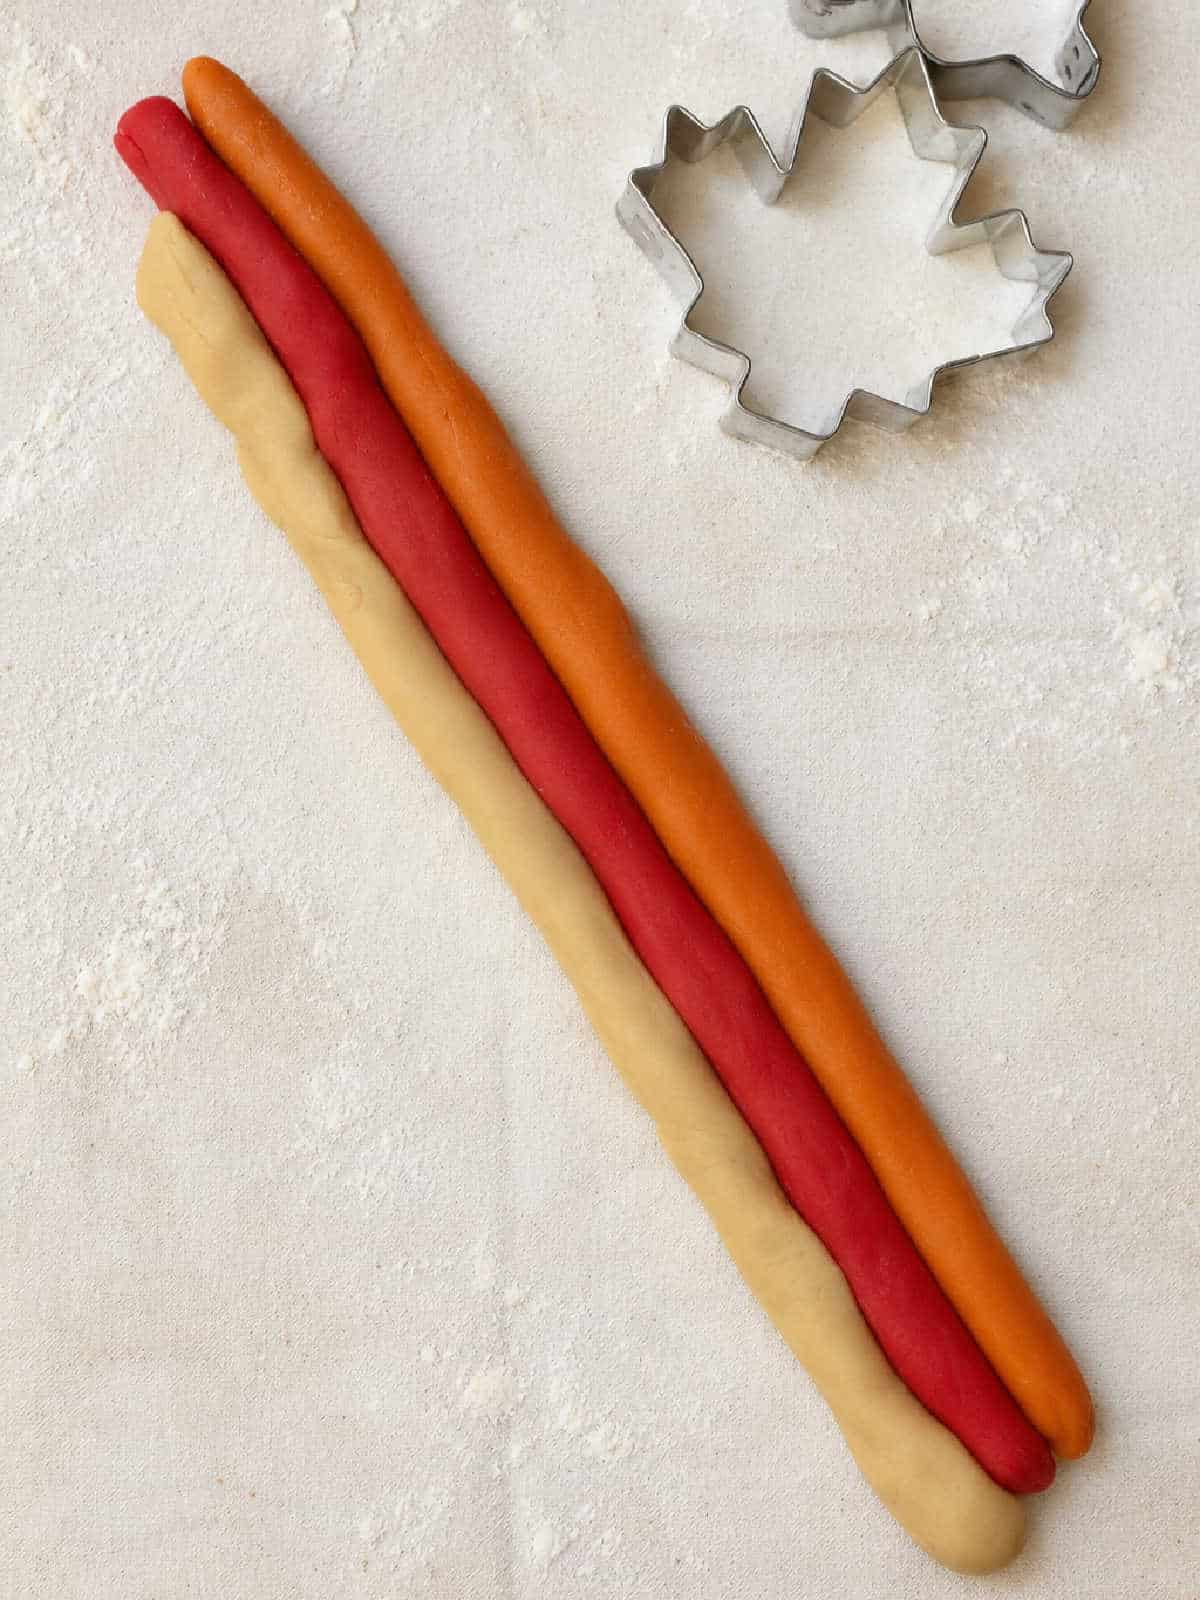
Step 9. Fold the twisted rope in half and gently press it down to flatten it slightly before rolling.
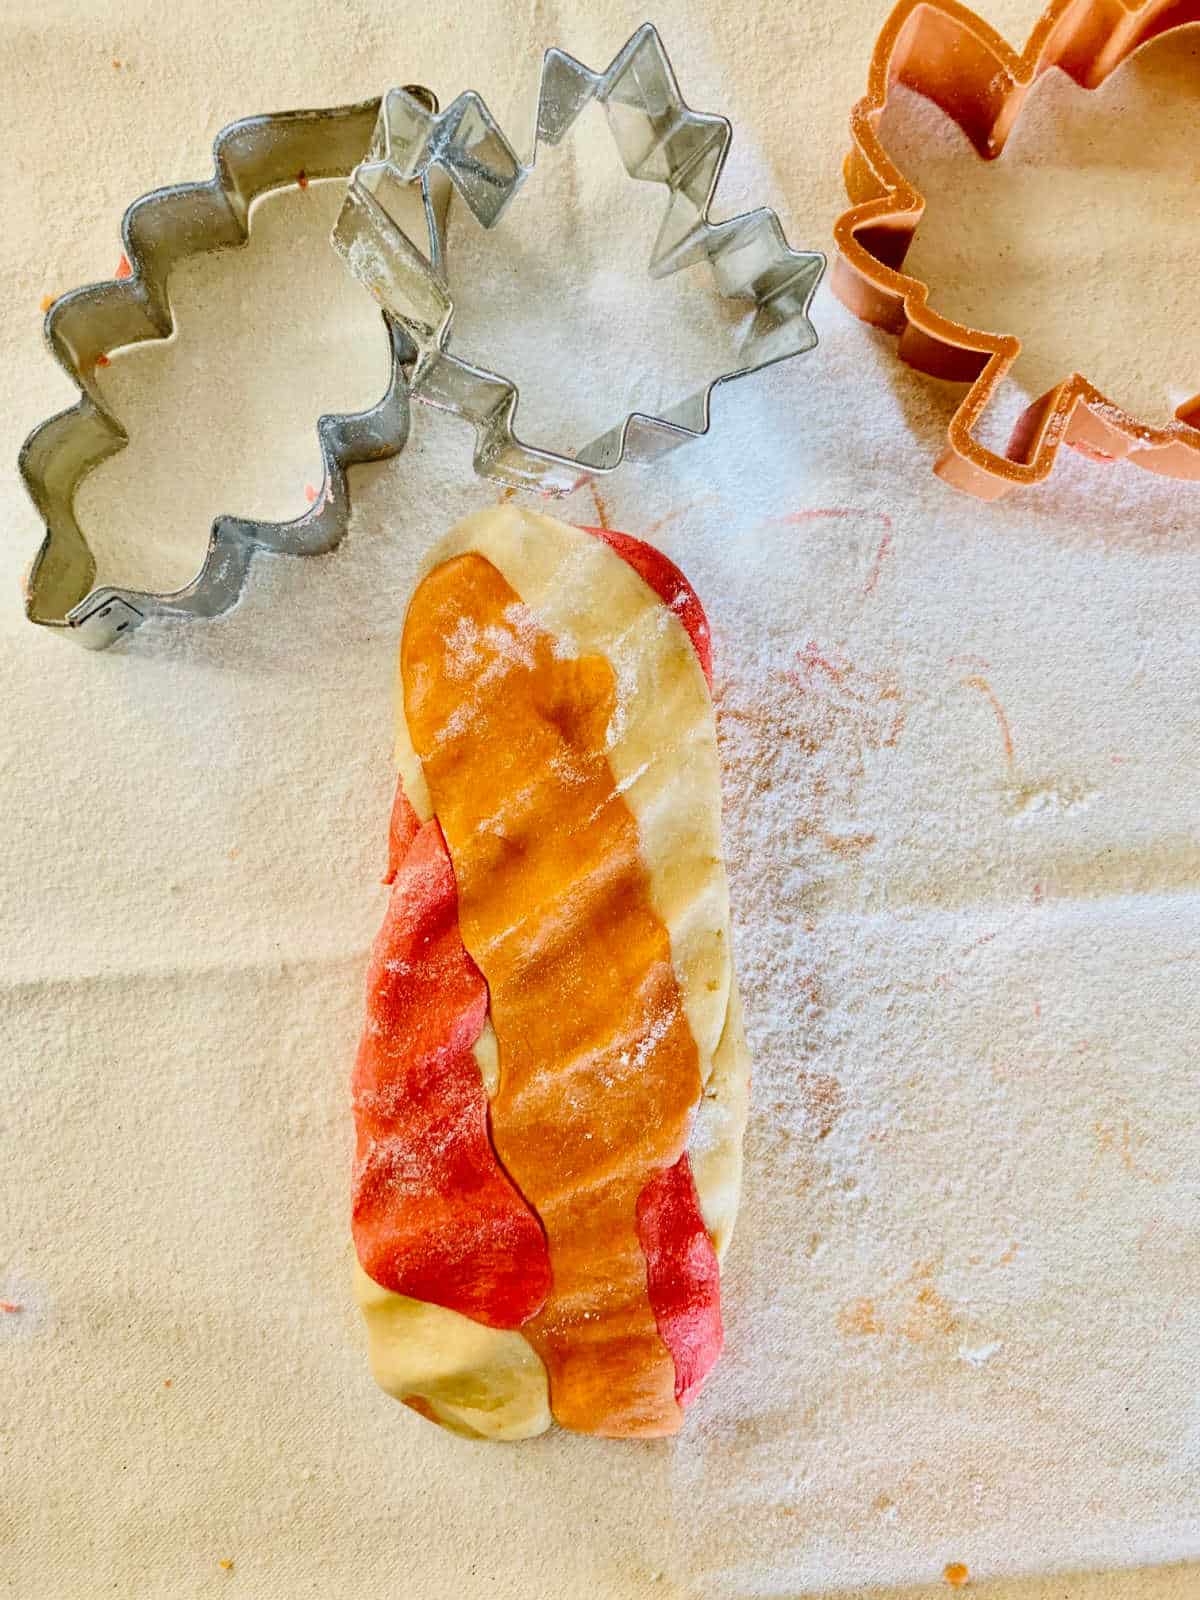
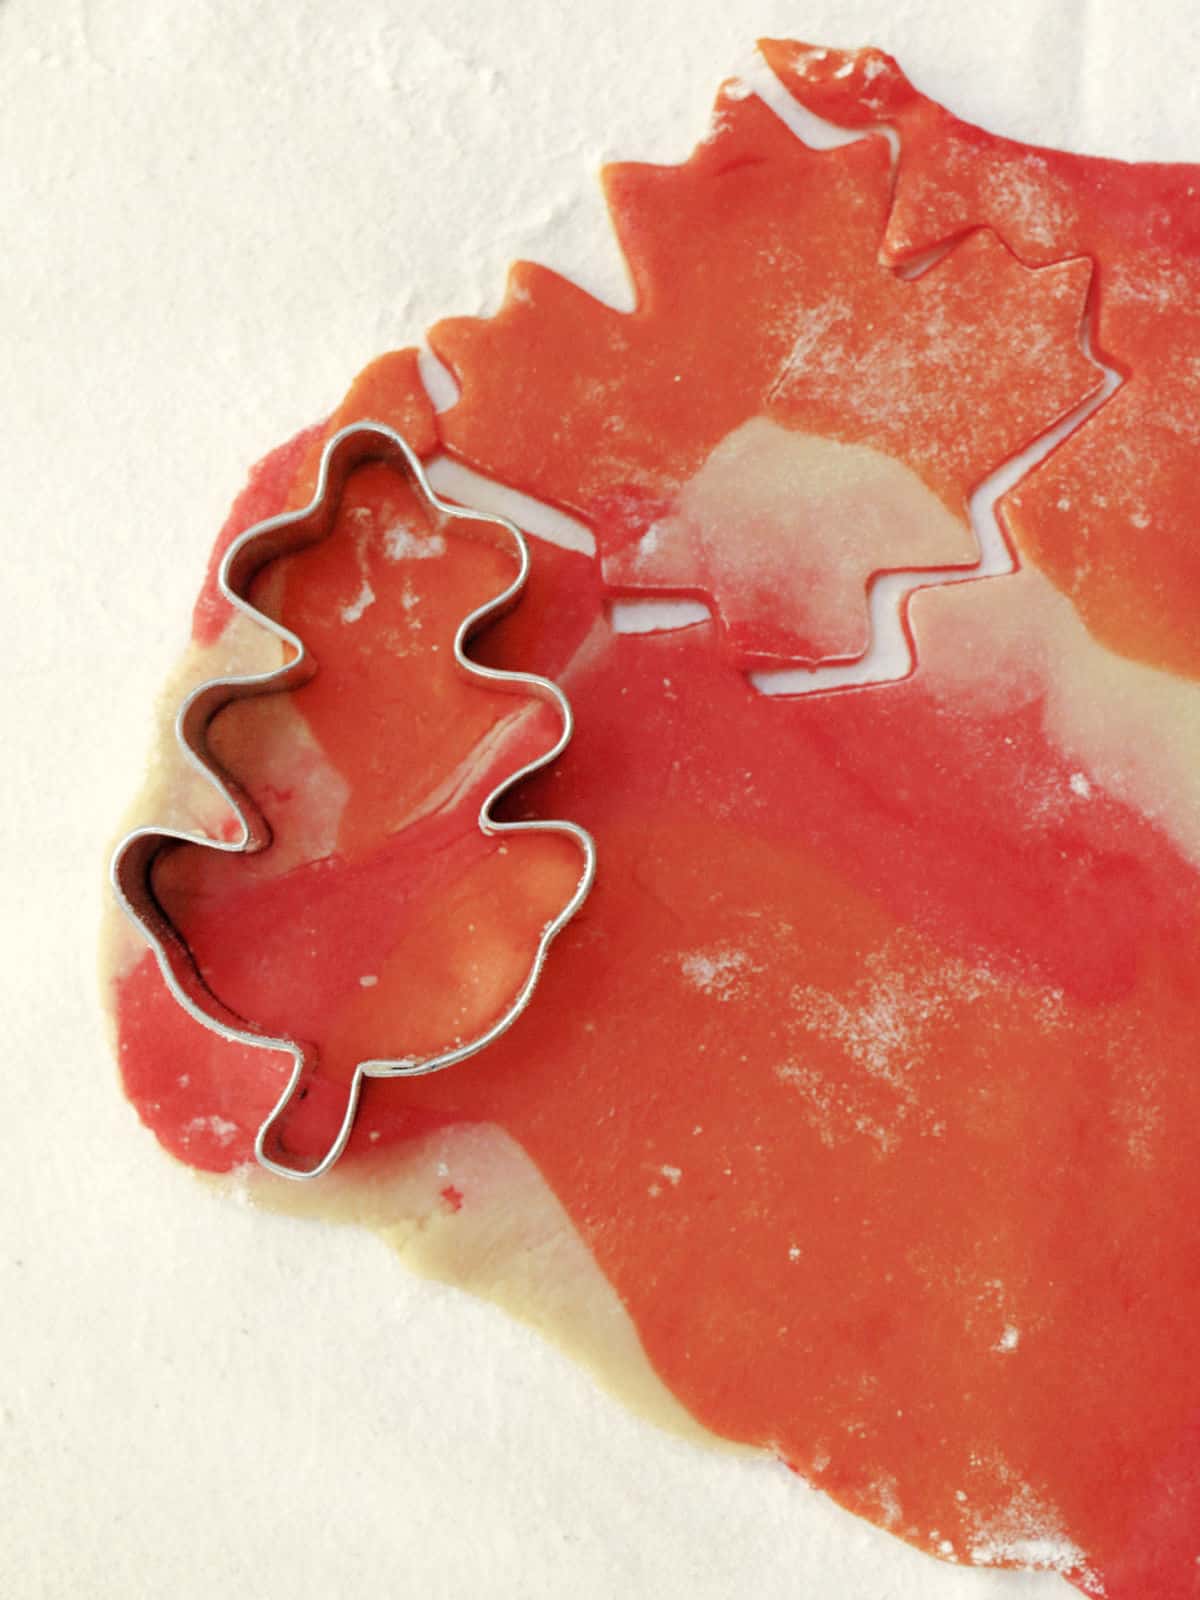
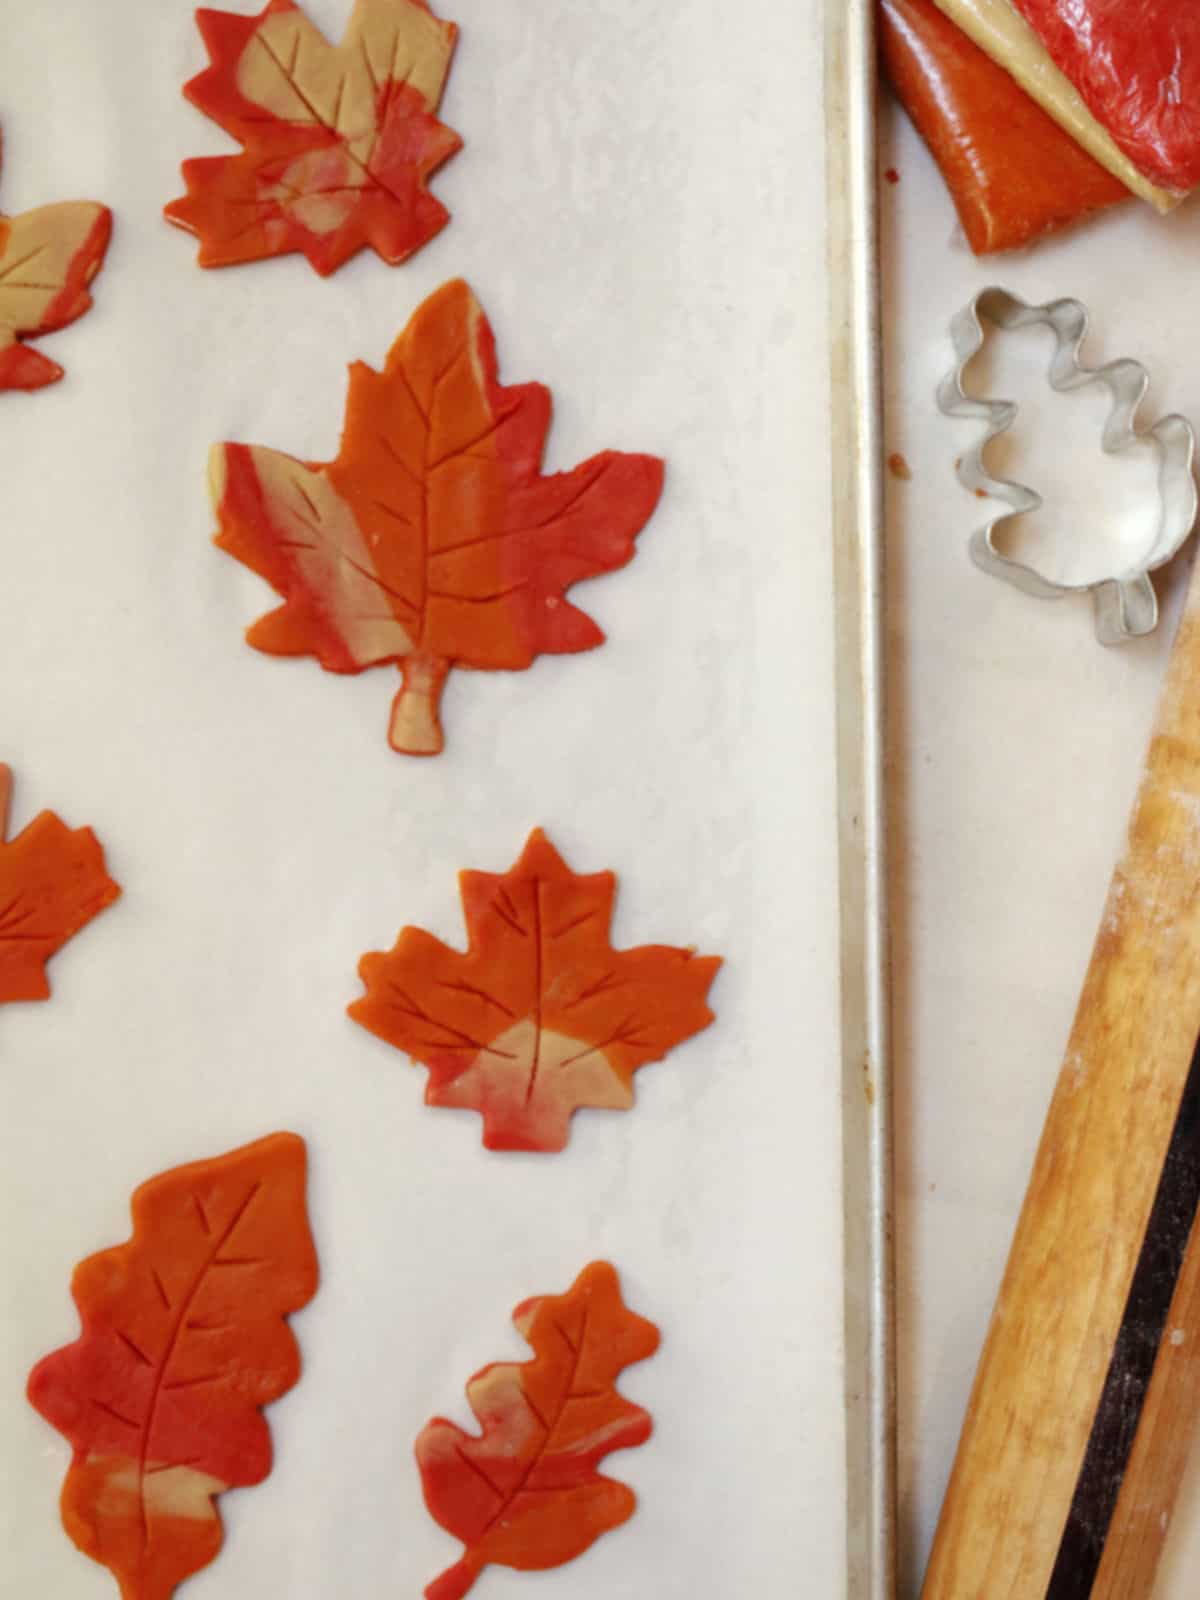
Step 10. Lightly dust the rolling pin with flour if needed and roll the dough to about 3/16-inch thick. You’ll see the three colors form a pretty marbled pattern. Use leaf-shaped cookie cutters to cut out the dough, placing the cutters close together to minimize scraps. Carefully transfer the leaves to the prepared baking sheets. Be gentle with the stems, since those little pieces can break off.
How to Reroll Cookie Dough Scraps
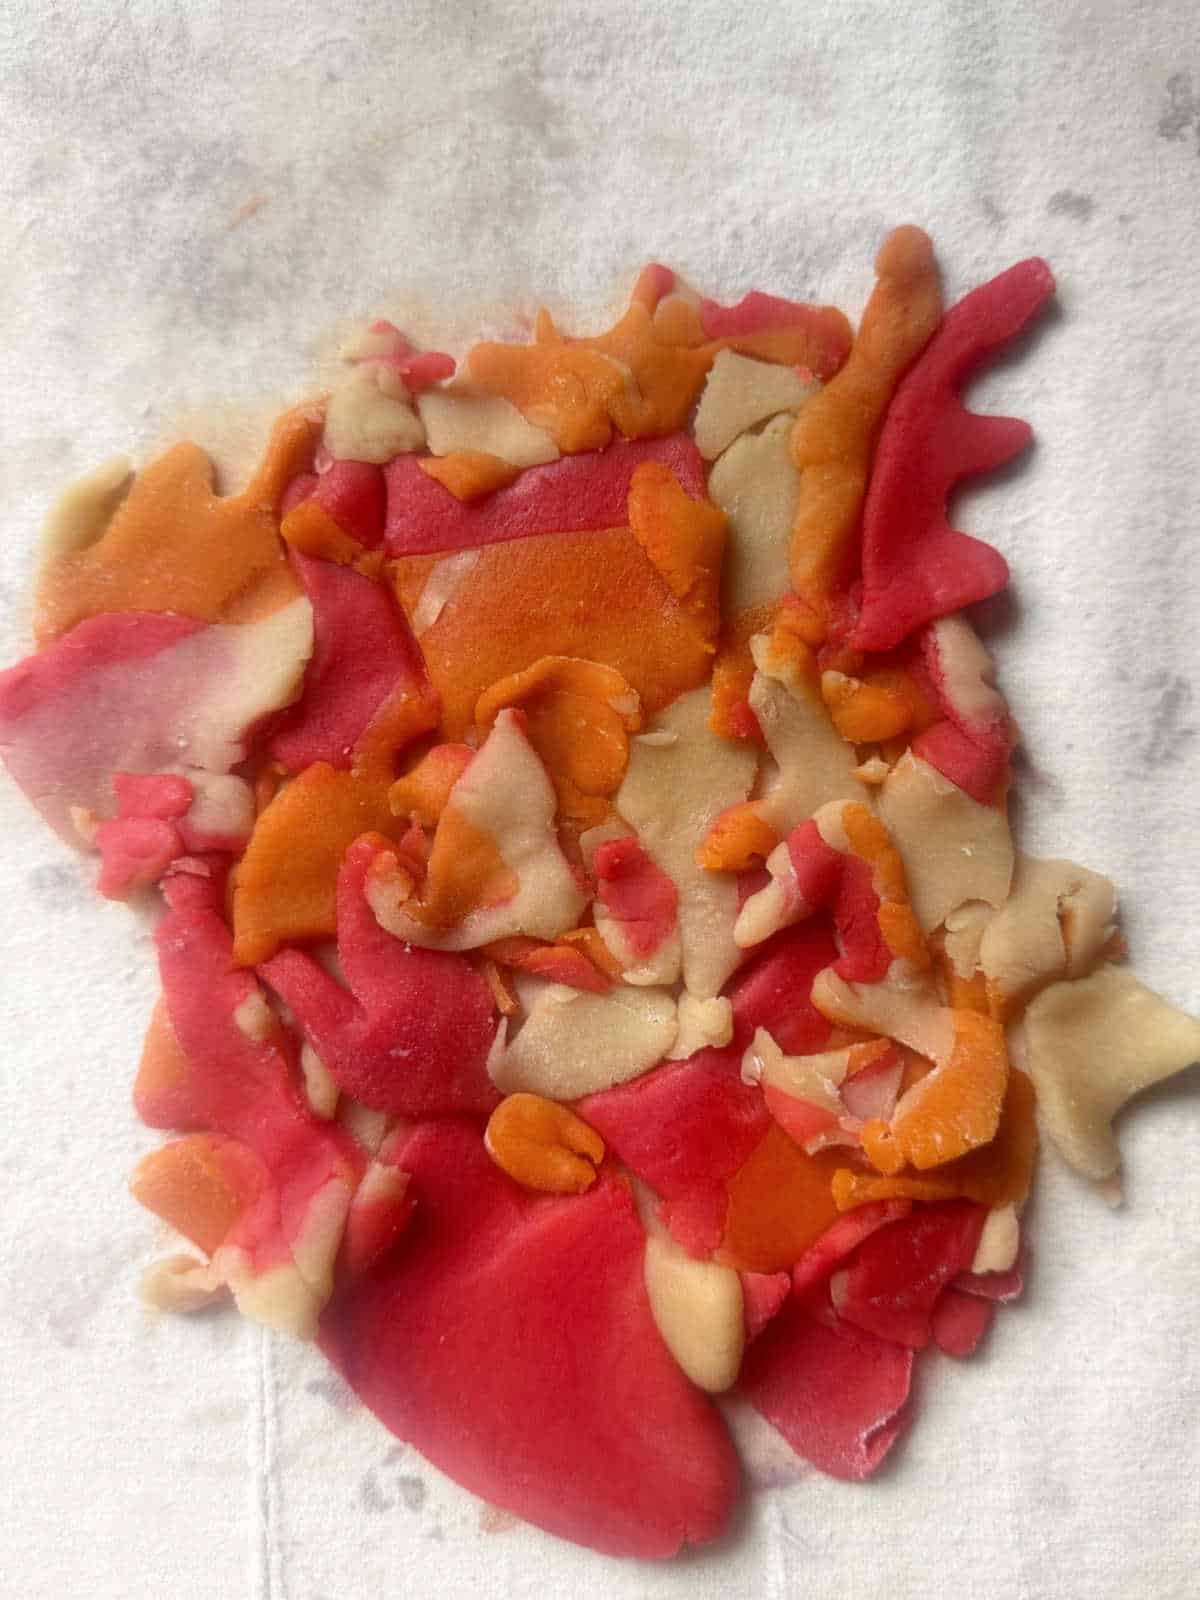
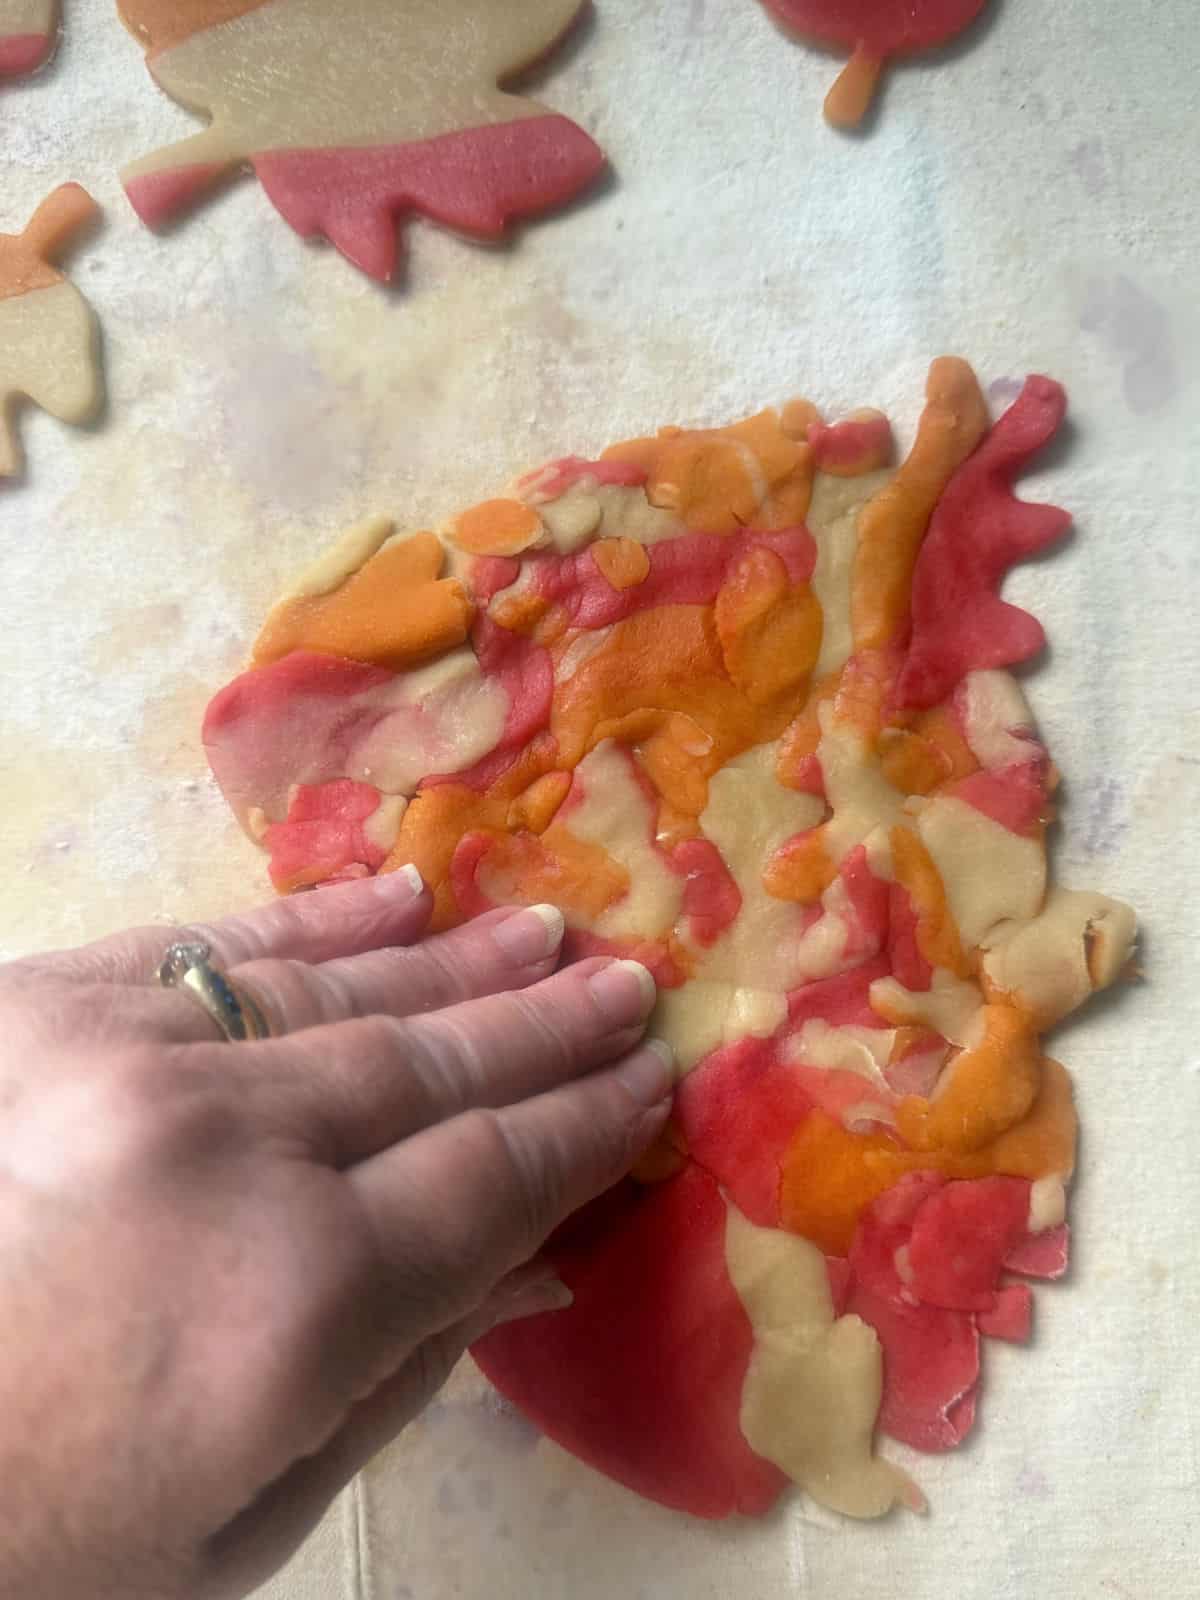
Step 11. Gather the leftover cookie dough pieces and gently press them together, keeping them as flat as possible. Roll the scraps to about 3/16-inch thick, then cut out more cookies.
The trick is not to roll all the scraps into a ball. I’ve found that keeping the pieces flat helps preserve the pretty swirls of red, orange, and plain dough. Sometimes I can only get one more leaf from the scraps, but it’s worth the extra cookie!
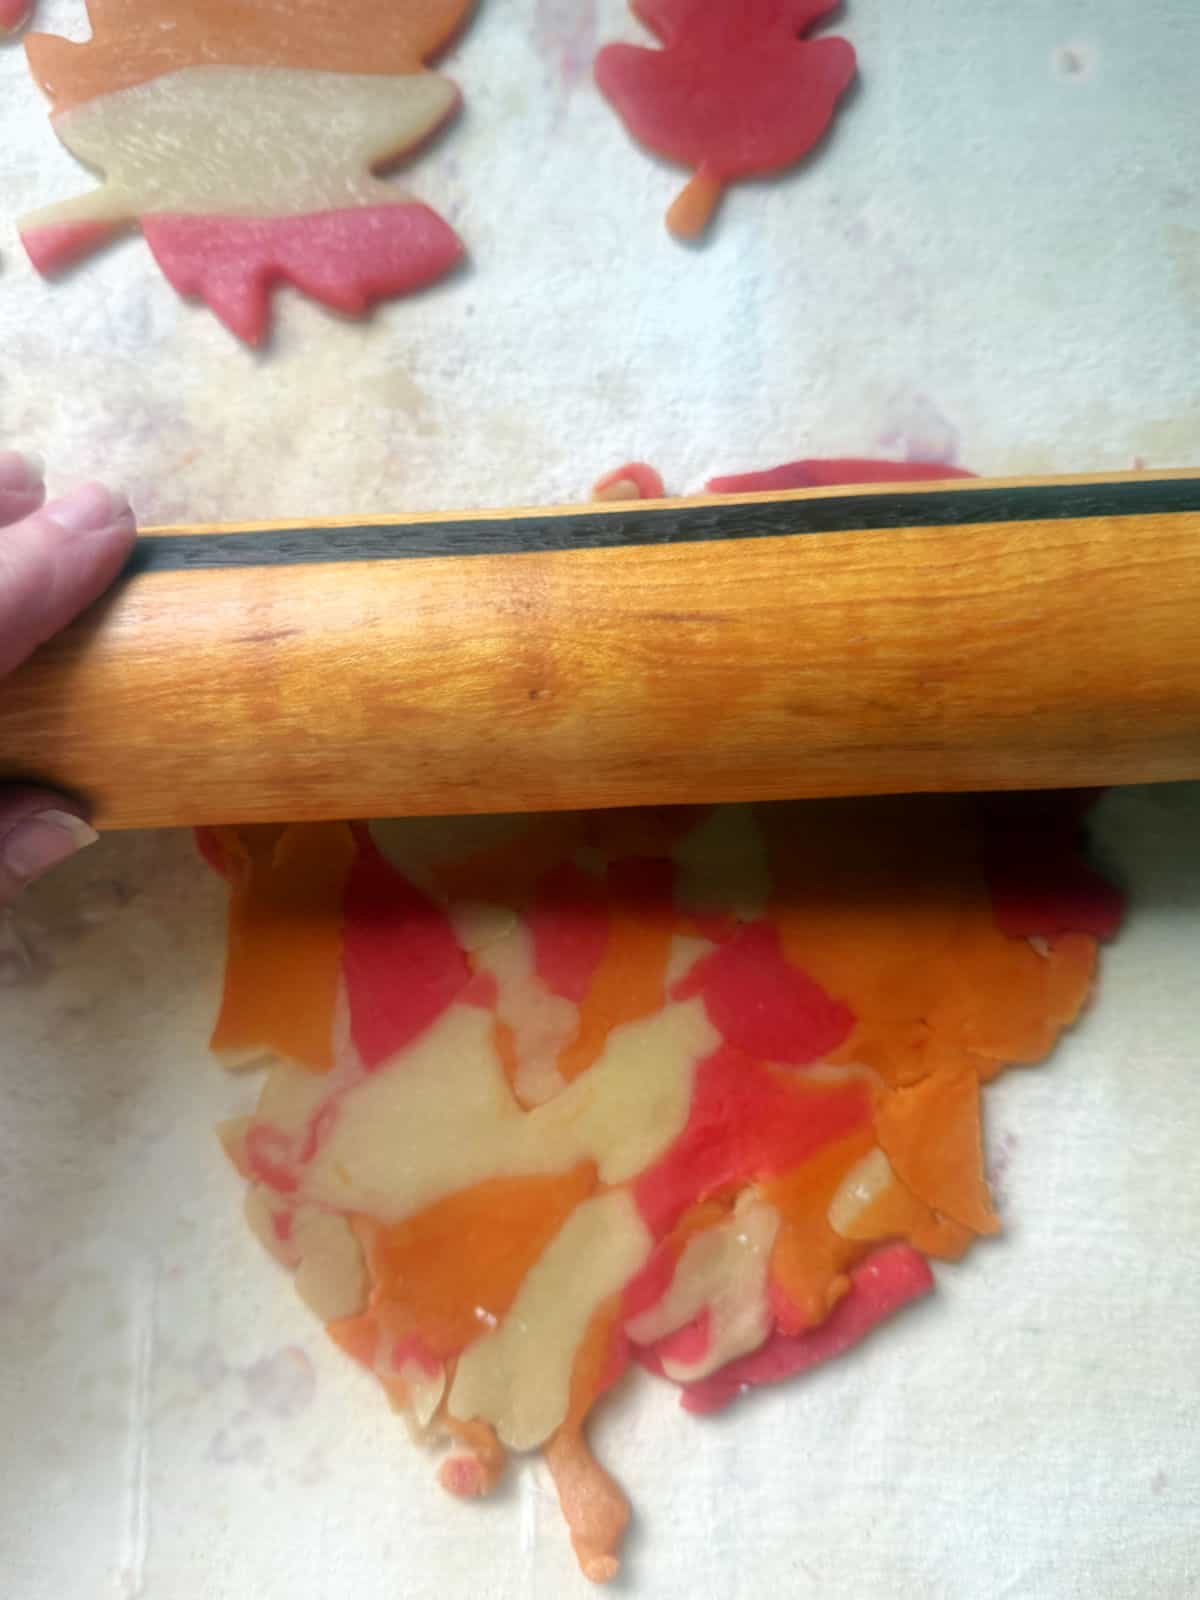
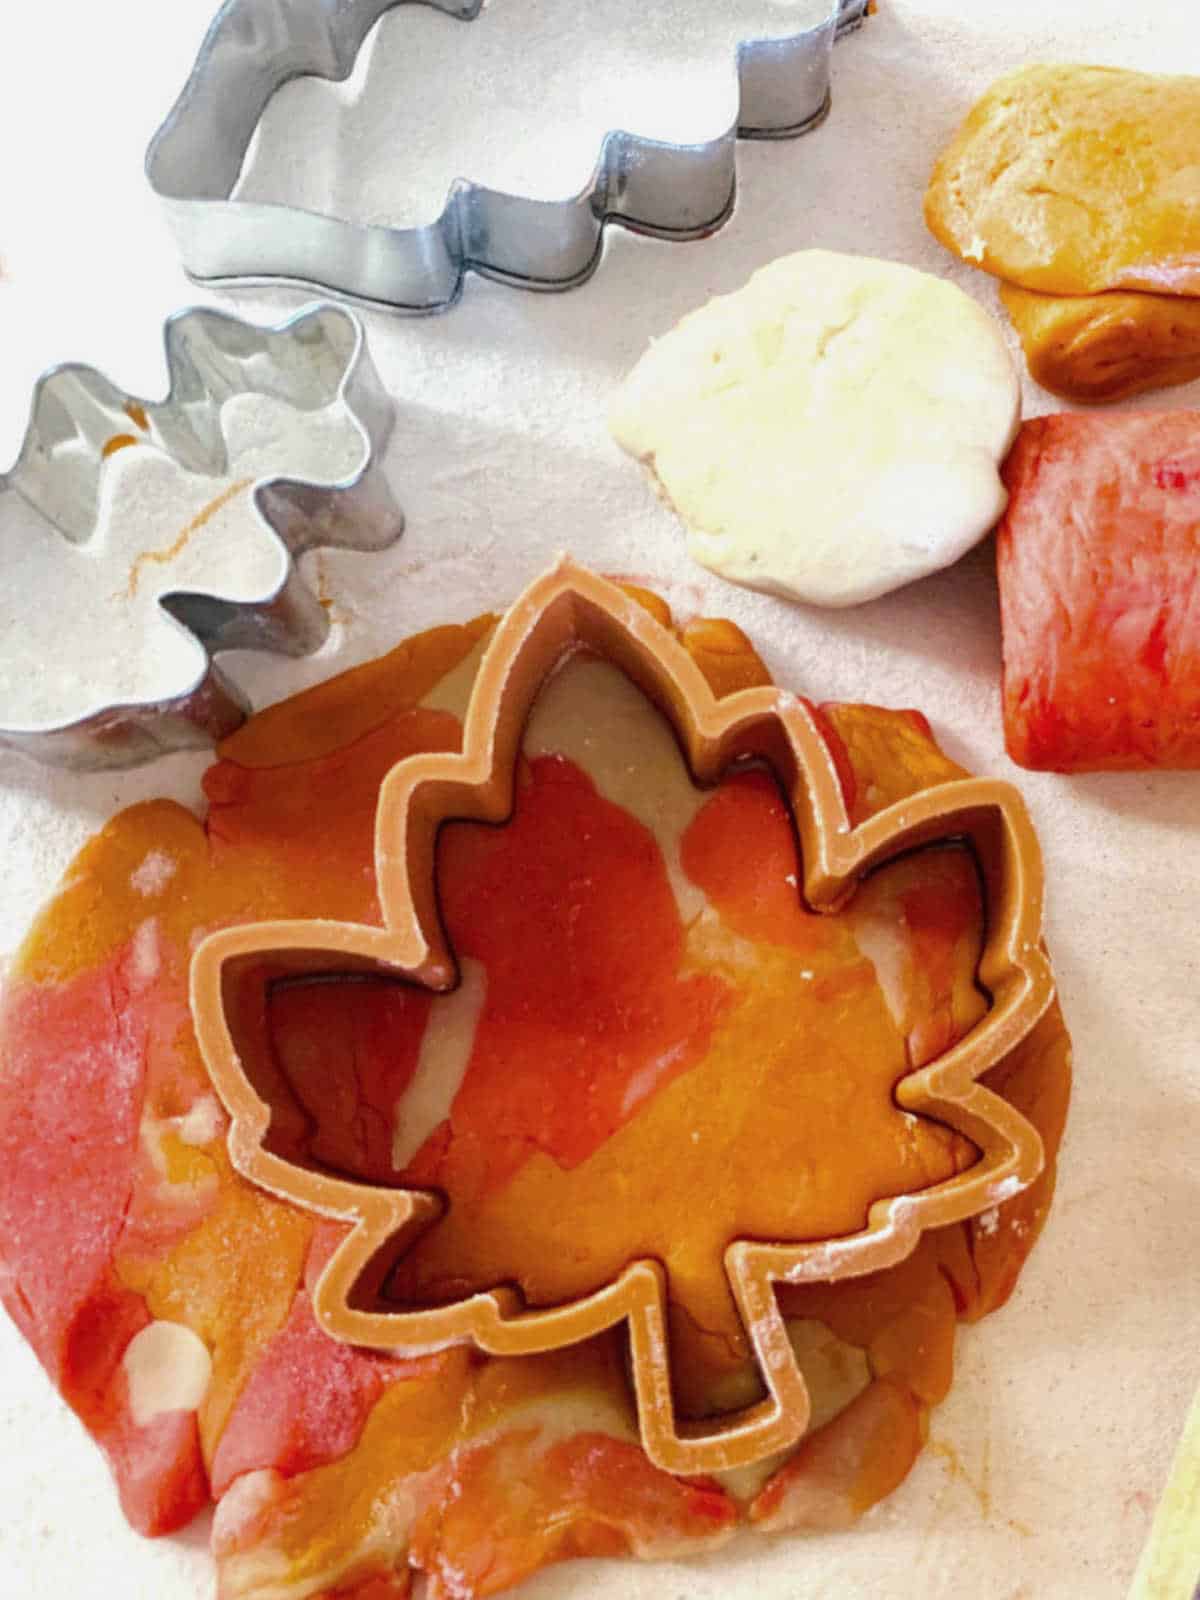
Step 12. Repeat the process with the remaining chilled dough.
Step 13. Bake the cookies at 375°F for approximately 8 minutes. Carefully transfer them to a wire rack to cool.

How to Add Leaf Veins to Sugar Cookies
Want to make your cookies look even more like fall leaves? After placing the cutouts on the baking sheet, use the tip of a sharp paring knife to lightly score a line down the center of each leaf. Add a few shorter lines along the sides to create the veins.
You don’t need to cut all the way through the dough. Just a few shallow lines will give the leaves a little extra detail.
Now that these gorgeous autumn cookies are baked, make a cup of hot tea or coffee, sit down and enjoy a cookie or two. Serve these cookies with a scoop of Spiced Pumpkin Ice Cream for a delicious fall dessert.

How to Store and Freeze Fall Sugar Cookies
Store the cooled cookies in an airtight container at room temperature for about 4 to 5 days.
These cookies also freeze well. Once completely cooled, layer them between sheets of wax paper in a freezer-safe container. When you’re ready for a few cookies, take out what you need and let them thaw at room temperature.
More Fall Cookies to Bake
If you’re in the mood for more fall baking, here are a few favorite cookies filled with warm spices, maple flavor, and festive colors.
- These Chai Shortbread Cookies are buttery and filled with warming chai spices, then finished with a sweet chai icing.
- My Triple Ginger Cookies are soft and chewy, with three kinds of ginger for lots of spicy flavor.
- For another maple-flavored treat, try these Maple Snickerdoodles rolled in cinnamon sugar.
- These Halloween Sprinkle Sugar Cookies have orange and black sprinkles and a surprise cinnamon filling.
- Instead of coloring the dough for the marble effect, try these Marbled Sugar Cookies and color the icing for the marbling.
Baking Supplies
- To make these cookies, you will need red food coloring and orange food coloring, and a flavorful maple syrup.
- You will also need 2- to 3-inch leaf-shaped cookie cutters. I use both maple and oak leaf shapes for a nice variety.
Subscribe here for more great recipes, and follow One Hot Oven for more tasty sweet and savory recipes! Pinterest | Instagram | Facebook
Recipe
Tried it? Rate ⭐⭐⭐⭐⭐ & comment below; your feedback keeps the oven mitts flying here at One Hot Oven.

Autumn Leaf Maple Cookies with Maple Syrup


Ingredients
- ½ cup butter softened
- ½ cup brown sugar
- 1 teaspoon baking powder
- ¼ teaspoon salt
- 1 egg I use large eggs
- 4 tablespoons maple syrup Grade A, dark syrup
- 1 teaspoon pure vanilla extract
- 2¼ cups all-purpose flour
- ⅛ teaspoon red gel food color
- ⅛ teaspoon orange gel food coloring
Instructions
Mixing the dough
- Add the softened butter to a large mixing bowl and beat on medium speed until light and fluffy. If you're new to this technique, see my guide on How to Cream Butter and Sugar for helpful tips.½ cup butter
- Add the brown sugar, baking powder and salt, and mix it in on medium speed until combined½ cup brown sugar, 1 teaspoon baking powder, ¼ teaspoon salt
- Add the egg, maple syrup, and vanilla extract. Mix until combined, scraping down the sides of the bowl as needed. The mixture may look slightly curdled, and that's okay.1 egg, 4 tablespoons maple syrup, 1 teaspoon pure vanilla extract
- Add one cup of flour and beat on medium speed to combine, then add the remaining flour and beat until combined.2¼ cups all-purpose flour
Coloring the Dough
- Divide the dough into three equal portions. You can do this by eye; they don't have to be exact.
- Leave one portion plain and place the other two in separate bowls.
- Add about ⅛ teaspoon of red gel food coloring to one portion and ⅛ teaspoon of orange gel food coloring to the other. Mix each until the color is evenly distributed. Add a tiny amount more coloring if you'd like a deeper shade.⅛ teaspoon red gel food color, ⅛ teaspoon orange gel food coloring
- Wrap each portion separately in plastic wrap and refrigerate for at least 1 hour.
Cutting Out the Cookies
- Preheat the oven to 375° and prepare baking sheets with parchment paper or a silicone baking mat.
- Divide each chilled dough color into three pieces. Working with one piece of each color, roll them into ropes about 10–12 inches long on a lightly floured surface. Use only enough flour to prevent sticking so the dough ropes will stick together when twisted.
- Place one rope of each color side by side. Hold one end and gently twist the three ropes together to create a colorful rope of dough.
- Fold the twisted rope in half and gently press it down. Roll the dough to about 3/16-inch thick, lightly flouring the rolling pin only if needed.
- Use leaf-shaped cookie cutters to cut out the dough, placing the cutters close together to minimize scraps. Carefully transfer the leaves to the prepared baking sheets. If desired, use the tip of a small paring knife to lightly score leaf veins into each cookie.
- Gather the leftover dough scraps and gently press them together, keeping the pieces as flat as possible. Reroll to about ⅛-inch thick and cut out more cookies. Avoid kneading the scraps into a ball, which can blend the colors together.
- Repeat with the remaining chilled dough. If the dough becomes too soft while working, refrigerate it for a few minutes until firm.
- Bake at 375°F for approximately 8 minutes, until the cookies are set but still soft. Carefully transfer them to a wire rack to cool.
Cookie Yield
- I use different sizes and shapes of leaf cookie cutters, so the number of cookies you get will vary depending on the cutters, how thick you roll the dough, and how many cookies you can cut from the rerolled scraps.
Notes
Notes:
- Keep the dough chilled: Chilling helps the cookies hold their leaf shapes while baking. On warm days, I sometimes refrigerate the cutout cookies on the baking sheet for 5–10 minutes before baking.
- Use very little flour when rolling: Too much flour can keep the colored dough ropes and scraps from sticking together.
- Cookie yield: I used four different sizes of leaf cookie cutters and made 28 cookies. Your yield may vary depending on your cutter size.
- Storage: Store cooled cookies in an airtight container at room temperature for 4–5 days. For longer storage, freeze them in a freezer-safe container with wax paper between layers.
As an Amazon Associate I earn from qualifying purchases.
Nutrition
First published: Sept 15, 2020, Last updated: Oct. 28, 2026, for better readability.
Thank you for stopping by the One Hot Oven blog. Please leave a comment to say hello, or just let me know what you are baking these days. I always love hearing from fellow bakers. Do you have any questions or want to chat about the recipe? Please visit my About page for information, and I’ll be happy to help!
About Jere’
From learning to cook on a farm in Indiana to culinary school in California, my passion for food is never-ending. Turning on my oven to bake something for friends and family is my happy place, and I am glad to be here at One Hot Oven, sharing both sweet and savory family-friendly recipes for your cooking and baking inspiration.




My wife and I had so much fun making these cookies. And I’ve been enjoying them with my coffee and as snacks since we made them! I’ll have to make another batch soon to give to friends.
Thanks Dennis, this are the perfect cookies to give as gifts, everyone loves them.
So ADORABLE Jere! This looks like such a fun and easy recipe and I am printing it to make it soon!
These cookies are just the cutest and also delicious! These would be perfect for dessert over the holidays!
Another hit with the family, Jere. I recruited the kiddos to help me in the kitchen making these sugar cookies and we all enjoyed the step by step instruction.
These are cute fall recipe to make for my kids and I am pretty sure they will love it!
I am going to try this, thank you!
These cookies are gorgeous and so delicious. The perfect way to celebrate the beautiful autumn season.
Very pretty! The brown sugar and maple are surely delicious.
Yes, a great flavor combo.
I like everything about this recipe! I love your use of fall colors with the leaf cutouts and your use of maple syrup. I need to make these with my kiddos!
KIds love these cookies and try to figure out how all the colors get baked into the cookies.
These autumn cookies are so beautiful! They scream fall! I love a good sugar cookies, and will definitely be trying this recipe!
Oh my goodness – these are just sooooo pretty! Brilliant to use a bit of maple syrup to really add to the autumn vibe. And I love the idea about having them out at Thanksgiving – I could totally see extending the way you guys claim your favorites, and turning them into little “name cards” at each person’s place at the Thanksgiving table! Thanks for the super-fun idea! 😀
These cookies are just so much fun and pretty as can be.
omg wow..they look so real! I am definitely making these
This is so creative and festive. Perfect for fall and even the holiday season. Delicious cookies.
Even though these are fall cookies you can definitely tint the dough for so many other occasions.
Not only do these sound delicious, they’re also super cute! Such a great Fall cookie idea!
Thanks so much. You have that right these cookies are cute and delicious.
Yum! And they are so cute for fall too, this will be perfect for my kiddos
My kids still ask for these cookies. They grew up making them for school treats.
Jere, my kids grew up with these too, and it’s “not fall” until we make them each year but I’d lost the original recipe and have experimented the last few years and never got it quite right. So pleased to find that you’ve shared the right recipe here; can’t wait to surprise my now-in-their-20s with the original and best!
I am so glad I finally posted this recipe because I love these cookies. My daughters still make these cookies and we have a lot of fond baking memories.
Loved the shape of these cookies! Definitely gets you in the mood for Fall. But the cookies were so delicious and perfect texture.