

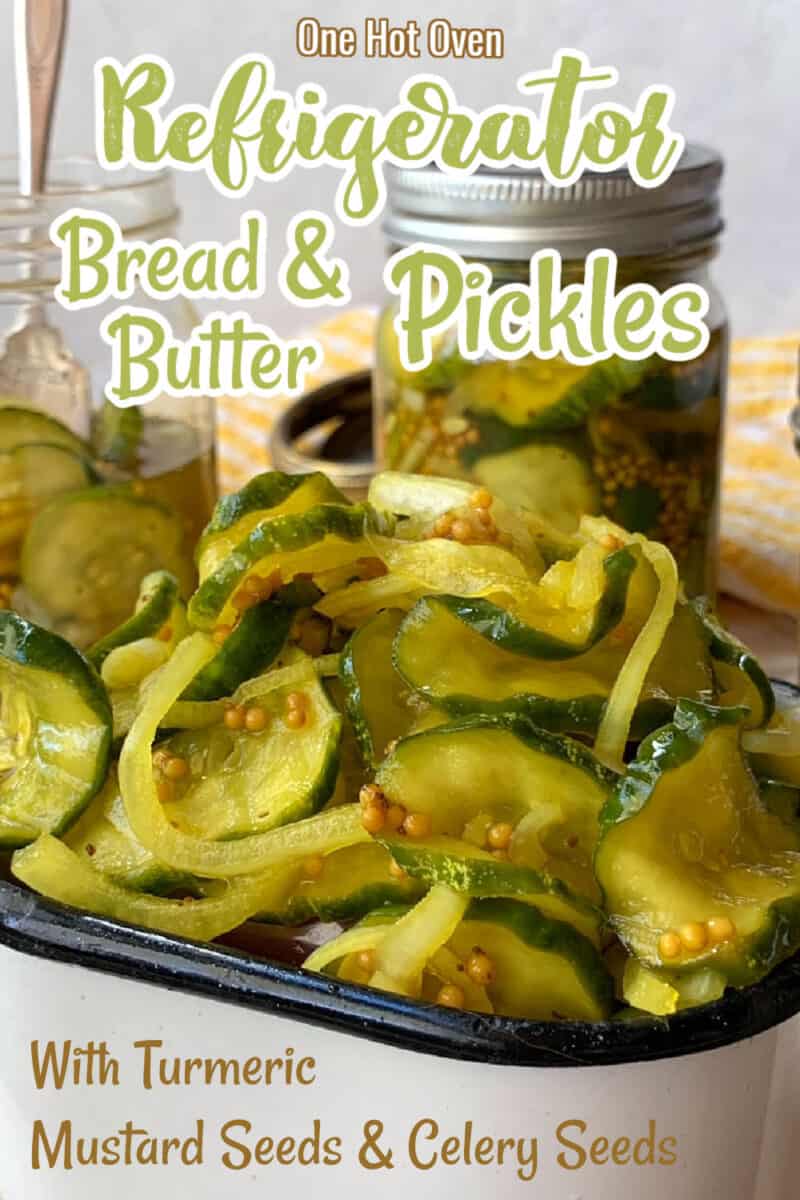
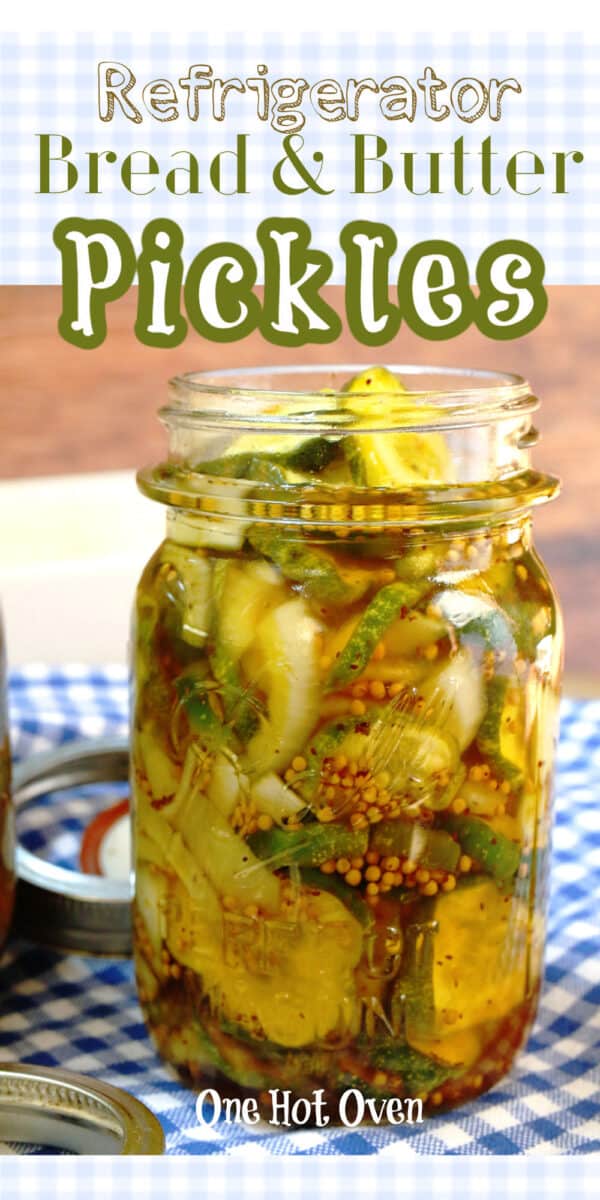
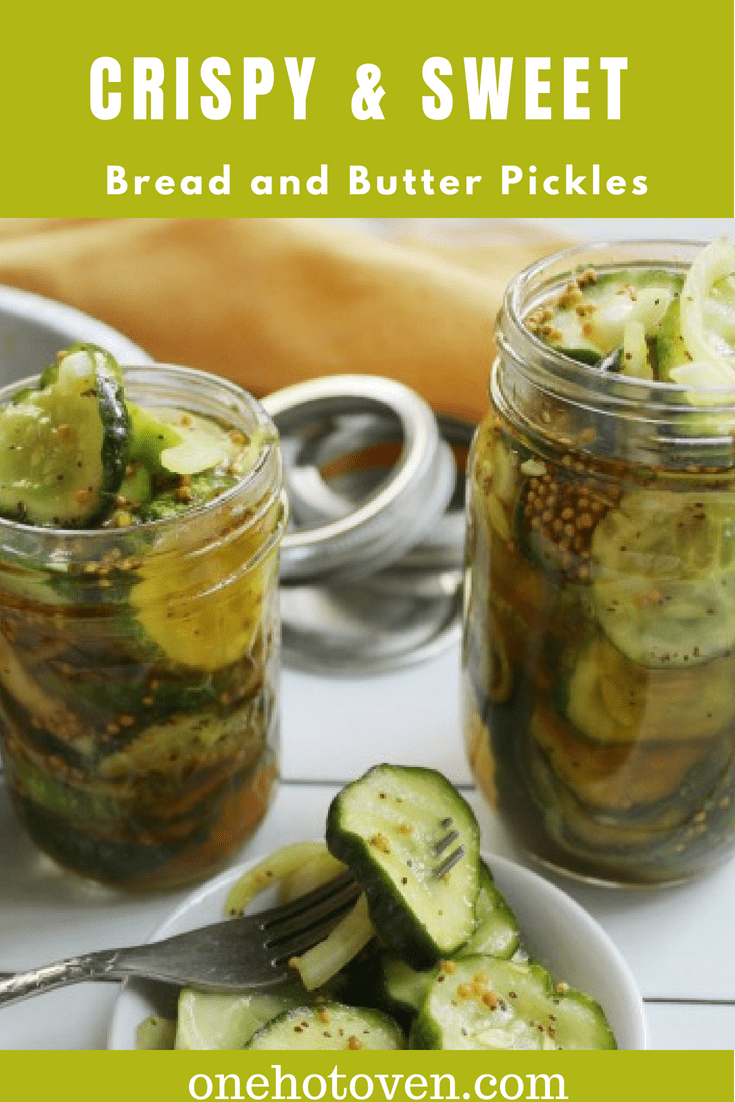
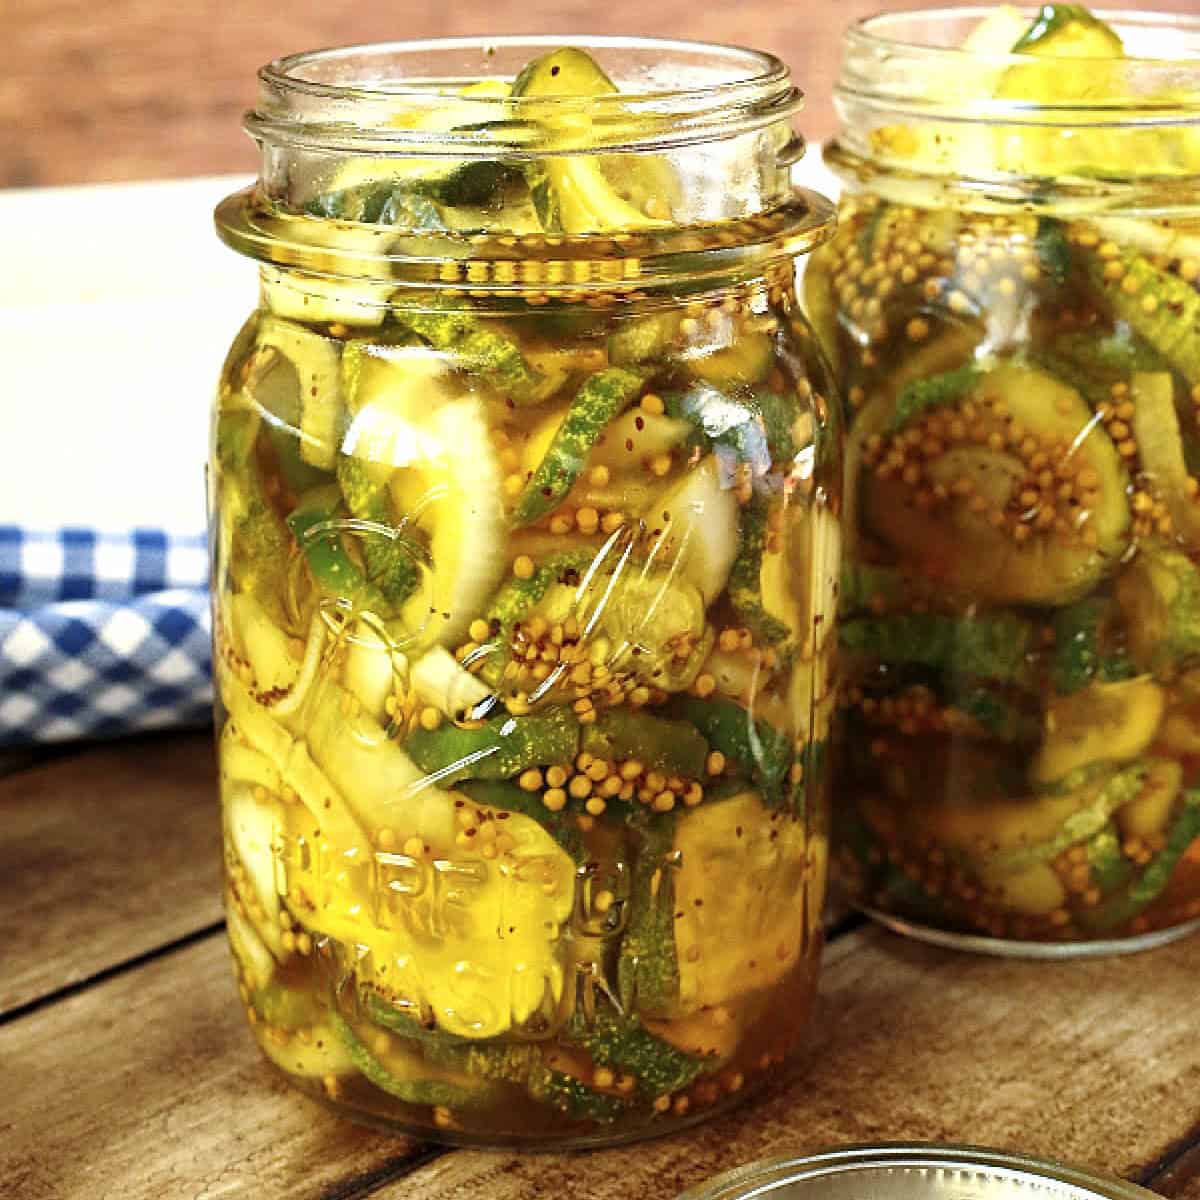
Try this easy recipe for crispy Refrigerator Bread and Butter Pickles, which are a little sweet and a little sour. There is no cooking, no canning, just an easy small-batch recipe for delicious fresh pickles that I think are the best.
Want to save this recipe?
Enter your email & I’ll send it to your inbox. Plus, get great new recipes from me every week!
This page may contain affiliate links; please see my disclosure for policy details. I earn commissions if you shop through the links on this page.
Table of contents
Try This Recipe, You’ll Love It!
- Grandma’s original: This pickle recipe comes straight from Grandma’s notebook; she called them bread-and-butter cucumbers.
- Pantry-staple short list: cucumbers, sugar, vinegar, spices—nothing exotic.
- Small batch, easy scale-up: makes two pint jars; use the brine chart for more.
- No canning gear: quick refrigerator method, no water-bath or special tools.
- Time-smart: about 1 hour of work, 1 hour of chill while you relax.
- Crisp for months: keeps its sweet-tangy crunch in the fridge for up to three months.
Please check out my recipe for Refrigerator Dill Pickles for a tangy pickle recipe.
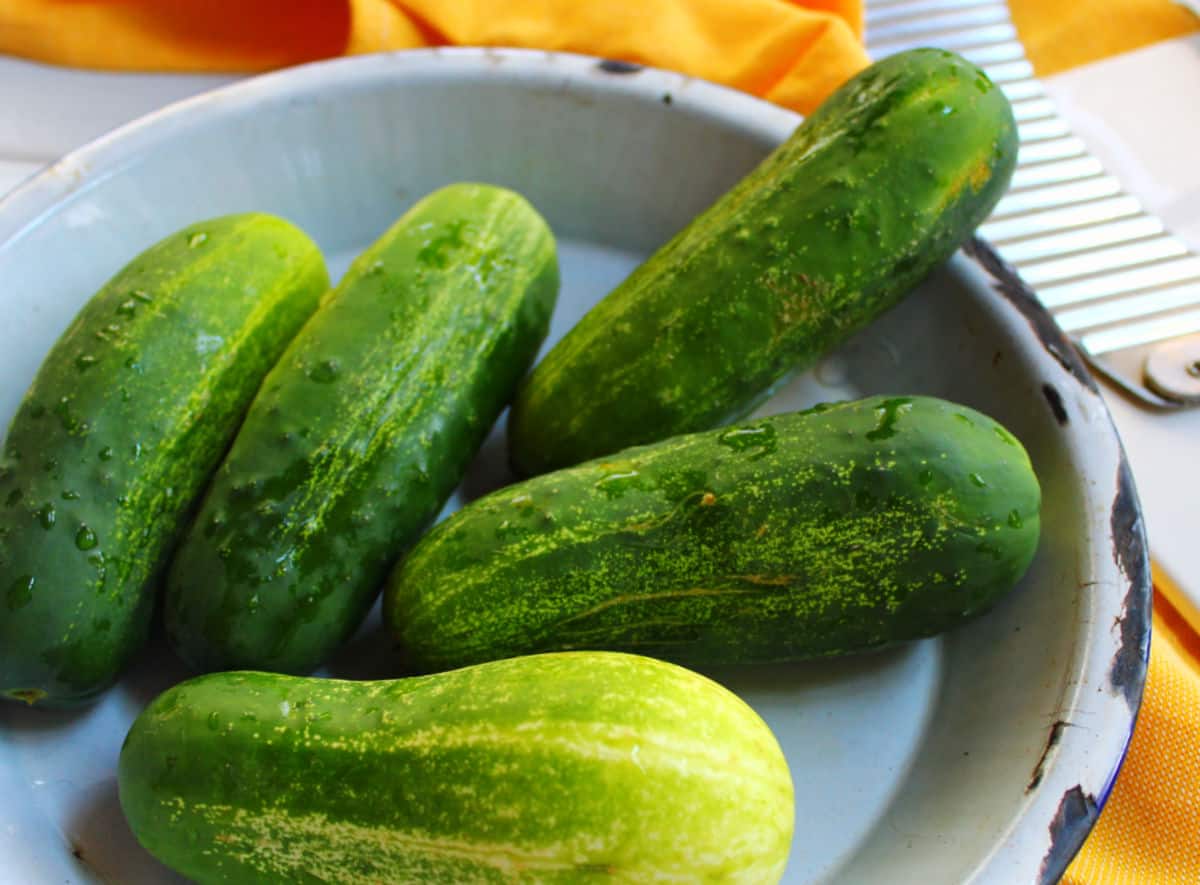
What kind of cucumbers should you use?
- The best cucumbers to use when making pickles are pickling cucumbers, also known as Kirby cucumbers. The major difference between pickling cucumbers and standard cucumbers is that they are smaller, with fewer seeds, less moisture, and thinner skins.
- I can only find pickling cucumbers at the farmer’s market; however, you can use the regular cucumbers found in grocery stores or try to buy small cucumbers.
- You can also try using seedless English cucumbers or Persian cucumbers.
- No matter what type of cucumber you buy, pickle them as soon as possible to ensure a crispy pickle.
Pickle Ingredients
Instructions
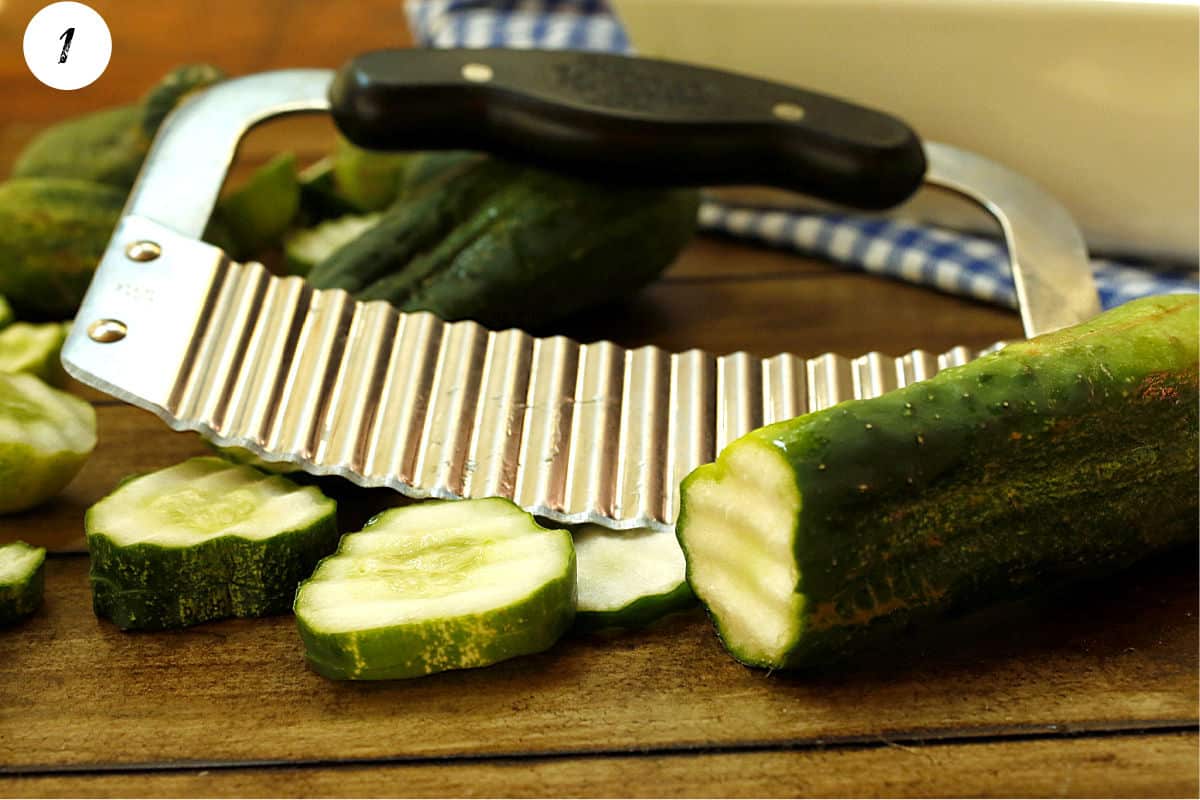
Step 1. Give your cucumbers a good washing and rinsing, then slice them up into 1/4″ slices. I love this crinkle cutting slicer to cut the cucumber; it is very easy to use and makes those beautiful ridges. You can also make straight-cut slices, too! And, if you own a mandoline, by all means, get it out and use it to cut these cucumbers.
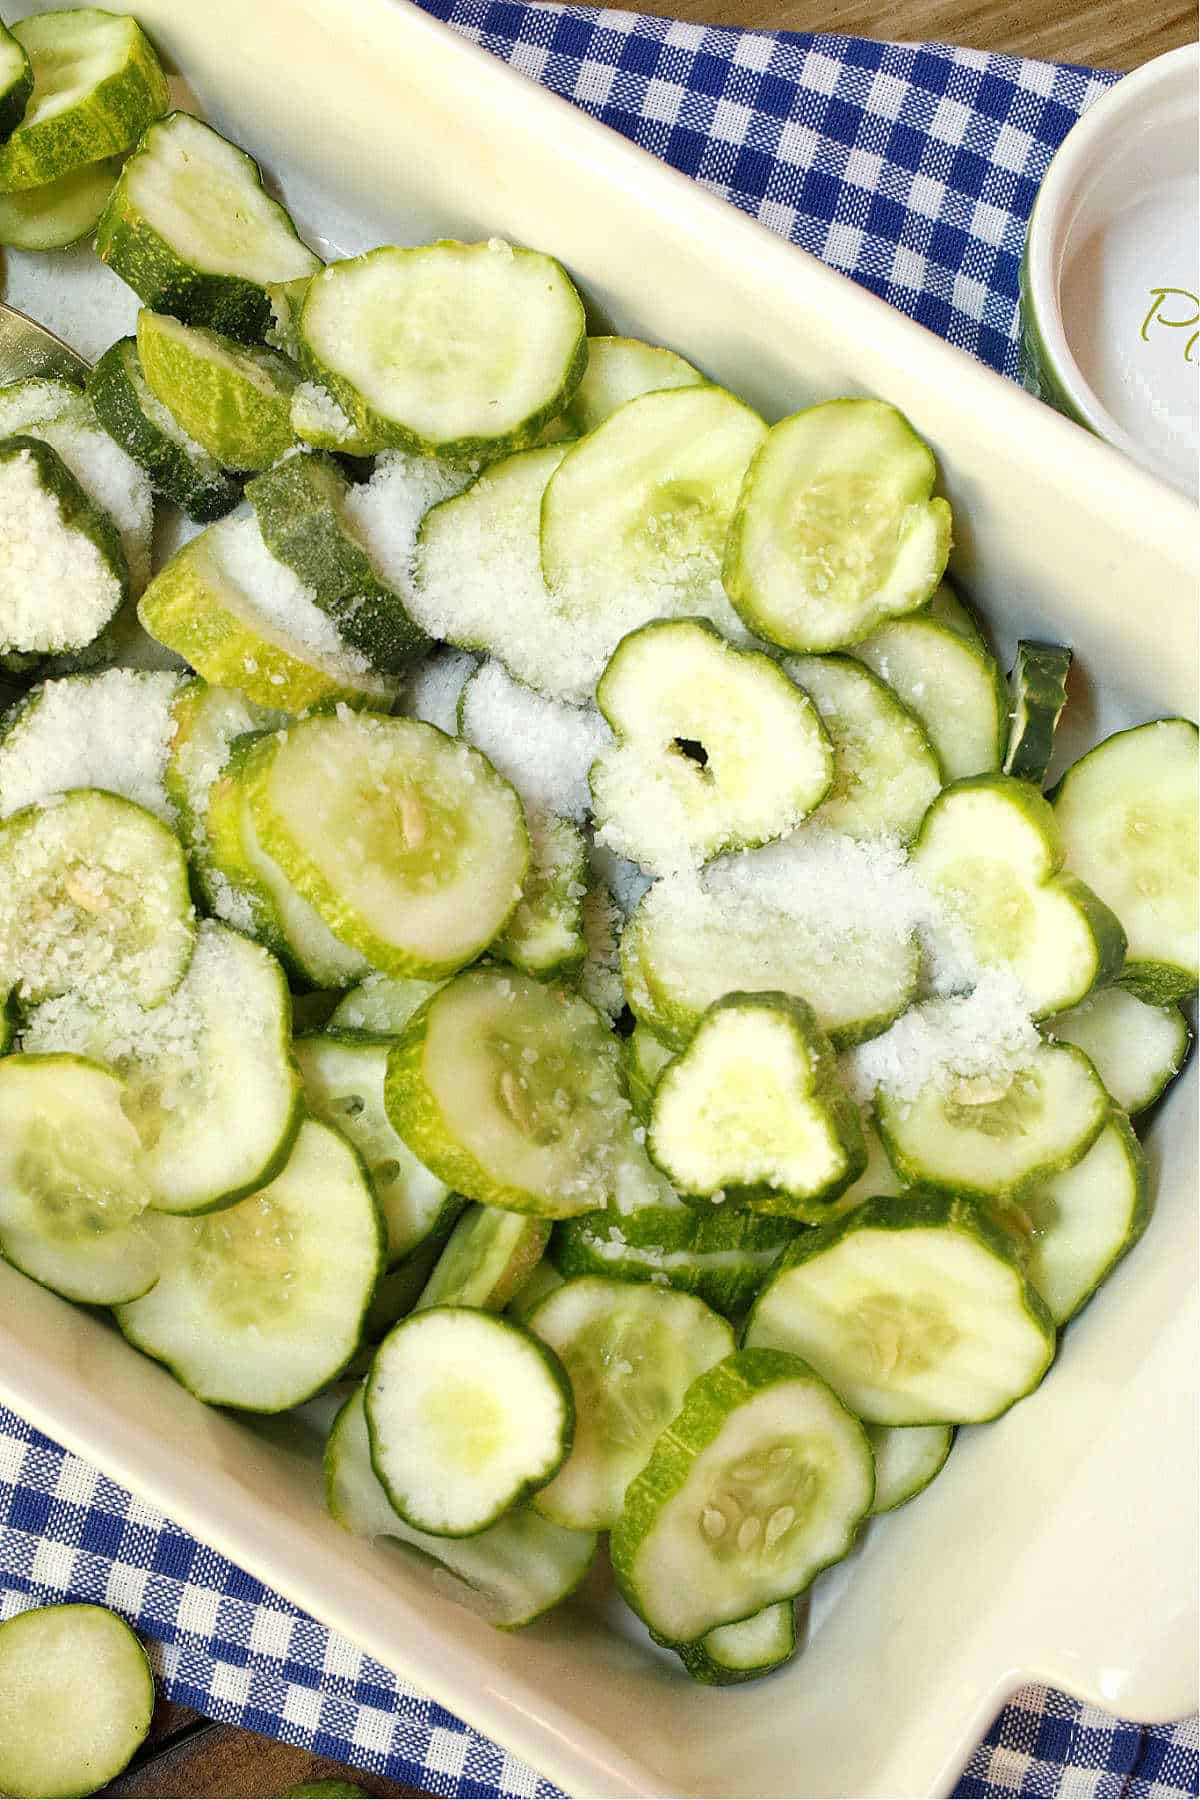
Step 2. Put the sliced cucumbers in a large bowl and sprinkle the salt over them. Stir, then place the bowl in the refrigerator for an hour. This is a necessary step. Refer to the FAQs to understand why we need to salt soak the cucumbers.
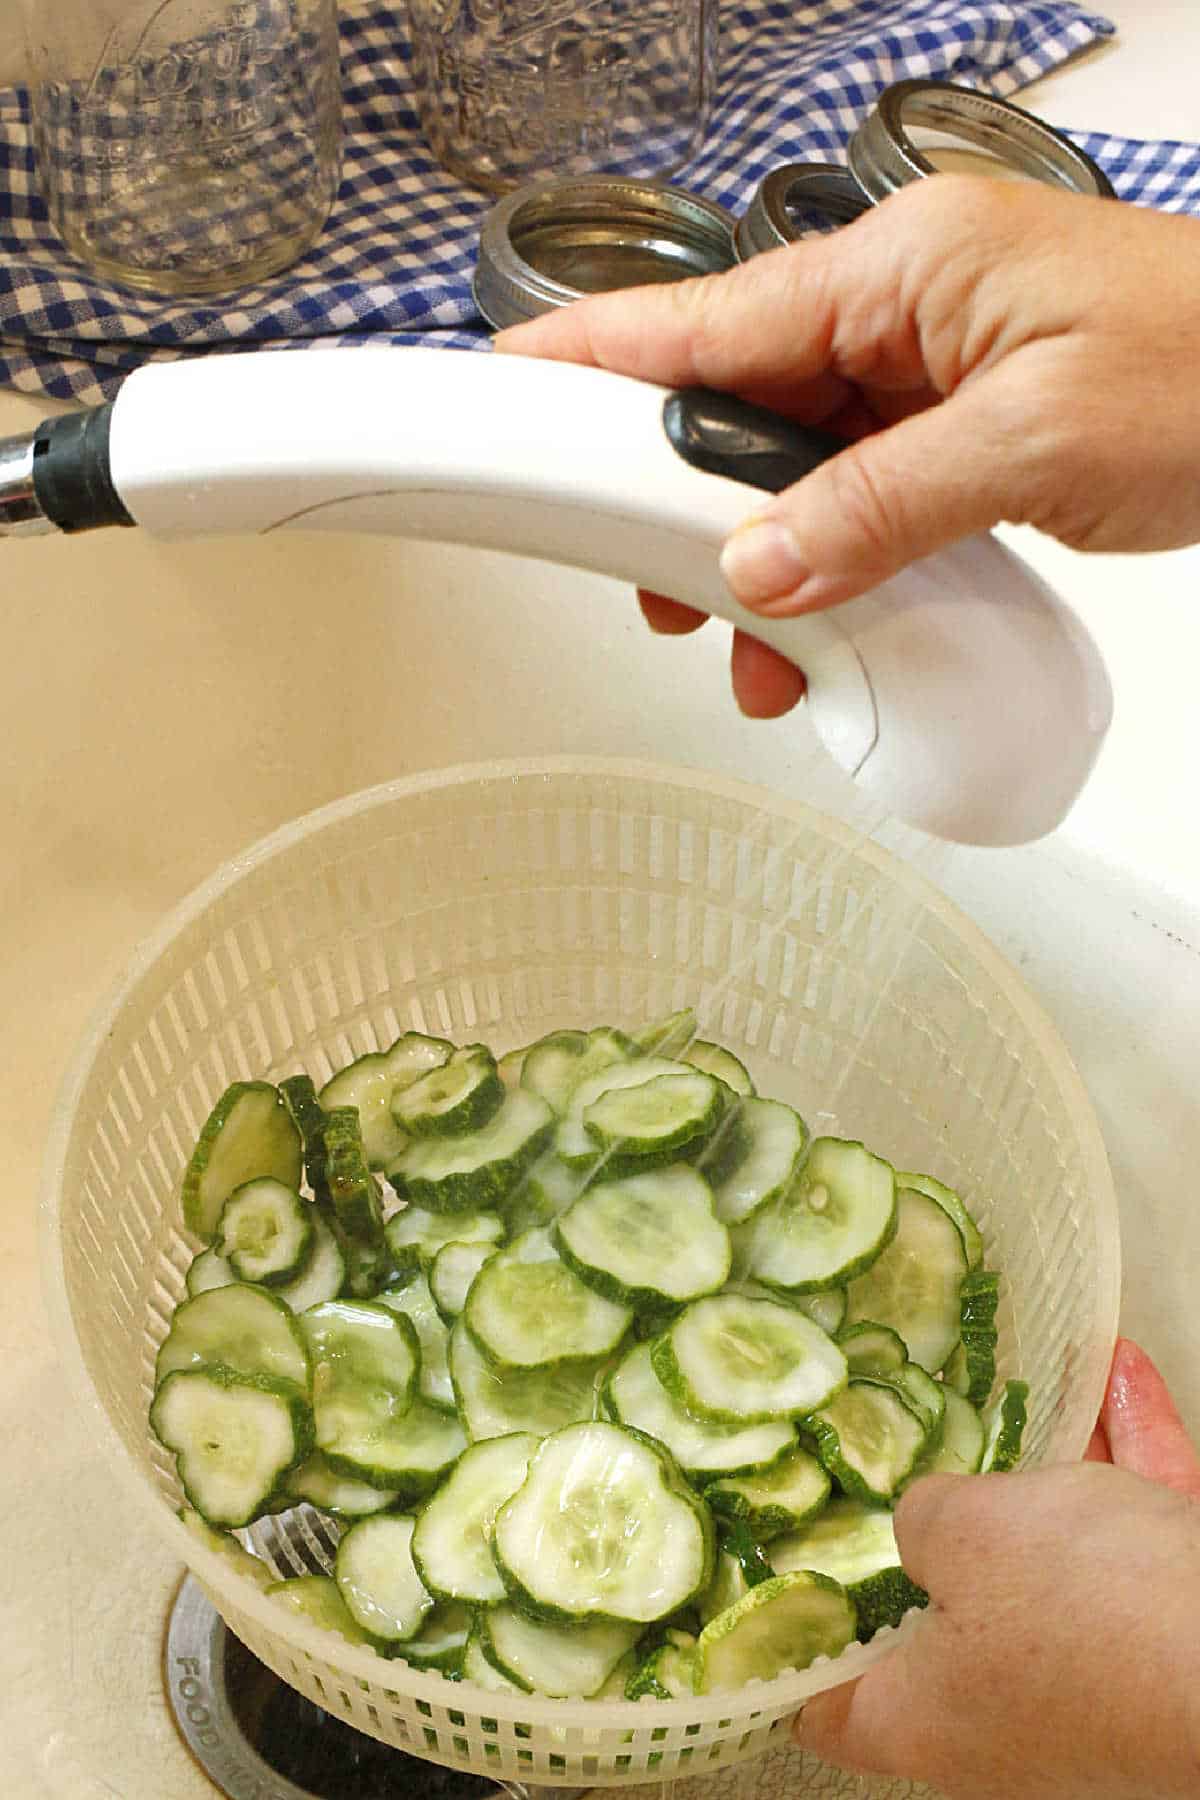
Step 3. After 1 hour, rinse the cucumbers in a colander to remove the salt, then put them back into the bowl.
Step 4. Add the sliced onions to the cucumbers
How to make the pickling brine
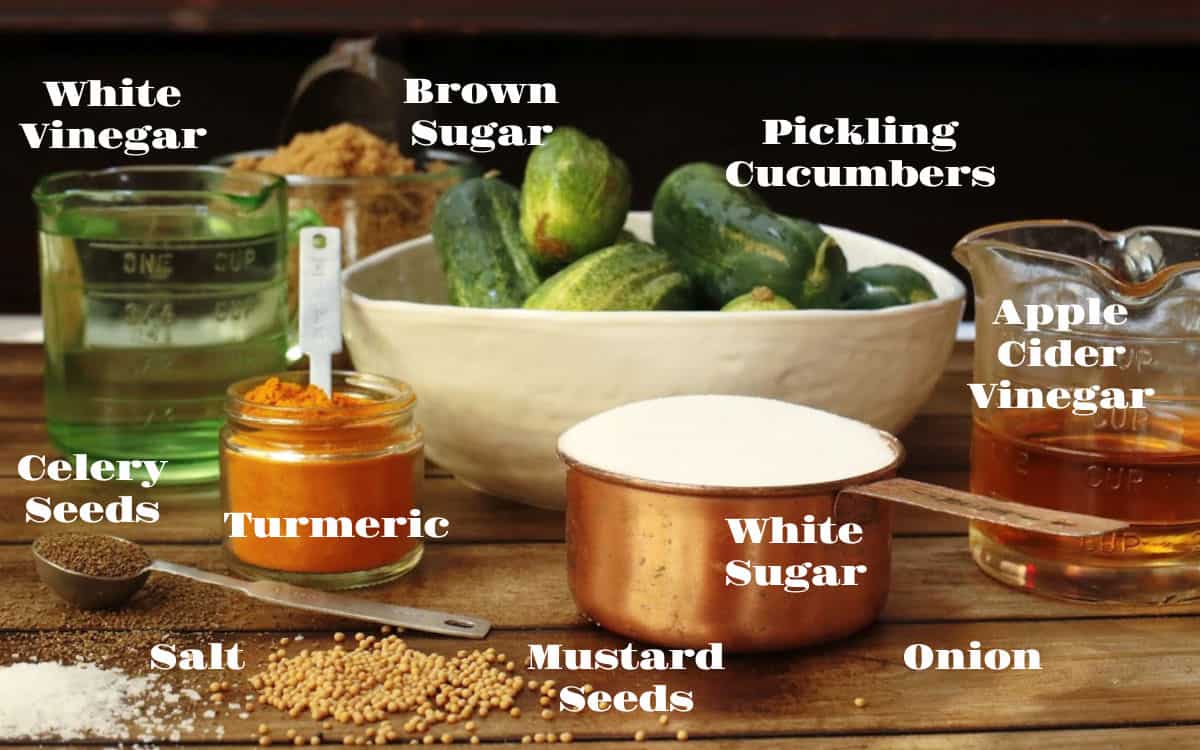
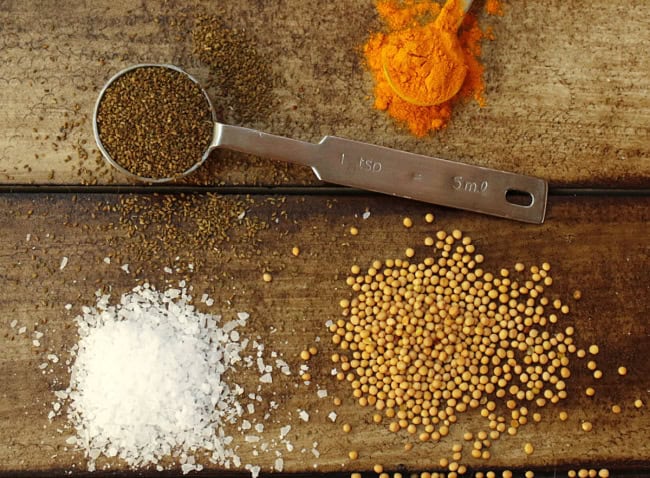
Step 5. The brine is easily made with white sugar, brown sugar, white vinegar, apple cider vinegar, kosher salt, mustard seeds, celery seeds, and turmeric.
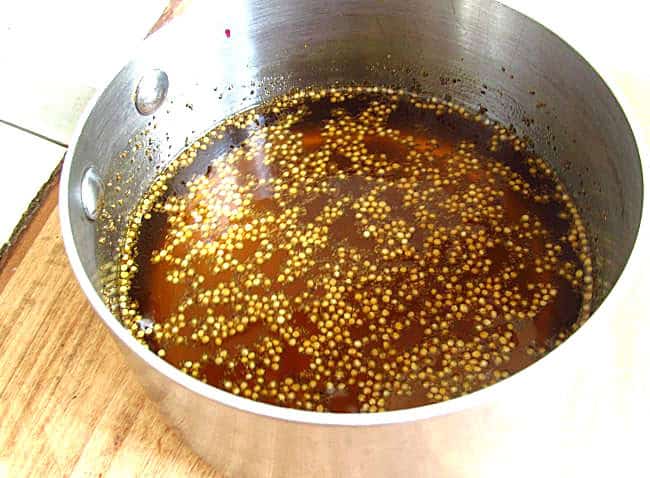
Step 6. Mix all the brine ingredients in a small saucepan and cook over medium heat. medium heat, stirring until all the sugars have melted, then simmer for a few minutes.
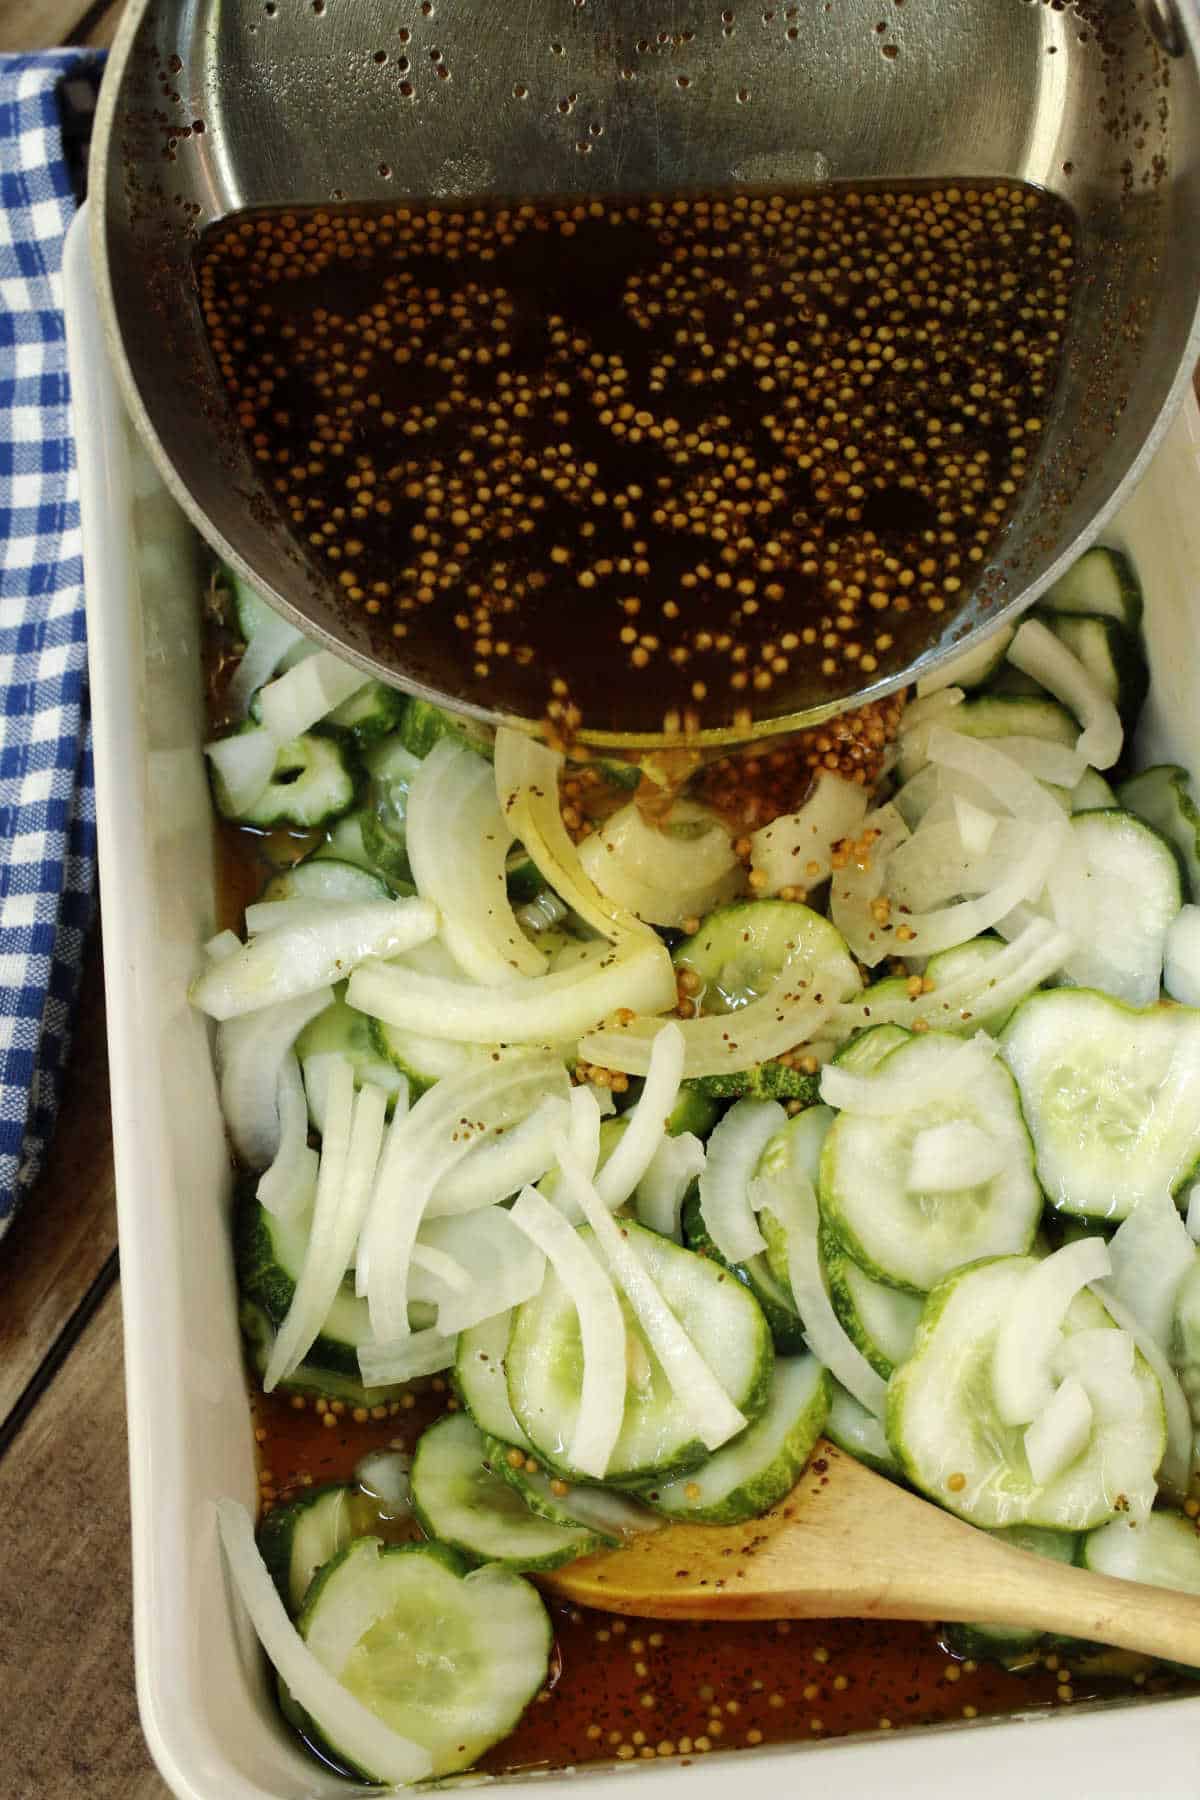
Step 7. Pour the pickle brine over the cucumbers and onion slices, and give it a big stir.
Step 8. Let the pan of pickles sit in the refrigerator for one hour.
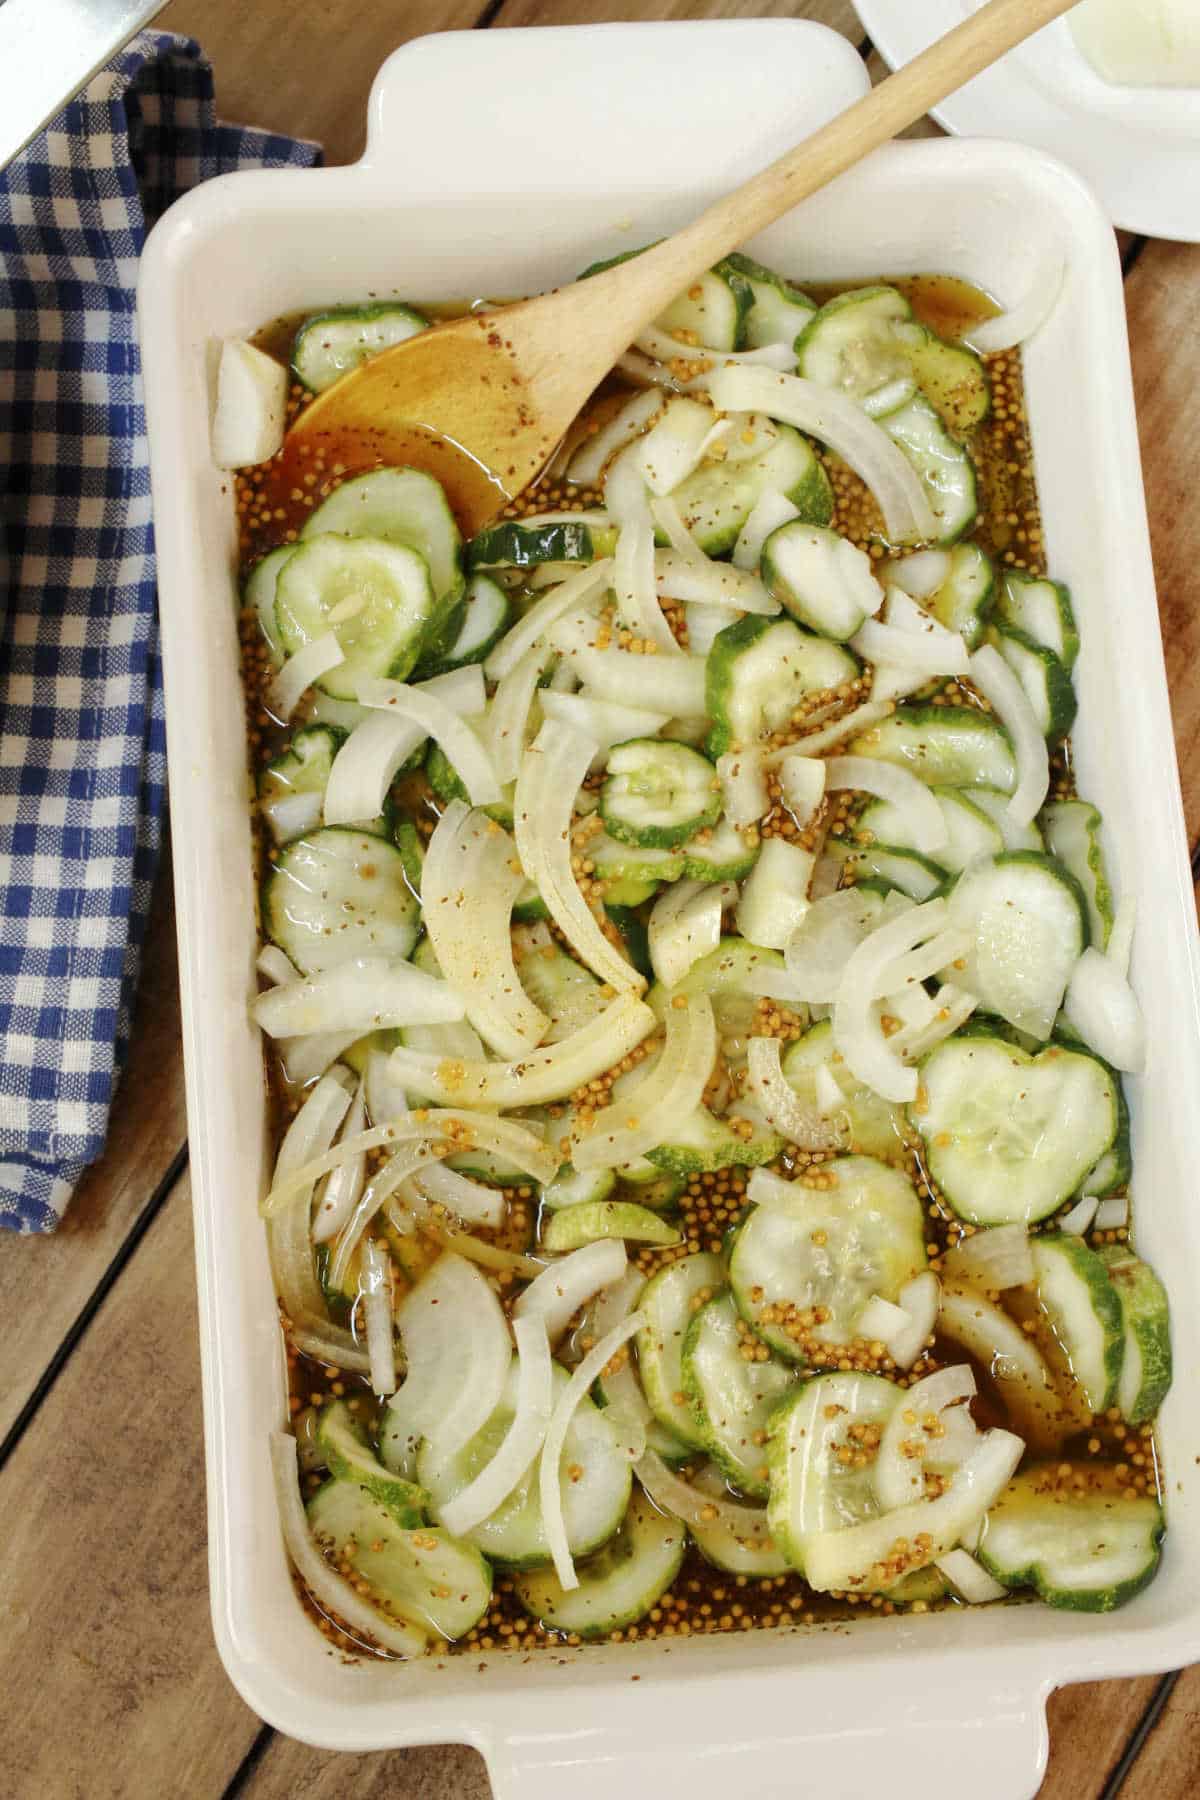
Step 9. After an hour of refrigerating the pickles, you can see a color change and that the pickles have softened somewhat.
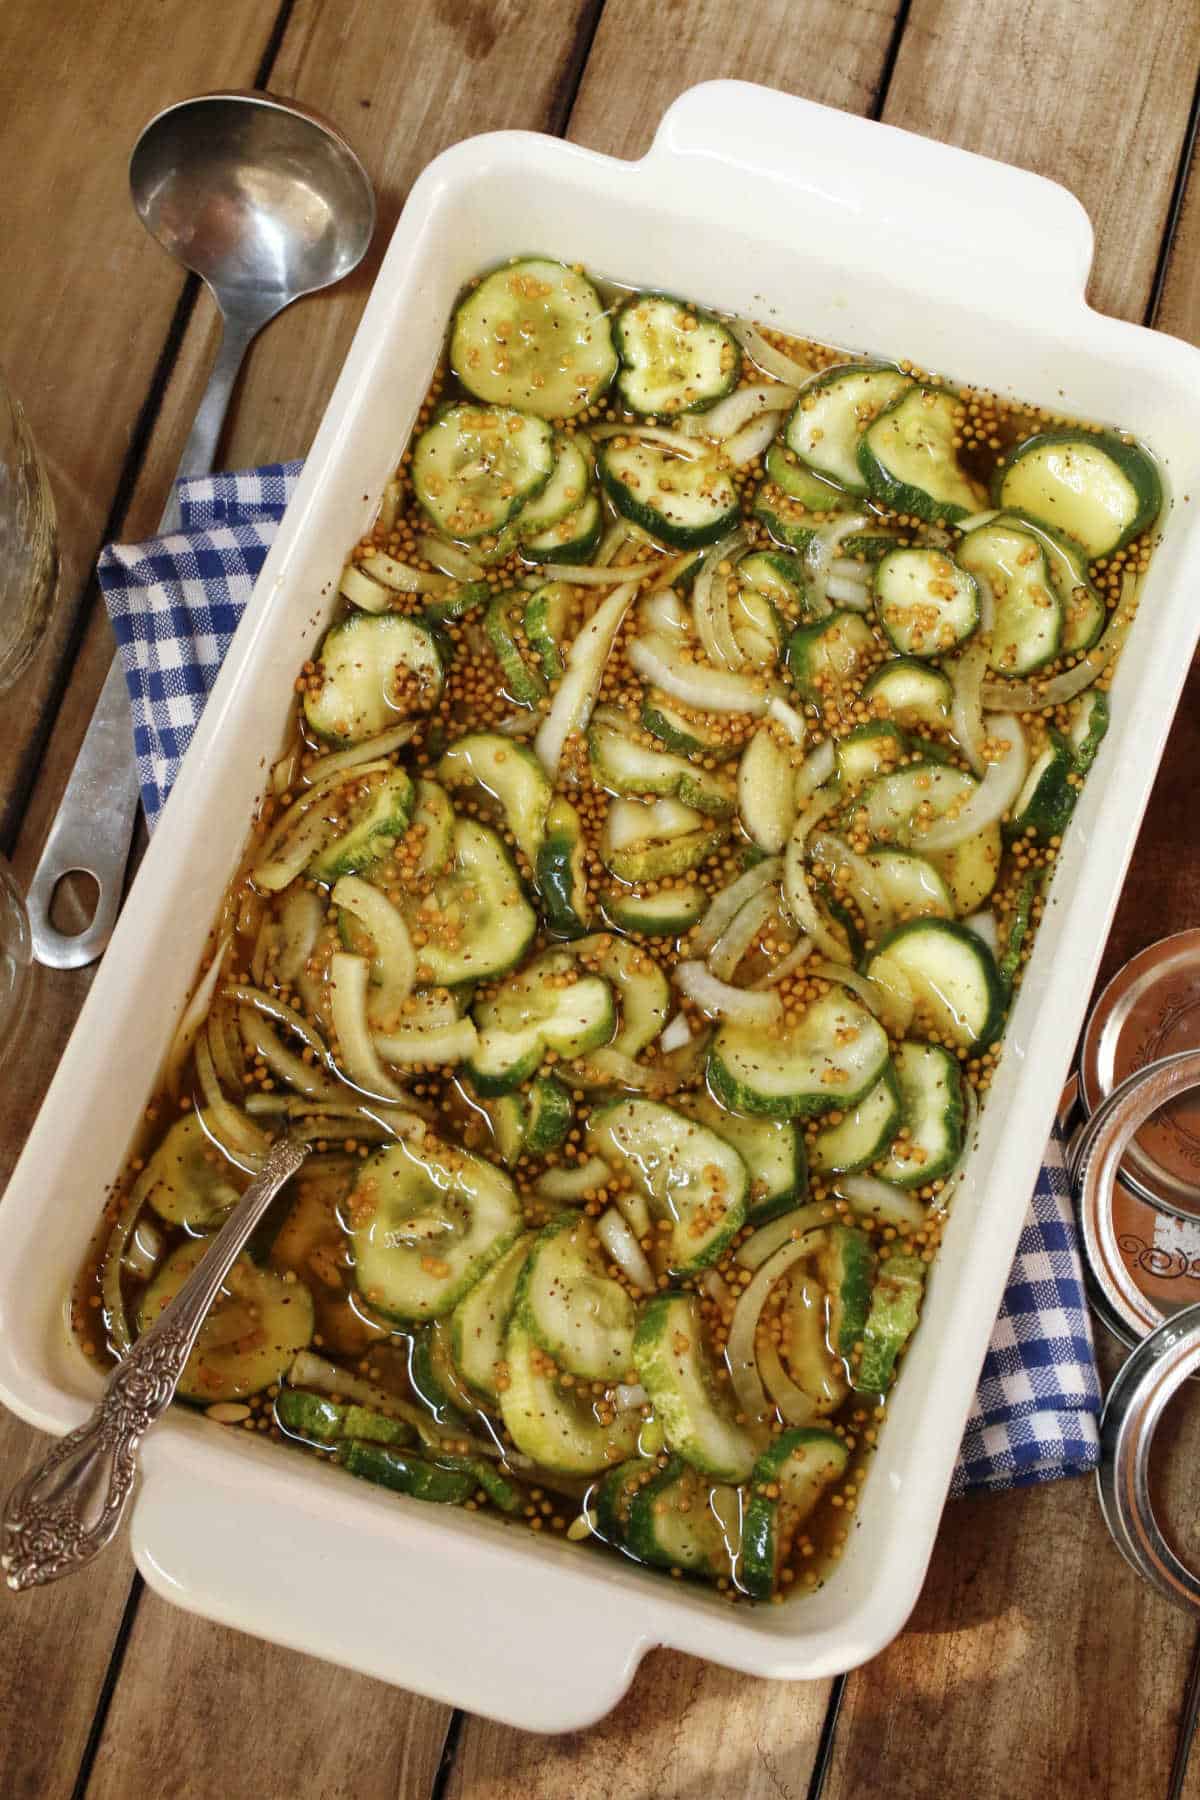
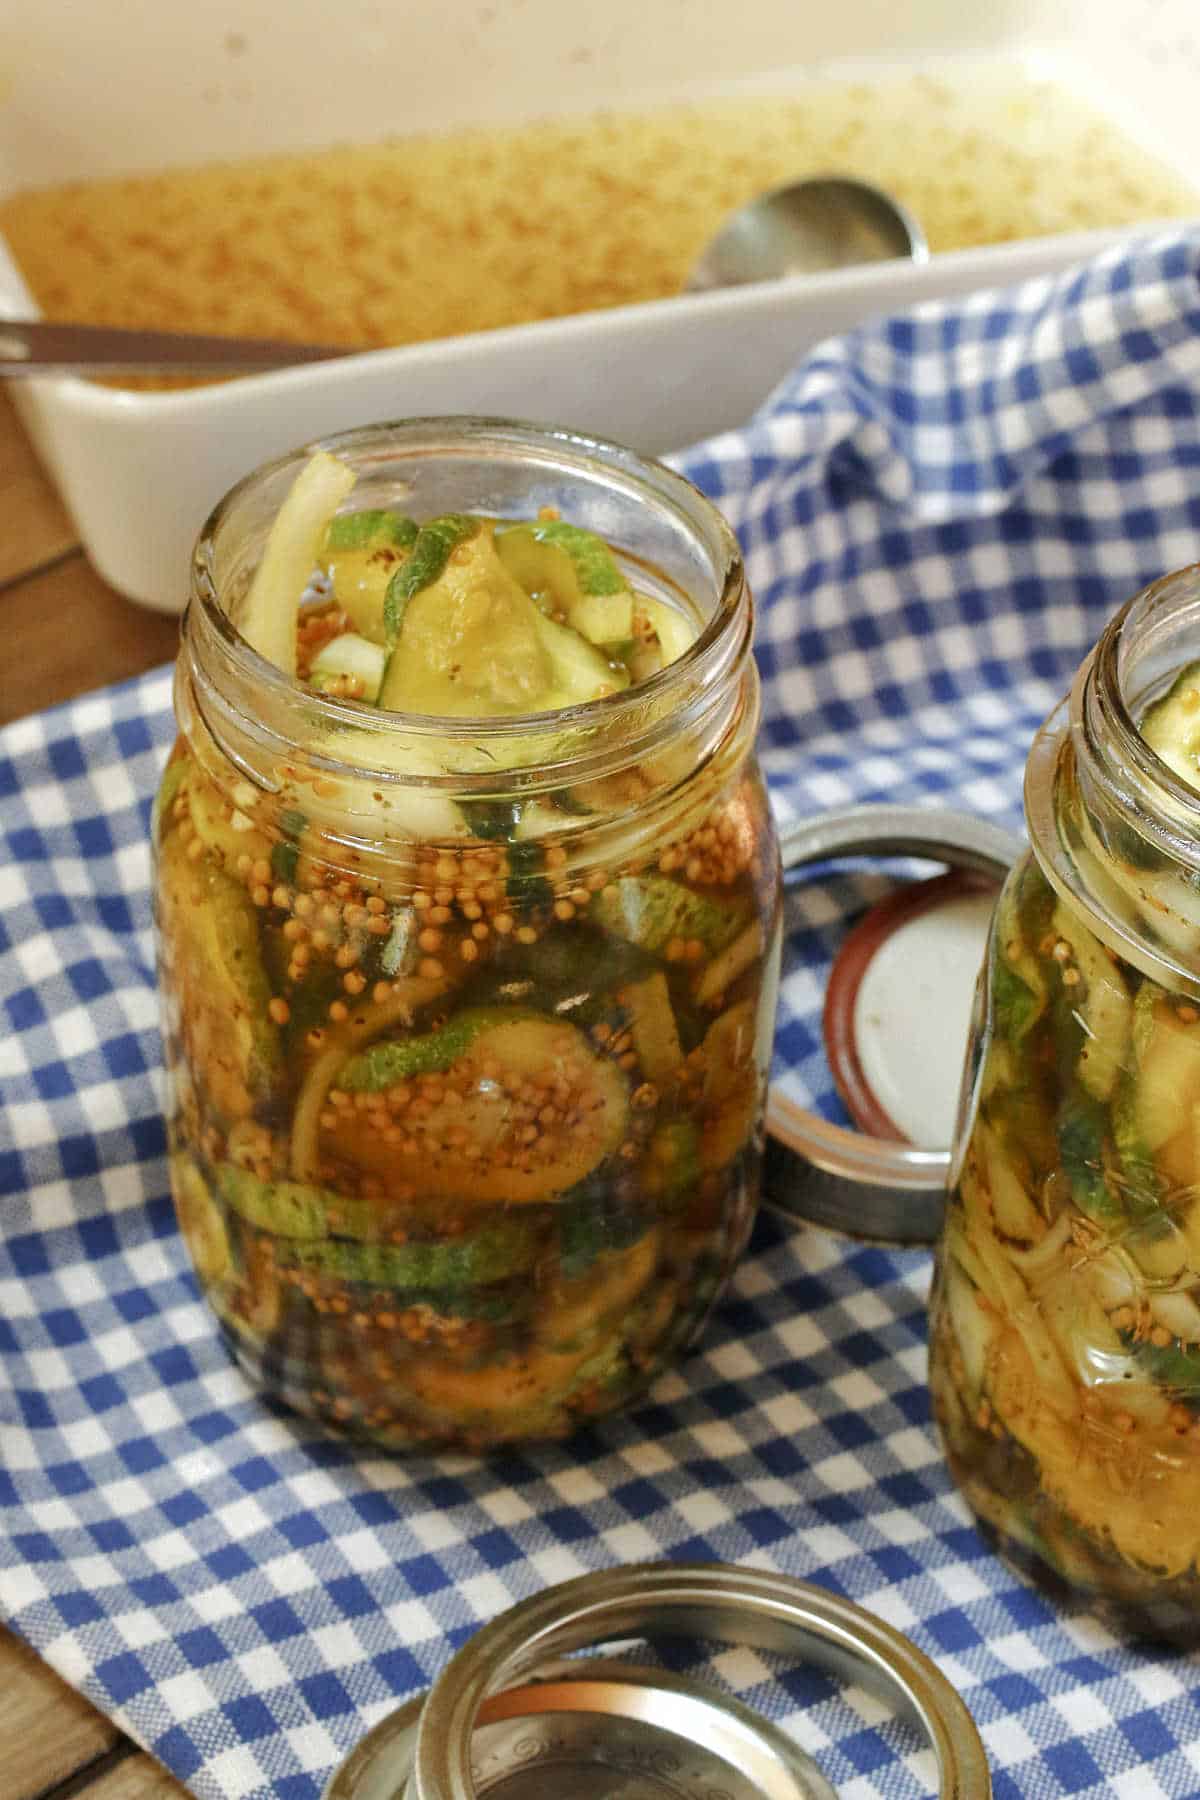
Step 10. Make sure to sterilize your glass jars and lids. When the cucumbers are ready, spoon the pickles and onions into the jars and cover them with the brine. Leave a 1/2″ of space at the top of the jar, and with a spoon, press down on the pickle slices to remove any air pockets.
You may have leftover brine, which can be added to the jars once you press down on the pickles. Refer to the updated notes for instructions on using the brine.
Storage
When the jars are filled, clean the tops of the jars and the threads, and seal them tightly with the lids. Store the jars in the refrigerator for up to three months. For expert tips make sure to read the USDA refrigerator pickle guidelines.
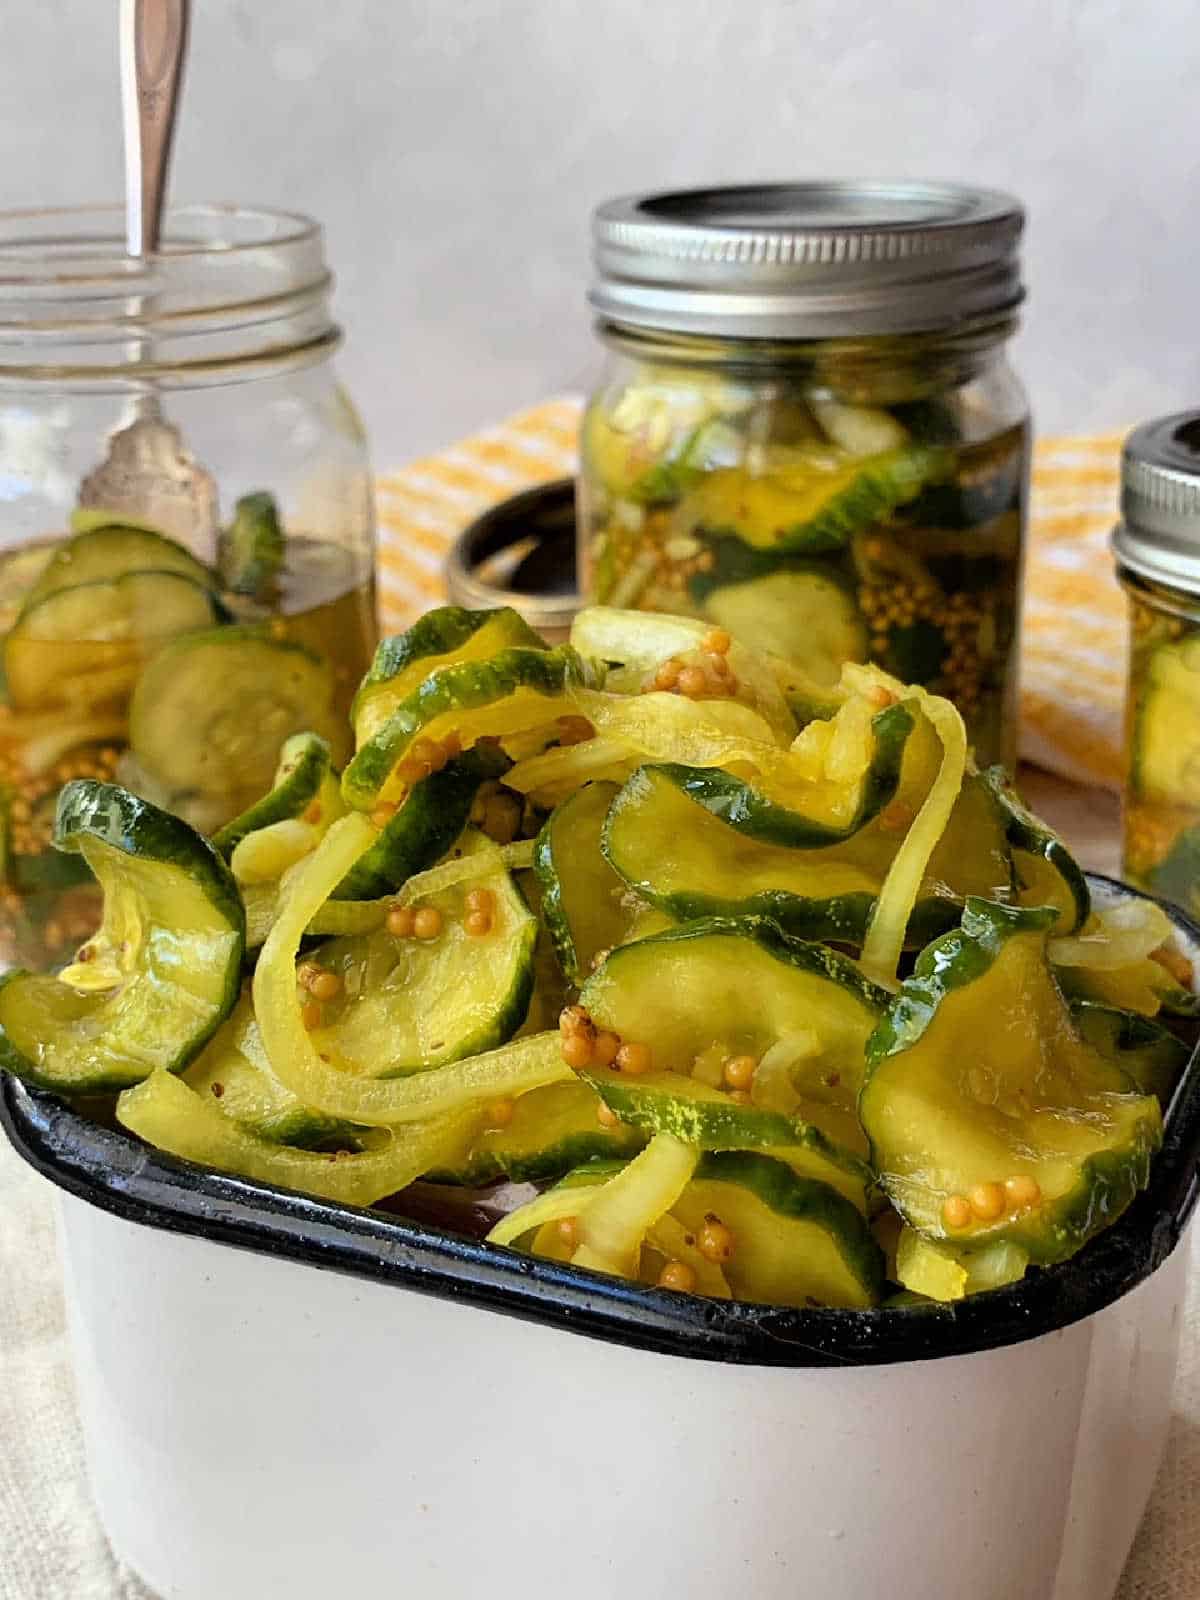
Adding the cucumber and onions directly into jars
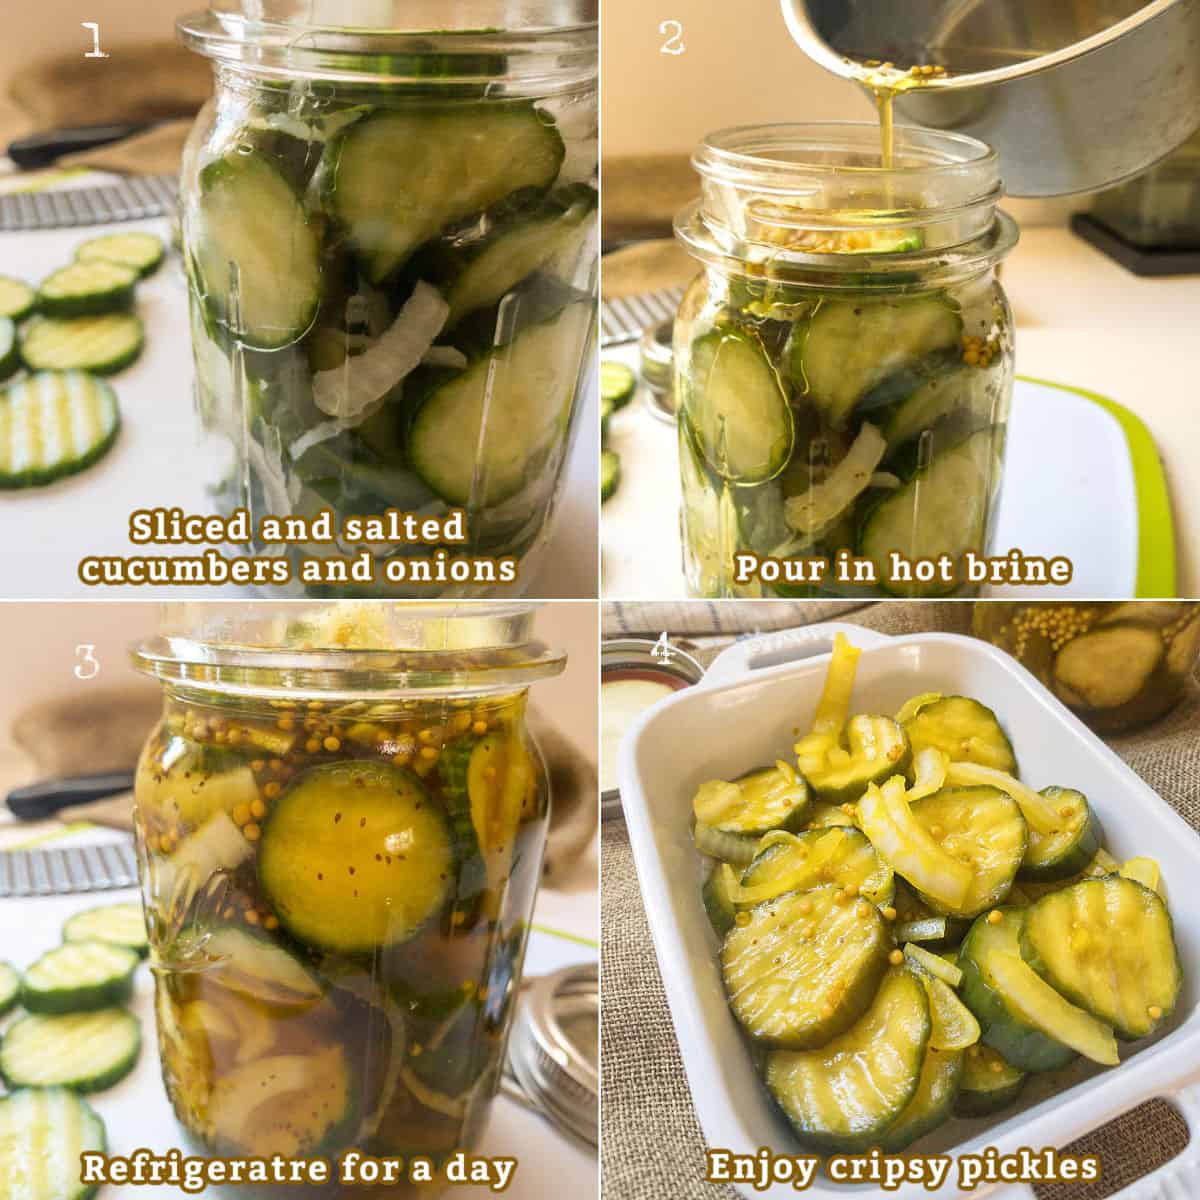
Can you skip letting the cucumbers and onions sit in the brining pan for an hour? Yes, you can; you can brine the cucumbers and onions directly to the canning jars.
- After the pickles have been soaked in salt and rinsed, mix the cucumbers and onions, and then fill the jars.
- Heat the brine and pour it directly over the cucumbers in the canning jars. See the recipe card for the brine ingredients.
- Let the jars sit on the counter for 1 hour, then wipe around the jar to ensure it’s clean. Top with the lid, and then place them in the refrigerator.
- Enjoy these crispy pickles after one day.
Updated notes for leftover brine
I have had questions about using the leftover brine. This is what I do. I pour the leftover brine into a clean container or another canning jar and store it in the refrigerator for up to three months.
- You won’t have a lot of brine leftover; I had 3/4 cup left, so I bought an English cucumber, which was just enough to make a jar of pickles.
- I reheated the brine and poured it on the salt-soaked cucumbers and sliced onion. (See the tip above on canning directly into jars)
- The pickles tasted delicious; however, the reheated brine was cloudy, and the flavor was slightly diminished compared to using a fresh brine. I don’t think most people would notice.
- Leftover brine is best when reheated just once.
Pickle FAQ’s
Just so you know, there is no bread or butter in this recipe, and you don’t have to eat bread and butter with these pickles. The name comes from the 1920s when the Fanning family would barter their sweet and sour pickles for bread and butter at the market.
They could be pickle cousins! The difference is that the Yum Yum Pickles have almost double the sugar in the recipe compared to this one.
You can, but a store-bought spice mix will contain more spices than I use and will definitely change the taste. This pickling spice mix contains eleven spices, including cinnamon, bay leaves, and allspice, which are not part of this recipe. I think adding three tablespoons would be the correct amount.
You can add more cucumbers to the leftover brine.
Pour the brine on the shredded cabbage and carrots for coleslaw
Pickle hard-boiled eggs in the brine.
This is a necessary step in the fermentation pickling process. The salt will pull excess water out of the cucumbers, making them crispier and adding flavor. Soaking the cucumbers in salt water will help inhibit bacterial growth while adding beneficial bacteria.
I made these and gave some away and everyone who tried them asked me for the recipe. Delicous and easy to make….love this recipe!
— Lana
Pickle tips and tricks
Thick or thin slices – that’s up to you when you make your pickles. I prefer a thicker slice, about 1/4″ thick. The thinner-sliced pickles will not be as crisp and tend to curl up.
If you don’t have canning jars, these pickles will keep well in an airtight container, such as a good sealing Tupperware. Be sure to sterilize both the container and the lid.
It is extremely important to sterilize the containers and lids to prevent bacterial growth. There are many methods, but this is what I do –
- Wash jars and lids in hot, soapy water and rinse well again in very hot water.
- Set a rack inside a deep pot and cover the jars with hot water. If you don’t have a rack, place a towel on the bottom of the pot, set the jars on it, and then cover it with water.
- Bring water to a boil, cover the pot, and boil for 15 minutes. Turn off the heat and let the jars stand in hot water for 10 minutes.
- Carefully remove the jars from the hot water; I do this with tongs, then turn the jars upside down on a clean towel until they are ready to be filled. Sterilize the lids in boiling water for 5 minutes.
How to hot pack pickles
Many of my readers have asked, and yes, these pickles can also be hot-packed, which will make them last longer. Using this method, they can be stored on a shelf for a year.
- Clean and sterilize the jars and lids, and prepare the canner.
- Pack the pickle and onion slices in the sterilized jars, then ladle the hot pickling liquid over the top, leaving 1/2″ of headspace. Press down on the pickles with a spoon to remove any air bubbles.
- Wipe the jar rims, apply the lid, and tighten it.
- Bring the water in the canner to a boil and place the jars in it for 15 minutes. Remove them to a towel and dry them.
- Let the jarred pickles sit for 4 weeks before eating—store for 1 year.
- For high altitudes, adjust the processing time to:
- 5 minutes for 1,001 to 3,000 ft
- 10 minutes for 3,001 to 6,000 ft
- 15 minutes for 6,001 to 8,000 ft
- 20 minutes for 8,001 to 10,000 ft
This small batch quick Bread and Butter Pickle recipe makes a nice addition to a cheese and bread plate; add some dry salami and veggies for an appetizer or a light meal.
Pickles always pair perfectly with a burger, and these Cast-Iron Skillet Burgers cook in minutes, tasting delicious with a pickle on top.
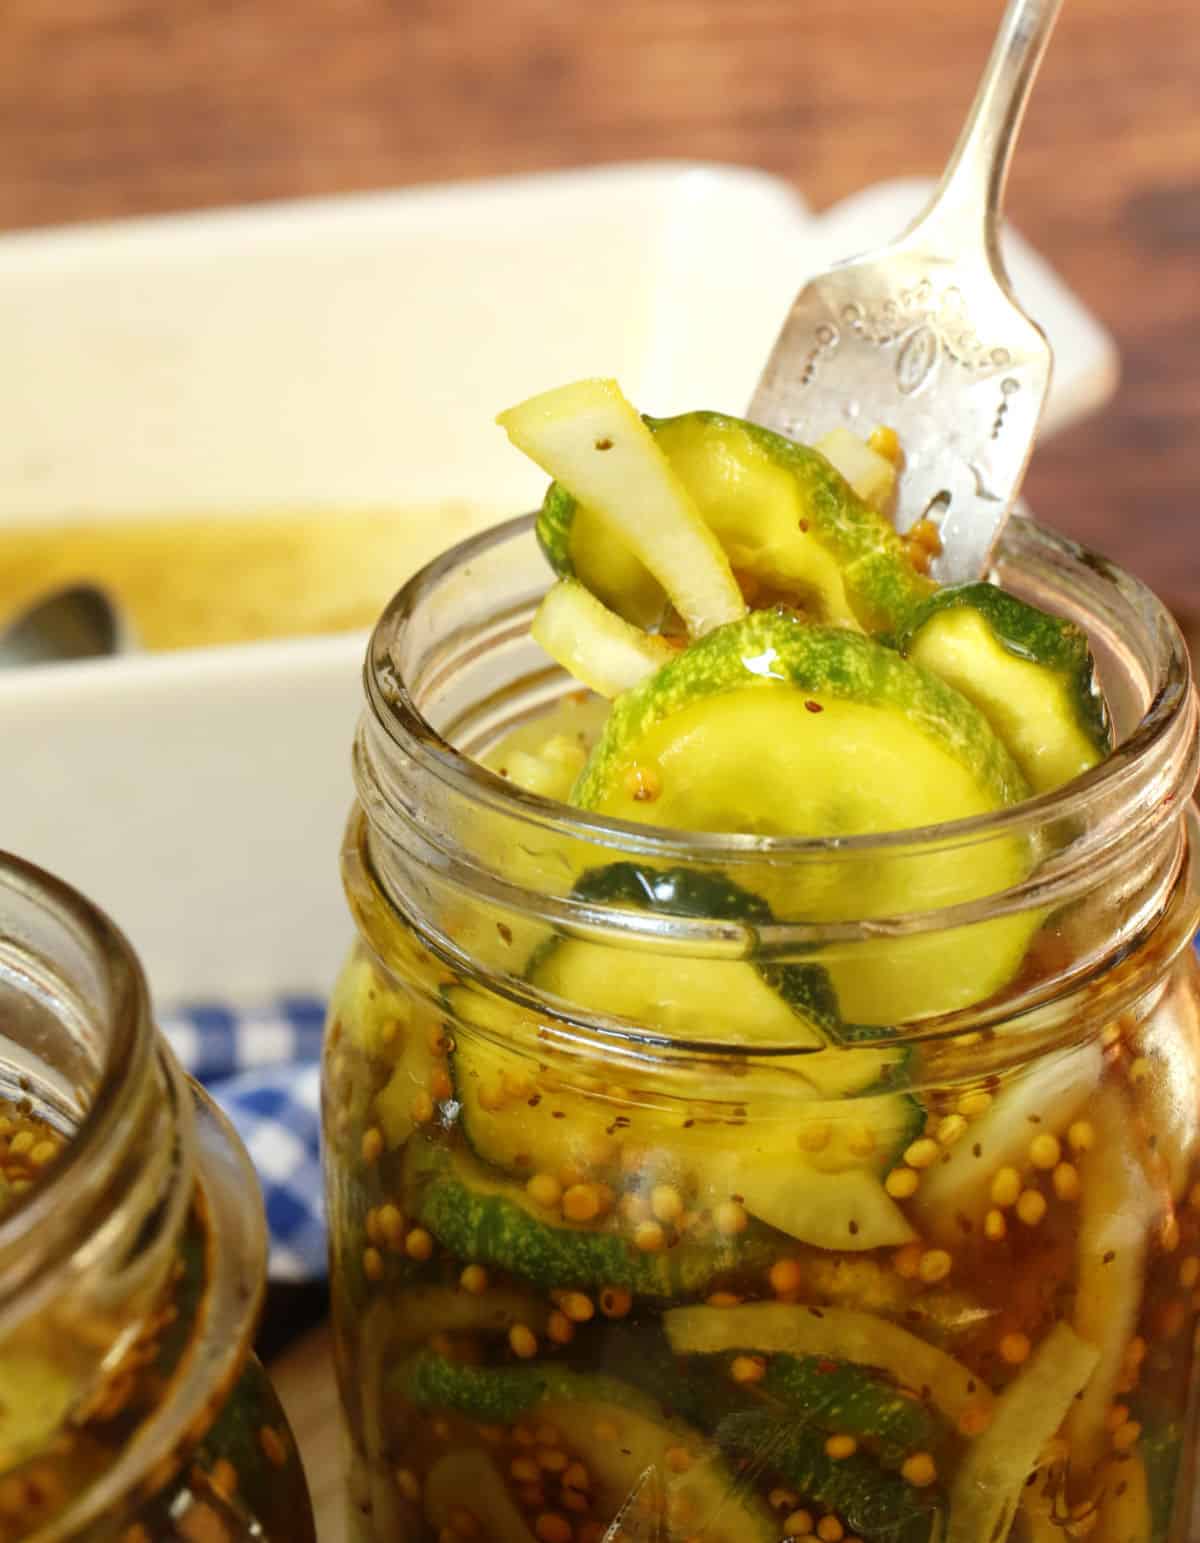
My preference for eating these pickles would be straight out of the jar!
Pickles are great served with other appetizers
- Make a batch of these homemade Savory Cheese Crackers to serve with soups or salads, or for a simple snack.
- Make a simple Cheese Board and add a bowl of these pickles for a crunchy bite.
- This Creamy Herb Baked Ricotta Cheese is filled with fresh herbs and lemon, perfect for happy hour appetizers or set out at parties with crusty bread.
- And here are two fabulous recipes to serve along with the pickles. Pickled Red Onions and Pickled Cabbage recipe.

Subscribe here for more great recipes, and follow One Hot Oven for more tasty sweet and savory recipes! Pinterest | Instagram | Facebook
Recipe
Bread and Butter Pickles



Ingredients
Cucumber Ingredients
- 1 ½ pounds pickling cucumber I used 8 cucumbers
- 1 ½ tablespoons kosher salt
- 1 small onion sliced and used to your taste
Brine Ingredients
- 1 cup granulated sugar
- ½ cup brown sugar packed
- 1 cup white vinegar
- ½ cup apple cider vinegar
- 2 tablespoons mustard seeds
- ¾ teaspoon celery seeds
- ¼ teaspoon turmeric
Instructions
- Wash and sterilize canning jars. Note: I have various sized jars but two 16 ounce-sized jars will work.
- Wash and rinse the cucumbers very well in hot water.
- On a large cutting board slice the cucumbers into ¼" slices using a chef knife or a crinkle-cut slicer.
- Put the cucumbers in a large bowl and add the salt. Stir well to combine, then place in the refrigerator for one hour.
- After an hour transfer the cucumbers to a colander and rinse well to remove the salt.
- Put the cucumbers back into the bowl and add the onions.
- In a medium-sized saucepan add the brine ingredients, both kinds of vinegar, both sugars, and the spices.
- Cook the brining mixture over medium heat, stirring until the sugars melt, then let simmer for five minutes.
- Pour the hot brine over the cucumbers and onions and let sit in the bowl for one hour.
- Put the pickles and onion slices in the sterilized jars then pour the brine into the jars then press down on the pickles to release any air pockets. If necessary, pour more brine over the pickles. Leave ½" space at the top.
- You will probably have some left over brine.
- Clean around the top of the jars and the threads and seal tightly. Store in the refrigerator for up to three months.
- These pickles are ready to eat the next day. They just need a good chilling.
Notes
- 2 pounds pickling cucumbers – I added 15
- 2 1/2 tablespoons salt
- 1 medium-sized onion
- 1 1/2 cups granulated sugar
- 1 /2 cups brown sugar
- 1 1/2 cups white vinegar
- 1 cup apple cider vinegar
- 3 tablespoons mustard seeds
- 1 1/2 teaspoons celery seeds
- 1/2 teaspoon turmeric
As an Amazon Associate I earn from qualifying purchases.
Nutrition
First Published: August 15, 2018… Last Updated: July 4, 2025, with an updated recipe.
Thank you for stopping by the One Hot Oven blog. Please leave a comment to say Hello, or just let me know what you are baking these days; I always love hearing from fellow bakers. Do you have any questions or would you like to chat about the recipe? My contact information is on my About page, and I’ll be happy to help.
About Jere’
From learning to cook on a farm in Indiana to culinary school in California, my passion for food is never-ending. Turning on my oven to bake something for friends and family is my happy place, and I am glad to be here at One Hot Oven sharing both sweet and savory family-friendly recipes for your cooking and baking inspiration.





Cool to see you made pickles. I am getting ready to do the same thing next weekend with the cucumbers I got in my CSA box. Pickles are great. Enjoy them.
This batch went by so fast I need to make some more.
I made these and loved them. This recipe makes a perfect amount and they came out perfect.
I really love this recipe! I will be making it, it seems just so easy! I can’t wait to go buy the items and try this out. Thanks!
I love bread and butter pickles. One of my favorite things to snack on. These actually look very easy to make and I have been wanting to try making my own. Thanks for the recipe!
Those look fantastic…well worth the work!
I use to love pickles when I was a kid but as an adult they aren’t a favorite.
As a kid I wouldn’t eat them even though I canned them. Now I find myself craving them.
Those pickles do look really good! Do they have that name because they traditionally accompany bread and butter?
Good question – there seems to be several different theories mostly that they originated during the depression when people would cucumbers with bread and butter. The cucumber were cheap and easy to grown. If you dig deeper they originated in Europe. I thought they originated in my Grandma’s kitchen.
Yum! I like making small batches of pickles and the like as well. I don’t want to have to spend all day doing it, but as you said, they’re so much better than store bought! This year I made pickled beets for the first time, and they’re amazing. Now the hard part is rationing them.
I use to make pickled beets too. We always put hard-boiled eggs in the beet juice.
I’m not sure I’ve ever considered making my own pickles. Since I love them, it may be something I should try.
April, you should give these pickles a try. They are easy and actually very fun to make.
It’s as if you knew I was going to read your post! I am a pickle lover!! I have never canned anything, but with your great directions and photo, I think I am going to give it a shot. Thank you! 🙂
Oh! I have never made pickles, but I’d love to try… YUM! I am so going to give this a try. My partner would love them 🙂
MMMMMM! Those look delicious. I’ve never canned before, but your instructions are great! I love cucumbers in any form 🙂
I’ve always wanted to make pickles! What a great recipe. Do you know if you can use a sugar substitute? I don’t eat sugar. Thank you!
I don’t know about not using sugar in when making pickles. The sugar is needed to reduce the acidity of the vinegar. I did read that you can replace sugar with honey but you need to reduce the amount by a 1/4 cup since honey is much sweeter than sugar.
This recipe sounds delightfully easy! I really need to make the effort to go to a farmer’s market. We have so many good ones here in San Diego .. I just need to set some time aside so I can go 🙂
Monica.
I’ve been to some farmers markets in San Diego, they really have a bounty of great fruits and veggies there. I’m from NorCal and feel blessed with the great farmers markets to go to here.
Oh my goodness, I don’t know if I’ve ever wanted to eat a bunch of pickles so much as I do right now! I LOVE pickles!! This looks like a fantastic recipe. Do you know if there is much leeway in how much salt needs to be used? I have a health condition right now that requires me to be on a low sodium diet so I’d love to find a way to make lower sodium pickles! Less sodium per pickle means more pickles I get to eat! 🙂 I will definitely add the recipe to my collection, though. Thank you!
I think you would be safe to use less salt, the salt makes the pickles softer. You do rinse the cucumbers to get rid of the salt so I think most of the salt would be gone.